
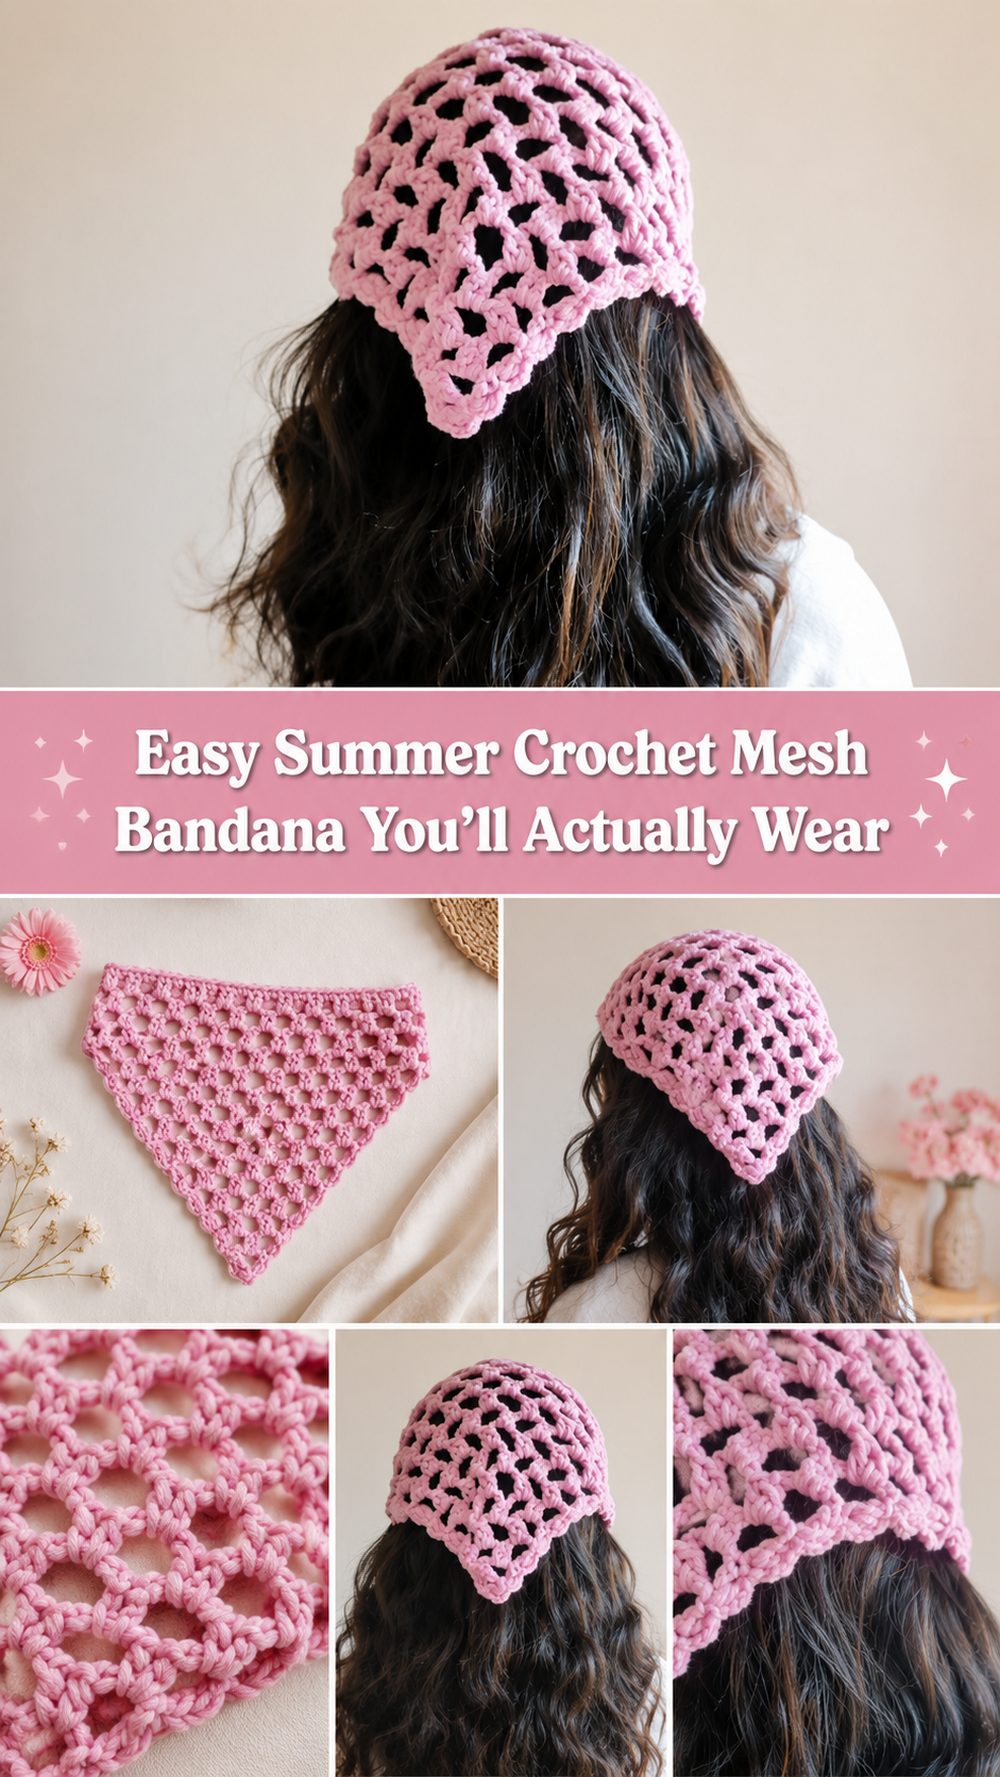
If you’re looking for a cute, practical small crochet project that’s perfect for warm weather, this mesh bandana is such a pretty choice. It’s got that effortless summer vibe that works with messy buns, loose waves, ponytails or even a simple beach day look. What is particularly nice about this project is that it is light and doesn’t have that bulky feel to it so it is comfortable to wear when the weather is hot. It’s also a satisfying little make when you want something quick but still stylish enough to be used over and over again. This is the kind of crochet project that feels laid-back from beginning to end, and is a great choice for beginners or anyone who wants a quick accessory with a handmade touch. The tutorial I chose calls it a simple, light, summer bandana with a breathable mesh feel.
Why You’ll Love This Project
This project is fast, pretty and really useful. The finished bandana is light enough to wear every day, and it gives you that breezy summer accessory look without a tonne of yarn or time. The featured tutorial is a simple bandana style scarf desinged for summer with an airy and breathable result.
Materials:
Yarn
Crochet needle
scissors.
Needle for yarn
Stitch marker if you want to mark center or turning points
Tape, measure
Pick a yarn and hook size that will produce the fit and texture you desire.
Ideal yarn for the project:
Lightweight cotton is one of the nicest choices for a summer piece like this because it feels cool, holds the shape well, and gives the mesh pattern a clean look. For extra softness and drape, a bamboo blend works beautifully too. If you can, stay away from anything too heavy or fuzzy as this project looks best when the stitches are open and airy.
Ability Level:
This is a good project for beginners, particularly if you have a handle on the basics, like making a chain and keeping your tension fairly even. It’s a simple shape, a small project, and the airy design makes it feel less imposing than something heavier to wear.
Fitting Guide Size:
The easiest way to size this bandana is to measure how much coverage you want on your head, before adding the ties. While crocheting, hold the triangle up to your head to check the width and depth. If you want more coverage, just repeat the main pattern over and over until you like the center section. If you want a smaller lighter look stop earlier and keep the shape petite. The ties can also be lengthened or shortened for your own individual style.
Used stitches:
Chaine
Mesh stitch design
Slip stitch to finish off neatly and join where needed
Preparation Tips
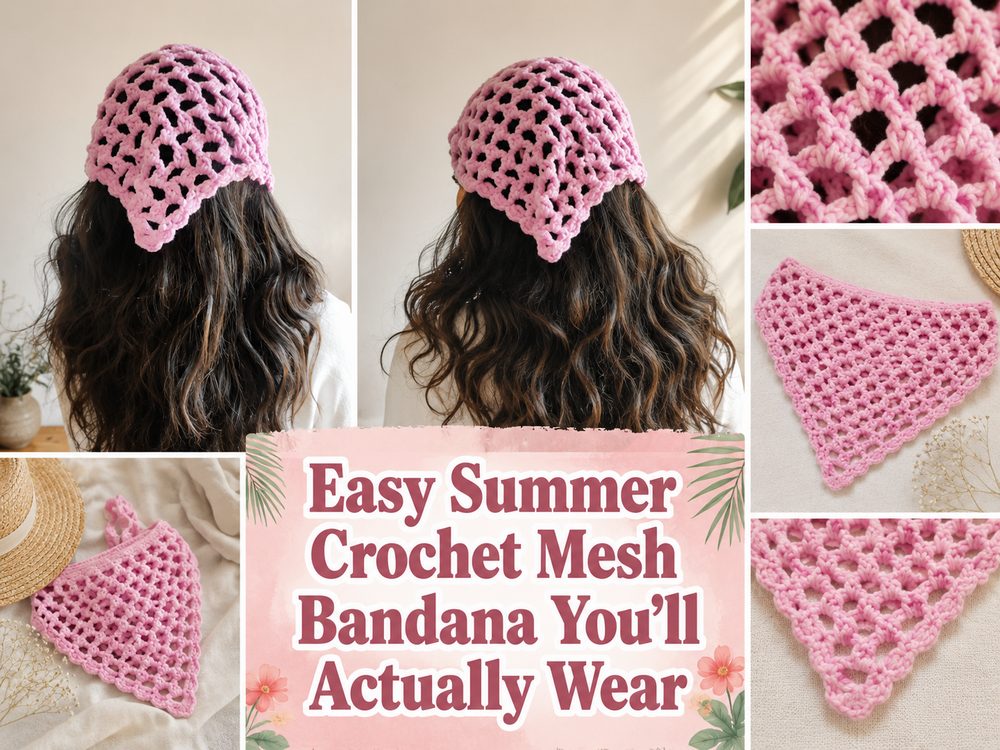
Step 1: Build a Foundation
This project starts with a simple starting point that makes the top of the bandana and allows the triangle to grow a little at a time. Usually a mesh bandana like this will be very small to start with so don’t get alarmed if it looks small. The shape becomes much more obvious after the first few repetitions. Take your time setting up as a neat start helps the bandana sit nicely once worn.
Step 2: Draw the triangle
The main body is worked as a triangle, gradually increasing so that the piece spreads outwards in a balanced way. As you go on you start to see the open mesh texture and it gives the bandana its light summer feel. It is what makes the piece so easy to wear in warm weather. It’s light and airy and not at all dense or heavy.
Keep an eye on the center so it stays even. If your pattern repeat has a middle point, it helps to put a stitch marker there. That way both sides grow evenly and the finished scarf looks neat and symmetrical.
Step 3: Get the Look with the Mesh Pattern
The beauty of this project is the open stitch pattern. The mesh makes the bandana breathable and gives it that casual, easygoing style that works so well in summer. It also means the project moves along quickly because you don’t pack every inch with dense stitches.
As the rows build, you’ll see the triangle get wide enough to sit over the top of the head with the bottom point falling gently toward the back. That shape is what gives it the classic bandanna look. Or for a more delicate accessory, keep the triangle a little smaller. If you want more coverage keep going until it’s the size you like.”
Step 4: Check the Fit As You Proceed
This is one of those projects where trying it on during the process really helps out. Hold to your head, or loosely pin at the sides where the ties will go and see how the triangle hangs. You want enough width so that you feel secure but not so much depth that you feel weighed down.
For a lighter summer accessory, it’s usually best to stop when the piece feels light and easy. It’s part of the charm of this project because it’s made for warm weather a breathable fit. You want it to be comfortable not too hot.
Step 5: Add the Ties
When the triangle section is the right size, the ties are added so the bandana can be tied behind the head. Long ties are good in that they allow more freedom of styling. You can tie them under the hair, over the hair or even tie them into a small bow for a sweeter look.
Make both ties the same length so the finished piece feels balanced. If you know you like wrapping ties further around the head, add extra length now and not wishing later that they were longer.
Step 6: Fill the Edges
A simple finishing edge on the bandana gives a clean, polished look. It doesn’t have to be difficult. Even a nice pass around the edges can make the whole project look more put together. Don’t worry if the edges curl a bit. That settles down often when the piece is done and carefully worked.”
Be sure to carefully weave in the ends, especially around the ties, because those areas take the most pull during wear. After that, spread the bandana out flat and shape it. A light block can open the mesh more evenly and make the triangle look crisp.
Step 7: The Final Look
The finished bandana should be soft and airy and easy to wear. It has a relaxed handmade look which is perfect for summer outfits, market days, travel or just keeping your hair back in a pretty way. The chosen tutorial describes this style as lightweight, simple and breathable for summer wear.
Useful Tips:
Use cotton yarn for the bandana to feel cooler and to hold its shape well.
Make sure the fit is correct before you make the ties too long or too short.
Keep your tension loose so the mesh stays open and airy.
Insert a stitch marker in the center for cleaner shaping.
Lightly block finished piece for cleaner finish.
When you get the size you like make a second in another colour.
Mistakes to Avoid:
Tightening the stitches too much and closing up the mesh, making the bandana feel stiff
Forgetting to check size before finishing
Allowing one side to get ahead of the other
Neckties too short to be worn comfortably
Using too thick a yarn for a light summer result
Leaving out the finishing step results in uneven edges
Customisation Ideas:
This little project is easily customisable. You can go for a plain neutral colour for everyday wear, or a bright summer colour for something a little more playful. Add a simple edging to make it look prettier or keep it very minimal for a clean modern look or make the triangle longer if you want more coverage. You might even use a variegated yarn in a soft colour for a beachy, handmade feel.
Ideas for Style:
Combine it with a loose ponytail, a messy bun or down for a laid back summer look. It also looks adorable with casual dresses, tank tops, denim or simple linen outfits. It is such a small project it also makes a cute handmade gift for friends, teens, or anyone who likes practical accessories with a little bit of charm.
Care Instructions:
If possible, gently hand wash in cool water, especially if you use cotton or a soft plant-based blend. Lay it flat to dry to keep the shape nice. Don’t use high heat, and don’t wring it too tightly, as this can stretch the mesh unevenly.
Time required:
depending on your speed, yarn, size and stitch pattern this can be a few hours.
Conclusion:
This is such a fun little summer crochet project when you want something stylish without committing to a large make. The mesh bandana is light, wearable, and easy to adjust to your own taste. You can play with color, size, and yarn choice to make it feel completely personal, and once you finish one, it is easy to imagine making more.
FAQs:
Is this beginner-friendly?
Yes, it is a good beginner project because the shape is simple and the piece is small.
What yarn is best for this project?
Lightweight cotton or a soft bamboo blend works especially well for a breathable summer finish.
Can I adjust the size?
Yes. Just continue the main section until the triangle gives you the coverage you want.
Can I make it for hot weather?
Yes. This style works especially well for summer because the mesh keeps it lighter and more breathable.
How do I make it more comfortable?
Choose a soft yarn, keep the tension relaxed, and make sure the ties are long enough to secure it without pulling too tightly.