
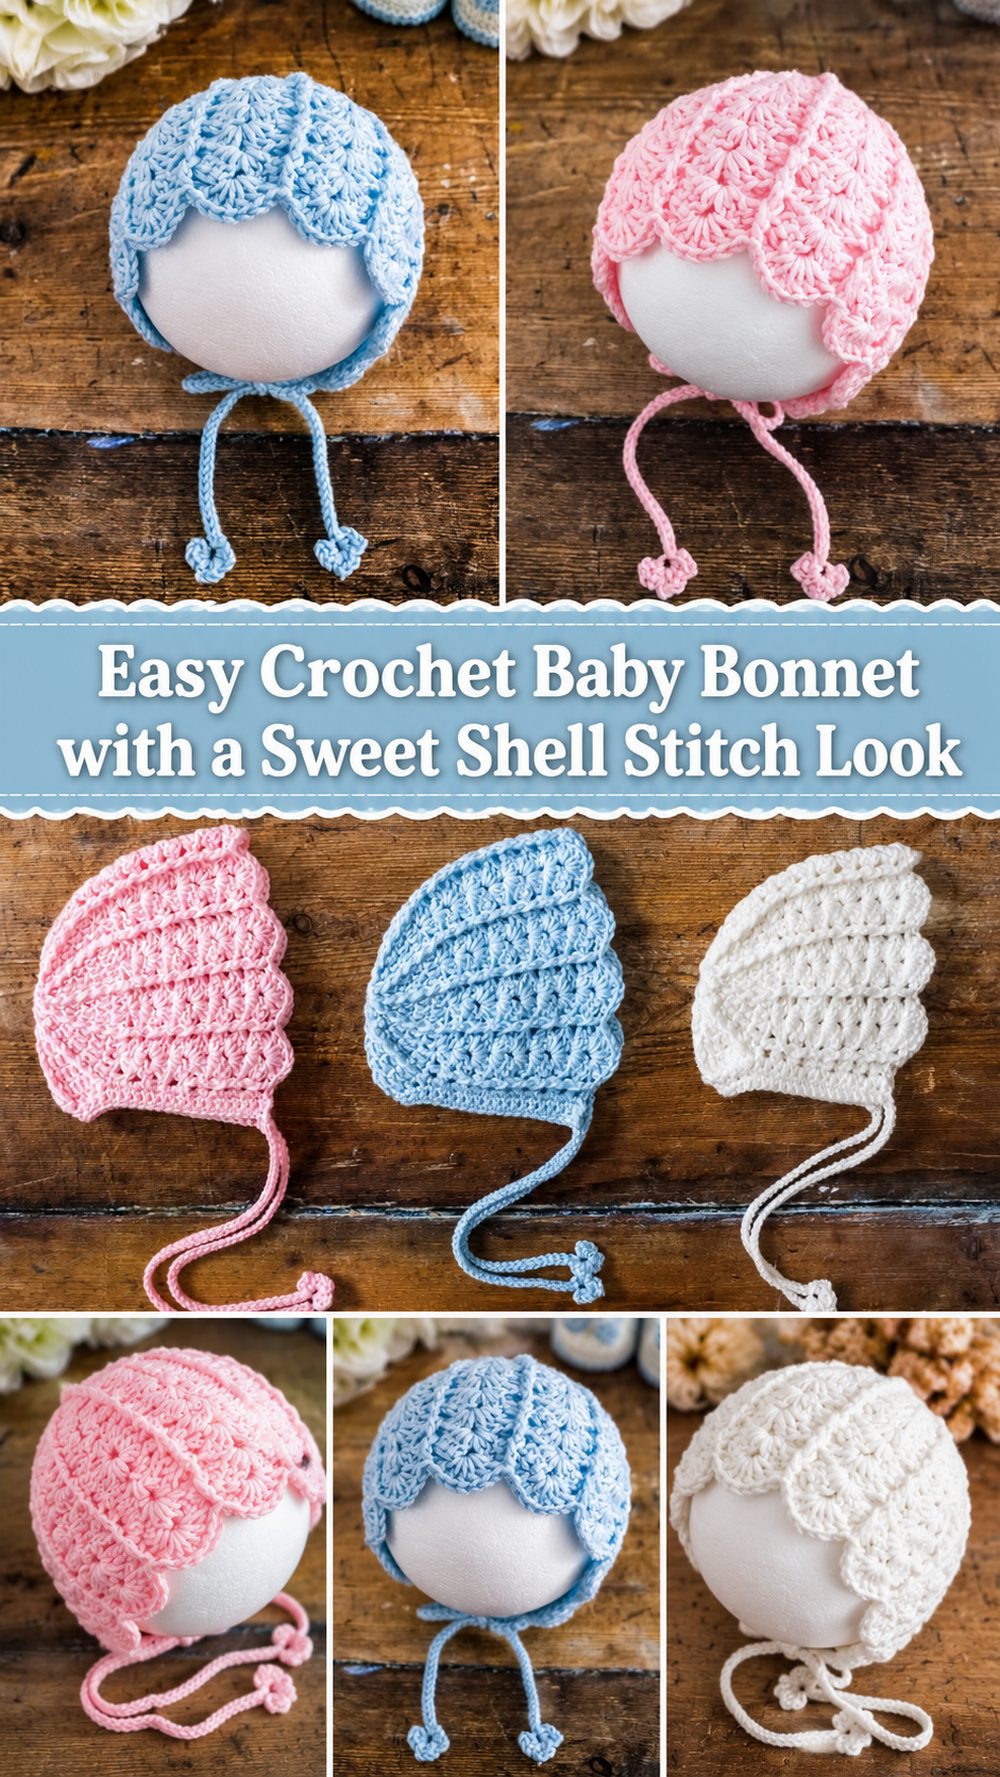
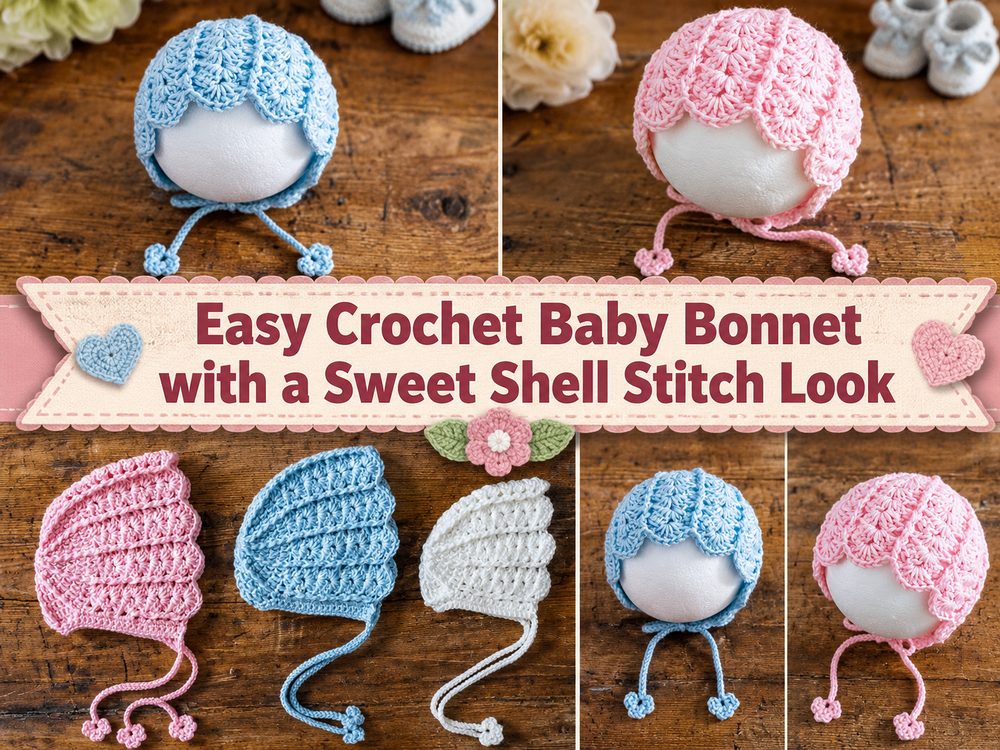
A crochet baby bonnet is one of those projects that always feels so extra special. It’s soft, functional, and full of old-world style but depending on the yarn and colour you choose it can still look fresh and modern. I picked out a tutorial for an easy baby bonnet using a shell stitch design. It’s a step-by-step project and works well for beginners wanting something pretty without the process feeling overwhelming. The bonnet is finished with that lovely handmade feel, making it perfect for gifts, baby photos or simply everyday wear in cooler weather. It’s also a satisfying project when you want to make something small, useful, and really cute.
You’ll love this project because…
This bonnet is such a lovely mix of simple and beautiful. The shape is classic, the shell stitch adds a little texture but is not too fussy and the whole piece has that thoughtful handmade look that makes baby crochet so rewarding. Another good choice for practicing shaping is the tutorial, because it’s step by step and beginner friendly and you’re not thrown in to anything too complicated.
Required Materials
Babywear yarn
Crochet hook
scissors.
Yarn needle
Progress markers
Measuring tape.
Pick a yarn and hook size that will produce the fit and texture you desire.
Best Yarn for this Pattern:
Best here is a soft baby friendly yarn. If you want the bonnet to feel light and breathable choose cotton or a soft cotton blend. If you want it warmer and cosier, a smooth acrylic or soft baby blend is a great choice. Shell stitches already add texture, so a yarn with good stitch definition will really help the pattern pop nicely.
Level of Skill:
Beginner friendly to easy. It’s a step-by-step project for beginners so it is a good choice for you if you know your basic stitches and want to try a shaped baby accessory next.
Size & Fit Guide:
The easiest way to get a good fit for a baby bonnet is to measure around the baby’s head and also see how deep you want the bonnet to be. Hold the piece up frequently as you work and compare width and depth before joining or adding ties. You can make it smaller or bigger by increasing or decreasing the early shaping rounds or rows, and by working the body until it is the size you want to cover the head the way you want.
Stitches Used:
Chain
Slip stitch (sl st)
Single crochet
dc (double crochet)
Shell stich
The shell stitch is the star of the chosen tutorial, giving a soft decorative texture to the bonnet.
How to do it
Step 1: Begin the Foundation
Start at the top or crown section of the bonnet and work neatly so that the shape builds up evenly. This first part is important in a baby bonnet as it sets the fit over the top of the head. Don’t pull on the yarn too tight, particularly if you want the shell texture to open up nicely later, and keep your stitches even.
Step 2: Construct the Main Form
Once the top section is done, keep growing the bonnet until it’s wide enough to sit comfortably around the baby’s head. This is the stage where you can normally really begin to see the shape come into form. The shell stitch pattern gives it a sweet, slightly vintage look but also keeps the fabric soft and flexible instead of stiff. If your edges are starting to pull in a bit too much, ease up on your tension a little.
Step 3: Create the Bonnet Body
From there, keeping the main width, keep working the body until the piece starts to curve around the head. This is where a bonnet goes from looking like a flat circle or panel to something that can be worn. “Stop here and test the depth. You want enough fabric to comfortably cover the back of your head, but not so much that you make the front opening too small. Baby things always look best with gentle shaping.
Step 4: Cut the Face Opening
As the bonnet evolves, the front opening becomes one of the most important features. It should softly frame your face, not feel tight. If you have a shell stitch pattern flowing across the front of the tutorial, watch your stitch placement so that the edge looks neat and balanced. Even a simple stitch pattern on the bonnet will look polished with a clean front edge.
Step 5: Put on the Edging
When the shape of the bonnet is complete work an edging round the opening or lower edge to tidy everything up. This helps to smooth the shape, makes the piece look finished and can make the bonnet feel more secure when worn. If the main body already has a textured stitch pattern (such as shells), a plain edge often works best. This keeps the design looking pretty and not so busy.
Step 6: Making the Links
Baby bonnets typically have ties to hold them in place. Add them evenly on the two sides of the frontal edge. You can keep them simple with chain ties, or make them a little sturdier for extra durability. Tie off . Make sure both sides are the same length . This little detail can make a huge difference to the finished look.
Step 7: See if it fits
Tuck the ends in, and gently fold the bonnet and check the shape. The back should be rounded, the front comfortable around the face, and the ties should hang evenly. If it looks too shallow, add a little length before you finish. If the opening looks too wide, a stronger edging can help pull it in a little.
Step 8. Clean up
Carefully weave in all ends, especially around the ties and edges where little hands may pull. If your stitches need a little help settling into place, light blocking can improve the shape. The finished bonnet should feel soft and sweet and be well-structured, with the shell stitch providing a decorative texture that still feels wearable and practical.
Helpful Hints
Use a soft yarn that is gentle on baby skin.
Keep your tension even so that the shell pattern looks smooth.
Make sure it fits before you finish the edge.
Now make the two ties the same length.
Use stitch markers if you tend to lose the beginning of a round or row.
Blocking the light will help the bonnet sit better.
Things to avoid
A starting section that is too small can throw the whole fit off
Crochet too tightly, the shell stitch will lose its form
When you don’t check the depth before finishing
Uneven edges Face opening
Ties tied at slightly different spots
Working with Scratchy Yarn for a Baby Item
Customisation Options
A couple of changes and you can make this bonnet feel entirely your own. Go for a solid colour for a classic heirloom look or a soft variegated yarn for a playful finish. Add a small bow, a tiny flower, or a simple contrasting trim for detail. You can also try making the ties longer and the depth shorter for a tighter fit, or even a lighter yarn if you want a more breathable bonnet for warmer weather.
Style Suggestions
This bonnet would be perfect to go with a simple baby cardigan, tiny dress, or cosy swaddle for gift photos. It also makes a cute baby shower gift, especially when paired with matching booties or a small blanket. Soft neutrals make it look classic for everyday, and blush, sage, cream or dusty blue make it feel extra charming.
Care Instructions
To keep the shape and texture nice, hand washing is the safest choice for a crochet baby bonnet. Wash in cool or lukewarm water using a mild detergent. Press out excess water, but do not twist. Lay flat to dry away from any high heat which can affect the yarn and shape.
Time Required
This may take a few hours, depending on your speed, yarn, size and stitch pattern.
Conclusion
A crochet baby bonnet is one of those projects that feels meaningful from the very first stitch. This shell stitch version is especially sweet because it combines a classic shape with soft texture and a handmade look that never goes out of style. It is a lovely project to make for your own little one or as a thoughtful gift, and you can easily adjust the yarn, color, and fit to suit your style. If you enjoy small wearable crochet pieces, this one is definitely worth trying.
FAQs
1. Is this baby bonnet beginner-friendly?
Yes. The selected tutorial presents it as a step-by-step project that suits beginners.
2. What yarn works best for a baby bonnet?
A soft baby-friendly yarn with good stitch definition is a great choice. Cotton blends or smooth baby acrylics both work well.
3. Can I adjust the size?
Yes. You can adjust the bonnet by checking the fit as you work and adding or reducing shaping and depth as needed.
4. What makes this bonnet look so pretty?
The shell stitch texture gives it a soft, decorative finish while still keeping the bonnet practical and wearable.
5. Can I make this as a gift?
Absolutely. A baby bonnet is a lovely handmade gift for baby showers, newborn photos, or everyday use.