
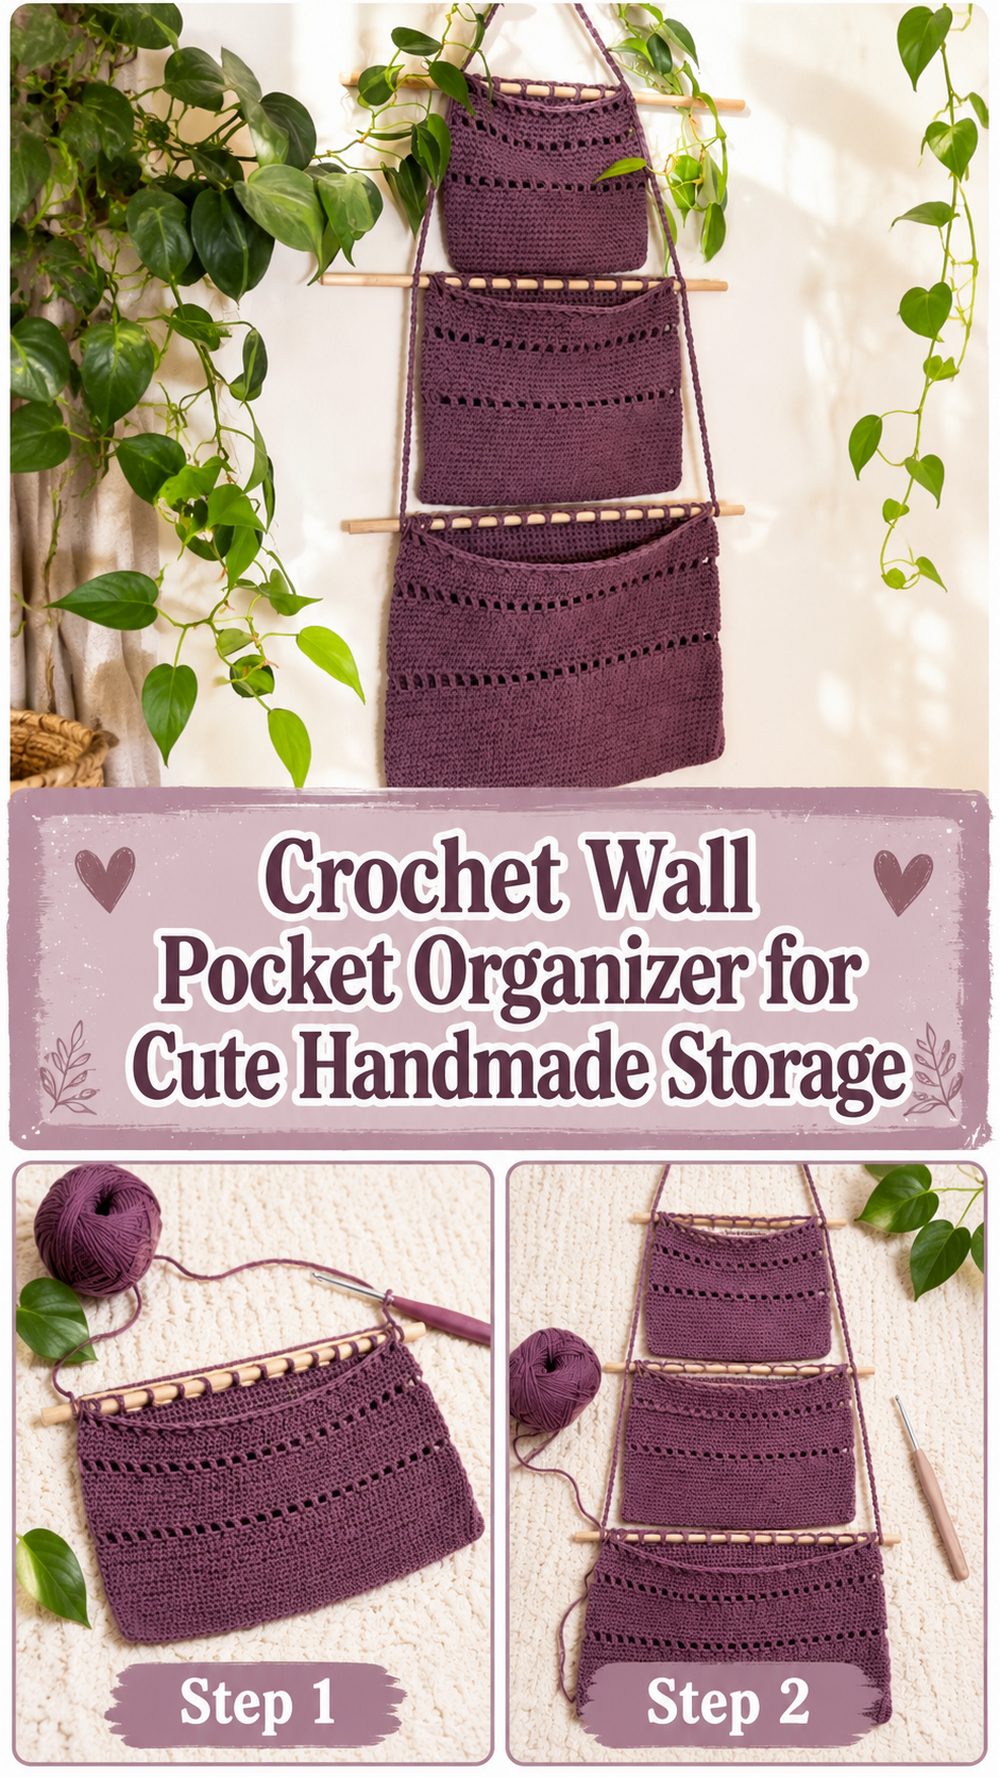
A crocheted wall pocket is a beautiful way to add a little soft storage to your home. It’s great for storing small items such as craft tools, baby stuff, mail, accessories, or little things that you use every day that you want to have close by.
WHY YOU WILL LOVE THIS PROJECT
This project is useful, neat and decorative all at the same time. The pockets are easy to make and the finished organizer can be hung in a nursery, craft room, entryway or bedroom.
MATERIALS REQUIRED
- Thick yarn or cotton yarn
- Crochet hook that matches your yarn
- Dowel rods, wooden
- Stitch markers
- Scissors
- Yarn needle
Select hook and yarn sizes for the fit and feel you want.
BEST YARNS FOR THIS PROJECT
Cotton yarn is a good choice, because it adds structure to the pockets and allows them to hold their shape. A firm acrylic or cotton blend can work too as long as it doesn’t stretch too much.
EXPERIENCE LEVEL
Easy, good for confident beginners.
SIZE & FIT GUIDE
You can adjust the size of your pockets by changing the starting chain and working until the pocket depth feels right. Make all pockets the same size for a clean look, or make them different sizes for more storage.
USED STITCHES
- Chain
- Foundational chain
- Single crochet (sc)
- Slip stitch (sl st)
- Double crochet (dc)
HOW TO PREPARE IT

Begin the Pocket
Work a foundation chain and single crochet all around to make the base for the pocket. Work in rounds, using stitch markers to leave the first stitch clear.
Construct the Pocket Shape
Keep working around the base to build the pocket up. Keep your tension consistent so the pocket stays smooth and does not twist.
Texture and Open Space
Work the top section in double crochet and chain spaces. This makes the pocket look lighter and easier to attach to the dowel.
Attach Wood Dowel
Slide or lock the dowel through the top of each pocket. The dowel helps keep the pocket nice and hung against the wall and holds the shape.
Put All the Pockets Together
Connect the pockets vertically by making chains between the dowels. Square off both sides so the organizer hangs evenly.
Start the Hanger
Make a hanging loop or chain at the top. Tighten everything up and weave in the ends.
TIPS TO HELP
- Place a stitch marker at the start of each round.
- Check to make sure that each pocket is the same width before joining them together.
- If you are using softer yarn do not stuff pockets with heavy objects.
PITFALLS TO AVOID
- Using a yarn that is too stretchy
- Forgetting to mark the first stitch
- Asymmetrizing side chains
- Dowel pins are loosely attached
- Stuffing pockets with items that are too heavy
IDEAS FOR CUSTOMIZATION
Choose one solid color for a clean modern look, or make each pocket a different color. Add tassels, labels, buttons, bows or even just a simple border to add details.
STYLE RECOMMENDATIONS
Sits next to a desk for crochet tools, a changing table for baby supplies, on a door for mail, or in a bedroom for small accessories. It makes a great housewarming gift, too. Handmade.
INSTRUCTIONS FOR CARE
Spot clean when you can. Wash if needed with cool water and treat gently. Reshape pockets and lay them flat to dry before rehanging.
TIME REQUIRED
This may take a few hours depending on how fast you work, the yarn, size and stitch pattern.
FINAL THOUGHTS
A crochet wall pocket organizer is a pretty mix of handmade decor and everyday storage. It is simple, practical and easy to customize for any room.
Q & A
Is this wall pocket a beginner project?
Yes, certainly, confident beginners can do it with basic stitches and careful counting.
Is it possible to make just one pocket?
Yes, you can make a single wall pocket, not a multi-pocket organizer.
What can I put in it?
Great for light weight items such as yarn tools, mail, small toys, accessories or nursery supplies.
Will I need wooden pegs?
The pockets hang evenly and with the help of dowels hold their shape.
Can we make the pockets larger?
Yes, change the starting chain and keep going until the pocket is the size you want.