
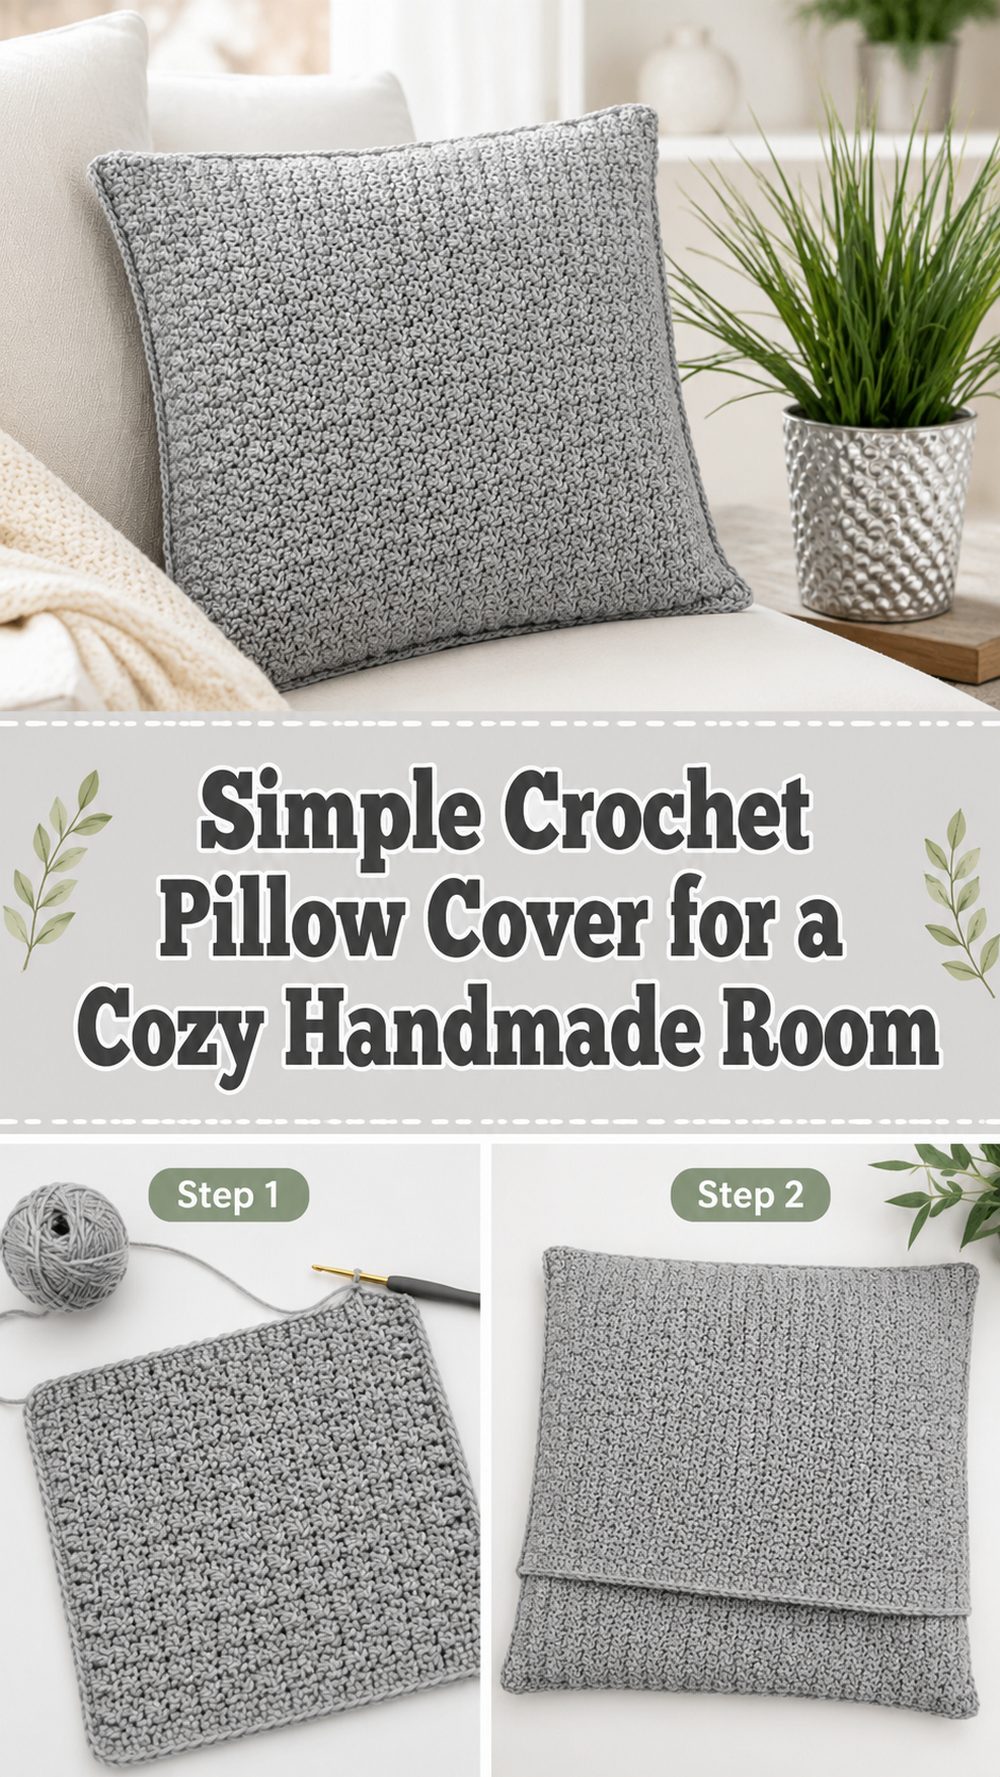
Crochet Pillow Cover Handmade pillow cover will make your space softer and warmer. This project is a great way to repurpose an old cushion, add some texture to your sofa, or create a thoughtful home decor gift.
WHY YOU’LL LOVE THIS PROJECT
This pillow cover is easy to personalize, pretty and functional. You can make it in a soft neutral tone for a contemporary look, or go for bright colours for a cheerful handmade feel.
SUPPLIES REQUIRED
- Wool
- Crochet hook to use with your yarn
- Pillow inserts
- Snippers
- Yarn needle
- Stitch markers if you need to
Select a yarn and hook size that will achieve the desired fit and drape.
THE BEST YARNS FOR THIS PROJECT
The best pillow cover materials are soft acrylic, cotton or a cotton blend yarn. Select a yarn that is comfortable, will hold its shape and wear well.
LEVEL OF SKILL
Simple for beginners.
SIZE & FIT GUIDE
Use your pillow insert as a template. Crochet until the panel fits comfortably across the pillow, then continue until the cover can wrap around or match the insert size. Change the length and width to fit your own cushion.
STITCHES USED
- Chain
- Single crochet
- Double crochet (dc)
- Slip stitch
HOW TO PREPARE IT
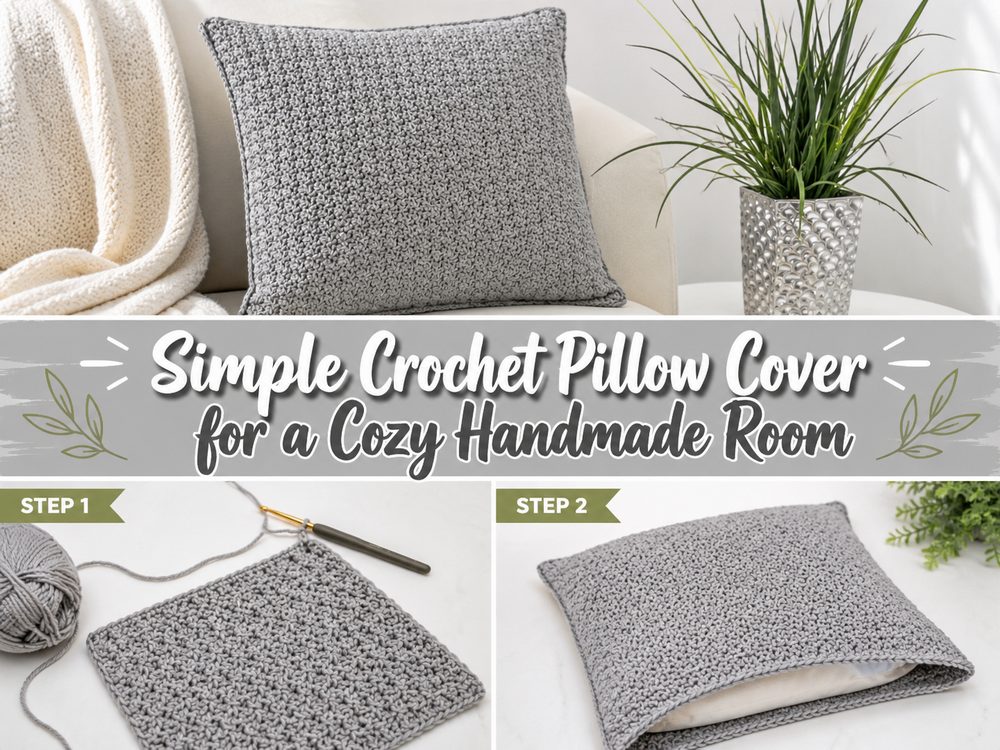
Begin the Foundation
Start with a foundation chain that is the width of your pillow insert. Keep the chain loose so the edge doesn’t pull too tight.
Main Panel Work
Crochet back and forth in rows to make a rectangular or square panel. Work carefully into the first and last stitch of each row to keep the edges straight.
Try It On
As you go, place the crocheted piece against your pillow insert. Keep sewing until the fabric is large enough to cover the pillow neatly.
Create Cover Shape
Fold or line up the crocheted part around the pillow form. The cover needs to fit snugly, but not so tight that the stitches pull open.
Edge Join
Join the halves with crochet stitches or join with a yarn needle. Leave an opening if you want to remove the pillow insert later or close it all the way for a permanent cover.
Neatly Finish
Fasten off and weave in all yarn ends. Use your fingers to shape the corners so the pillow sits nicely inside.
USEFUL TIPS
- Check fit frequently with your pillow insert.
- Keep even tension so that the two sides look balanced.
- If you are joining the edges with crochet, use stitch markers on the corners.
COMMON ERRORS TO AVOID
- Cover too tight for the insert
- Forgetting to check size while working
- Omitting edge stitches
- Unevenly attaching the sides
- Leaving ends open within the cover
IDEAS FOR CUSTOMIZATION
Play with stripes, color blocks, buttons, tassels, fringe or a contrasting border. If you want to wash the cover separately, you can also make a removable envelope style opening.
STYLE SUGGESTIONS
Display your crochet pillow cover on a sofa, bed, reading chair, nursery chair or cozy window seat. It makes a sweet homemade housewarming gift too.
CARE INSTRUCTIONS
If your yarn allows, wash gently in cool water. Shape the cover while it is still damp and leave it to dry flat. If your cover has an opening, remove the pillow insert first.
TIME REQUIRED
Depending on your speed, yarn, size and stitch pattern this may take a few hours.
CONCLUSIONS
A crochet pillow cover is a quick project that adds instant homemade charm to your home. It’s a simple shape to get the hang of and then you can make loads more in different colours and textures.
FAQ’s
Can a beginner crochet a pillow cover?
This is a good project for beginners who know basic stitches. Yes.
Do you need a pillow insert?
A pillow insert is helpful yes when you’re crocheting to check the size and shape.
Can I make the cover removable?
Yes, do an opening or a back like an envelope.
What yarn should I use for a pillow cover?
Use a soft but sturdy yarn that keeps its shape well.
Can I make it bigger?
Yes, adjust the foundation chain and the number of rows to fit your pillow.