
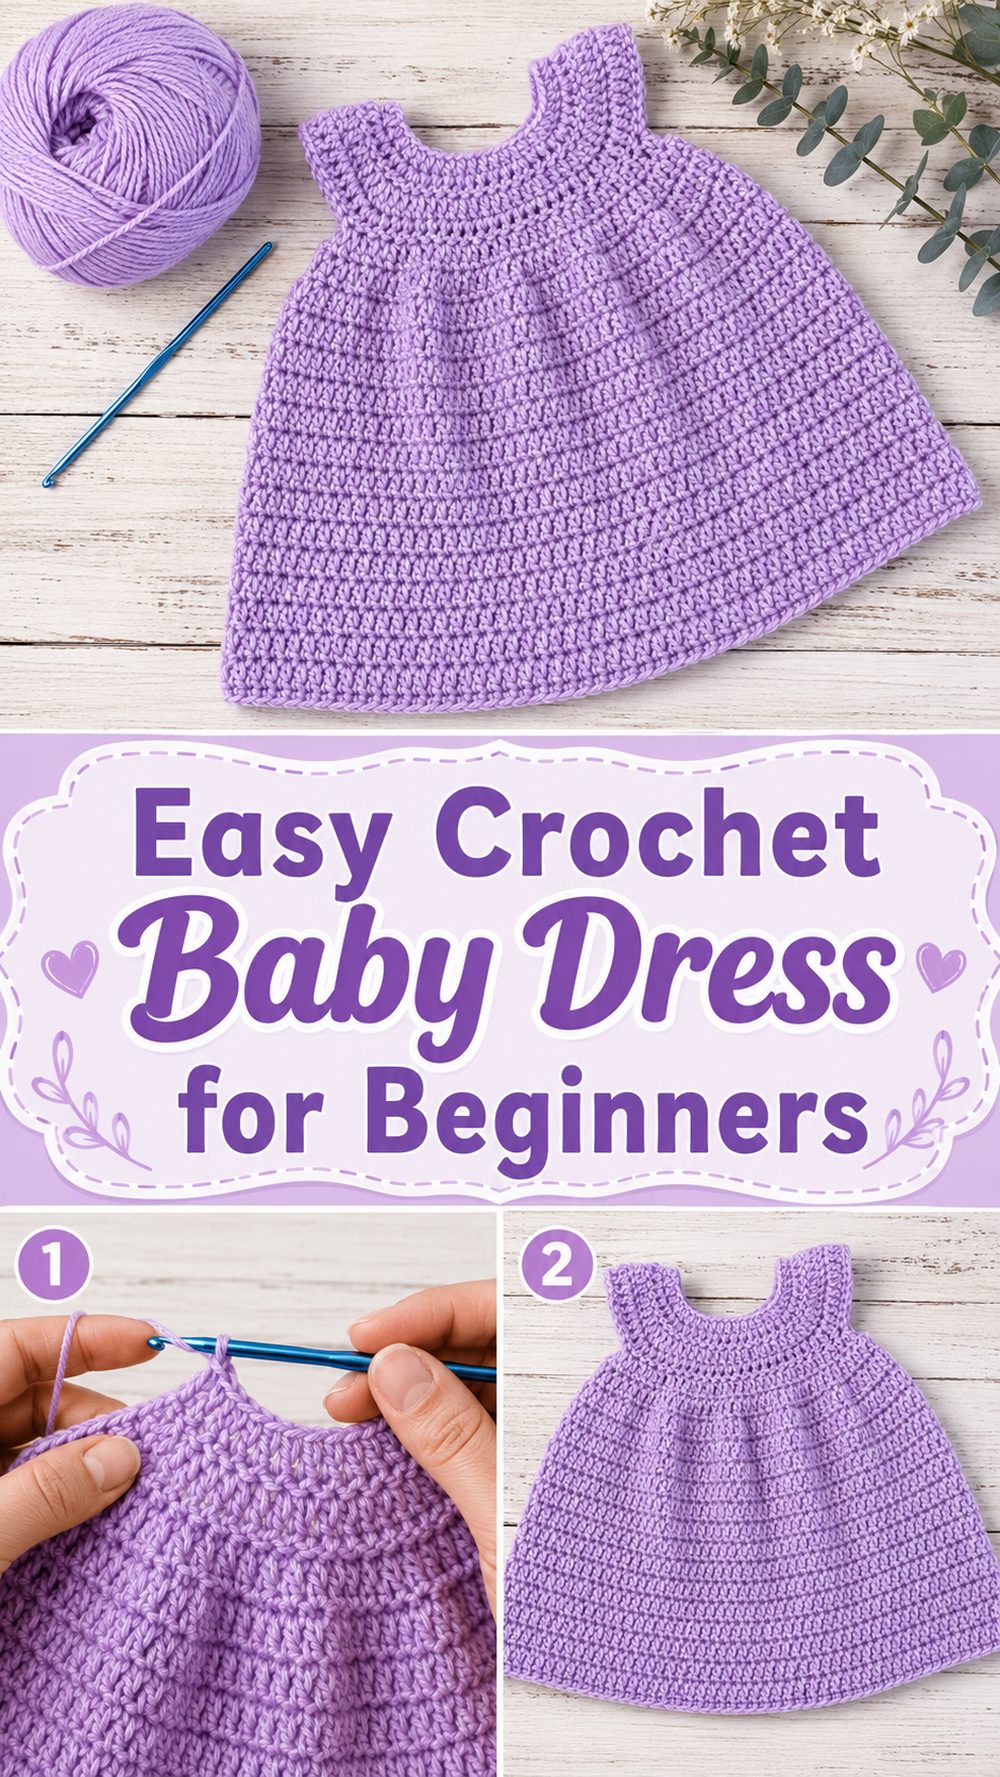
AA crochet baby dress is one of those sweet handmade projects that feels special from the first stitch. Soft, pretty, practical and adorable for baby showers, birthdays, photos or for everyday dress-up. This style is simple enough for newer crocheters as it utilises simple stitches and a clean dress shape, but the end result looks lovely and thoughtful. The dress begins at the top and turns into a comfortable little outfit with a neat yoke, arm openings and a gently widening skirt. Keep it simple for a classic look or make it fun with colour changes, edging, bows or buttons. This is a beautiful project for anyone who likes to make baby clothes and wants something cute but not a complicated pattern.
Why You’ll Love This Project:
This baby dress is easy to work, simple and sweet and easy to adjust as you go. The pattern is worked mostly in basic crochet stitches, so it’s a lovely project for a confident beginner wanting to try a wearable. And it gives you a lot of room for soft colours and a pretty border and making the dress feel like yours.
What you’ll need:
Baby yarn or lighter weight yarn.
Crochet hook that will work with your yarn
Scissors
Yarn needle
Progress markers
Tape measure
Buttons (if you want a back closure or a decoration)
Pick a yarn and hook size to achieve the fit and texture you want.
Best Yarn for This Project:
If you’re making a baby dress, be sure to pick yarn that is soft to the skin. This is a soft acrylic baby yarn that washes easily and is great for everyday wear. If you’re looking for a lighter dress for warmer weather, cotton or a cotton blend is also a lovely option. Baby clothes should be smooth, flexible and comfortable, so avoid rough or scratchy yarns if you can.
A light weight yarn will give the dress a softer drape, a slightly heavier baby yarn will make it warmer and fuller. The most important thing is to select a yarn that is washable, soft and not too heavy for the baby.
Difficulty Level:
This project is beginner to easy, especially if you already know how to do chains, single crochet and double crochet. The shape is simple and the dress is made so that you can check the size as you go.
That’s a nice step up from blankets, scarves or basic baby hats.
Size & Fit Guide:
Because babies can range in size, it’s best to go by measurements instead of age. Measure around the baby’s chest, measure the width of the shoulders and decide how long you want the dress to be. Try the yoke on a baby dress that fits well as you crochet, or measure across the chest area to see that it is not too tight.
You can increase the width of the dress by working more repeats before joining the body and you can increase the length of the skirt by continuing the lower section to your desired length.
Stitches Employed:
Chain
Slip stitch (sl st)
Single crochet
Double crochet
Basic increases.
Easy Edging
How To Prepare It:
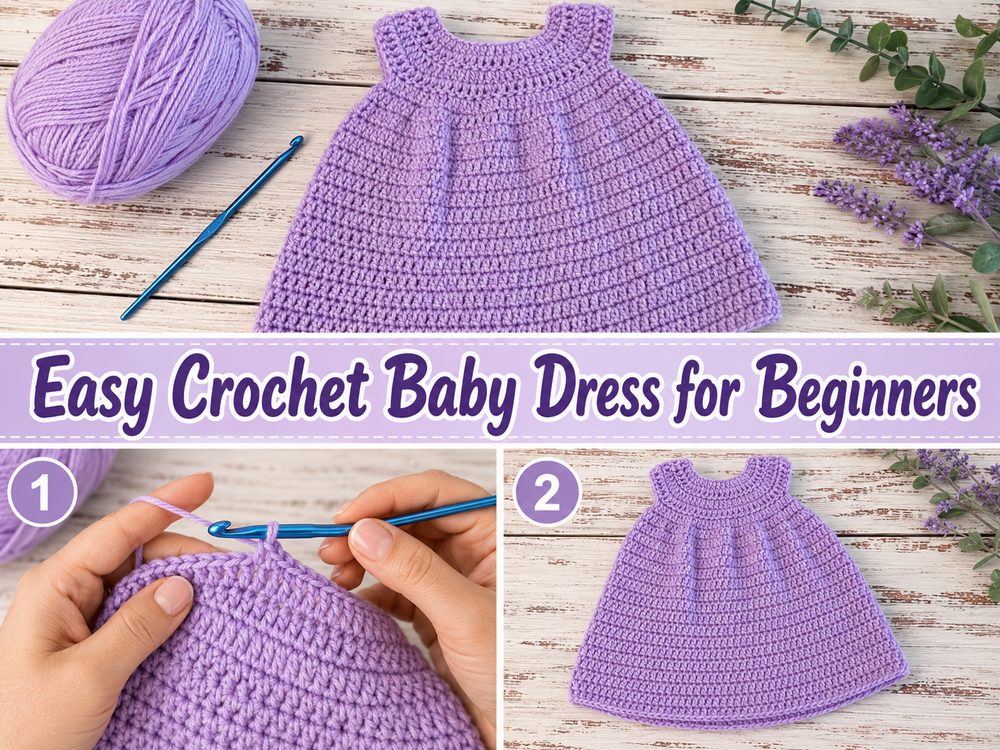
Step 1: Lay the Foundation
The dress starts at the top, at the neckline. Begin with a foundation chain long enough to sit comfortably around the baby’s neck and upper chest. The neckline should be loose. Baby dresses need a soft opening (especially if the dress is going to slip over the head).
When the foundation is made, work the first row into the chain to start the yoke. The tutorial style is very basic and uses basic stitches, mostly double crochet with some single crochet sections. This makes the fabric easy to follow and the dress has a nice handmade look.
Keep your stitches even as you work across the first rows. You want a loose but neat tension, not tight stitches. Baby garments need comfort and movement.
Step 2: Construct the Yoke
The yoke is the upper part of the dress that fits over the chest shoulders and back. And this is where the dress starts to take shape. Work back and forth in rows, adding increases where necessary so the piece begins to curve and widen naturally.
The yoke should be flat, not curled or pulled on. If it feels too tight or stiff, try relaxing your tension just a little bit. If you have uneven edges, use stitch markers to mark important points so you can keep both sides balanced.
Keep checking the width as you go along. The yoke should be wide enough to go around the baby’s chest with a little extra ease. It should not climb up under the arms.
Step 3: Open the Arm Openings
Once the upper part is large enough, the dress is split to make armholes. This is typically done by omitting the sleeve sections and connecting the front and back sections at the underarm region.
Try before you commit. The armholes should be comfortable, but they should not be so large that the dress hangs in an awkward way. A little extra space can help a growing baby.
Now that I’ve cut the arm holes, it looks more like a real dress. The top half is connected and the next section will work down into the skirt.
Step 4: Construct the Body
Once the armholes are created, work your way around the body of the dress. This section is generally worked in simple double crochet rounds or rows which build up the fabric quickly and keep the dress soft.
The main body should sit comfortably around your chest and tummy. Do not make it too tight. Babies move, sit, crawl and wiggle so a dress needs gentle ease.
Keep the stitches closer together for a warmer dress. If you want a lighter dress, especially for spring or summer weather, use a breathable yarn and don’t knit too tightly.
Step 5: Give the Skirt Some Shape
The skirt adds volume and prettiness to the dress. Continue to crochet down, making gentle increases when needed so the skirt widens from the bodice. How full is too full? That depends on your yarn, your hook, and your style.
A soft A-line shape is perfect for a simple baby dress. It allows baby to move and gives a sweet classic look. You don’t need to shape dramatically unless you want a very flared dress.
Keep sewing until the dress is the length desired. A shorter length is nice for every day wear and a longer skirt can look lovely for photos or special occasions.
Step 6: Test the Length and Fit
Before hemming the bottom of the dress check the length. If you are making it for a particular baby, compare it to a dress that already fits. If you are making it as a gift, select a comfortable length and remember that babies grow quickly.
If you want the skirt longer you can add rows. Make it shorter and lighter, and stop when the dress has a nice balanced shape.
Also double check the chest area. If you find the top a little tight, it’s best to adjust it before finishing, instead of ending up with a dress that doesn’t fit comfortably.
Step 7: Complete the Edges
When the bodice and skirt are done, finish the neckline, armholes and bottom edge. Single crochet in a round is a simple way to make the edges look neat and tidy. Or you can add a little decorative border for a sweeter finish.
For the edging, keep the bottom hem soft and not too bulky. A baby’s dress should hang nicely, so don’t use anything too heavy unless your yarn is very light.
Use a yarn needle to weave in all yarn ends. And make sure there are no loose ends to be pulled by baby fingers.
Step 8: Add buttons or fasteners
If the dress is open at the back, add small buttons or other secure closure. You have to sew the buttons on very securely. Safety is priority with baby items, so check on them often and avoid anything that can be easily dislodged.
If you don’t want to use buttons, you can make a tie closure with soft yarn, but make it short and safe.
Step 9: The last look
The finished dress should be soft, simple and comfortable to wear, with a clean neckline, open armholes and a softly shaped skirt. It should be light enough for a baby to wear and not stiff. The design can be dressed up easily with pretty yarn colours but is also beautiful in one solid shade.
Prompt Featured Image:
Baby crochet dress, baby yarn pastel, simple crew neck, sleeveless yoke, soft flare skirt, delicate crochet texture, cosy natural light, sweet handmade baby outfit, clean craft photography style, no text, no watermark.
Helpful Hints:
Mark the stitches as you shape the yoke so both sides will be even. Before you cut the dress out, fit the underarm area, as it is one of the most important areas of the dress. Keep your tension loose so the finished material is soft. If you are making the dress as a gift, go with washable baby yarn in a soft colour. Block the finished dress lightly if you want a neater shape for the skirt or edges.
Mistakes to Avoid:
Neckline too snug
Omitting to check chest measurement
Pulling the yarn too tight when working the yoke
armholes too small
Putting too much weight on the bottom edge
Not fastening buttons tight enough
Customisation Suggestions:
This baby dress is perfect for a classic look with one colour or use two colours for a cute contrast. Add a little bow in the waist, a scalloped edge at the hem or a simple decorative edge around the sleeves. You can also make the skirt longer, shorter, fuller, or more straight depending on the look you are trying to achieve.
For a summer version, try cotton or bamboo blend yarn with loose stitches. For a cosier version, use soft acrylic baby yarn and select warmer colours.
And Style Tips:
This is a great dress for baby pictures, birthdays, family visits or hand made gifts. Pair with a small crocheted headband, soft baby booties or matching cardigan. A plain white one or one in cream, pink, yellow, or lavender would be a lovely baby shower gift.
Directions For Care:
Hand wash gently, or if the yarn label allows, use a delicate wash setting. Lay dress out flat to dry to retain shape. Don’t ring it hard or hang it wet, or it might stretch the skirt.
Time Required:
This may take a few hours depending on your speed, yarn.
Conclusion:
A crochet baby dress is such a sweet project to make, especially when the pattern is simple and easy to adjust. With soft yarn, basic stitches, and careful fitting, you can create a lovely handmade dress that feels comfortable and looks beautiful. Keep the shape simple, check your size as you go, and enjoy adding your own color and finishing touches.
FAQs:
Is this crochet baby dress beginner-friendly?
Yes, it is suitable for beginners who are comfortable with basic crochet stitches.
What yarn is best for a baby dress?
Soft baby acrylic, cotton, or cotton blend yarn works well. Choose something washable and gentle.
Can I adjust the size?
Yes. Measure the chest, check the yoke width, and add or reduce rows as needed.
Can I make this for summer?
Yes. Use lightweight cotton or bamboo blend yarn and keep the fabric soft and breathable.
Can I sell the finished dress?
In most cases, handmade finished items can be sold, but always respect the original tutorial creator’s pattern terms.