
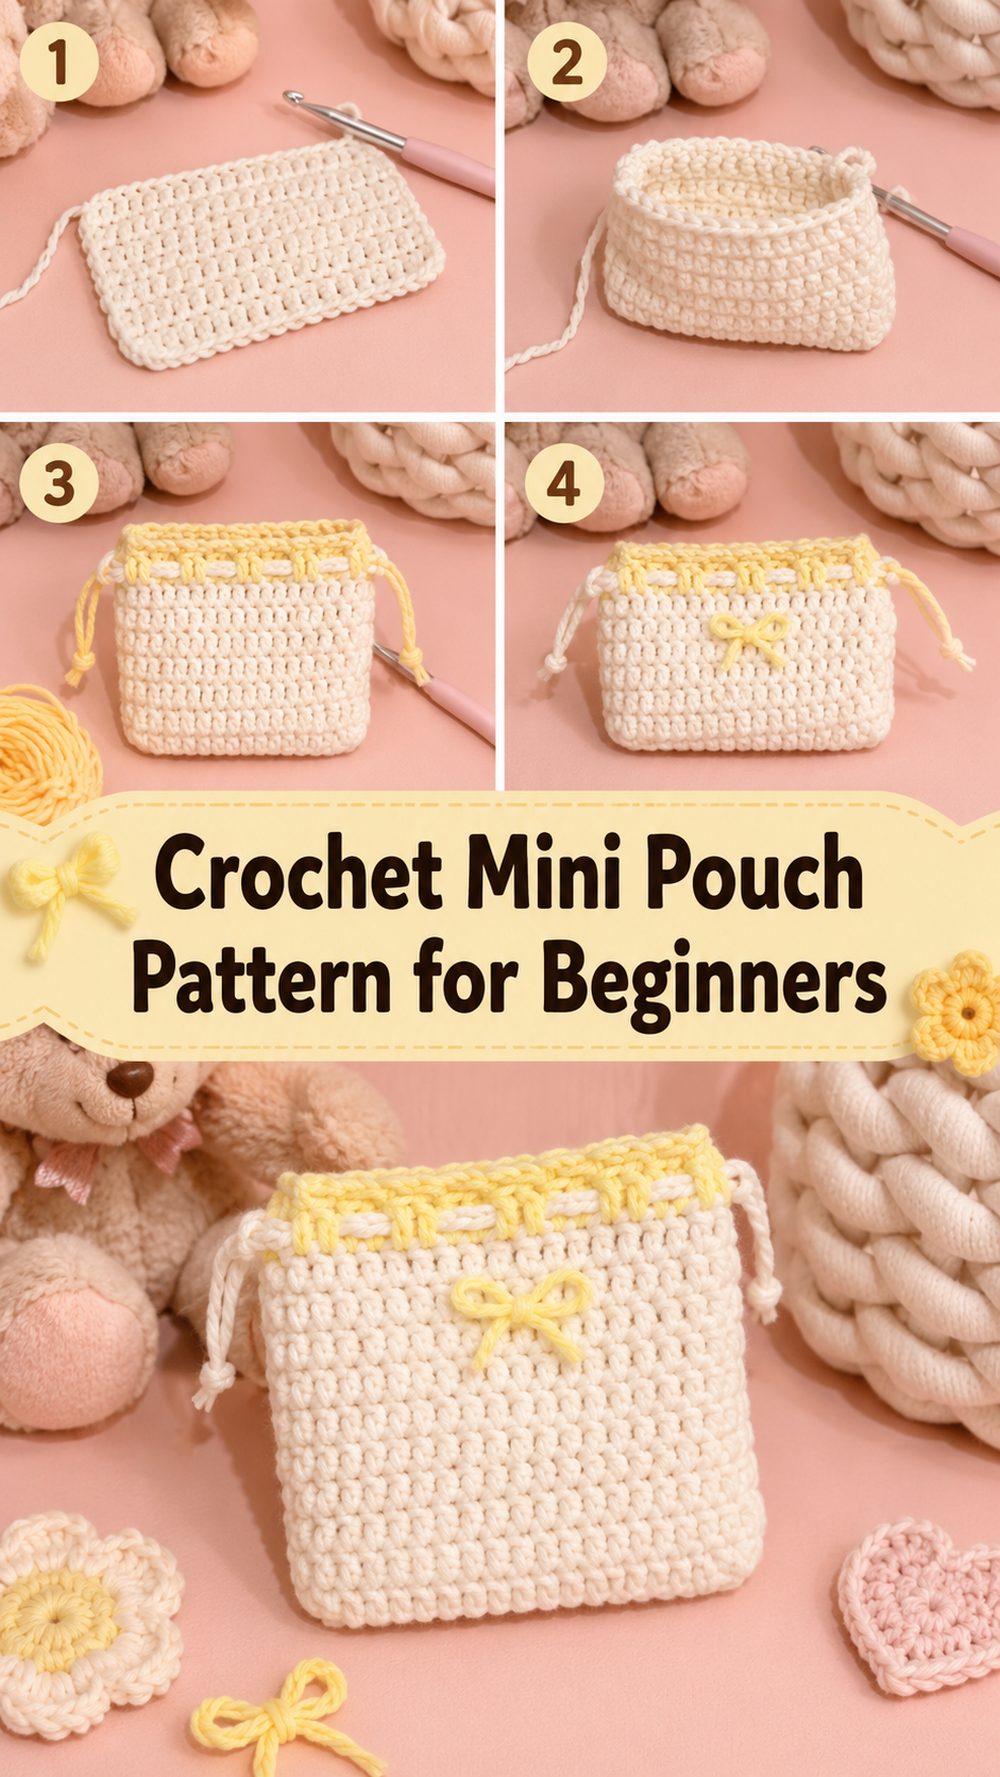
A crochet mini pouch is one of those little projects that feels instantly useful. Small, cute and practical, it works like a charm to hold coins, lip balm, earbuds, rings or other tiny essentials. This kind of project is also perfect if you’re looking for something satisfying that doesn’t feel too large or daunting. The YouTube tutorial I picked uses basic stitches to create a simple drawstring mini pouch that has a soft rounded shape, making it a good choice for beginners or if you want a quick handmade gift. The finished pouch looks neat and light, and since the size can be adjusted, you can make it a little taller, wider, or more compact easily depending on what you want to carry.
Why You’ll Love This Project
This mini pouch is fun to make because it’s quick, useful and easy to personalise. The tutorial is for a simple little bag with a drawstring top, so it is finished and polished without being complicated. It is also a nice stash-buster when you want to use up leftover yarn for something sweet and useful.
Materials Required
Thread.
Crochet needle
scissors.
Yarn needle
Tape measurer
Stitch marker if you enjoy marking your rounds.
Select the yarn and hook size to achieve the desired gauge and texture. The tutorial uses some basic crochet supplies to build a small drawstring pouch.
Best Yarn for This Project:
A smooth yarn with good stitch definition is the best so that the pouch holds its shape and the stitches are still easy to see. Cotton is a great choice if you want a stiffer pouch that holds small things neatly. Alternatively, a soft acrylic would be a lighter, easier crochet option. For a mini pouch like this, if you want the eyelet row and drawstring area to stay neat and easy to thread, avoid very fuzzy yarn. This tutorial is for everyday yarns that will make a neat fabric without too much bulk.
Level of Difficulty:
Easy beginner friendly. This project is simple in construction and uses basic stitches – a comfortable pattern for newer crocheters . It’s especially nice for practicing even tension, working around a foundation chain, and finishing with a simple drawstring opening.
Size & Fit Guide:
The size can be changed by increasing or decreasing the start chain and rounds. While you are working, hold the pouch up against the items you intend to put inside, and consider if you want it slimmer, deeper or a little roomier. The tutorial also recommends to change the size in a simple repeat-friendly way so that the drawstring placement still works nicely.
Stitches Employed:
Chain
DOUBLE CROCHET (US)
Slip stitch
The video also uses spaces for the drawstring section which helps create the opening near the top of the pouch.
How to go about it
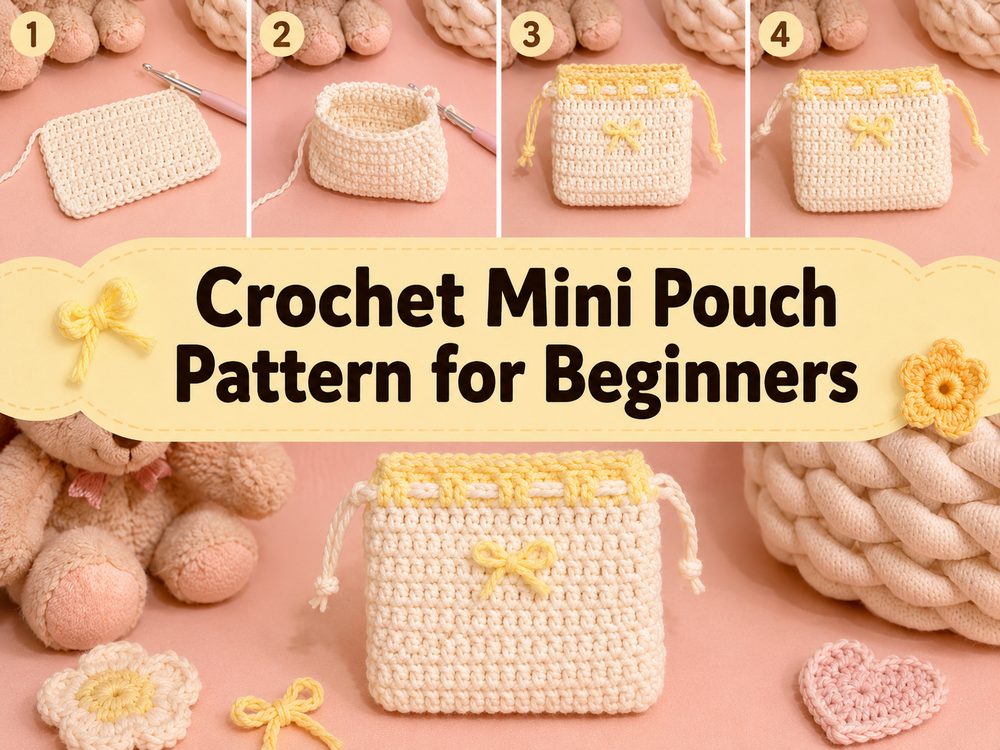
Step 1: Launch the Foundation
The Pouch is begun with a foundation chain. Then the stitches are worked into the chain to build the base and begin shaping the body. This makes the bottom of the pouch soft and curved, not a stiff flat square. That shape is really good for a mini pouch because it helps the finished piece sit well and hold tiny items more naturally.
Step 2. Construct the Base and Lower Body
The tutorial works double crochet stitches across and around after the starting chain to create the first round. Once you have the base, the pouch continues up in rounds with double crochet. This part is easy and repetitive so it’s relaxing to crochet. If you like easy projects that you can work on without constantly checking directions, this section will be extremely enjoyable. The body grows quickly and you can already start to see the pouch forming after just a few rounds.
Step 3: Maintain the Shape Even
In the body, try to keep your tension steady so the pouch doesn’t pull too tight at the top or flare out too much. Being a mini pouch, even the slightest variation in tension can affect the end appearance more than they would in a larger bag. The aim is a sleek, compact form that still has enough give to hold your essentials. If you want a little taller pouch, add a few more rounds before the draw string section. If you want it shorter, stop a little sooner.
Step 4: Make the Drawstring Holes
The tutorial makes spaces for the drawstring near the top by crocheting a round of chain spaces and skipped stitches. This is the bit that transforms the simple crocheted body into a real pouch. The small openings allow the drawstring to go through smoothly, but they also give the top edge a lighter, more decorative appearance. Take your time here, count carefully so the spaces are evenly spaced.
Step 5: Complete the Top Edge
The top edge, after the drawstring round, is finished with a decorative round to give the opening a softer, more polished look. This finishing round completes the look of the pouch and the top will be a prettier shape when the drawstring is pulled closed. It’s a small detail, but it really makes the whole project feel more charming and intentional.
Step 6: Secure Bottom
Once the crocheted body is finished, the starting tail is used to sew the bottom closed. This is a simple finishing step but it matters a lot for the final shape. Ensure the bottom seam is tidy and secure so little things don’t fall through. After that, tie up the loose ends cleanly.
Step 7: Create and Attach the Drawstring
The drawstring is made by crocheting a long chain. Then it is woven through the openings at the top of the pouch. Pull both ends and the pouch cinches in, closing itself in a classic drawstring fashion. You can leave the tie plain, or knot the ends or add tiny beads or tassels if you want a more decorative finish. This is the quick part that gives the pouch its final personality.
Step 8: Review Your Final Look
The finished mini pouch should be soft but structured enough to hold small items comfortably. It has a simple gathered look at the top and a sweet handmade shape that is great for gifts, travel or everyday organization. It’s the sort of little project that looks nice in solids, stripes or leftover yarn combos.
Tips to Help Out
Make your stitches even so the shape of the pouch stays nice.
Check the size before you finish the top section.
Don’t make the drawstring too short or it will be more difficult to cinch closed.
If you want the drawstring to slide easily, use a smooth yarn.
Securely weave in ends, especially around the bottom seam.
Create another in a different colour for gift giving or to organise small items.
Common Pitfalls to Avoid
Crochet the foundation too tight
Near the drawstring round, losing count
You make the pouch body shorter than you need.
Pulling the bottom seam too slack
with a stiff drawstring that does not slide easily
Forgetting to test the pouch with the items you want to carry inside.
Customisation Tips
There are tonnes of easy ways to customise this mini pouch. We used soft pastels for a delicate look, bright scraps for a playful pouch, and neutrals for something more classic. You can add stripes, make the drawstring a contrasting colour, or make it a gift pouch for jewellery, candies or tiny skincare items. A little taller one could hold crochet hooks, a wider one could work nicely for earbuds or coins . The tutorial allows you to change the size, so it’s easy to play around with shape and use.
Style Inspirations
This little pouch is great to keep inside the bigger handbag so that you don’t lose small things. It also makes a sweet handmade gift all on its own, especially when filled with a little treat or note. You can also use it for travel, to organise your desk or as a pretty wrapping for small gifts.
Care Instructions
If necessary, gentle hand wash and lay flat to dry. Do not pull too hard on the drawstring when the pouch is wet. If you are using acrylic yarn, don’t use high heat so that the pouch keeps its shape nicely.
Time Required:
Depending on your speed, yarn, size and stitch pattern, this could take a few hours.
Conclusion
This crochet mini pouch is such a satisfying little project because it is simple, useful, and easy to customize. You can keep it plain and practical or make it feel extra special with color changes and small finishing touches. It is a lovely project for beginners, a nice way to use leftover yarn, and a sweet handmade item you will actually use. Once you make one, it is easy to imagine making more in different sizes and colors.
FAQs
1. Is this mini pouch beginner-friendly?
Yes. It uses basic stitches and simple shaping, so it is a good easy project for beginners.
2. What yarn is best for this project?
Cotton is great for structure, while soft acrylic works well for a lighter pouch.
3. Can I adjust the size?
Yes. You can change the starting chain and add or reduce rounds to make it fit your needs.
4. How do I make it more comfortable to use?
Choose a yarn that is smooth, keep your tension even, and make the drawstring long enough to open and close easily.
5. Can I sell the finished pouch?
You can usually sell finished handmade items, but it is always wise to respect the original video creator’s preferences and present your work honestly.