
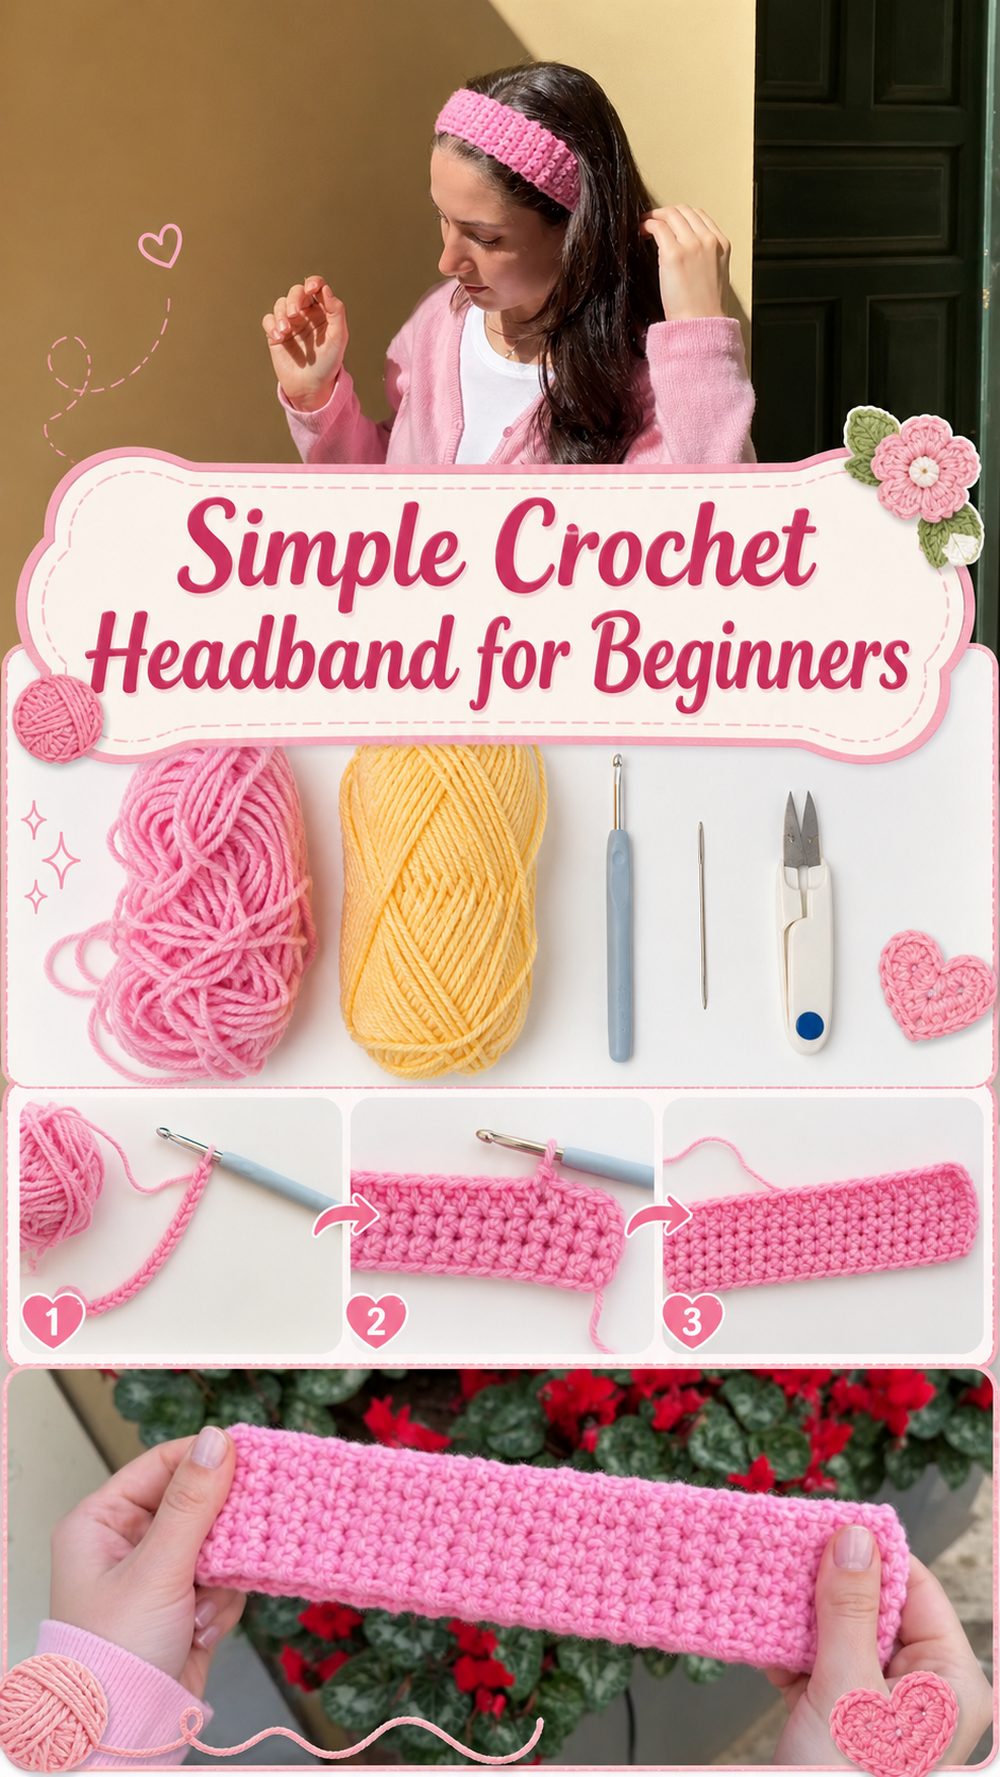
A simple crochet headband is one of those little projects that feels instantly rewarding. It is quick, practical, and easy to wear, which makes it perfect when you want something cute without committing to a big pattern. This style is especially nice for beginners because it focuses on the basics and gives you a finished piece you can actually use right away. The tutorial I selected shows a very straightforward headband worked as a narrow strip and adjusted by trying it on as you go, so it is great for anyone who likes flexible sizing instead of strict measurements. It is also a lovely stash-buster project, since a headband does not need much yarn and can be finished fairly quickly.
Why You’ll Love This Project
This headband is the kind of project you can pick up even on a busy day. It is simple, useful, and easy to customize, and it gives you a neat handmade accessory without a lot of complicated shaping. Since the tutorial is beginner-focused and made to be adjusted as you crochet, it feels relaxed instead of fussy.
Materials Needed
- Yarn
- Crochet hook
- Scissors
- Yarn needle
- Measuring tape
- Stitch marker if you like marking the first stitch
Use a yarn and hook size that matches your desired fit and texture. Since this is a basic headband, you can easily make it softer, stretchier, lighter, or cozier depending on the yarn you choose.
Best Yarn for This Project:
For an everyday headband, a soft lightweight or medium-weight yarn works well. If you want something breathable and light, cotton or a cotton blend is a great choice. If you want a softer, slightly warmer feel, a smooth acrylic or acrylic blend also works nicely. Because this project is simple, the yarn really changes the final look, so you can keep it crisp and neat or make it extra cozy.
Skill Level:
Beginner-friendly. The selected tutorial is presented as an easy, fast project, and the method is simple enough for new crocheters to follow. It is a nice project for practicing even tension, turning your work, and checking fit as you go.
Size and Fit Guide:
This headband is easy to size because you work the strip until it fits around your head. Measure around the area where you want the headband to sit, then crochet until the strip feels comfortably snug. Try it on as you go rather than relying only on measurements. That makes it much easier to get the fit you want, whether you like your headband close-fitting or a little more relaxed.
Stitches Used:
- Chain
- Single crochet
- Slip stitch or seaming join
The tutorial snippet clearly indicates that the headband is built with single crochet in a narrow strip, then worked until it fits.
How to Make It
Step 1: Start the Foundation
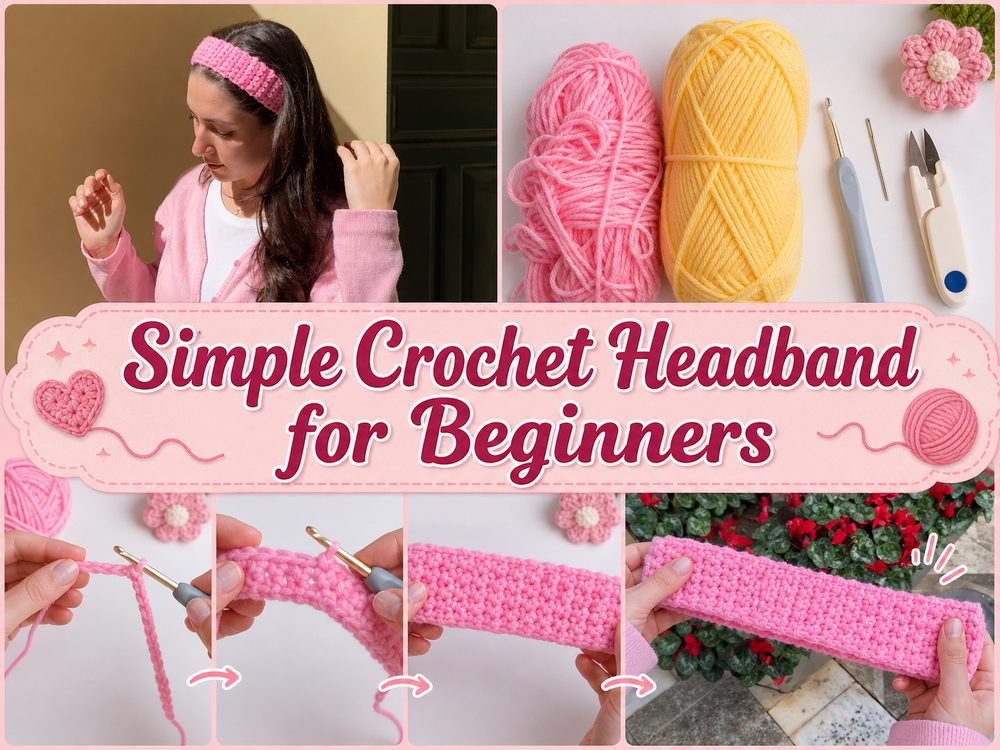
This headband begins with a very small foundation, which is part of what makes it feel so approachable. You start by making a short starting chain, just enough to create a narrow band. Then you work single crochet across to form the width of the headband. In the tutorial, the headband is kept quite slim and simple, so the look stays clean and easy to wear.
If you like a delicate hairband style, keep it narrow. If you want more coverage, you can add a little more width, but the tutorial itself focuses on a basic slim version.
Step 2: Build the Main Strip
Once the width is set, the rest of the project is wonderfully repetitive. You turn your work and continue crocheting row after row in single crochet. This creates a neat strip that is smooth, sturdy, and easy to control. Because it uses simple stitches, it is a good project for paying attention to edge stitches and keeping your rows even.
As you work, try not to crochet too tightly. A headband usually feels better with a little give, especially if you plan to wear it for a long time. Keep your tension steady so the strip stays the same width all the way through.
Step 3: Check the Fit as You Go
One of the nicest things about this tutorial is that it does not force you into rigid numbers. Instead, you keep crocheting the strip until it fits around your head. The tutorial description makes that clear, and that makes the pattern much more practical for different ages, head sizes, and yarn choices.
Wrap the strip gently around your head to test the size. You want it to feel slightly snug, since many yarns relax a bit after wearing. If it feels loose before joining, it may stretch too much later. If it feels too tight, just add more rows before finishing.
Step 4: Join the Ends
After the strip reaches the right length, the ends are joined to turn it into a wearable loop. You can seam the short ends together with a yarn needle for a smooth finish, or join them with crochet if you prefer. Either method works well for a project like this.
Take a moment to line up the edges neatly before joining. A careful join makes the finished headband look much cleaner and helps it sit nicely when worn. Since this is such a simple design, small finishing details really stand out.
Step 5: Finish and Tidy Up
Once the headband is joined, weave in the ends securely. Because headbands get stretched while wearing, you want those ends woven in well so they do not work loose later. After that, your headband is basically done.
If you want a polished final look, lightly shape it with your hands and check that the seam sits where you want it. Some people like the seam hidden under the hair, while others do not mind it being part of the design. With a basic headband like this, the final result should look neat, simple, and easy to style.
Step 6: Make Another One in a Different Color
This kind of project is perfect for making more than one. Once you finish the first headband, the second usually goes even faster because you already know the width and fit you like. You can make one in a neutral shade for everyday wear and another in a brighter color for a more playful look.
Helpful Tips
- Keep your tension even so the strip does not widen or narrow.
- Try it on before joining rather than guessing the final size.
- Choose a softer yarn if you want all-day comfort.
- Weave in ends firmly because headbands get stretched during wear.
- Make note of the width and finished length if you plan to make more.
Common Mistakes to Avoid
- Crocheting too tightly, which can make the headband stiff
- Forgetting to check the fit before joining
- Accidentally missing the first or last stitch of a row
- Making the band too loose and ending up with a sloppy fit
- Using scratchy yarn for something that sits against the skin
- Rushing the seam and leaving the join bulky or uneven
Customization Ideas
This simple headband is easy to personalize. You can make it wider for more coverage, narrower for a delicate hairband look, or switch colors to match different outfits. You could also add a small bow, a flower, a button accent, or a neat contrast edge. If you like a softer romantic style, pastel yarn looks lovely. If you want a clean modern look, solid neutrals work beautifully.
Style Ideas
Wear it with your hair down for a soft everyday look, or use it to keep hair back with a ponytail or messy bun. It also makes a sweet handmade gift because it is useful and easy to size. You can even make a few in different colors and keep them as quick accessories for different seasons.
Care Instructions
Hand wash gently in cool water when possible, especially if you used soft or stretchy yarn. Lay it flat to dry so it keeps its shape. Avoid high heat, which can change the texture of some yarns and make the headband lose its neat finish.
Time Needed
This may take a few hours depending on your speed, yarn, size, and stitch pattern. Since it is a small project with a repetitive structure, it is a nice option for a relaxed afternoon make.
Conclusion
If you want an easy crochet project that is practical and cute, this simple headband is a lovely choice. It is beginner-friendly, easy to adjust, and a great way to practice basic stitches without feeling overwhelmed. You can keep it plain, make it wider, change the color, or create a small collection once you find the fit you like. It is one of those satisfying little makes that you can finish, wear, and enjoy right away.
FAQs
Is this beginner-friendly?
Yes. It uses a very simple method and is a good starter project for practicing basic crochet.
What yarn is best for this headband?
A soft cotton, cotton blend, or smooth acrylic works well. Pick something comfortable against the skin.
Can I adjust the size?
Yes. The easiest way is to keep crocheting until the strip fits your head comfortably before joining it.
Can I make it wider?
Yes. Start with a slightly wider foundation if you want more coverage, while keeping the same basic method.
How do I make it more comfortable?
Use a soft yarn, avoid tight tension, and make sure the fit is snug but not too tight.