
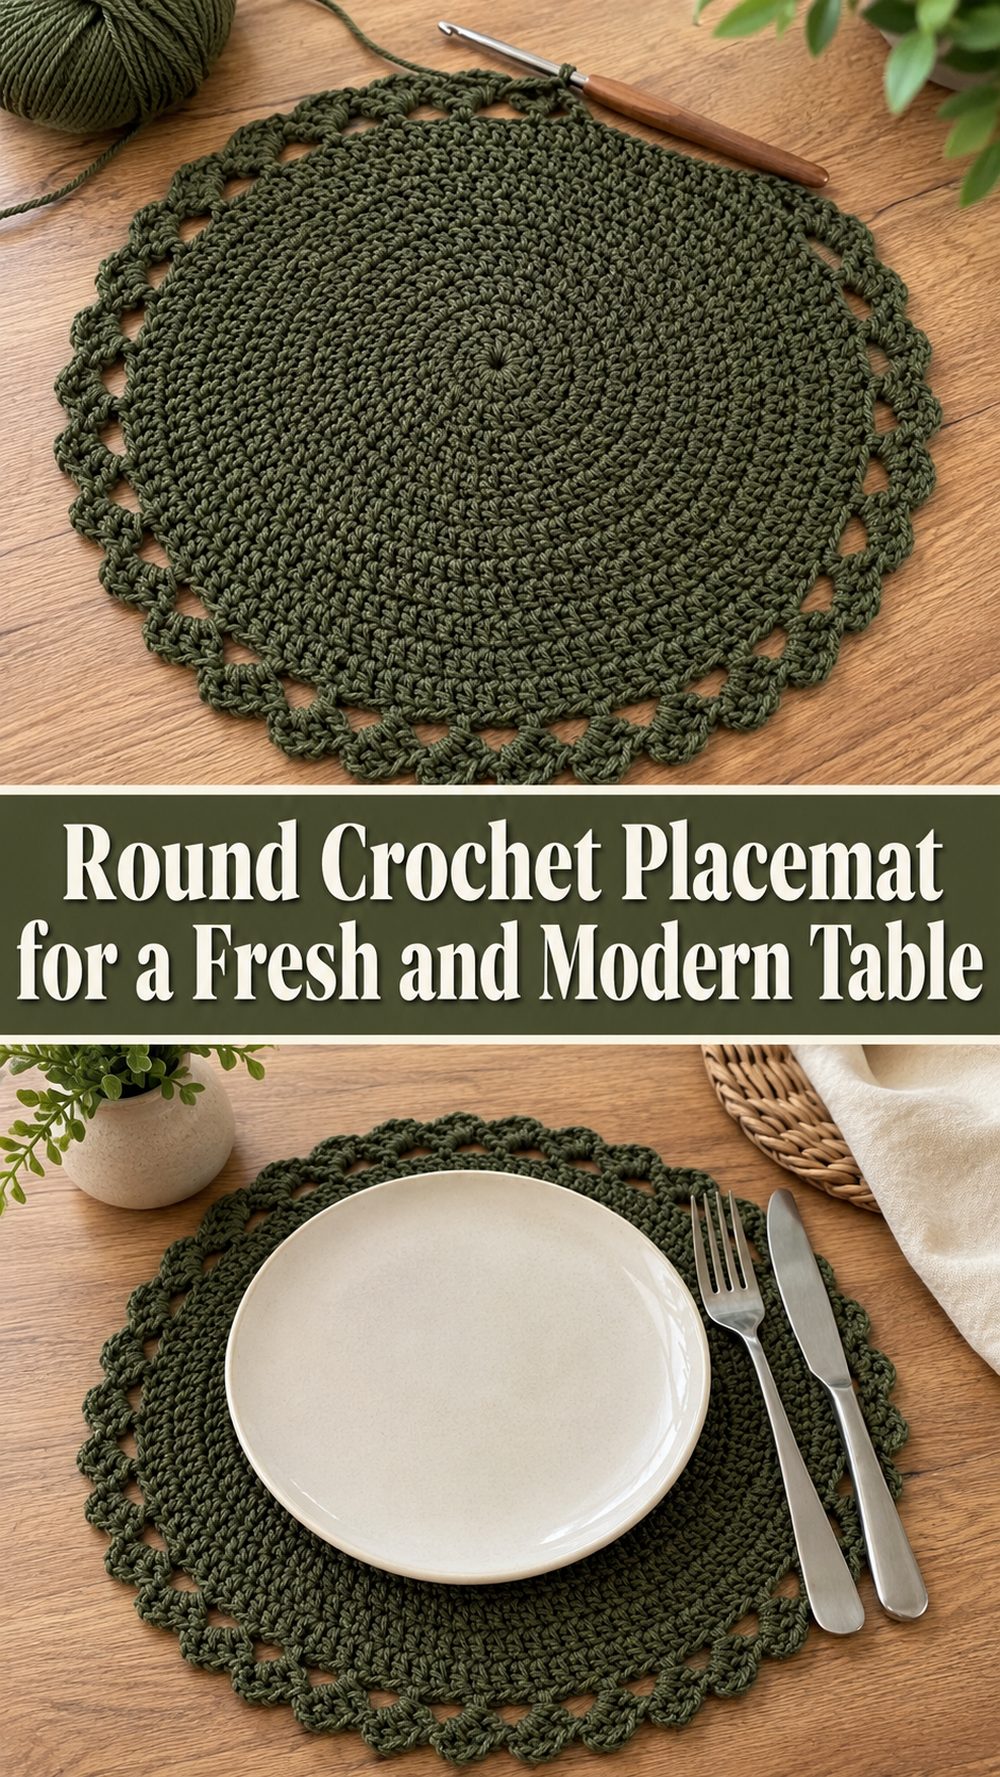
A crochet placemat is such a lovely project when you want something useful, pretty, and relaxing to make. It adds texture and warmth to the table right away, but it still feels simple enough to enjoy without a lot of stress. The tutorial I chose teaches a round no-seam placemat with a clean modern look, which makes it especially nice for everyday dining as well as casual table styling. A round placemat has a soft finished shape that works beautifully under plates, bowls, mugs, or even a small centerpiece. This kind of project is satisfying because you can watch it grow evenly from the center outward, and the shape starts looking polished quite early on. It is a great choice for beginners, for gift making, or for anyone who wants to refresh the table with a handmade touch that feels neat, practical, and easy to personalize with color and yarn texture.
Why You’ll Love This Project
This placemat is easy to love because it is practical, decorative, and simple to repeat if you want to make a full matching set. The round shape feels clean and modern, and a no-seam design gives the finished piece a smooth polished look on the table. The selected tutorial is specifically presented as a step-by-step beginner crochet placemat tutorial with a round modern style and no seam construction.
Materials Needed
- Yarn
- Crochet hook
- Scissors
- Yarn needle
- Stitch markers
- Measuring tape
Use a yarn and hook size that matches your desired fit and texture.
Best Yarn for This Project
For a placemat, cotton is usually one of the best choices because it gives the stitches a clean look and helps the piece lie nicely on the table. It also feels practical for everyday use, especially if you want something that looks neat under plates and can handle regular use. A smooth cotton or cotton blend works especially well for round placemats because it helps the shaping show clearly as the project grows from the center outward.
If you want a softer decorative look, you can choose a cotton blend with a slightly gentler feel. If you want a firmer and more defined finish, a straightforward cotton yarn is usually the better option. Since the chosen tutorial focuses on a modern round placemat, a yarn with good stitch definition will help that shape stand out beautifully. The same tutorial also mentions that matching coasters can be made from it, so choosing a yarn that works well for both table pieces makes a lot of sense.
Skill Level
This project is beginner-friendly and easy. The selected tutorial is described as a step-by-step beginner crochet placemat tutorial, which makes it a comfortable fit for newer crocheters who already know the basic motions and want to make something useful for the home.
It is also a nice project for confident beginners who want to practice crocheting in the round and keeping their tension even as the piece grows larger.
Size and Fit Guide
A placemat is very easy to adjust because you can simply continue working outward until it reaches the size you want. Before you begin, think about how you plan to use it. If it is mainly for a dinner plate, a standard placemat size will feel right. If you want it for serving bowls, larger place settings, or layered table styling, you can keep crocheting until it feels roomy enough.
The easiest way to check the size is to place a plate, bowl, or charger on top of the work while you go. That shows you whether the placemat feels balanced for your table setting. Because this design is made in the round, it is especially helpful to spread it flat now and then to make sure it still looks even.
Stitches Used
The selected tutorial clearly teaches a round and no-seam placemat, so the project is worked in the round rather than as separate panels or rows that need joining. Follow the stitch sequence shown in the video and focus on maintaining even tension so the circle stays flat and smooth. The tutorial is also described as beginner-friendly and modern, which suggests a simple repeat that is easy to settle into.
How to Make It
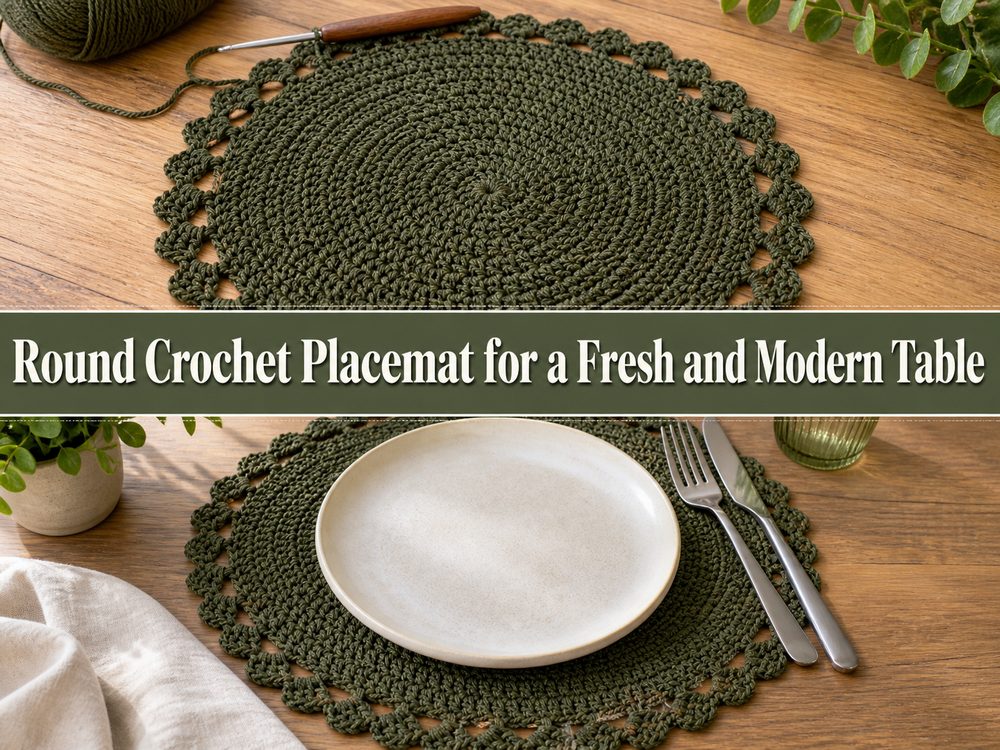
Step 1: Start in the Center
This placemat begins from the center and grows outward in rounds. That is one of the nicest parts of making a round placemat because the project quickly starts to look balanced and decorative. Begin carefully and keep the first stitches neat, since the center sets the tone for the whole piece.
When working the opening rounds, try not to pull too tightly. If the center is too tight, the placemat can start to cup instead of lying flat. If it is too loose, the middle may look messy. A calm steady start makes everything after that feel easier.
Step 2: Build the Flat Circle
After the center is established, continue working outward in rounds to build the placemat. Since the tutorial is specifically presented as a no-seam round placemat, the overall look depends on keeping the circle smooth and even as it grows. That no-seam structure is what helps it look neat and modern on the table.
As you go, lay the piece flat from time to time. This helps you check that it is not beginning to ripple or curl. A placemat should sit comfortably on the table, so keeping the shape flat is one of the most important things in the whole project.
Step 3: Keep the Shape Balanced
One of the key parts of crocheting a round placemat is maintaining a clean circle. Because each round adds more stitches and space, this is where even tension matters a lot. If you crochet much tighter in one section than another, the placemat may start looking uneven.
A good habit is to smooth it out on a table after every few rounds. This lets you spot any shaping issues early. The selected tutorial is clearly beginner-focused, so this kind of simple checking fits well with the overall approach of the project.
Step 4: Grow It to the Right Size
Once the pattern is established, continue repeating until the placemat reaches the size you want. This is where the project becomes really flexible. You might prefer a smaller round mat for cups and snack plates, or a fuller placemat for main dinner settings.
Because the design is worked in the round, it is easy to compare the crochet piece with the dishes you plan to use. Hold a plate or bowl over it and decide whether you want more space showing around the edge. That little check makes the final piece feel much more intentional.
Step 5: Finish the Final Round Neatly
When the placemat feels large enough, complete the final round with care so the outer edge looks tidy. In a round project, the border or last round can really shape the final look. Even if the design is simple, a neat outer edge makes the whole placemat feel more polished.
Since the selected tutorial describes the placemat as modern, keeping the finish smooth and clean will suit that style especially well. This is also the stage where the piece begins to feel like something you could place on the table right away.
Step 6: Weave in Ends and Flatten the Placemat
After finishing, weave in all loose ends securely and spread the placemat on a flat surface. Smooth it gently with your hands so the shape settles evenly. If needed, you can lightly shape it so the circle looks neat and balanced.
The final placemat should look round, flat, and clean, with a smooth no-seam appearance. That is one of the main features highlighted by the selected tutorial, along with the fact that it is designed to be beginner-friendly and suitable for making matching table pieces.
Helpful Tips
- Use cotton yarn if you want a clean and practical table-ready finish.
- Lay the placemat flat often so you can check the shape.
- Do not crochet the center too tightly.
- Keep your tension even so the circle stays smooth.
- Compare the size with a real plate or bowl while working.
- Make matching pieces one after another so they stay similar in size.
Common Mistakes to Avoid
- Pulling the center stitches too tight
- Ignoring early signs of curling or rippling
- Letting your tension change too much from one round to another
- Stopping before checking the size with your tableware
- Forgetting to flatten the placemat as it grows
- Leaving ends loosely woven into a piece that will be used often
Customization Ideas
This placemat is very easy to personalize. You can make it in a simple neutral shade for a modern table, or use warm earthy colors for a cozy handmade feel. A soft single-color placemat looks clean and timeless, while two coordinating shades can make the round design stand out more. You can also make a full matching set for everyday dining or crochet one larger version to use under a serving bowl or centerpiece.
Since the tutorial also mentions matching coasters, you could turn this into a lovely coordinated table set for your own home or as a handmade gift.
Style Ideas
A round crochet placemat looks beautiful under dinner plates, breakfast bowls, mugs, or small serving dishes. It works nicely for casual family meals, coffee corners, brunch tables, and simple seasonal decorating. You can style it with plain dishes for a clean modern look or pair it with textured napkins and ceramic tableware for a softer handmade feel.
Care Instructions
Gently wash according to your yarn type and reshape the placemat while damp so it keeps its round flat form. Lay it flat to dry rather than hanging it. That helps the piece stay smooth and table-ready.
Time Needed
This may take a few hours depending on your speed, the yarn you choose, the final size you want, and how many matching placemats you decide to make. Since the selected tutorial is presented as a beginner step-by-step project, it should feel manageable and enjoyable rather than overly technical.
Conclusion
A crochet placemat is such a lovely project when you want something simple, useful, and decorative. This round no-seam design feels especially appealing because it looks modern, works up in a smooth growing shape, and can easily be turned into a matching set for the table. It is beginner-friendly, practical, and easy to customize with your own colors and yarn choices. Whether you make one for your own place setting or a full set for the whole table, it is the kind of project that adds warmth and handmade charm in a very natural way.
FAQs
Is this placemat beginner-friendly?
Yes. The selected tutorial is specifically described as a step-by-step beginner crochet placemat tutorial.
Is it worked in one piece?
Yes. The tutorial describes it as a no-seam round placemat, which means it is made as one continuous piece rather than separate joined sections.
Can I make matching coasters?
Yes. The tutorial mentions that you can make matching coasters using the same tutorial idea.
What yarn is best for this project?
Cotton or a cotton blend is usually a very good choice for placemats because it gives a clean shape and practical everyday finish.
Can I change the size?
Yes. Since it is worked in the round, you can keep going until it reaches the size that suits your table setting.