
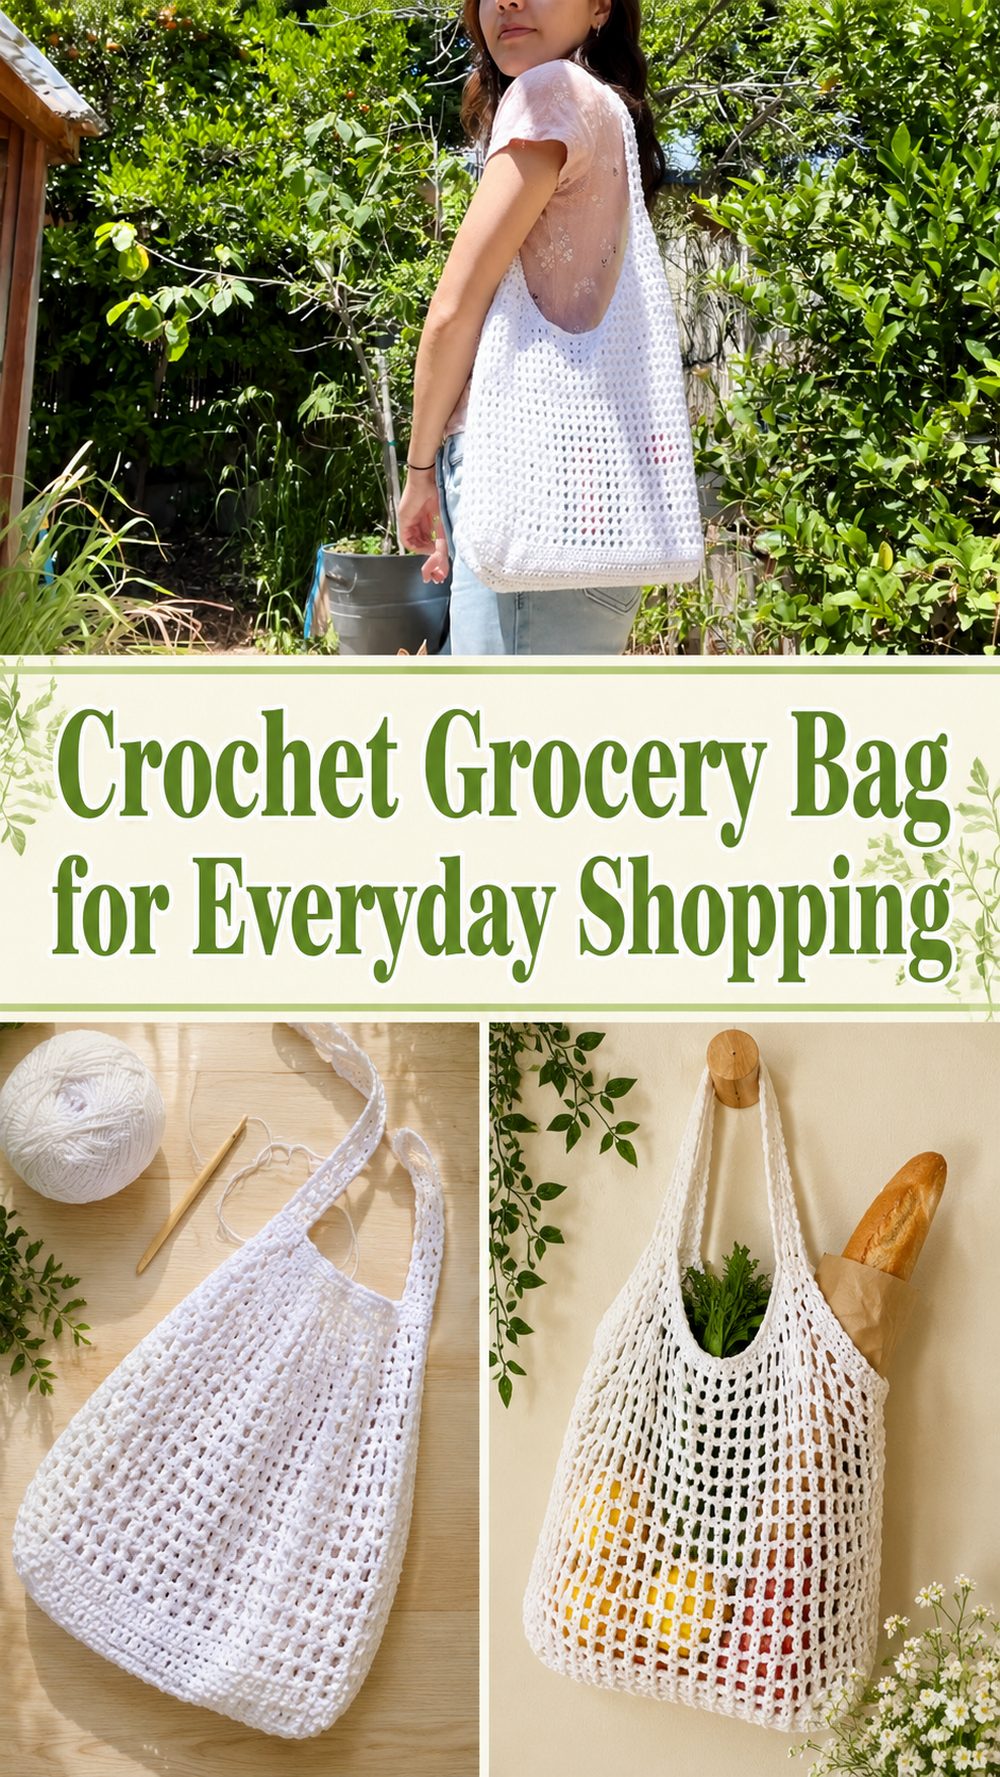
A crochet grocery bag is one of those projects that feels instantly useful. It is lightweight, reusable, and easy to fold into your purse or car, but it still has that lovely handmade charm that makes everyday errands feel a little nicer. The tutorial I chose teaches a mesh-style grocery bag with a solid oval base, an airy body, and matching mesh straps, which makes it practical without feeling bulky. That combination is great for produce, pantry items, and the little extras you pick up during the week. This kind of bag is especially satisfying to make because you can watch it grow quickly once the mesh section begins, and the final result stretches nicely when filled. It is a smart project for anyone who wants a simple crochet make that is useful, giftable, and easy to customize with different colors or yarn textures.
Why You’ll Love This Project
This grocery bag is a fun project because it gives you that nice balance of structure and stretch. The solid base helps support what you carry, while the mesh body keeps the bag light, roomy, and easy to use for shopping.
Materials Needed
- Yarn
- Crochet hook
- Scissors
- Yarn needle
- Stitch markers
- Measuring tape
Use a yarn and hook size that matches your desired fit and texture.
Best Yarn for This Project
For a grocery bag, cotton is usually the most practical choice. It gives the base a sturdier feel, helps the stitches stand out clearly, and works well for a reusable bag that may carry fruit, vegetables, or boxed items. A cotton blend can also work if you want something a little softer, but a yarn with structure is usually better than one that feels too stretchy or slippery. Because this design includes a mesh body, a yarn that holds its shape nicely will help the bag look cleaner and feel more dependable when filled. The openwork will already provide flexibility, so the yarn does not need to be overly loose. This style is especially nice in smooth, breathable yarns that feel comfortable in your hands while crocheting and in use afterward. The selected tutorial clearly shows a mesh tote construction with a solid oval base, so a practical bag yarn makes the most sense here.
Skill Level
This project is beginner-friendly to easy. It suits crocheters who are comfortable with basic stitches and are ready to move into simple bag shaping.
Because the tutorial starts with a solid base and then moves into a mesh body and straps, the process feels straightforward and easy to follow step by step.
Size and Fit Guide
A grocery bag is very easy to adjust while you work. The base affects how much the bag can hold at the bottom, while the mesh section adds height and stretch through the body. If you want a larger shopping bag, keep working the body until it reaches your preferred depth. If you want a smaller produce-style tote, stop sooner.
It also helps to think about how you plan to use it. A bag for quick produce runs can stay compact, while a bag for general groceries may need longer straps and a taller body. Try holding the piece up as you work so you can judge how it will hang once full.
Stitches Used
The selected tutorial shows a construction that begins with a solid oval base, then continues into a mesh body, and finishes with mesh straps. The exact stitch pattern should be followed from the video, but the visible structure clearly relies on a firm starting section and openwork for the body of the bag.
How to Make It
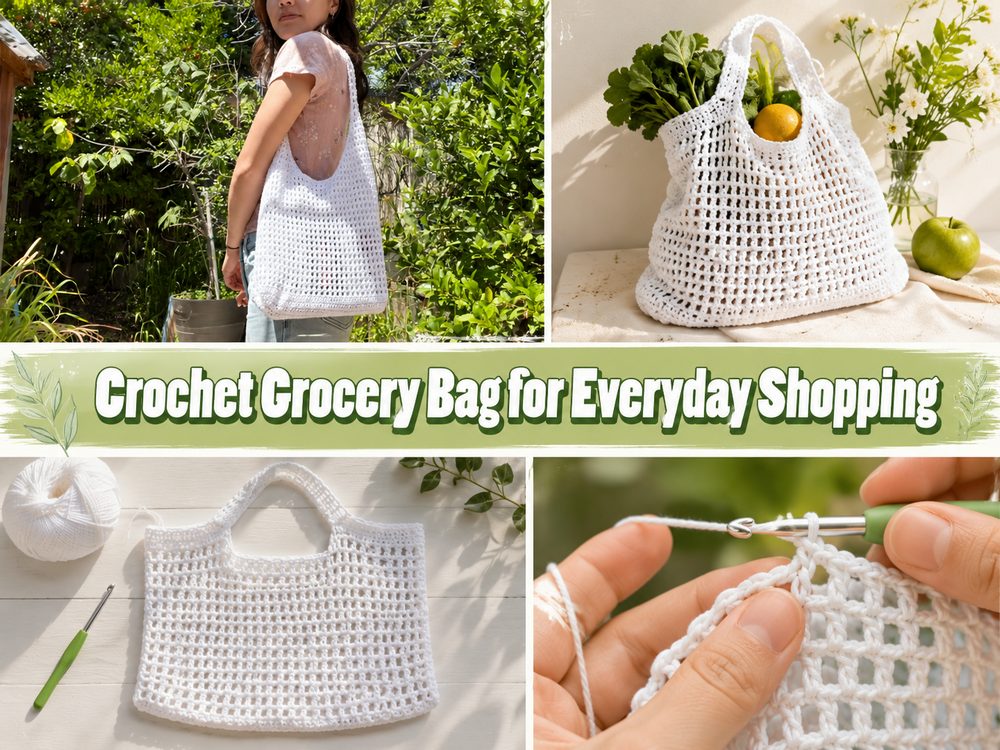
Step 1: Start the Base
This bag begins with a solid oval base, which is a very practical starting point for a grocery bag. Instead of jumping straight into mesh, the tutorial first creates a firm bottom section that helps the bag sit better and support what you carry. That is especially useful for groceries because it gives the contents a little more stability and prevents the whole bag from feeling too loose at the bottom.
As you work the base, focus on keeping your stitches even and your shaping smooth. Since the base is oval, the curves need to stay balanced on both ends. It is worth pausing now and then to lay the piece flat and check that it is sitting nicely without curling too much or rippling. A neat base makes the rest of the project feel easier.
Step 2: Build Up from the Oval
Once the base is finished, the bag starts to rise upward from that oval shape. This is the point where the project begins to feel like a real tote rather than just a flat piece of crochet. Keep your stitch placement tidy around the edge of the base so the sides grow evenly.
This part is important because it sets up the shape of the bag before the open mesh takes over. If the transition feels neat and even, the body will look cleaner and hang better later.
Step 3: Create the Mesh Body
After the solid bottom section, the tutorial moves into the mesh body of the grocery bag. This is where the bag gets its airy, lightweight feel. The mesh is what makes a crochet grocery bag so handy. It stretches when filled, keeps the project from becoming heavy, and gives that classic reusable shopping bag look.
Work steadily here and keep your spacing as consistent as possible. Open stitches can show uneven tension quickly, so it helps to slow down a little and make sure each repeat looks similar to the last. The body will likely seem narrow while empty, but mesh bags usually open and expand once they are in use, so do not judge the finished capacity too early.
Step 4: Adjust the Height
One of the nicest things about this kind of bag is how easy it is to customize the depth. If you want a shorter grocery bag for fruit and small essentials, stop the mesh body earlier. If you want a larger tote for shopping days or farmers market trips, continue until the bag feels tall enough for your needs.
A simple way to check is to imagine where the top of the bag should sit when hanging from your hand or shoulder. It is better to check this before making the straps, since the final length will affect how roomy the bag feels overall.
Step 5: Make the Straps
The tutorial finishes with mesh straps, which keeps the look of the bag light and consistent from top to bottom. Matching mesh handles also help the project feel cohesive, rather than having a heavy top edge on a soft openwork body.
When making the straps, try to keep both sides even in length and placement. This matters more than people think. If one strap sits a little higher or stretches more than the other, the whole bag can hang unevenly. If you tend to crochet tightly, be mindful here so the handles stay comfortable to hold.
Step 6: Finish Neatly
Once the straps are complete, weave in all loose ends securely. Grocery bags get used, stretched, and carried often, so finishing well matters. Check the base, the top edge, and the handle joins carefully. Those are the areas that usually take the most strain.
The finished bag should have a solid bottom, an open mesh body, and matching mesh handles. It should feel light in the hand, roomy once opened, and practical enough for everyday use. That overall construction is the key feature of the selected tutorial.
Helpful Tips
- Use cotton yarn if you want the bag to feel more dependable and less slippery.
- Keep the base smooth and even before moving into the body.
- Do not worry if the mesh looks small at first because it usually stretches in use.
- Check the bag length before making the handles too long.
- Count carefully when repeating the mesh pattern so both sides stay balanced.
- Weave in the ends firmly since grocery bags get pulled and filled often.
Common Mistakes to Avoid
- Making the oval base uneven or wavy
- Pulling the mesh stitches too tightly
- Stopping the body too early before checking the size
- Making one strap longer than the other
- Choosing yarn that stretches too much under weight
- Forgetting that the bag will open up and lengthen a bit when filled
Customization Ideas
There are lots of simple ways to make this grocery bag feel personal. You can use a neutral shade for an everyday classic tote, or go brighter with cheerful market-style colors. You could make the body deeper for larger shopping trips or keep it shorter for produce and bread. A striped base would look lovely, and you can also change the handle length depending on whether you prefer carrying it by hand or over your shoulder. Because the design has a solid bottom and open upper section, it also works nicely in color blocking.
Style Ideas
This bag is perfect for groceries, but it can also work as a market tote, produce bag, beach carryall, or casual everyday project bag. It would be a thoughtful handmade gift for someone who likes reusable shopping bags or enjoys practical handmade items. It also looks beautiful hanging in the kitchen with fresh produce peeking through the mesh.
Care Instructions
Hand wash gently when needed and reshape while damp. Lay it flat to dry, especially if the base needs to settle back into shape. Avoid high heat, and do not hang it dripping wet from the straps, since that can stretch the handles more than necessary.
Time Needed
This may take a few hours depending on your speed, yarn, size, and stitch pattern.\
Conclusion
A crochet grocery bag is one of those projects that really earns its place in your handmade collection. It is simple, useful, and satisfying to finish. The solid oval base gives it a practical foundation, while the mesh body keeps it flexible and easy to carry. You can keep it plain, make it colorful, adjust the size, or turn it into a lovely handmade gift. It is a great project for anyone who wants something beautiful and useful at the same time. The selected tutorial teaches that solid-base, mesh-body, mesh-strap construction clearly, which makes it a strong fit for this kind of everyday bag.
FAQs
Is this beginner-friendly?
Yes. It is a good project for beginners who are comfortable with basic stitches and want to try a practical bag.
What yarn is best for a crochet grocery bag?
Cotton is usually the best choice because it gives the bag a more reliable and structured feel.
Can I make it bigger?
Yes. You can enlarge the base, add more height to the mesh body, or make longer handles depending on how you want to use it.
Will the mesh stretch?
Yes. Mesh bags usually stretch in use, which is part of what makes them so useful for shopping.
Can I use it for more than groceries?
Absolutely. It also works well for produce, beach items, craft supplies, or daily errands.