
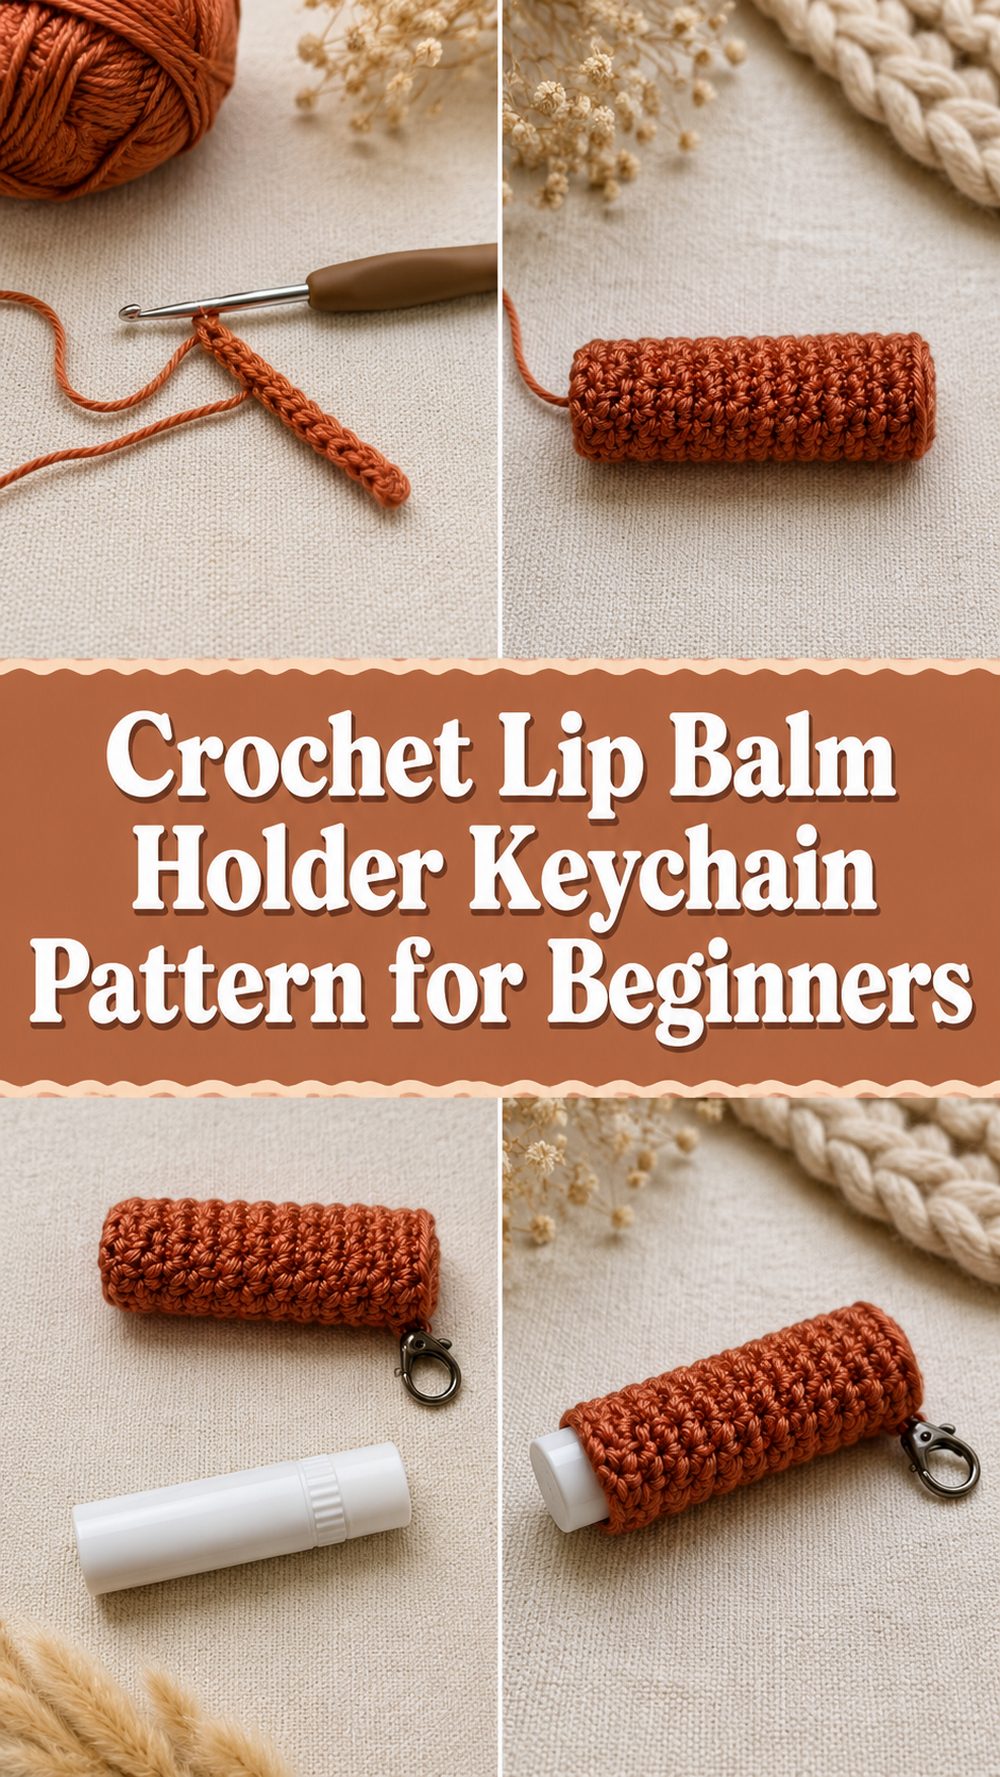
A crocheted lip balm holder is one of those teeny projects that is cute and actually useful. It is a nice little home for your chapstick or lip gloss and so convenient to clip onto a bag, key ring, or pouch so you don’t have to go searching for it. I chose a tutorial that teaches a simple clip-on holder, and it keeps the construction easy enough for a beginner by using basic crochet stitches rather than anything fussy or overly decorative. It’s the kind of project that works up quickly and uses a small amount of yarn but still gives you something practical at the end so it’s satisfying. This makes a lovely make for yourself but also makes little gifts, craft fairs and quick stash busting sessions.
Why You’ll Love This Project:
It’s a small, convenient project that’s easy to enjoy from start to finish. This makes it a good beginner piece because the tutorial keeps it simple and the finished holder is something you can actually use every day instead of just putting it on a shelf.
Required Materials:
The tutorial shows a simple lip balm holder with a clip, and the materials are very minimal. You will require:
Thread.
Hook (crochet)
A clip or keyring fitting
Scissor
Yarn needle for finishings
Choose a yarn and hook size that will give you the fit and texture you want.
Best Yarn for This Project:
A smooth cotton yarn is a really nice choice for this kind of holder because it gives the piece structure and helps it keep its shape well. Cotton also makes the stitches look crisp and clean, which is helpful on a small item like this. If you want the holder to feel softer you can use a cotton blend but it’s still best to use a yarn that is not too stretchy so the lip balm stays secure.
Skill Level :
Easy for the novice. This is described as a simple project, which uses primarily the single crochet stitch and chain stitch, making it a comfortable starter pattern for newer crocheters.
Size & Fit Guide:
The easiest way to size this project is to have your actual lip balm with you as you work. Check the fit often so that the holder feels snug, but not too tight. If your tube is wider, add a bit more width at the beginning. If taller, keep working the body until the length feels right. A good holder should be able to hold the lip balm well enough that it doesn’t slip out too easily, but still be easy enough to pull out when you need it.
Stitches Involved:
The tutorial snippet clearly refers to these stitches:
Chain link
Sc (single crochet)
Depending on how you close the holder and attach the clip, you can also use a slip stitch for joining or finishing.
How to Make It:
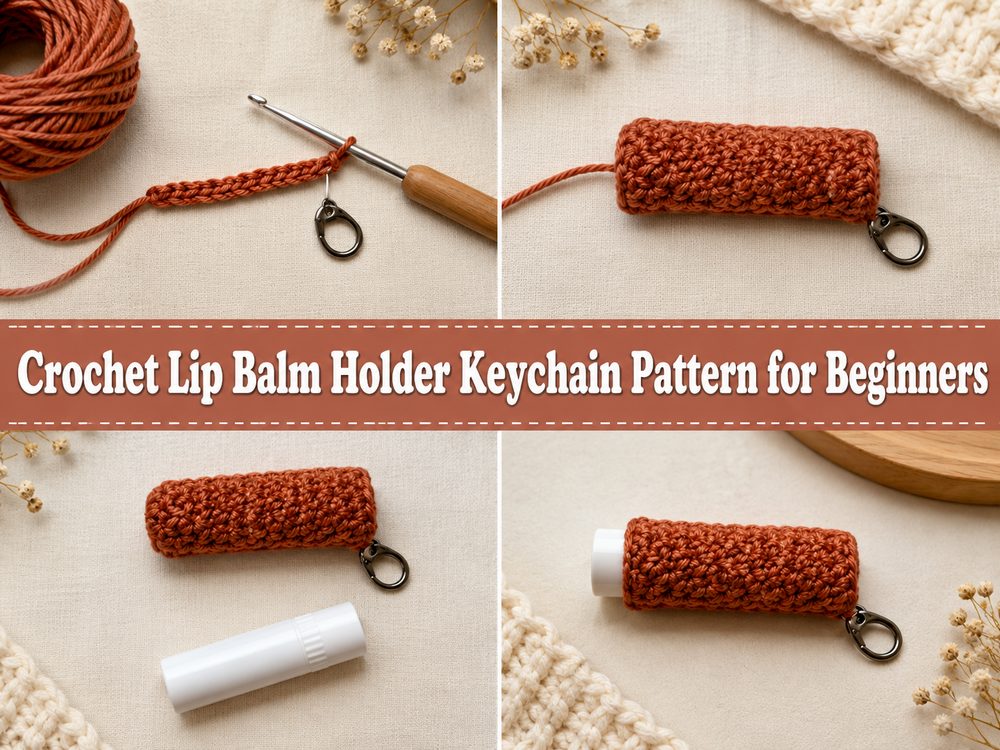
Step 1: Start with the Basics
This holder starts with a very small base that fits your lip balm. The first part is small and neat because the project is designed to fit in a slim tube. The tutorial is simple, so you do not have a lot of shaping to deal with right away. To create your starting chain, lay the base carefully so the width matches your tube, instead of guessing.
This is where it’s handy to put your lip balm next to your work and size it up before moving on. This is a practical holder so the fit is more important than the exact numbers. If the holder is too loose it won’t hold its place and if it’s too tight it will be uncomfortable to use
Step 2: Construct the Holder Body
Once the base is set, the main body is completed in simple stitches for the sleeve that wraps around the lip balm. The video recommends single crochet as the main stitch and that makes sense here as it produces a firm, neat fabric that will helps the holder hold its shape.
Work evenly and keep your tension. On a project this small, uneven stitches show up quickly, so a steady rhythm helps. Keep checking that the fabric is nicely hugging the lip balm as the fabric gets bigger. You want that nice secure feeling without jamming the item into the holder.
Step 3: Form It to Fit
The nice thing about a project like this is if the tutorial is on fit you don’t have to chase perfect counts. Just keep bending the piece around the thing it is supposed to hold. If you are working it flat, wrap it around the lip balm to see when it is ready to close. If you are working in a joined or continuous way, continue to slide the tube in and out to check the shape.
Your lip balm holder should fit snugly – you don’t want your tube falling through the bottom or slipping out the top too easily. Since the tutorial is all about making a simple usable holder, the emphasis is really on function as much as form.
Step 4: Add The Length Required
Continue crocheting until the holder is a comfortable height for your lip balm or lip gloss. Some like the balm to sit deep inside for extra security, others prefer more of the tube exposed so it’s easier to grab. Either way is fine. Just keep an eye on the length as you go.
Here you can also adjust it a little bit. The shorter holder feels quick and minimal; a taller one can look a little more polished and safe. The tutorial is made for a lip balm holder with a clip so the top section should be enough to attach the hardware without making the opening akward.
Step 5: Assemble the Piece
Close the holder neatly when the body is the right size. If your piece was worked flat, sew the sides carefully so the shape is even. If worked as tube just finish off the top edge cleanly. One of those little details that really makes a difference in how nice the final item looks.
Don’t rush on this. Clean seam/edge gives the holder a finished rather than rushed homemade look. Securely weave in the ends with your yarn needle, as this project will be handled often and clipped onto things.
Step 6: Add the Clip
Plus, the chosen tutorial specifically mentions a clip, which makes this lip balm holder super practical. When you are done crocheting, attach your clip or keychain hardware to the top.
Ensure it feels secure before you start using it. This is particularly handy if you plan on clipping it on a purse, backpack or keys. The end result is a handy little crocheted holder that keeps your lip balm handy and easy to grab when you need it.
Step 7: Details to be finalised
Test the holder several times after assembly. Insert the lip balm, remove it, clip it on, and confirm that everything is secure. The end result is simple, cute & functional. This is not the kind of project that needs a lot of fussing to be useful. The charm of it is in the fact that it is quick, neat and handy.
Helpful Hints:
If you want the holder to keep its shape, use cotton.
Check the fit frequently, not just at the end.
Make sure your stitches are even so the holder looks neat.
Firmly weave in the ends as this is a high use item.
Test the clip attachment before giving or carrying it
If you want a matching gift set, create a second one right away.
Common Pitfalls to Avoid:
making the holder too loose and the lip balm falls out
Crocheting too tight and making the tube difficult to use
Forgetting to check the fit during work
Using a yarn with too much stretch
Hurrying to finish and leaving weak ends
Attaching the clip loosely.
Ideas for Customisation:
It is easy to make this holder more personal. For something simple, a solid neutral colour works, or go bright and fun for a cheerful keychain look. You could do a contrasting top edge, a little bow, a loop detail or even a little charm. For a more elegant feel choose a clean cotton yarn in a soft beige, blush, sage or cream. If you are making a few, play with different colour combinations so that each one feels a little bit different.
Styling Tips:
Hook it onto your daily bag, backpack, purse, pouch or keys. It also makes a sweet addition to a gift bag, self-care set, teacher gift or market bundle. A handmade lip balm holder is tiny, but it’s crafty and functional and especially nice to give as a gift.
How to care for:
Hand wash in cold water and dry flat if needed. Do not use a high heat especially if your yarn is a blend. If the holder loses shape a little after use, reshape it with your fingers as it dries.
Time required:
depending on your speed, yarn, size and stitch pattern this can be a few hours.
Conclusion:
This crochet lip balm holder is a lovely little project when you want something fast, practical, and satisfying. It is beginner-friendly, easy to personalize, and useful enough to make again and again. You can keep it simple, match it to your favorite bag, or make a few as gifts. Once you finish one, it is easy to see why these tiny holders are so fun to crochet.
FAQs:
1. Is this project beginner-friendly?
Yes. The tutorial presents it as a simple project using basic stitches, which makes it a nice choice for beginners.
2. What yarn works best for a lip balm holder?
Cotton yarn is a great choice because it gives the holder structure and helps it keep its shape.
3. Can I adjust the size?
Yes. Keep your lip balm with you while you work and adjust the width and length as needed for a snug fit.
4. Do I have to add a clip?
The selected tutorial includes a clip, and it makes the holder much more useful for bags or keys.
5. Can I sell the finished holder?
In many cases, crocheters do sell finished small handmade items like this, but you should still check the tutorial creator’s preferences before selling in quantity.