
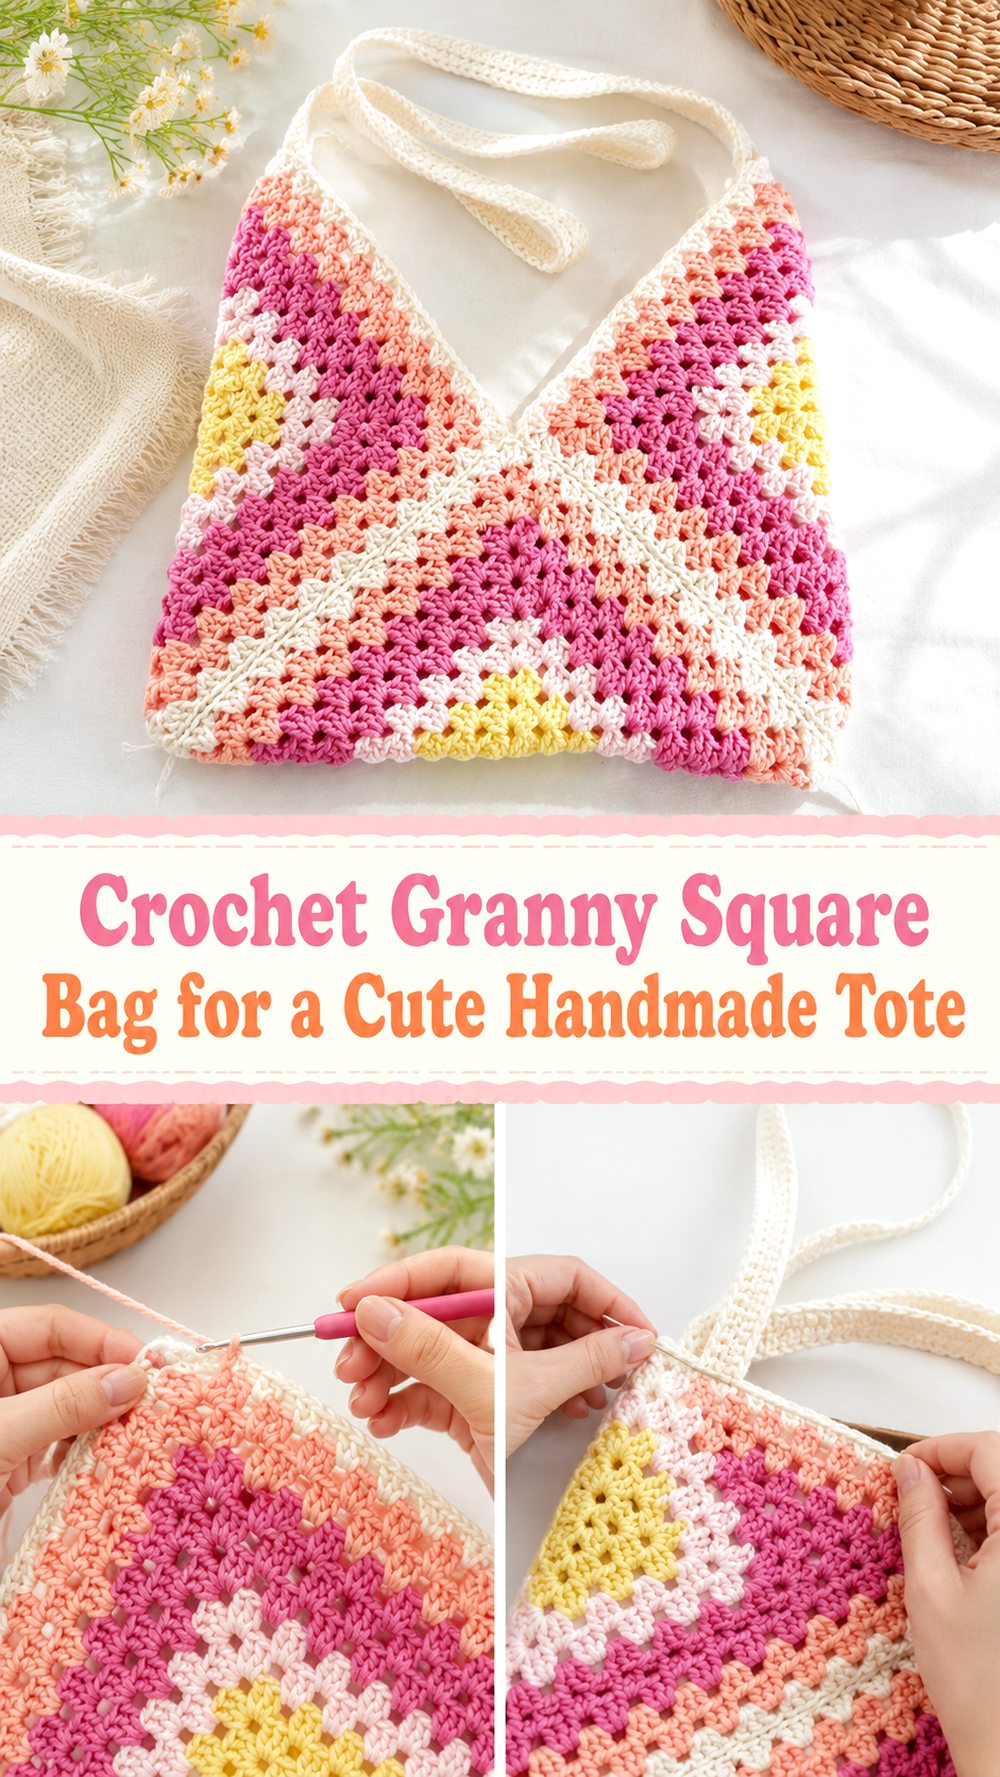
A crochet granny square bag is the kind of project that feels fun from the very beginning. It has that classic handmade look, gives you lots of room to play with color, and turns simple squares into something useful you can carry every day. The tutorial I used is a full step-by-step granny square bag video made for beginners and shows an any-size approach.
Why You’ll Love This Project
This bag is creative, practical, and easy to customize. It is also a lovely way to turn simple granny squares into a finished piece that looks cheerful and handmade.
Materials Needed
- Yarn
- Crochet hook
- Scissors
- Yarn needle
Use a yarn and hook size that matches your desired fit and texture.
Best Yarn for This Project
A cotton yarn or another sturdy smooth yarn works well for a granny square bag because it helps the shape hold nicely. If you want a softer bag, you can use a gentler yarn, but a firmer yarn usually gives better structure for everyday use.
Skill Level
Beginner-friendly. The tutorial is presented as an easy step-by-step granny square bag and is made to fit any size.
Size and Fit Guide
You can make the bag larger or smaller by making more squares, larger squares, or continuing until you reach your desired size. Adjust the strap length as needed depending on how you want to carry it.
Stitches Used
- Chain stitches
- Slip stitches
- Granny square stitches
How to Make It
Start the Foundation
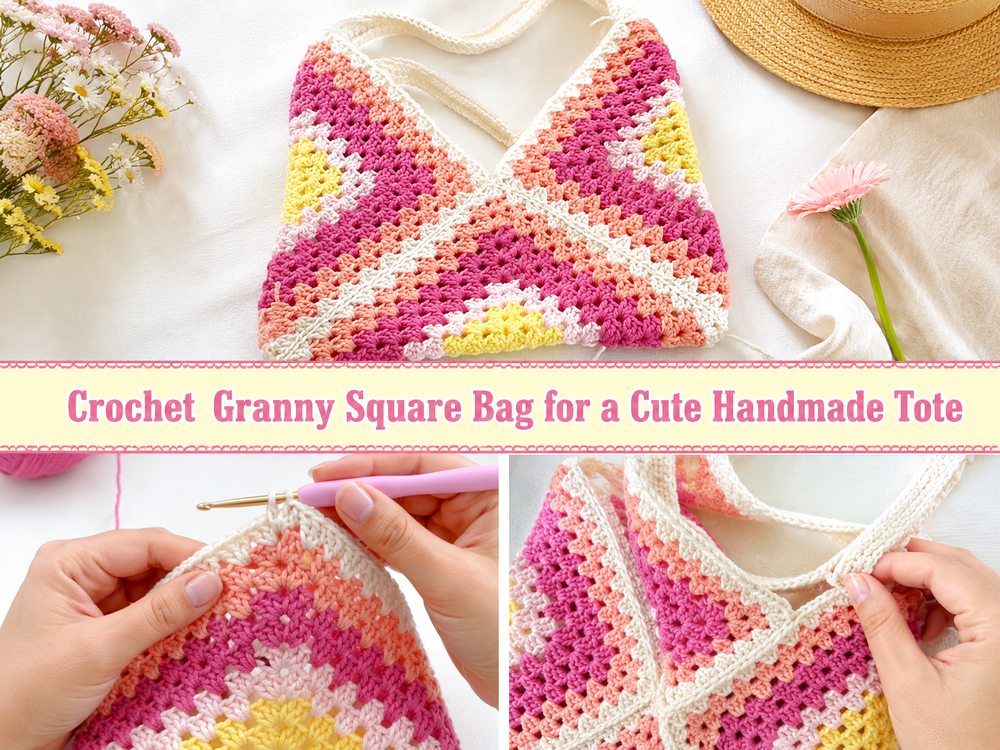
Begin by making the granny squares that will form the bag. Work each square evenly so they match nicely in size and shape.
Work the Main Section
Continue making the squares needed for the bag layout. Keep your tension steady so the finished pieces join neatly.
Adjust the Size
Repeat until you reach your desired size. You can make the squares slightly larger for a bigger bag or stop earlier for a smaller one.
Join or Shape
Join the finished granny squares to create the body of the bag. Once the shape is formed, add the strap or handles and make sure both sides sit evenly.
Finish the Edges
Work a simple finishing edge if needed, then weave in all the ends carefully so the bag looks neat and feels secure.
Helpful Tips
Block your squares first if they look uneven.
Use stitch markers when joining pieces to keep corners lined up.
Lay out the squares before joining to check the color placement.
Keep the strap length practical for how you want to wear the bag.
Common Mistakes to Avoid
- Making the squares different sizes
- Joining pieces without checking the layout first
- Using very loose tension for a bag that needs structure
- Forgetting to reinforce the strap area
- Skipping the final weave-in on high-use spots
Customization Ideas
Try bright leftover yarns for a playful patchwork look or keep it neutral for something more classic. You can also add a lining, longer straps, a button closure, or a simple border around the top.
Style Ideas
This bag is lovely for everyday errands, market trips, or casual outfits. It also makes a sweet handmade gift, especially in colors that match someone’s style.
Care Instructions
Wash gently in cool water and reshape while damp. Lay flat to dry so the squares keep their shape. If you add a lining or special trim, handle it with extra care.
Time Needed
This may take a few hours depending on your speed, yarn, size, and stitch pattern.
Conclusion
A crochet granny square bag is such a satisfying project because it is simple, colorful, and useful all at once. It is a lovely way to make something classic that still feels fresh and personal.
FAQs
Is this good for beginners?
Yes, it is beginner-friendly and built around simple granny square construction.
Can I make it bigger?
Yes, repeat until you reach your desired size.
What yarn is best for this bag?
Cotton or another sturdy yarn is a great choice for shape and durability.
Do I need to line the bag?
Not always, but lining can help if you want more structure or smaller items inside.
Can I use scrap yarn?
Yes, granny square bags are great for using leftover colors.