
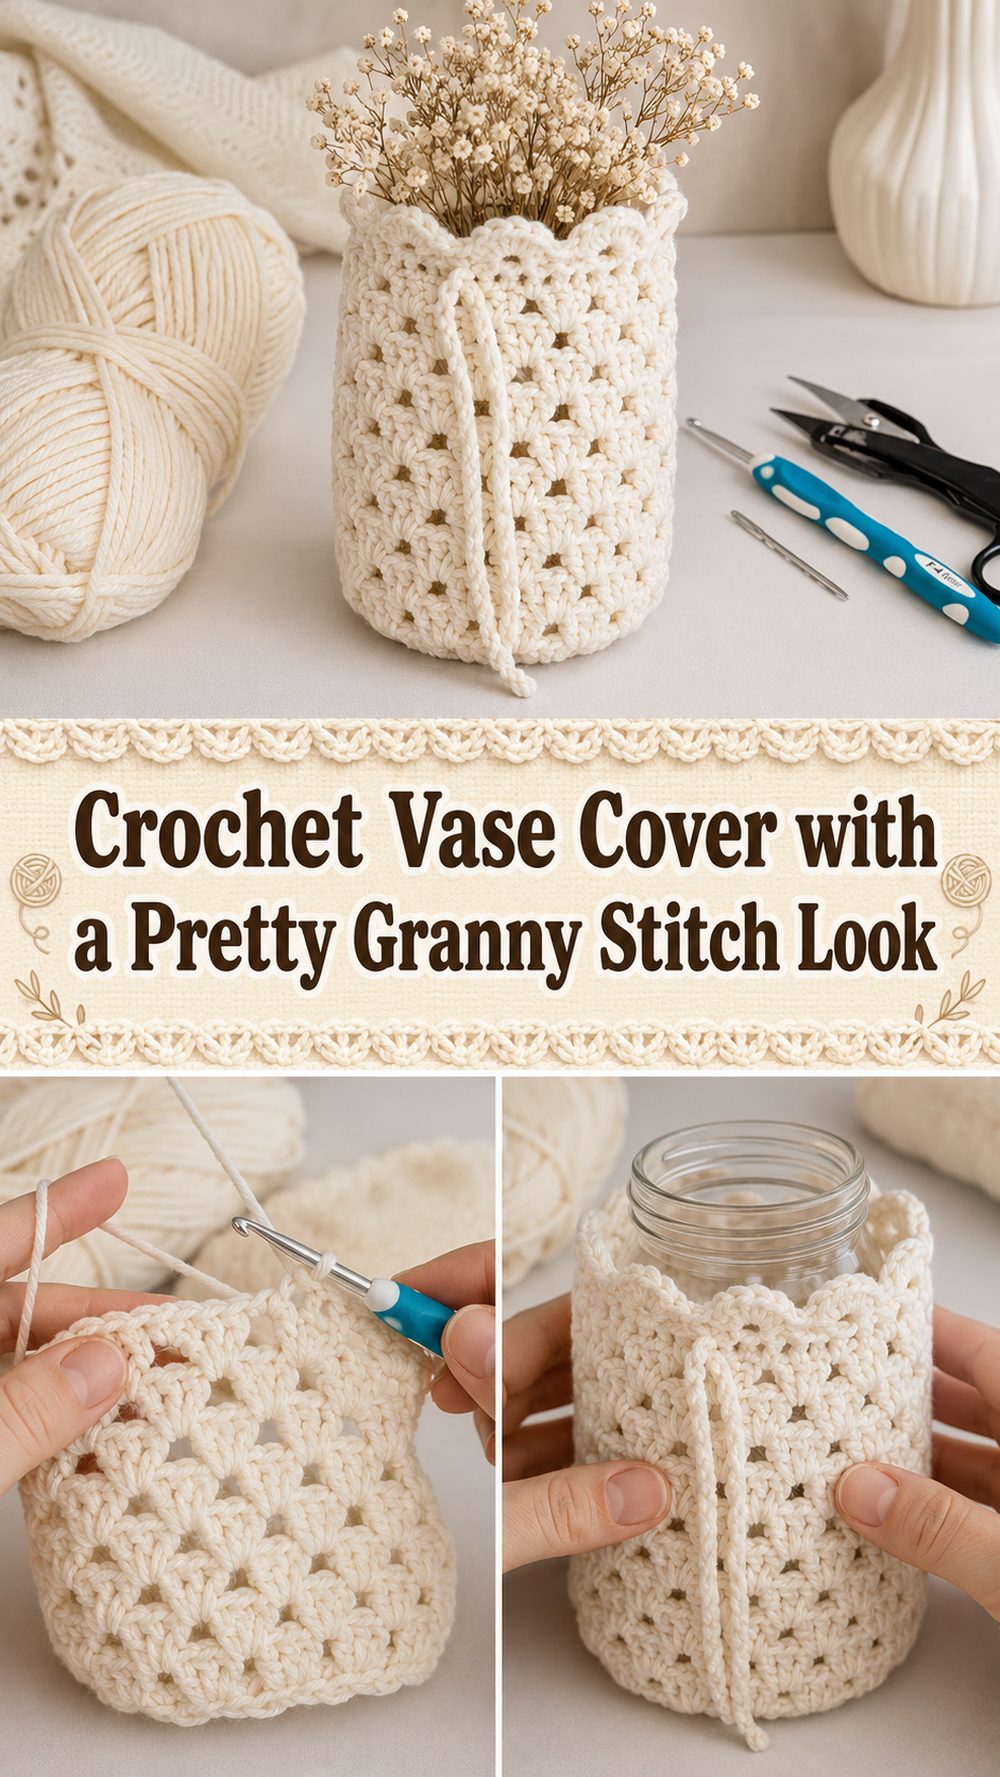
A crochet vase cover is such a simple way to make an ordinary jar or plain vase feel more special. It adds softness, texture, and a handmade touch without needing a huge amount of yarn or time. The tutorial I selected teaches a vase-style jar sleeve made with granny stitch, which gives it that lovely classic crochet look while still feeling relaxed and modern. It is the kind of project that works beautifully for fresh flowers, dried stems, tiny bouquets, or even as a decorative cover sitting on a shelf by itself. Because it is worked as a sleeve, it also feels very flexible and practical. You can use it to dress up a plain container and make it feel more like part of your home decor. This is a nice little project for anyone who enjoys pretty finishing details and easy crochet that still looks thoughtful and charming.
Why You’ll Love This Project
This project is lovely because it is small, useful, and very decorative. The granny stitch gives it a soft open texture, and the sleeve style makes it an easy way to turn a simple jar into a prettier vase for flowers or display. It is also described as fun to make and nice for gifting, which makes it feel even more special.
Materials Needed
- Yarn
- Crochet hook
- Scissors
- Yarn needle
- Stitch markers
- Measuring tape
- A jar or vase to check the fit while working
Use a yarn and hook size that matches your desired fit and texture.
Best Yarn for This Project
For a vase cover like this, a yarn with good stitch definition usually works best. Since the project uses granny stitch, it helps when the yarn shows those spaces and clusters clearly. Cotton is a lovely option if you want the cover to look neat and hold its shape well around the vase. It gives a clean finish and often suits home decor projects beautifully.
You can also use a soft acrylic or cotton blend if you want something lighter or more relaxed. Just try not to choose a yarn that is too fuzzy, because the stitch pattern may get a little lost. A smooth yarn in a light or natural shade can really highlight the open granny texture and give the finished vase cover a calm handmade look.
Skill Level
Beginner-friendly to easy.
The selected tutorial is presented as a tutorial for a crochet jar sleeve or crochet vase, and the overall style suggests a very approachable project. Since the design uses granny stitch, it is a comfortable choice for crocheters who know the basics and want to make something decorative without dealing with complicated shaping.
Size and Fit Guide
This project is especially nice because a vase cover does not need to follow one strict size. Start by choosing the jar or vase you want to cover, then use that as your guide the whole way through. Measure around the widest part and also check the height you want the cover to reach.
If you want a snug tailored look, crochet the sleeve so it sits close to the jar. If you prefer a softer, decorative look, leave a little room so the stitches relax naturally around the surface. Since this is essentially a jar sleeve used as a vase cover, the easiest method is to compare your work directly to the container as you go. That way, you can stop at the height that looks best and make small adjustments without needing exact fixed measurements.
Stitches Used
The tutorial clearly refers to granny stitch, so that is the main stitch pattern featured in the project. A vase cover like this may also involve basic starting and joining techniques to form the sleeve neatly. To keep things accurate, the safest stitch list here is:
- Chain
- Granny stitch
- Joining or finishing stitches as needed
Because the project is presented as a jar sleeve and vase tutorial built around granny stitch, that stitch texture is the main feature of the finished look.
How to Make It
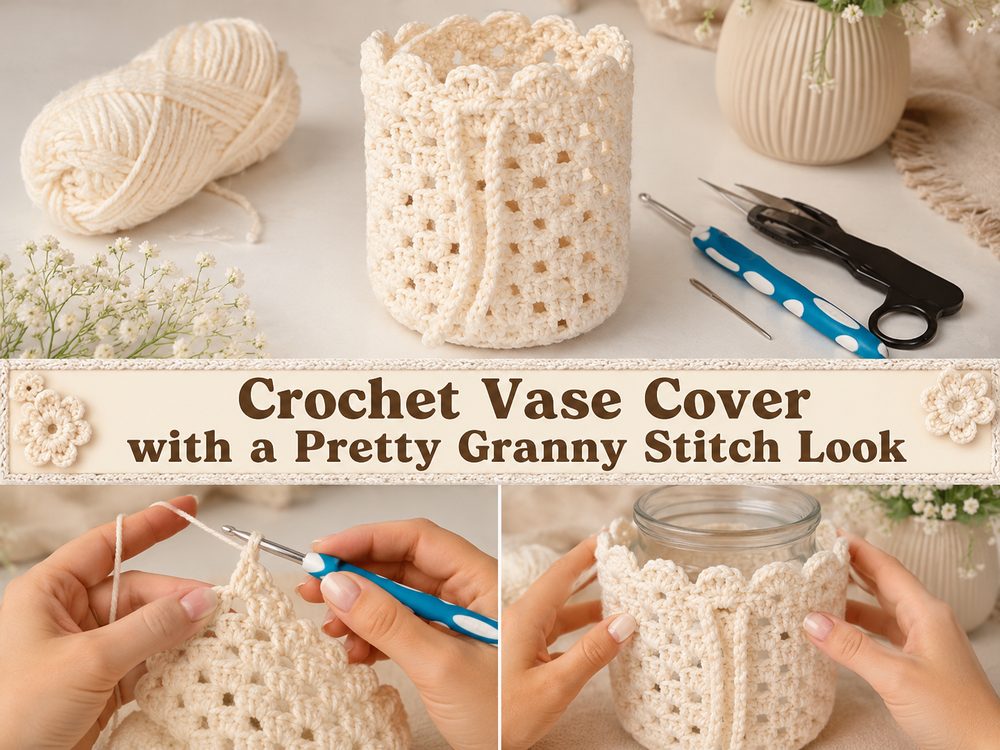
Step 1: Choose Your Vase or Jar
Before you begin crocheting, pick the container you want to cover. A straight-sided jar is usually the easiest shape for a sleeve, but a simple vase can also work if it is not too sharply curved. This step matters because the container becomes your sizing guide from start to finish.
Hold the yarn against the jar and think about how much of the vase you want to cover. Some people like the sleeve to sit low and leave the top of the glass showing, while others prefer a taller cover that hides most of the container. Either style can look lovely, so it really comes down to your taste.
Step 2: Start the Base of the Sleeve
This crochet vase cover is best thought of as a sleeve, so the first stage is creating the beginning edge that will wrap around the container. Because the tutorial is centered on a granny stitch jar sleeve, the design focuses more on forming a textured wrap than on making a solid closed basket.
As you begin, keep your tension even and think about flexibility. You want the fabric to fit the jar nicely, but you also want the stitch pattern to remain soft and visible. Granny stitch works especially well for this because it creates a decorative surface without becoming too heavy.
Step 3: Build the Granny Stitch Pattern
Once the starting section is in place, continue working in the granny stitch pattern. This is the part that gives the vase cover its charm. The little spaces in granny stitch create a light, classic texture that feels cozy without looking bulky.
As the fabric grows, compare it to the jar or vase often. Wrap it around the container and see how it sits. If it looks too tight, loosen your tension slightly or add enough width for a comfortable fit. If it looks too loose, keep the shaping a bit firmer. A vase sleeve should sit nicely around the container without sagging too much.
This is also the stage where the project starts to feel fun and satisfying. Granny stitch grows fairly quickly, so you can see the pattern develop without waiting too long. That makes this kind of home decor crochet especially enjoyable when you want a small project with visible progress.
Step 4: Adjust the Height
Keep working until the sleeve reaches the height you want. For a delicate look, stop lower down and let more of the glass or jar show above the crochet. For a fuller, cozier look, continue until the sleeve covers most of the vase body.
There is no need to force one exact length unless you want a matched set. A shorter sleeve can look airy and decorative, while a taller one feels more wrapped and textured. If you are using the jar for flowers, it is often nice to leave enough space at the top for the stems and water access.
Step 5: Join or Seam the Cover
Because this project is described as a jar sleeve, the crochet piece needs to sit neatly around the container. Depending on how you work it, that may mean joining the piece into a tube or finishing it in a continuous wrap that fits the jar properly. The main goal is to make sure the sleeve looks tidy and stays in place once it is on the vase.
Take a little extra care here. A neat join can make the whole project look much more polished. If the edges line up well and the stitch pattern looks balanced, the finished cover will feel intentional and decorative rather than homemade in a rushed way.
Step 6: Finish the Edges
Once the sleeve fits the jar and the height looks right, fasten off and weave in the yarn ends carefully. Clean finishing makes a big difference for a small project like this, because the eye naturally notices the details.
At the end, the vase cover should feel soft, textured, and decorative. The granny stitch gives it a classic crochet look, while the sleeve shape keeps it practical and easy to use. It is a lovely way to dress up plain containers and make even a simple bunch of flowers feel more thoughtful.
Helpful Tips
- Keep your tension even so the granny stitch looks neat.
- Check the fit against the actual jar or vase as you work.
- Cotton yarn is a great choice for a clean decorative finish.
- Leave enough room at the top if you want easy access for flowers or water.
- If you are making more than one, write down the basic size notes for each container.
- Block the finished sleeve lightly if you want the stitch pattern to open up more evenly.
Common Mistakes to Avoid
- Making the sleeve too tight for the vase
- Letting the stitch tension change too much halfway through
- Forgetting to test the wrap around the actual jar
- Making the cover taller than practical for flower use
- Using yarn that hides the granny stitch texture
- Rushing the seam or join so the sleeve sits unevenly
Customization Ideas
There are so many easy ways to make this project your own. You can use soft neutrals for a calm modern look, or choose brighter colors if you want the vase cover to stand out on a shelf or table. A striped granny stitch version could be very pretty, especially for spring flowers or cheerful summer decor.
You could also make several covers in different heights for a matching display of jars and bottles. That works beautifully for craft rooms, kitchen windows, or handmade centerpieces. If you enjoy seasonal decorating, try warm earthy shades for autumn, soft creams for everyday styling, or fresh floral colors for spring.
Style Ideas
This crochet vase cover looks lovely with dried flowers, simple greenery, fresh garden stems, or even a single branch. It suits cozy homes, cottage-style decor, relaxed boho rooms, and handmade gift setups.
It also makes a sweet gift. A plain jar covered in crochet with a few flowers inside feels thoughtful, personal, and easy to enjoy right away. Since the selected tutorial even notes that it is fantastic for presents and loved ones, it fits beautifully into that handmade gift idea.
Care Instructions
If needed, remove the crochet cover from the vase and hand wash gently with cool water and mild soap. Lay it flat to dry so it keeps its shape. Avoid high heat, especially if you are using acrylic or blended yarn.
If the vase holds fresh flowers, be careful that water does not keep soaking into the yarn for long periods. It is best if the inner jar or vase stays dry on the outside before you slip the crochet cover back on.
Time Needed
This may take a few hours depending on your speed, yarn choice, vase size, and stitch pattern.
Conclusion
A crochet vase cover is one of those little projects that feels simple but still makes a lovely impact. It adds warmth and texture to an everyday container and gives your flowers or decor a softer handmade finish. This granny stitch sleeve style is especially charming because it is easy to adjust, enjoyable to crochet, and pretty enough to use in your home or give as a gift. Choose a jar you love, pick a yarn that shows the stitch nicely, and enjoy turning something plain into something much more special.
FAQs
Is this project beginner-friendly?
Yes, it appears to be an easy vase or jar sleeve tutorial built around granny stitch, which makes it approachable for beginners with basic crochet skills.
What kind of container works best?
A simple jar or straight-sided vase is usually the easiest to cover because the sleeve can wrap around it neatly.
Can I adjust the size?
Yes. The easiest way is to keep comparing your crochet piece to the actual jar or vase as you work.
What yarn is best for a crochet vase cover?
A smooth cotton or cotton-blend yarn is a nice choice because it shows the stitch pattern clearly and gives a tidy finish.
Is this a good gift project?
Yes. The tutorial description specifically suggests it is fun to make and great for gifts.