
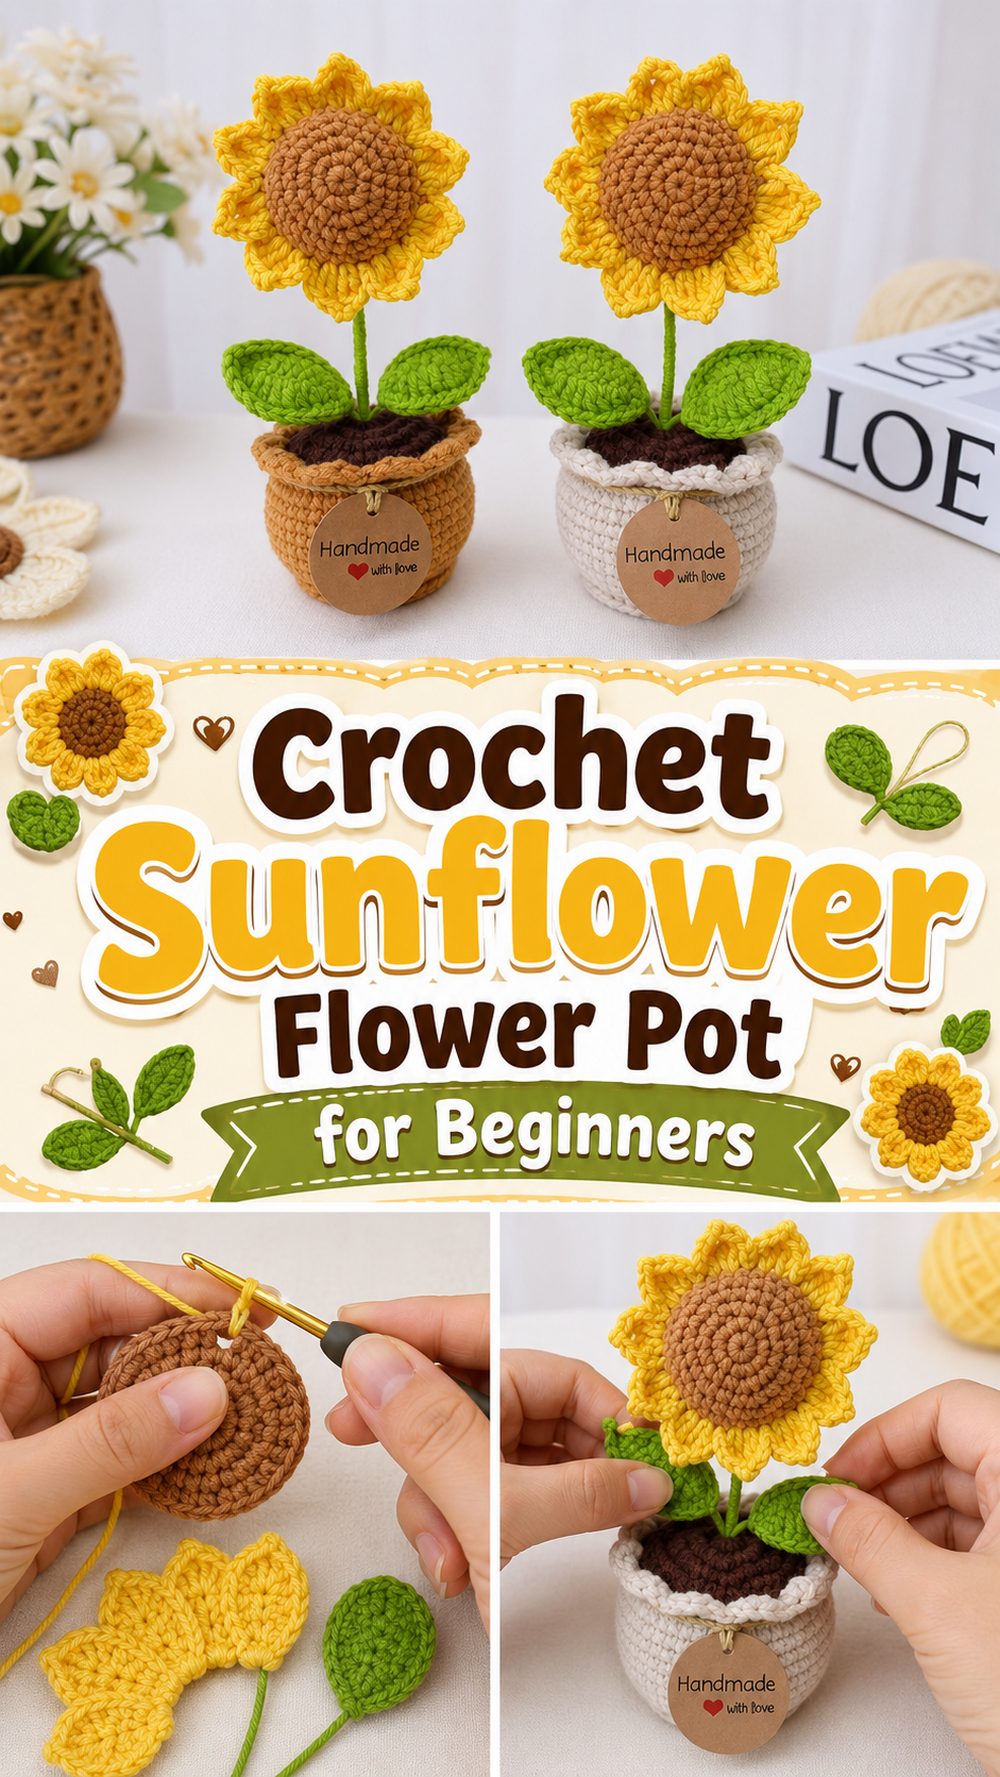
A crochet flower pot project is one of those cheerful little makes that instantly brightens your space. It is cute, decorative, and satisfying to finish, especially when you want something handmade that does not feel too overwhelming.
The tutorial I chose teaches a sunflower flower pot in a simple, beginner-friendly way, so it works well for anyone who enjoys soft amigurumi-style decor and wants a project with plenty of charm. The finished piece has that sweet handmade look that works beautifully on a desk, shelf, bedside table, or gift basket. It is also the kind of crochet item that feels fun from the very beginning because you get to build both the pot and the flower, then bring everything together into one adorable display. If you like making decorative crochet pieces that feel cozy, playful, and giftable, this is a lovely one to try.
Why You’ll Love This Project
This crochet flower pot is fun because it combines a decorative pot, a flower, and a cute finished display all in one project. The selected tutorial presents it as a cozy sunflower pot that is suitable for beginners, which makes it especially appealing if you want something charming without choosing a very advanced pattern.
Materials Needed
- Yarn in flower, leaf, and pot colors
- Crochet hook
- Scissors
- Yarn needle
- Stitch marker
- Stuffing
- A wooden stick, floral wire, or another support if needed for the flower stem
Use a yarn and hook size that matches your desired fit and texture.
Best Yarn for This Project
For a crochet flower pot like this, a smooth yarn with clear stitch definition usually works best. Since this project has small shaped parts, you want the stitches to look neat and easy to control. A soft acrylic yarn is a nice choice for amigurumi because it is easy to find, comes in lots of colors, and gives the finished flower pot a soft, plush look.
Cotton can also work well if you prefer a slightly firmer shape with crisp stitches. That can be helpful for the pot or leaves when you want them to hold their form more clearly. In general, avoid yarn that is too fuzzy, because it can make the shaping harder to see and the details may get lost.
Skill Level
Beginner-friendly to easy.
The video describes the sunflower pot as perfect for beginners, so this is a good project for someone who already knows the basics and wants to try a simple shaped decorative piece. It is especially nice for crocheters who want to practice small parts, assembly, and gentle shaping without jumping into something too complicated.
Size and Fit Guide
Since this is a decorative flower pot project rather than a wearable item, sizing is flexible. You can make it smaller and cuter with lighter yarn, or give it a fuller look by using thicker yarn and a matching hook. The easiest way to keep the proportions looking nice is to make sure the flower, leaves, and pot feel balanced together.
If your pot starts to look too narrow for the flower, keep working a few more rounds before finishing. If the flower looks oversized, use lighter stuffing or slightly smaller parts so the final piece stays neat. For amigurumi-style decor, visual balance matters more than exact measurements, so it is perfectly fine to adjust gently as you go.
Stitches Used
The tutorial is presented as a simple beginner project, so it uses basic crochet construction and shaping for the pot and flower pieces. The clearly safe stitch list for this kind of project includes:
- Chain
- Slip stitch
- Single crochet
- Increases
- Decreases
- Joining and finishing techniques
These stitches are commonly used to build small amigurumi-style shapes and decorative parts such as petals, leaves, and a pot. The tutorial specifically presents the sunflower pot as an easy step-by-step beginner project.
How to Make It
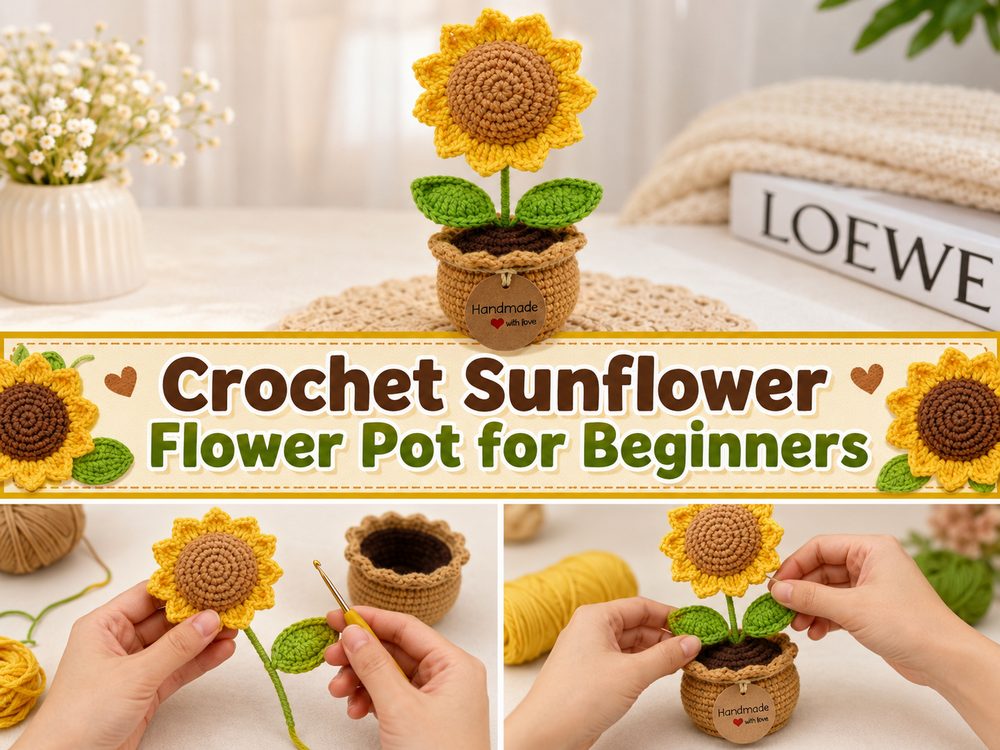
Step 1: Start with the Pot
This project begins by building the flower pot itself. The pot gives the whole piece its shape and helps turn the flower into a finished display instead of just a separate crochet bloom. For a beginner-friendly flower pot project like this, the pot is usually worked in a simple, controlled shape so it feels manageable and easy to follow.
As you work, keep your stitches even and fairly firm. A flower pot usually looks best when it holds its shape nicely instead of collapsing. If you are making a soft amigurumi-style pot, add stuffing gradually so the shape feels supported but not overfilled.
Step 2: Shape the Pot Body
Once the base is started, continue building the sides of the pot. This is where the little planter begins to take form. You want it to look stable, balanced, and cute enough to support the cheerful sunflower above it.
Take your time with this part. If the pot leans or feels uneven, it can affect the whole final look. A tidy, symmetrical pot makes the finished project feel polished, even if the design itself is playful and simple. Since this tutorial is meant for beginners, the shaping is intended to stay approachable rather than overly technical.
Step 3: Crochet the Sunflower Center
After the pot is underway, move on to the flower itself. The center of the sunflower gives the project its focal point. This part usually creates the base for the petals and helps the flower look full and recognizable.
Because this is a decorative crochet flower pot, the flower should feel cheerful and slightly bold. Keep the center neat and well-shaped so the petals can sit nicely around it later. Stuff lightly if needed, depending on how the tutorial forms the flower pieces.
Step 4: Make the Petals
The petals are what really give this project its sunflower look. Work them carefully and try to keep them as even as possible. Matching petals will make the flower look more balanced and attractive once assembled.
This stage is often the most enjoyable because the project begins to come alive. A few petals already start to change the look from a simple crochet shape into a recognizable flower. Since the video presents the sunflower pot as cozy and beginner-friendly, the petals are meant to be approachable rather than intimidating.
Step 5: Crochet the Leaves and Stem
The leaves add freshness and help the flower pot feel complete. Even a small number of leaves can make a big difference to the final look. They soften the edges between the flower and pot and make the arrangement look more natural.
The stem section is what connects everything together. Depending on the structure shown in the tutorial, you may need a support inside the stem so the flower stands up well. Keep the stem neat and secure, especially where it joins the flower and pot.
Step 6: Assemble the Pieces
Once all the main parts are crocheted, it is time to put everything together. This is the moment when the project really becomes a little crochet flower pot instead of a collection of separate pieces. Attach the petals neatly around the flower center, place the leaves where they look balanced, and secure the stem firmly into the pot.
If the pot is stuffed, check that it still sits nicely after assembly. If the flower leans too much, adjust the placement before finishing. Assembly is worth doing slowly because neat placement can make even a simple beginner project look much more polished.
Step 7: Finish and Shape
When everything is attached, weave in the ends carefully and give the flower pot a final shaping. Smooth the pot, adjust the petals, and position the leaves in a way that feels lively and balanced. The finished piece should look cheerful, soft, and decorative, with the sunflower standing proudly from the little crochet pot.
This kind of project is especially sweet because it works as decor all by itself. You do not need to water it, it stays bright all year, and it adds a handmade touch to any small corner of the home. The chosen tutorial specifically presents it as a cute sunflower pot for beginners, which fits that easy, happy style perfectly.
Helpful Tips
- Use a stitch marker so you do not lose your place in small rounds.
- Keep your stitches tight enough that stuffing does not show through.
- Stuff the pot gently so it keeps its shape without becoming stiff.
- Arrange the petals before sewing them down permanently.
- Make sure the flower is centered nicely in the pot before finishing.
- Use smooth yarn if you want the details to show clearly.
Common Mistakes to Avoid
- Crocheting too loosely so the stuffing peeks through
- Overstuffing the pot and making it look stretched
- Making uneven petals that throw off the flower shape
- Attaching the flower off-center
- Forgetting to secure the stem well enough
- Rushing the assembly and leaving parts loose
Customization Ideas
There are lots of easy ways to personalize this crochet flower pot. You can keep the sunflower look, or swap the colors to make a more playful fantasy flower. A pastel version would look sweet in a nursery or craft room, while earthy tones would make it feel warm and cozy on a shelf.
You could also change the pot color to suit your decor. Try cream, terracotta, sage, mustard, or brown for a soft homey style. If you enjoy making gifts, you can create a few flower pots in different shades and display them together as a cheerful handmade set.
Style Ideas
This crochet flower pot looks lovely on a desk, bookshelf, windowsill, bedside table, or entryway shelf. It is a cheerful little decor piece for anyone who likes flowers but also wants something handmade and lasting.
It also makes a very sweet gift. You can give it for birthdays, Mother’s Day, teacher gifts, or just as a small handmade surprise. Because it is decorative and does not need care like a real plant, it is a nice choice for people who enjoy cozy handmade items.
Care Instructions
To keep your crochet flower pot looking nice, dust it gently now and then or spot clean it if needed. If it gets dirty, hand wash carefully with cool water and mild soap, then reshape it and let it dry fully. Avoid high heat, especially if the project is stuffed or uses acrylic yarn.
Time Needed
This may take a few hours depending on your speed, yarn choice, and how much time you spend assembling the flower neatly.
Conclusion
A crochet flower pot is such a happy little project to make. It is decorative, beginner-friendly, and full of handmade charm, which makes it a great choice when you want something fun but not too overwhelming. This sunflower version is especially lovely because it combines a cute flower with a soft little pot, giving you a finished piece that looks cheerful all year round. Pick colors you love, take your time with the shaping, and enjoy making a crochet flower pot that can brighten your space or become a thoughtful handmade gift.
FAQs
Is this project beginner-friendly?
Yes. The selected tutorial describes it as a cute sunflower pot that is perfect for beginners.
What yarn works best for a crochet flower pot?
A smooth acrylic or cotton yarn usually works well because it shows the stitches clearly and helps the shaped parts look neat.
Can I change the flower color?
Yes. You can easily switch the petal and pot colors to match your style or make a different decorative look.
Do I need stuffing?
Most amigurumi-style flower pot projects use stuffing for the pot or flower parts so the shape holds nicely.
Is this good for gifting?
Yes. A crochet flower pot makes a sweet handmade gift because it is decorative, cheerful, and long-lasting.