
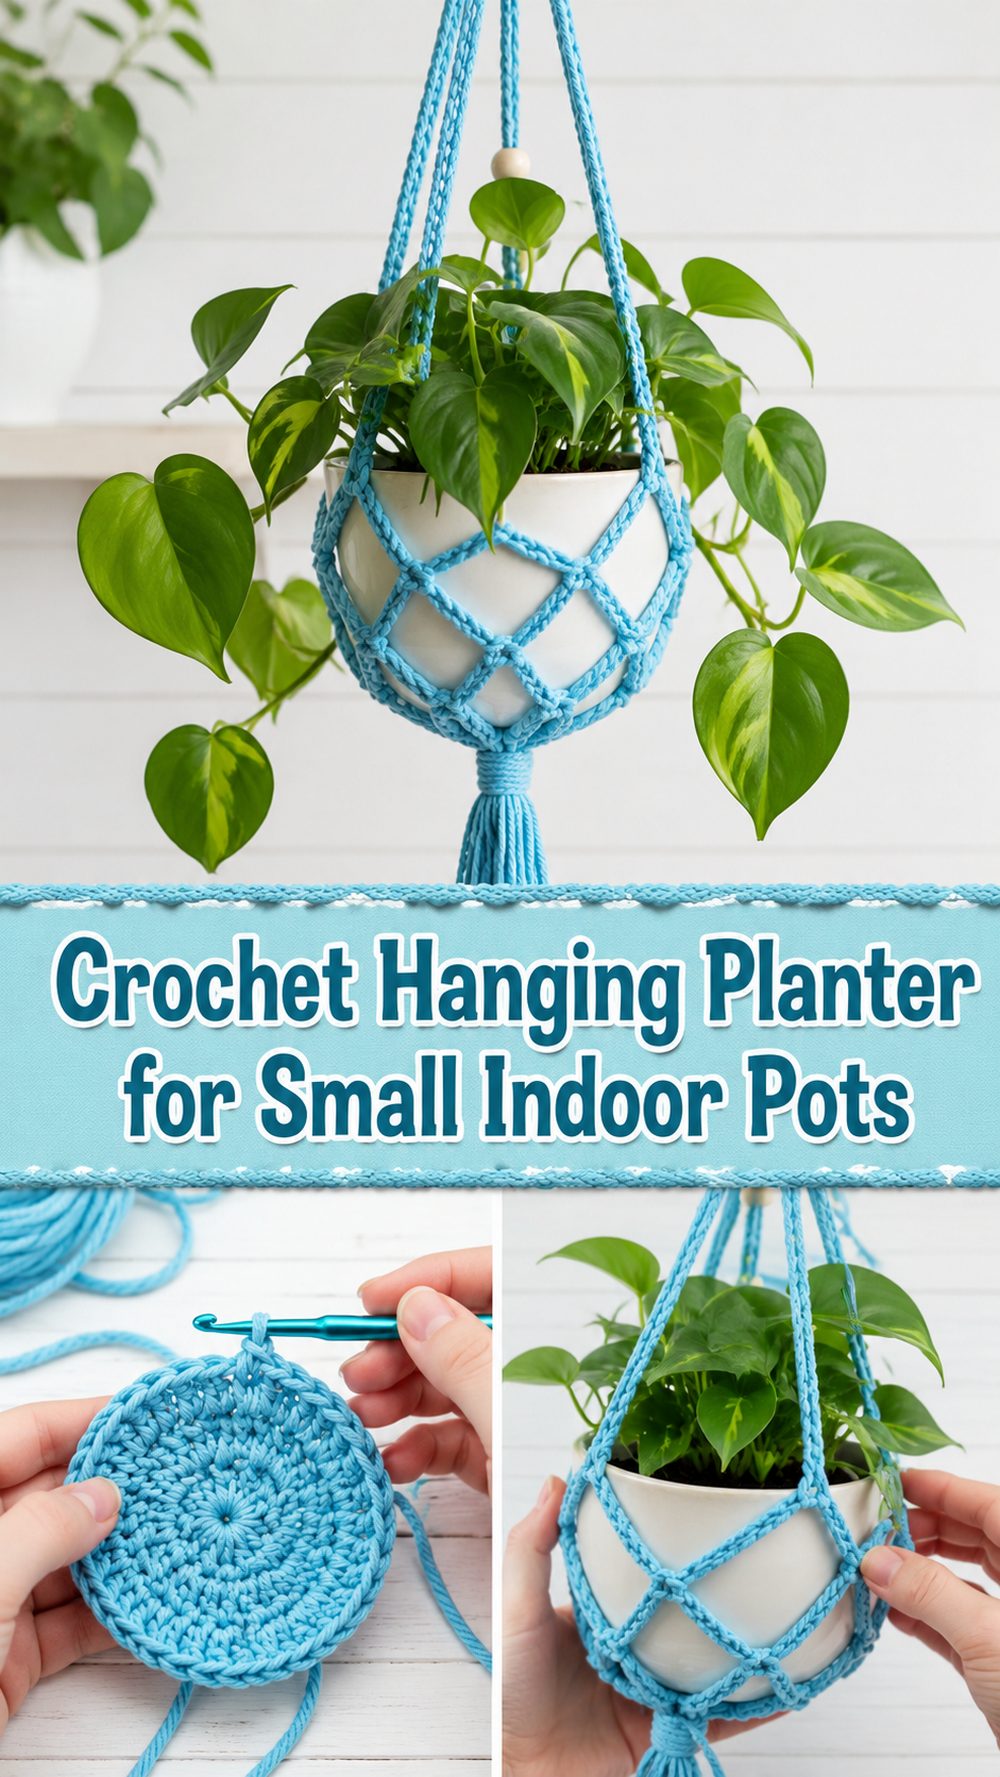
A crochet hanging planter is such a lovely way to bring a handmade touch into your home. It turns a simple little plant into something warmer, softer, and much more decorative, and it is also the kind of project that feels useful right away. The tutorial I chose teaches a beginner-friendly boho-style hanging planter designed to fit a small pot, around 4 to 5 inches, so it is a nice option for herbs, succulents, tiny trailing plants, or little decorative pots around the house. It has that relaxed, handmade look that works beautifully in cozy spaces, craft rooms, reading corners, or bright windows. This is the kind of project that feels fun without being overwhelming, and it is especially nice for anyone who enjoys making home decor pieces that are quick, practical, and easy to personalize with yarn color and texture.
Why You’ll Love This Project
This project is appealing because it gives you both function and style in one simple make. It is decorative, beginner-friendly, and small enough to finish without feeling like a huge commitment. The finished planter has a relaxed boho look and is designed for a small pot, which makes it ideal for bright little corners of the home.
Materials Needed
- Yarn
- Crochet hook
- Scissors
- Yarn needle
- Stitch markers
- Measuring tape
- A small flower pot to check the fit while working
Use a yarn and hook size that matches your desired fit and texture.
Best Yarn for This Project
For a hanging planter, cotton is often one of the nicest choices because it gives the piece a cleaner shape and a bit more structure. That matters when the project needs to support a small pot and still look neat while hanging. A cotton or cotton-blend yarn can help the planter feel crisp and decorative rather than floppy.
If you want a softer look, you can also use a smooth acrylic or blended yarn, but it is best to choose something that still has enough body to hold its shape well. Since this tutorial is described as a small, beginner-friendly boho-style planter, yarns with a natural look and clear stitch definition will suit it especially well.
Skill Level
Beginner-friendly.
The selected tutorial is presented as an easy crochet project, which makes it a good fit for newer crocheters who are comfortable with basic yarn handling and simple crochet movement. It looks like the project focuses more on clean construction and shaping than on complicated stitch work, so it is approachable for relaxed home decor crocheting.
Size and Fit Guide
This hanging planter is meant for a small pot, around 4 to 5 inches, so it is a good idea to keep your flower pot beside you while you work. That way, you can check the size of the basket section as it grows and make sure the pot will sit comfortably inside without feeling too loose or too tight.
To adjust the fit, compare the base and body of your crochet piece against the actual pot as you go. If your pot is slightly wider, keep building the basket section until it holds the pot properly. If it is a little taller, continue the side section until the planter feels secure. For a hanging project like this, the safest approach is always to test the fit before finishing the straps.
Stitches Used
The tutorial is described as beginner-friendly, so it relies on simple crochet methods rather than advanced shaping. The hanging planter appears to use chain work for the hanging lengths and basic crochet stitches for the basket portion, along with joining and finishing techniques to create the final holder.
How to Make It
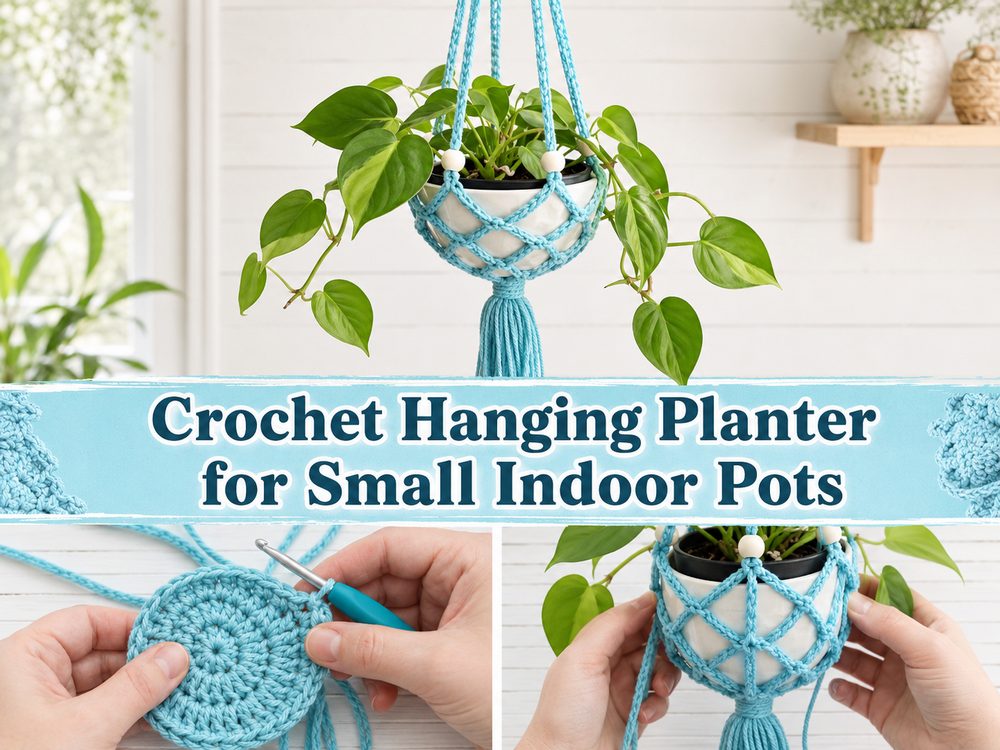
Step 1: Start the Basket Section
This kind of hanging planter usually begins by building the part that will actually cradle the flower pot. The first stage is to create a firm base or lower section that can support the pot instead of letting it slip through. Because this tutorial is meant for a small 4 to 5 inch planter, the basket area stays nicely compact, which helps the finished piece feel tidy and useful rather than oversized.
Work carefully and keep your stitches even. For a home decor piece like this, neat tension makes a big difference. If the lower section is too loose, the pot may not sit securely. If it is too tight, the planter can feel stiff and hard to shape.
Step 2: Build Up the Sides
Once the lower part is formed, continue upward to create the body that wraps around the pot. This section is where the hanging planter starts to really take shape. The goal is to create enough structure to hold the pot securely while still keeping the look light and decorative.
As you work, slide the pot into the piece now and then to check how it sits. A good hanging planter should hold the pot snugly enough that it feels supported, but it should not squeeze so tightly that it distorts the stitches. Since the tutorial is beginner-friendly, the shaping is meant to stay manageable and practical.
Step 3: Form the Hanging Straps
After the planter body is ready, the next important part is creating the hanging sections. These long lengths give the project its signature suspended look and make it possible to hang the finished piece from a hook or wall bracket. In a boho-style planter, these strands also add to the decorative effect, so they are not just functional, they are part of the charm too.
Keep the straps as even as possible so the pot hangs straight. If one side turns out much longer than another, the planter may lean awkwardly once it is filled. Marking your joining points can help keep everything balanced.
Step 4: Join and Gather the Top
Once the hanging lengths are made, bring them together neatly at the top. This creates the final hanger section that lets you suspend the planter safely. Take a moment here to make sure the lengths are even and the pot sits level before finishing everything off.
This part may seem small, but it really affects how polished the finished planter looks. A neatly gathered top gives the whole project a cleaner shape and helps it look intentional and decorative rather than rushed.
Step 5: Check the Fit Before Finishing
Before weaving in your ends, place the flower pot inside and test the full shape. Lift the piece gently to see how it hangs. Make sure the basket supports the pot comfortably and the straps are balanced. This is the best time to make small corrections if needed.
For a small indoor planter, the finished piece should feel light, secure, and easy to hang in a bright little corner. It should cradle the pot rather than bury it, letting both the plant and the crochet work show nicely. Since the tutorial is sized for a smaller planter, it works especially well for compact decorative pots.
Step 6: Finish the Details
Once everything looks balanced, fasten off and weave in the yarn ends carefully. A clean finish matters with hanging decor because the piece is visible from different angles. Any loose ends or uneven joins will be easier to notice when the planter is hanging up.
At the end, you should have a cute boho-style crochet planter that can hold a small pot and add handmade texture to your space. It is simple, useful, and has that relaxed decorative feel that makes crochet home decor so enjoyable.
Helpful Tips
- Keep your strap lengths as even as possible so the planter hangs straight.
- Check the fit with the actual pot before finishing the top.
- Cotton yarn is a lovely choice for a cleaner, stronger shape.
- Use stitch markers if you want the attachment points to stay evenly spaced.
- Keep your tension steady so the basket section looks neat.
- Test the planter gently before hanging it in its final place.
Common Mistakes to Avoid
- Making the basket too loose for the pot
- Forgetting to check whether the pot sits level
- Creating hanging straps with uneven length
- Using a yarn that stretches too much for support
- Finishing the sides too early before the pot feels secure
- Skipping the final test hang before weaving in the ends
Customization Ideas
You can make this hanging planter feel very personal with just a few simple changes. Try a natural cream or beige yarn for a soft boho look, or use terracotta, sage, mustard, or dusty rose if you want it to feel warmer and more playful. You can also make the hanging straps longer or shorter depending on where you plan to display it.
For extra style, you could add subtle texture, a tassel at the bottom, or a contrasting color at the top edge. If you are decorating a whole room, making two or three in matching shades can look especially pretty near a window or shelf.
Style Ideas
This crochet hanging planter looks lovely in a sunny kitchen window, near a reading nook, in a craft room, or in a cozy apartment corner that needs a little softness. It works beautifully with succulents, little ivy pots, and other small indoor plants.
It also makes a thoughtful handmade gift. Paired with a tiny potted plant, it becomes a sweet present for housewarmings, birthdays, or anyone who loves plants and home decor.
Care Instructions
Hand wash gently if needed and lay flat to dry. Avoid high heat, and do not leave the crochet piece wet for long periods. If you place a real potted plant inside, make sure excess water is not soaking into the yarn. It is best to let the inner pot drain properly before returning it to the crochet hanger.
Time Needed
This may take a few hours depending on your speed, yarn choice, pot size, and how often you stop to check the fit.
Conclusion
A crochet hanging planter is one of those projects that feels simple but still makes a space look so much more thoughtful. It is decorative, useful, and beginner-friendly, and it gives you a finished piece you can enjoy right away. This small boho-style version is especially nice for little indoor pots, and it is easy to personalize through color, texture, and length. Make one for yourself, make one as a gift, or create a matching set and turn a plain plant corner into something much more cozy and handmade.
FAQs
Is this project beginner-friendly?
Yes. The selected tutorial presents it as an easy, beginner-friendly hanging planter project.
What size pot does it fit?
It is described as fitting a small pot around 4 to 5 inches.
What yarn works best for a hanging planter?
Cotton or a cotton blend is often a very good choice because it gives better structure and a neat decorative finish.
Can I adjust the size?
Yes. You can check the fit with your actual pot as you work and continue the basket section until it feels secure.
Can I use this as a gift project?
Yes. A crochet hanging planter is a lovely handmade gift, especially when paired with a small indoor plant.