
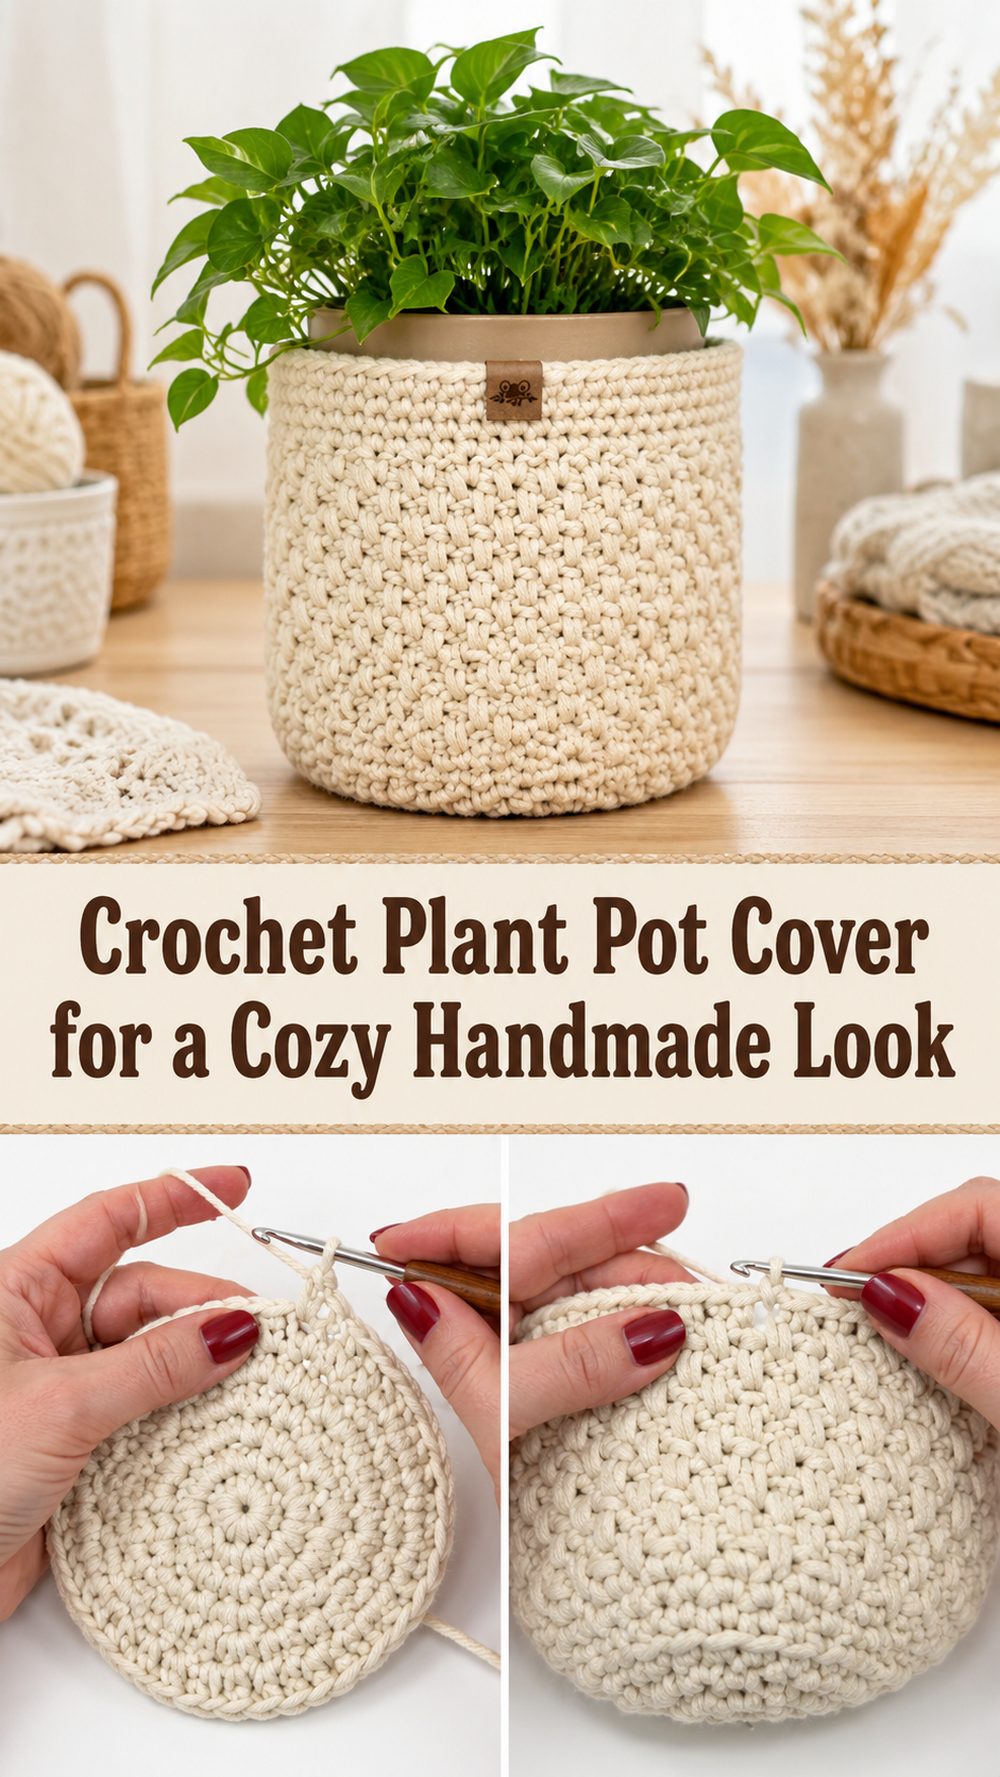
A crochet plant pot cover is one of those small projects that can make a big difference in a room. It adds texture, softens plain nursery pots, and gives your favorite plants a more finished look without needing anything too fancy. This kind of project is especially nice when you want something quick, useful, and relaxing to make.
It also works well for gift-giving, because a handmade plant cover feels personal and practical at the same time. The tutorial I selected teaches a beginner-friendly planter cover that is worked from the bottom up and adjusted to fit the pot as you go, which makes it a very approachable project for crocheters who like flexible sizing instead of strict measurements.
Why You’ll Love This Project
This plant pot cover is fun because it gives you that satisfying mix of decor and function. You get to make something pretty, but it is also useful right away. It is a lovely stash-busting project, easy to personalize, and simple to resize for different pots, which makes it feel low-stress and creative at the same time.
Materials Needed
- Yarn
- Crochet hook
- Scissors
- Yarn needle
- Stitch marker
- Measuring tape
- Your plant pot for fit checking
Use a yarn and hook size that matches your desired fit and texture.
Best Yarn for This Project
For a plant pot cover, a yarn with a bit of structure usually works best. Cotton is a great choice if you want a neat, clean shape and a more polished home decor look. It also feels sturdy and helps the cover hold its form nicely around the pot. If you want something softer and cozier, you can also use an acrylic or blended yarn, especially for indoor decorative pots.
Try not to choose anything too slippery or overly fuzzy, because textured but tidy stitches tend to show up best on a simple pot cover. A medium-weight yarn is often the easiest place to start since it builds up quickly and gives the cover a nice body.
Skill Level
Beginner-friendly to easy.
This project is a good fit for newer crocheters because the tutorial uses a simple construction method and shows how to build the piece from the bottom upward. The sizing is adjusted as you go, so you do not need to stress over exact numbers as long as you keep checking the fit around your pot.
Size and Fit Guide
The nice thing about this plant pot cover is that you can make it to suit your own pot instead of forcing your pot to match a fixed pattern size. Measure across the bottom of the pot first, then compare that to your crochet circle as you work. Once the base fits, keep building upward until the sides are tall enough.
As you crochet the body, hold the piece against the pot often. If the cover feels too snug, add a little more width before continuing upward. If it looks loose, stop increasing and let the sides rise naturally. This kind of check-as-you-go method is one of the easiest ways to get a clean fit for planters of different sizes.
Stitches Used
The tutorial clearly uses:
- Chain
- Single crochet
- Increases
- Slip stitch
The main shaping comes from increased rounds of single crochet, which keeps the project simple and beginner-friendly.
How to Make It
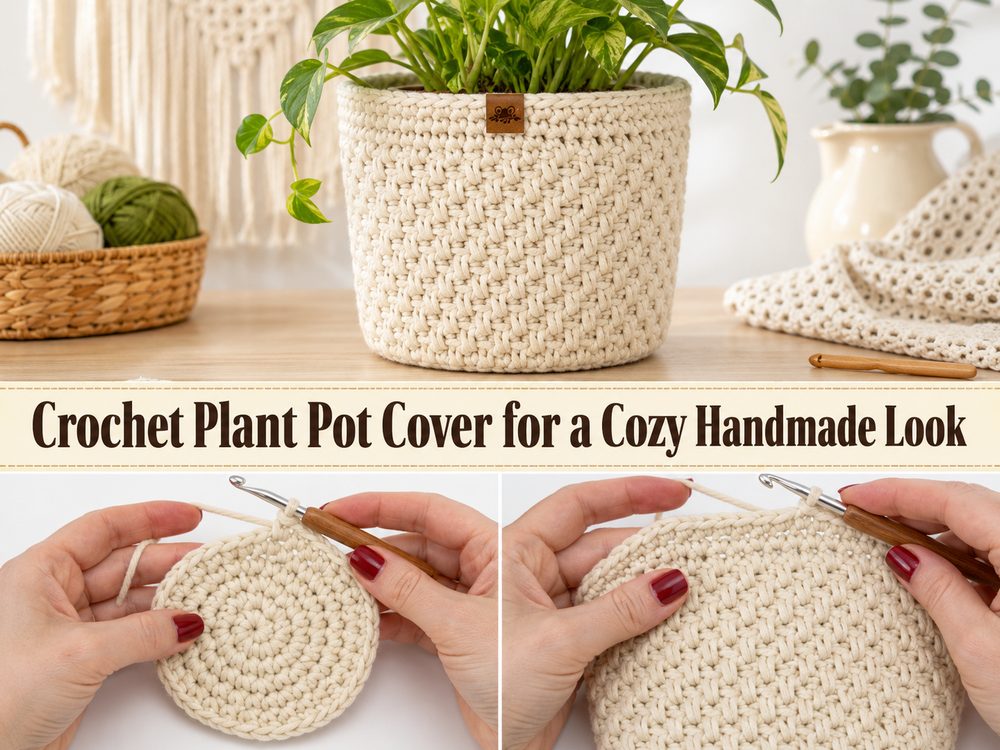
Step 1: Start the Foundation
This plant pot cover begins at the bottom, which is a very practical way to build it because you can match the base directly to your planter. You start by creating a small center and working outward in rounds. The goal here is to form a flat circle that will become the bottom of the cover.
As you continue, add increases evenly so the base stays flat instead of curling up too soon. A flat bottom is important because it helps the finished cover sit neatly around the pot rather than looking lopsided. The tutorial teaches this project as a bottom-up design, so the early rounds are all about making that solid base first.
Step 2: Build the Bottom Circle
Keep crocheting in round after round of single crochet, adding increases where needed. Watch the shape more than the numbers. If the circle starts to cup before it matches the pot base, it may need a bit more room. If it begins to ruffle, you may have added too many increases.
This is the stage where using the actual pot is most helpful. Set the crocheted circle under the planter or compare it against the bottom edge. Once the circle is about the right size, you are ready to stop widening and begin forming the sides. The tutorial specifically focuses on adjusting the size while working, which makes this stage very forgiving.
Step 3: Shape the Sides
After the base fits, the piece starts to turn upward. This is where the plant pot cover begins to look like an actual cover instead of a flat circle. Rather than continuing to expand quickly, you work upward so the fabric can wrap around the pot.
The single crochet texture gives the cover a clean, compact look. That makes it a nice match for home decor because it feels neat and sturdy rather than floppy. As the sides grow, keep slipping the work over the pot to check how it sits. A good pot cover should hug the planter comfortably without stretching too hard or sagging too much.
Step 4: Adjust the Size as You Go
One of the best parts of this tutorial is that it is not locked into one exact pot measurement. You can continue working until the height suits your planter. For a shorter look, stop when the cover reaches just below the rim. For a fuller look, crochet a little higher so more of the pot is hidden.
If your planter is wider, simply allow enough room at the base before moving up the sides. If your pot is taller, keep working more rounds until the height feels right. This flexible approach makes the project ideal for using whatever pots you already have at home.
Step 5: Check the Fit Often
As with most crochet home decor pieces, the best result comes from regular fit checks. Slide the work onto the pot every few rounds and see how the shape is developing. You want the cover to sit smoothly around the base and sides without bunching.
Checking the fit while you work also helps you decide whether you want a snug tailored look or a slightly relaxed cozy style. Since this project is designed to be adjustable, your own pot becomes the guide throughout the whole process.
Step 6: Finish the Top Edge
Once the cover reaches your desired height, finish off the top neatly. A clean edge gives the whole project a more polished look. Weave in the yarn ends carefully so nothing peeks out when the pot is in place.
When finished, the cover should look tidy, textured, and shaped to the planter. It turns an ordinary flower pot into something warmer and more decorative, while still keeping the project simple enough for everyday crocheting.
Helpful Tips
- Keep your tension as even as possible so the cover looks smooth all the way around.
- Use the actual pot often instead of relying only on guessing.
- Cotton yarn is especially nice if you want a crisp shape.
- Place a stitch marker at the start of each round to stay organized.
- If you are making more than one, measure each pot before starting so the finished covers feel coordinated.
- A simple neutral yarn gives a modern home decor look, while bright colors make the piece more playful.
Common Mistakes to Avoid
- Making the bottom too small before starting the sides
- Adding too many increases and ending up with a wavy base
- Forgetting to check the fit against the actual pot
- Using yarn that is too stretchy for the look you want
- Stopping too early and leaving too much of the pot uncovered
- Weaving in ends loosely so they show after the cover is used
Customization Ideas
You can easily make this project your own. Try using soft earthy shades for a calm natural look, or brighter colors to make your plant corner feel cheerful. A striped version can be very cute if you are using scrap yarn. You could also add a simple edging at the top for extra detail.
For a more rustic feel, use cotton in beige, olive, clay, or cream tones. For a playful room, try pastel shades or bold contrast colors. You can also make several covers in matching tones for a tidy plant shelf.
Style Ideas
This crochet plant pot cover looks lovely on a desk, windowsill, shelf, or side table. It works well in cozy spaces, boho rooms, and modern handmade interiors. It also makes a thoughtful little gift when paired with a small houseplant.
You can group a few covered pots together for a styled corner, or make one special cover to highlight your favorite plant. It is also a nice way to hide plain plastic nursery pots without needing to repot right away.
Care Instructions
If the cover gets dusty, shake it out gently or spot clean as needed. For deeper cleaning, hand wash it with mild soap and cool water. Lay it flat to dry so it keeps its shape. Avoid high heat, especially if your yarn is acrylic or blended.
Also remember that crochet covers are best kept from sitting in standing water. If you water your plant inside the cover, be careful that the yarn does not stay damp for too long.
Time Needed
This may take a few hours depending on your speed, yarn, pot size, and stitch tension.
Conclusion
A crochet plant pot cover is such a lovely little project when you want something easy, useful, and decorative. It is simple enough to enjoy without pressure, but it still gives you a finished piece that can brighten up your home right away. Because the size can be adjusted as you go, it is also a very practical project for real everyday planters. Pick a yarn you love, check the fit as you work, and have fun making a plant cover that suits your own space and style.
FAQs
Is this project beginner-friendly?
Yes. It uses a simple bottom-up method with easy shaping, so it is a comfortable project for beginners.
What yarn is best for a crochet plant pot cover?
Cotton is a great option if you want a cleaner, firmer shape, but other yarns can work depending on the texture you like.
Can I adjust the size for different pots?
Yes. This tutorial is designed to be adjusted while you work, which makes it easier to fit different planter sizes.
Do I need exact stitch counts?
No. For this kind of project, checking the fit against your pot is more important than following strict numbers.
Can I make several matching covers?
Absolutely. Once you understand the basic shaping, it is easy to repeat the method for a set of pots in different sizes.