
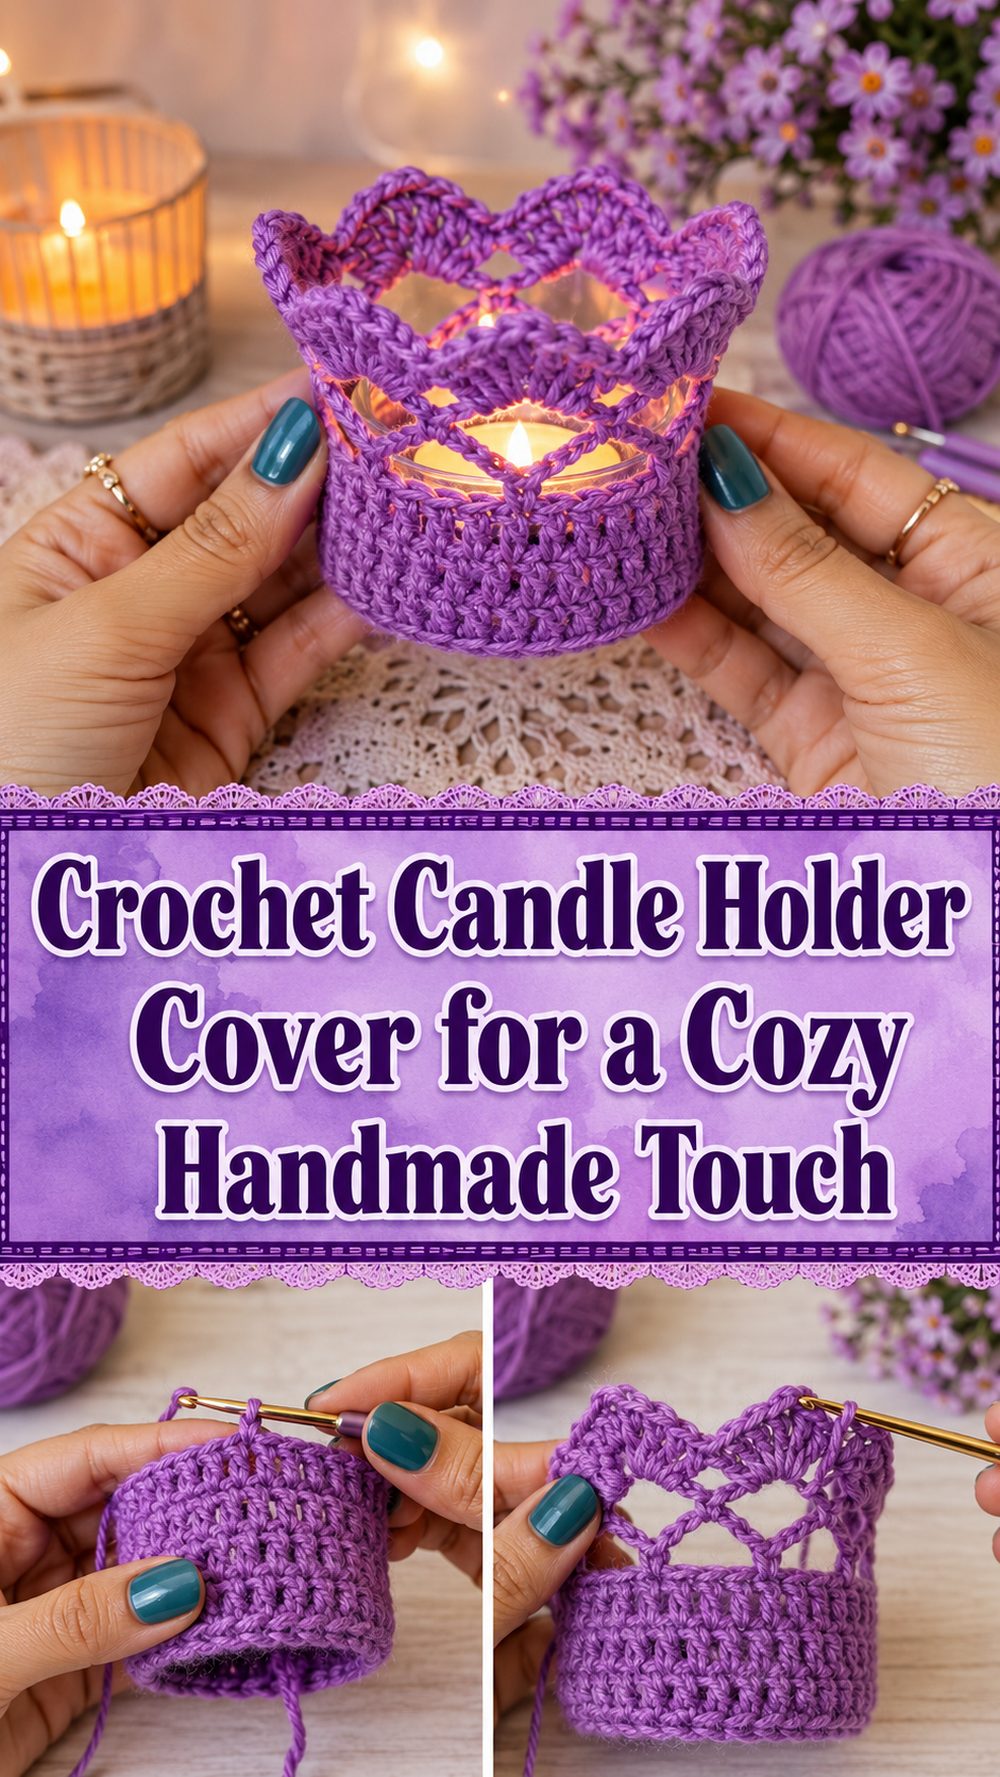
A crochet candle holder is one of those small projects that feels instantly rewarding. It does not take a huge amount of yarn, it works up into something useful, and the finished piece adds such a warm handmade feel to a room. The tutorial I selected shows a crochet candle holder design made as an easy jar cover, so it is a lovely project for anyone who enjoys practical home décor with a soft, crafty look.
It is especially nice when you want a relaxing make that still feels decorative and gift-worthy. You can use it to dress up a candle jar, a small glass container, or a decorative holder for a shelf or table. This kind of project also gives you lots of room to play with texture, color, and overall style, so it can look rustic, sweet, modern, or cozy depending on your yarn choice. The selected video presents it as a step-by-step easy tutorial and an easy crochet jar cover.
Why You’ll Love This Project
This project is fun because it is small, useful, and easy to personalize. You get the charm of crochet and the warm look of candlelight in one simple make. It is also a nice project for using leftover yarn and making thoughtful handmade decorations.
Materials Needed
- Glass candle jar or small glass holder
- Yarn
- Crochet hook
- Scissors
- Yarn needle
- Measuring tape
- Stitch markers if needed
Use a yarn and hook size that matches your desired fit and texture.
The tutorial is described as a crochet candle holder design and an easy crochet jar cover, so the main idea is crocheting a decorative cover to fit around a jar-style holder.
Best Yarn for This Project
A smooth yarn with clear stitch definition works best for a candle holder cover. Cotton is a great choice if you want the stitches to look crisp and tidy around the jar. A soft acrylic can also work well if you want a gentler texture. Try not to use yarn that is too bulky unless you want a heavier, more solid look. For a neater decorative finish, a lighter or medium yarn usually sits more cleanly around the glass.
Skill Level
Beginner-friendly to easy.
This project is a good fit for beginners who already know a few basic stitches and want to make something practical without tackling a large pattern. Since it is a jar cover style project, it is more about checking fit as you go than managing difficult shaping.
Size and Fit Guide
Measure around the widest part of your candle jar or glass holder before you begin. Also check how high you want the crochet cover to reach. As you work, wrap the piece around the jar to see how it sits. If it feels too tight, add a little width, loosen your tension, or use a slightly larger hook. If it feels loose, tighten your stitches or reduce the width slightly. The nicest fit is one that sits neatly without pulling or sagging.
Stitches Used
- Chain
- Slip stitch
- Single crochet
- Double crochet
- Simple repeated stitches for texture
The video is presented as an easy step-by-step design rather than an advanced decorative pattern, so it is best approached as a simple jar-cover project with basic crochet construction.
How to Make It
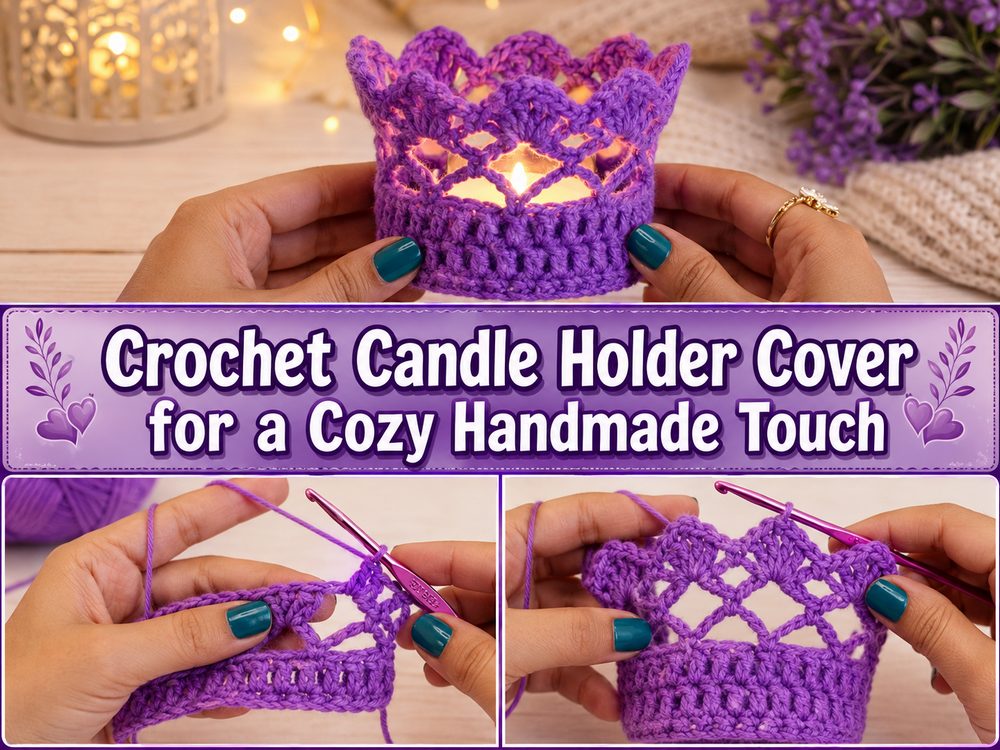
Step 1: Choose Your Candle Holder
Start by picking the jar or glass holder you want to cover. A straight-sided candle jar is usually the easiest option because the crochet can wrap around it more evenly. If your jar is slightly curved, that is still fine, but you will want to check the fit more often as you go.
This kind of project works best when you think of it as a cozy or sleeve for the jar. The goal is not to make it stiff. Instead, you want a soft handmade cover that adds texture and style while still fitting neatly around the glass.
Step 2: Make the Foundation
Begin with a foundation that gives you the width needed to fit around the candle holder. Keep this first section even and comfortable. If the start is too tight, the whole cover may pull and look strained. If it is too loose, the finished piece can slide and lose its shape.
At this stage, it helps to test the piece around the jar before going much farther. Since this style is basically a jar cover, a quick fit check early on makes the whole project easier. The selected tutorial is specifically framed as an easy crochet jar cover, so that practical fit-first approach makes sense here.
Step 3: Build the Main Body
Once the base fits well, continue with the main stitch pattern. This is where the candle holder starts to take shape. Keep your tension even so the stitches look neat and balanced around the jar. If the stitch pattern has little spaces, the glow can peek through nicely. If the fabric is more solid, the result will feel a bit more cozy and wrapped.
As you crochet upward, keep placing the work against the jar. That simple habit helps you catch small fit issues before they become frustrating. A candle holder cover usually looks best when it feels tailored to the glass rather than too loose or too stretched.
Step 4: Adjust the Height
Keep working until the cover reaches the height you like. Some people prefer a shorter cover that leaves more glass showing, while others like a taller cozy look. Both can be lovely. The important thing is to stop at a point that feels balanced with the jar shape.
If your jar narrows near the top, you may want to make small adjustments so the crochet sits smoothly. If it stays mostly straight, you can continue evenly. When exact row counts are not clear, the safest method is simply to check the jar as you go and stop when the proportion looks right.
Step 5: Join the Piece
If your project is worked flat, seam the sides together neatly. If it is worked in the round, join the final section carefully so the finish looks clean. Try not to pull too tightly when joining, because that can distort the shape and make the cover twist around the jar.
After joining, slide the crochet onto the glass and see how it looks from all sides. This is the perfect time to make small adjustments before weaving in all the ends. A tidy join can make the whole project look much more polished.
Step 6: Finish the Edges
A simple edge can really improve the final look. A neat top and bottom border helps the cover feel complete and balanced. Keep the edge relaxed enough that it does not curl or pinch. Even a very simple finish can make the piece look more intentional and decorative.
Once the ends are woven in, place the cover on the candle jar and check the overall style. The finished item should look cozy, handmade, and clean without feeling bulky.
Step 7: Style and Display It
This type of crochet candle holder works beautifully on a shelf, coffee table, entry table, or bedside stand. It can also be lovely as part of seasonal décor or as a handmade gift. If you make more than one in matching yarn, they can look especially pretty grouped together.
The selected tutorial is clearly positioned as a simple DIY candle holder design, which makes it ideal for repeat making if you want a little matching set.
Helpful Tips
- Measure the jar before you begin.
- Test the fit often while crocheting.
- Keep your tension even for a smoother finish.
- Use yarn with good stitch definition for a cleaner look.
- Make a second one in the same size if you want a matching set.
- Weave in ends securely so the cover stays neat over time.
Common Mistakes to Avoid
- Starting with a foundation that is too tight
- Forgetting to test the fit on the actual jar
- Making the cover too tall for the shape of the holder
- Using very bulky yarn on a small candle jar
- Pulling the seam too tightly when joining
- Leaving loose ends where they can show through the glass
Customization Ideas
You can make this project look very different just by changing the yarn color and stitch texture. Soft neutrals give it a calm cozy look, while brighter colors make it feel playful and decorative. You could also add a scalloped edge, a simple tie, a textured band, or a more open stitch pattern if you want more light to show through. A rustic cotton yarn gives it a natural handmade style, while smoother acrylic can make it look softer and more polished.
Style Ideas
A crochet candle holder looks lovely on a dining table, mantel, shelf, windowsill, or reading nook. It also makes a sweet handmade gift for someone who loves cozy home décor. For seasonal decorating, you can make several in different colors and swap them out through the year.
Care Instructions
Remove the crochet cover from the jar before washing if possible. Hand wash gently in cool water with mild soap, then reshape and lay flat to dry. Avoid high heat. For safety, keep yarn away from exposed flame and use the holder only in a way that is appropriate for the candle setup you choose.
Time Needed
This may take a few hours depending on your speed, yarn choice, jar size, and stitch pattern.
Conclusion
A crochet candle holder is a simple but charming project that adds a lovely handmade touch to everyday décor. It is relaxing to make, easy to personalize, and practical enough to use in different rooms or gift to someone special. Whether you keep it minimal and neutral or make it more colorful and decorative, it is the kind of project that feels satisfying from start to finish.
FAQs
Is this beginner-friendly?
Yes, it looks like a good project for beginners who are comfortable with basic stitches and checking fit as they go.
What yarn is best for a crochet candle holder?
A smooth cotton or soft acrylic works well, especially if you want the stitches to show clearly.
Can I adjust the size?
Yes. Measure your jar and keep testing the fit while you work.
Can I make it more open and lacy?
Yes. Using lighter yarn or a more open stitch pattern can help create a softer decorative look.
Can I make a set of matching holders?
Yes. This is a great project for making several pieces in the same yarn for a coordinated set.