
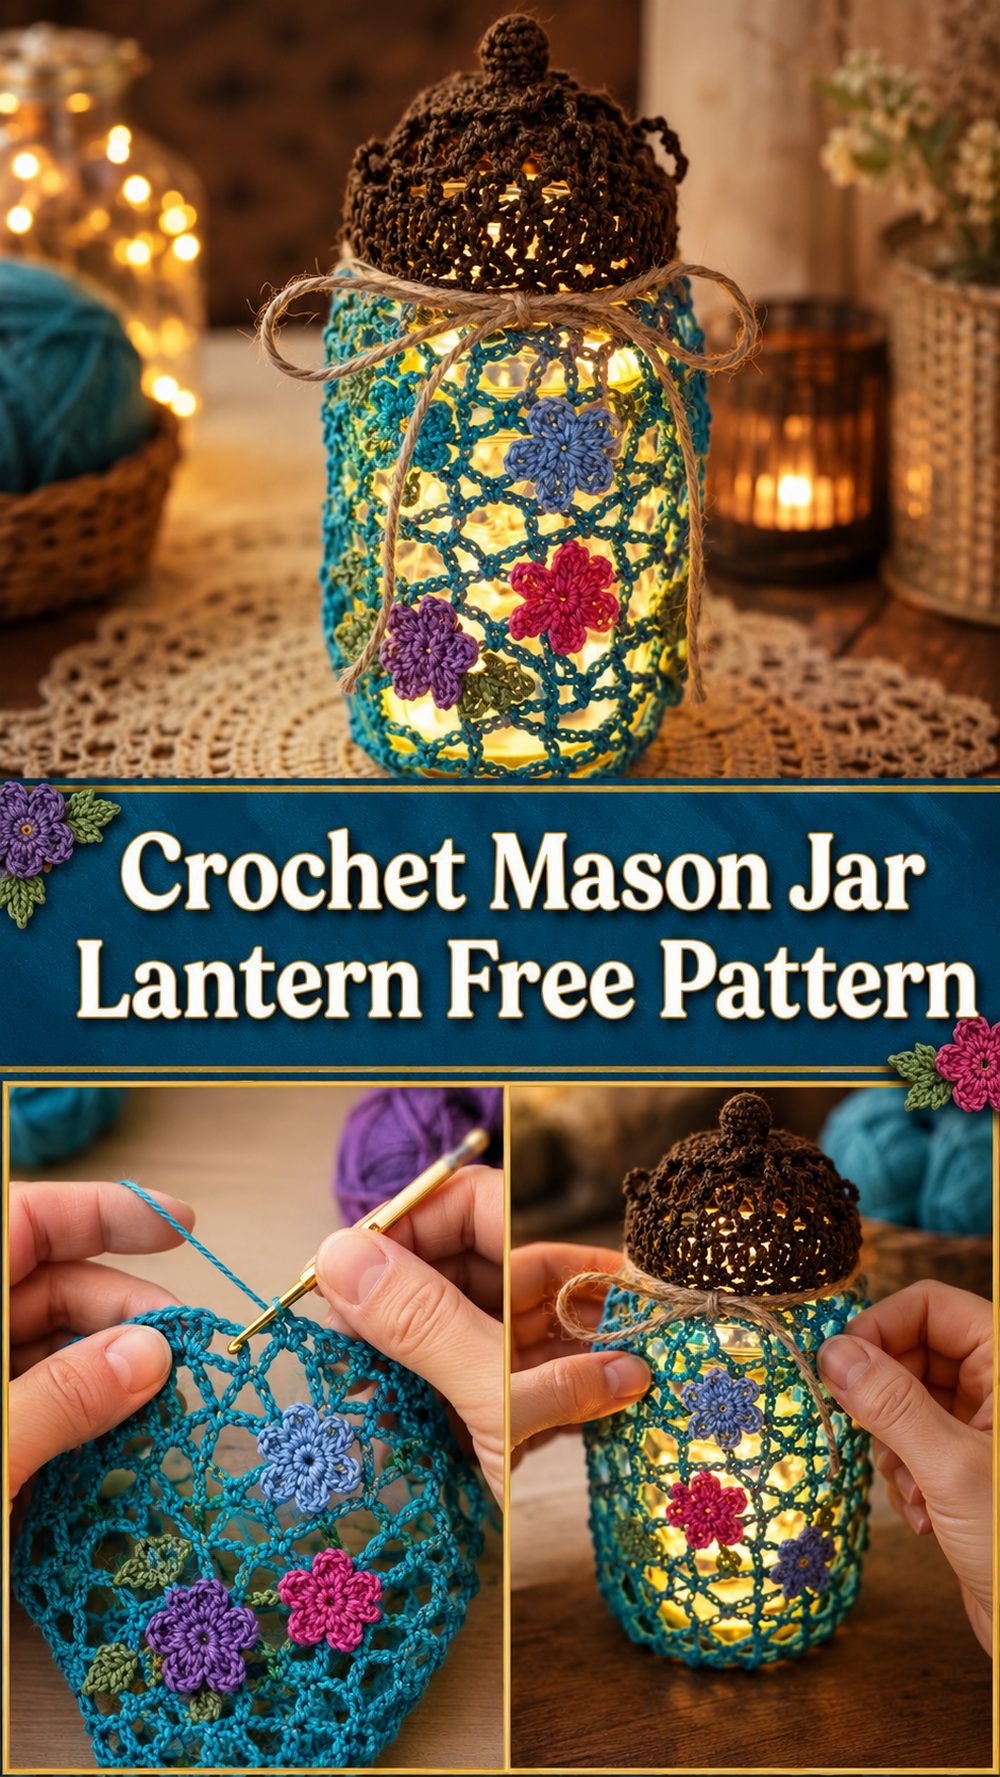
A crochet mason jar lantern is such a lovely little project when you want something decorative, useful, and relaxing to make. It turns an ordinary mason jar into a warm handmade accent that looks beautiful on a shelf, patio table, bedside stand, or cozy reading corner.
The tutorial I picked focuses on a fairy-style mason jar cover made to work with twinkle lights, so the finished look feels light, pretty, and slightly whimsical rather than heavy or bulky. This is also a great stash-busting project because it does not need a huge amount of yarn, and you can easily make more than one for a matching set. If you enjoy home décor crochet that feels creative without being overwhelming, this is the kind of project that is easy to fall in love with.
Why You’ll Love This Project
This project is satisfying because it gives you a finished piece that feels special without taking on a huge amount of work. You get the charm of a glowing mason jar and the texture of crochet all in one piece, and it is easy to customize for different seasons, rooms, and color styles.
Materials Needed
- Mason jar
- Yarn
- Crochet hook
- Scissors
- Yarn needle
- Measuring tape
- Stitch markers if helpful
- Twinkle lights or a small LED light insert
Use a yarn and hook size that matches your desired fit and texture.
The selected tutorial is presented as an enchanting mason jar cover made to pair with twinkle lights, so the jar and light source are central to the whole project.
Best Yarn for This Project
A smooth yarn with a soft finish works especially well for this kind of lantern cover. If you want the light to glow through the stitches nicely, choose something that is not too thick or dense. Cotton is a beautiful option when you want crisp stitch definition and a clean decorative look. A soft acrylic can also work well if you prefer something gentle and easy to use. For a fairy-lantern style finish, lighter yarns and open texture usually give the prettiest glow.
Skill Level
Easy to confident beginner.
This project is a good choice for someone who knows the basics and wants to make something decorative without dealing with complicated shaping. Since the cover is adjusted to fit your jar, it is more about checking the fit as you go than memorizing difficult pattern sections.
Size and Fit Guide
Start by measuring around the widest part of your mason jar and checking the height you want the cover to reach. The easiest way to size it is to crochet a little, wrap it around the jar, and adjust before going too far. If it feels too tight, loosen your tension or add a little width. If it looks too loose, tighten your stitches or reduce the width slightly. Because mason jars can vary, the best fit comes from trying it against the actual jar while you work.
Stitches Used
- Chain
- Slip stitch
- Single crochet
- Double crochet
- Open or lacy spaces if included in the design
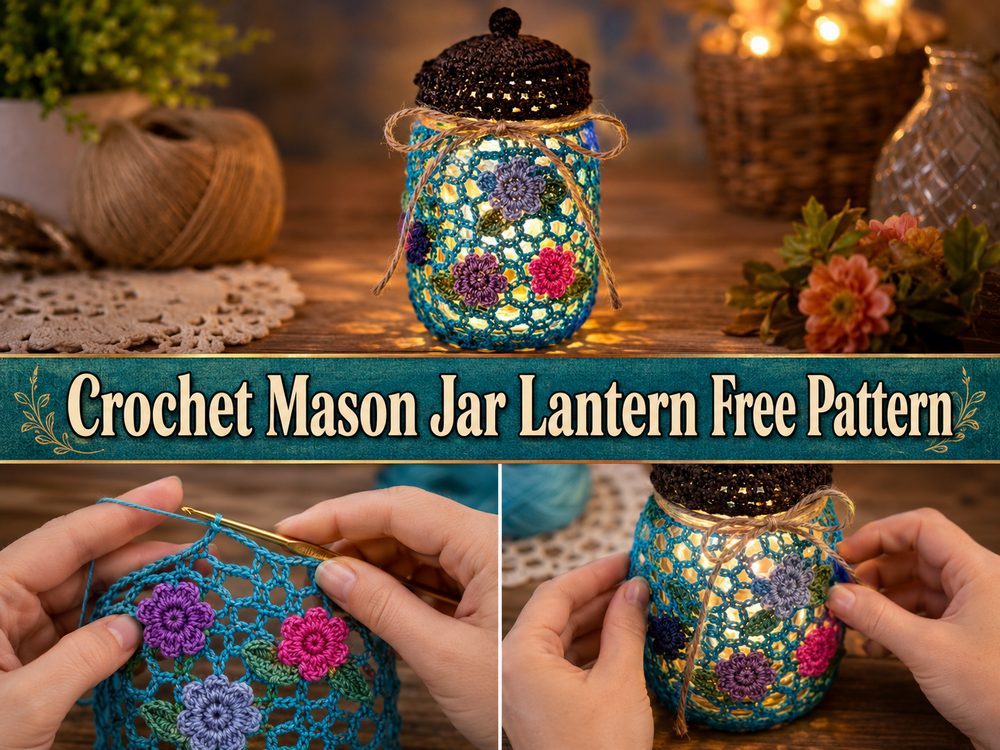
The selected video is specifically framed as a crochet fairy lantern and mason jar cover, so the project is built around making a decorative crochet layer that lets the lights shine through attractively.
How to Make It
Step 1: Start with the Mason Jar
Before crocheting, choose the mason jar you want to use and decide what kind of final look you want. A smaller jar can feel sweet and delicate, while a larger one makes more of a statement. Since this style is meant to glow with lights inside, it helps to picture where the crochet will sit and how much of the light you want to show through.
Take a quick measurement around the jar and decide how high the cover should go. Some lantern covers look best stopping just below the rim, while others can stretch a bit higher for a more dressed-up finish. There is no need to force exact numbers if they are not clearly given. The best method here is to keep checking the fit against your jar as the piece grows.
Step 2: Make the Foundation
Begin with a foundation that gives you the width needed to wrap around the jar. This is an important moment because it sets up the whole fit of the cover. If the foundation is too tight, the piece may pull and distort. If it is too loose, it can slip around and lose that neat handmade look.
Try to keep your beginning stitches even and relaxed. A lantern cover should feel snug enough to stay in place but not so tight that it strains around the glass. Think of it as building a soft sleeve for the jar.
Step 3: Build the Main Body
Once the foundation is ready, keep working upward in the main stitch pattern. For a mason jar lantern, this is the part where the personality of the project really starts to show. If the stitch pattern is open and airy, the light will shine through with a soft fairy-like effect. If it is a little denser, the jar will look more cozy and textured.
Keep your tension as even as you can, especially if the pattern has repeated spaces or decorative sections. The more consistent your stitches are, the neater the glow will look once the lights are inside. Since this project is meant to create an enchanting lit effect, a balanced texture makes a big difference.
Step 4: Check the Fit as You Go
This project turns out best when you do not wait until the end to test it. Every so often, wrap the crochet around the mason jar and see how it sits. You want it to follow the shape of the jar comfortably without buckling. If your jar narrows slightly near the top or bottom, you may need to make small adjustments so the cover looks smooth.
This is also the stage where you can decide whether you want the lantern to look more fitted and polished or slightly relaxed and rustic. Both can be beautiful. The key is simply making that choice on purpose.
Step 5: Join the Piece
Once the body is wide enough and tall enough, join it neatly. Some covers are worked in the round, while others are crocheted flat and then seamed. Either way, the join should feel tidy and not pull too tightly. A harsh seam can make the lantern cover twist or look uneven around the jar.
After joining, slide it onto the mason jar and look at it from all sides. This is a good time to make tiny adjustments before weaving in the ends. If the cover sits neatly and the stitch pattern looks balanced, you are in great shape.
Step 6: Finish the Edges
A clean top and bottom edge can make the whole lantern feel more polished. Even a simple finishing round can help the cover sit better and make the design look complete. Keep the edge comfortable and not too tight, especially around the top if your jar flares slightly.
When the crochet is finished, weave in all the ends securely. Since a lantern is something you may move around or display seasonally, secure finishing matters more than people sometimes expect.
Step 7: Add the Lights
Now comes the part that really brings the project to life. Place your twinkle lights or LED light insert inside the mason jar and see how the stitches glow. The selected tutorial is clearly built around a mason jar cover with twinkle-light appeal, so this soft lit effect is a major part of the finished style.
If the light looks too hidden, a more open stitch pattern or lighter yarn can help next time. If it glows beautifully through the stitches, then you have found the sweet spot. The final lantern should feel warm, delicate, and handmade in the nicest way.
Helpful Tips
- Test the fit on the actual mason jar while you work.
- Use LED or battery lights instead of anything that gives off strong heat.
- Keep the yarn light enough for a soft glow-through effect.
- Use stitch markers if the edges start to wander.
- Make a second lantern in the same yarn for a matching set.
- Block lightly if your stitches need help settling into shape.
Common Mistakes to Avoid
- Making the foundation too tight for the jar
- Using very bulky yarn that hides the light too much
- Forgetting to test the fit before finishing the whole cover
- Pulling the seam too tightly when joining
- Making the cover too tall so it bunches awkwardly
- Leaving ends loose where they may show through the glass
Customization Ideas
You can make this lantern feel soft and romantic with cream, blush, sage, or dusty rose yarn. For something more rustic, try beige, oatmeal, or warm brown. If you want a brighter decorative look, go with cheerful colors or make a small collection in mixed shades. You could also add a simple edging, a scalloped finish, a tie near the rim, or even a tiny hanging loop if you want it to feel more decorative.
Style Ideas
A crochet mason jar lantern looks beautiful on a windowsill, shelf, side table, porch corner, or dining table centerpiece. It also makes a lovely handmade gift, especially when paired with a set of lights and a note. For parties or seasonal décor, a few matching jars together can look especially charming.
Care Instructions
Remove the crochet cover before washing if possible. Hand wash gently in cool water with mild soap, then reshape and lay flat to dry. Avoid high heat. For display, LED or battery-operated lights are the safer choice around yarn.
Time Needed
This may take a few hours depending on your speed, yarn choice, jar size, and stitch pattern.
Conclusion
A crochet mason jar lantern is one of those simple little projects that feels cozy from beginning to end. It is easy to personalize, practical to display, and beautiful when lit up. You can keep it neutral and soft, make it colorful and playful, or create a whole set in different sizes. It is a lovely way to turn an everyday mason jar into something warm, glowing, and handmade.
FAQs
Is this beginner-friendly?
Yes, it is a nice project for beginners who already know a few basic stitches and are comfortable checking fit as they go.
What yarn is best for a mason jar lantern?
A smooth lightweight or medium-weight yarn works well, especially if you want the light to show through nicely.
Can I adjust the size?
Yes. Measure your mason jar and keep wrapping the crochet around it while you work.
Can I make it for outdoor décor?
Yes, in a sheltered space, especially with battery or LED lights.
How do I make it more glowy?
Use lighter yarn, open stitches, and avoid making the fabric too dense.
Can I sell the finished item?
That depends on the tutorial creator’s terms, so check the video description or creator notes before selling finished pieces.