
This crochet evening clutch is a lovely project if you want something handmade that still looks polished and dressy. It has a neat, elegant look and is perfect for parties, dinners, weddings, or any occasion where you want a small bag that feels a little extra. The tutorial I chose is an elegant step-by-step clutch bag tutorial.
It is stylish, practical, and approachable. This clutch is small enough to finish without feeling overwhelming, yet gives you that beautiful finished piece feeling.
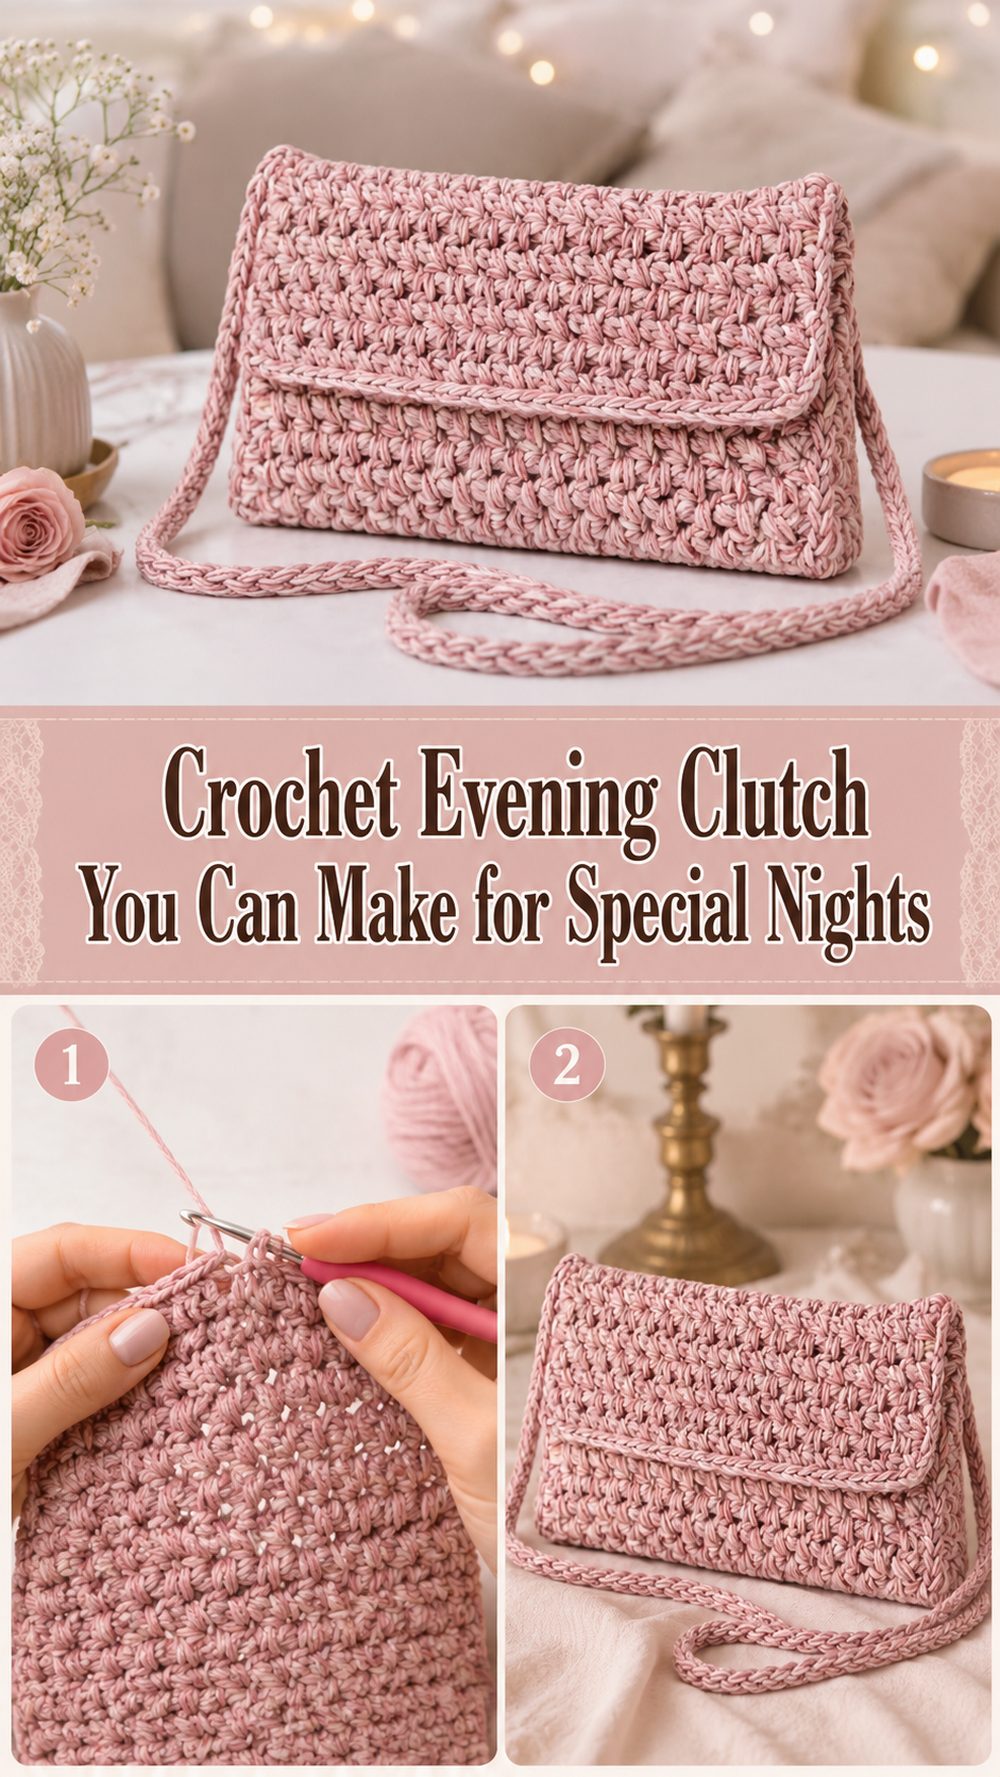
MATERIALS REQUIRED
- Clutch thread
- Crochet hook
- Scissors
- Yarn needle
Choose a yarn and hook size that will achieve your desired fit and texture. Follow the video closely for any extras.
BEST YARNS FOR THIS PATTERN
A smooth textured yarn with good stitch definition is perfect for an evening clutch, keeping the shape clean and neat. A yarn with a soft sheen adds a dressier look.
SKILL LEVEL
Good for beginners. The tutorial selected is an elegant clutch bag tutorial suitable for beginner crocheters.
SIZING & FIT GUIDE
Keep the clutch small for a classic evening look or make it larger for your essentials. Adjust the flap and body depth as needed.
STITCHES APPLIED
Refer to the video for the stitch pattern and finishing details.
HOW TO PREPARE IT
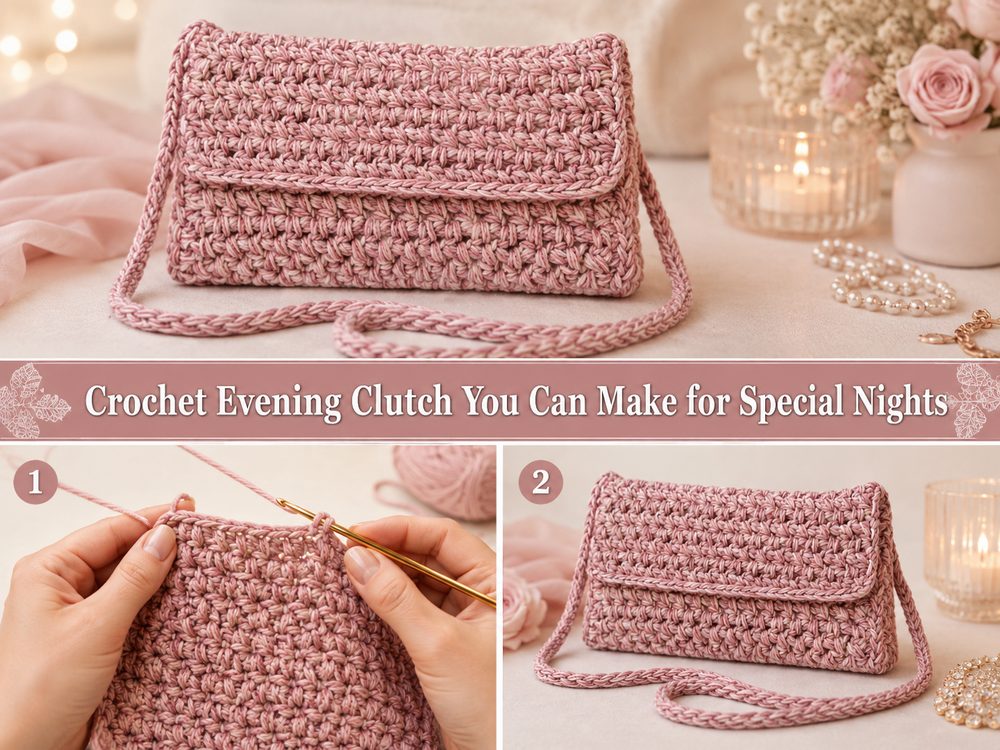
Begin the Foundation
Start with the base section of the clutch. Ensure the starting edge is even and tidy for a clean finished shape.
Main Section Work
Repeat the main stitch pattern shown in the tutorial to create the body of the clutch. Keep the edges straight and even.
Alter Size
Add rows until the body is the size you want. Keep it slim for a classic clutch or slightly deeper for more space.
Join or Form
Fold and shape the piece as shown so it begins to take on that clutch style. Check that the flap area aligns neatly.
Fill in the Edges
Complete the top and flap, weaving in all ends carefully for a polished finish.
HELPFUL HINTS
- Maintain consistent tension so the clutch keeps its form.
- Use stitch markers if needed to keep sides even.
- Fold the piece and check that the flap sits nicely before finishing.
COMMON MISTAKES TO AVOID
- Starting with a too-tight foundation
- Uneven sides
- Losing the stitch pattern
- Flap too short
- Not securing ends
IDEAS FOR CUSTOMISATION
- Colours: black, gold, silver, cream, or jewel tones
- Add a small strap, decorative button, or neat lining
- Adjust size for a more evening-ready style
IDEAS FOR STYLE
Pair this clutch with a dress, simple heels, or a soft formal outfit. It’s a beautiful handmade accessory for events and celebrations.
CARE INSTRUCTIONS
Hand wash gently if necessary, reshape when damp, and lay flat to dry. Handle any trim or hardware with extra care.
TIME REQUIRED
Depending on your speed, yarn, size, and stitch pattern, this can take a few hours.
EXECUTIVE SUMMARY
A crochet evening clutch is a gorgeous little project that feels useful and special at the same time. It’s a lovely way to make something elegant by hand without taking on a huge project.
FAQs
Is this a beginner friendly project?
Yes, the tutorial is labelled as beginner-friendly.
Can I make it larger?
Yes, repeat the main section until it reaches your desired size.
Can I substitute another yarn?
Yes. Choose a yarn that gives the texture and finish you want.
Can you wear this to formal occasions?
Yes, the elegant clutch style is suitable for dressier occasions.
Can I put a lining in?
Yes, adding a lining can make the clutch feel even more polished.urs depending on your speed, yarn, size, and stitch pattern.