
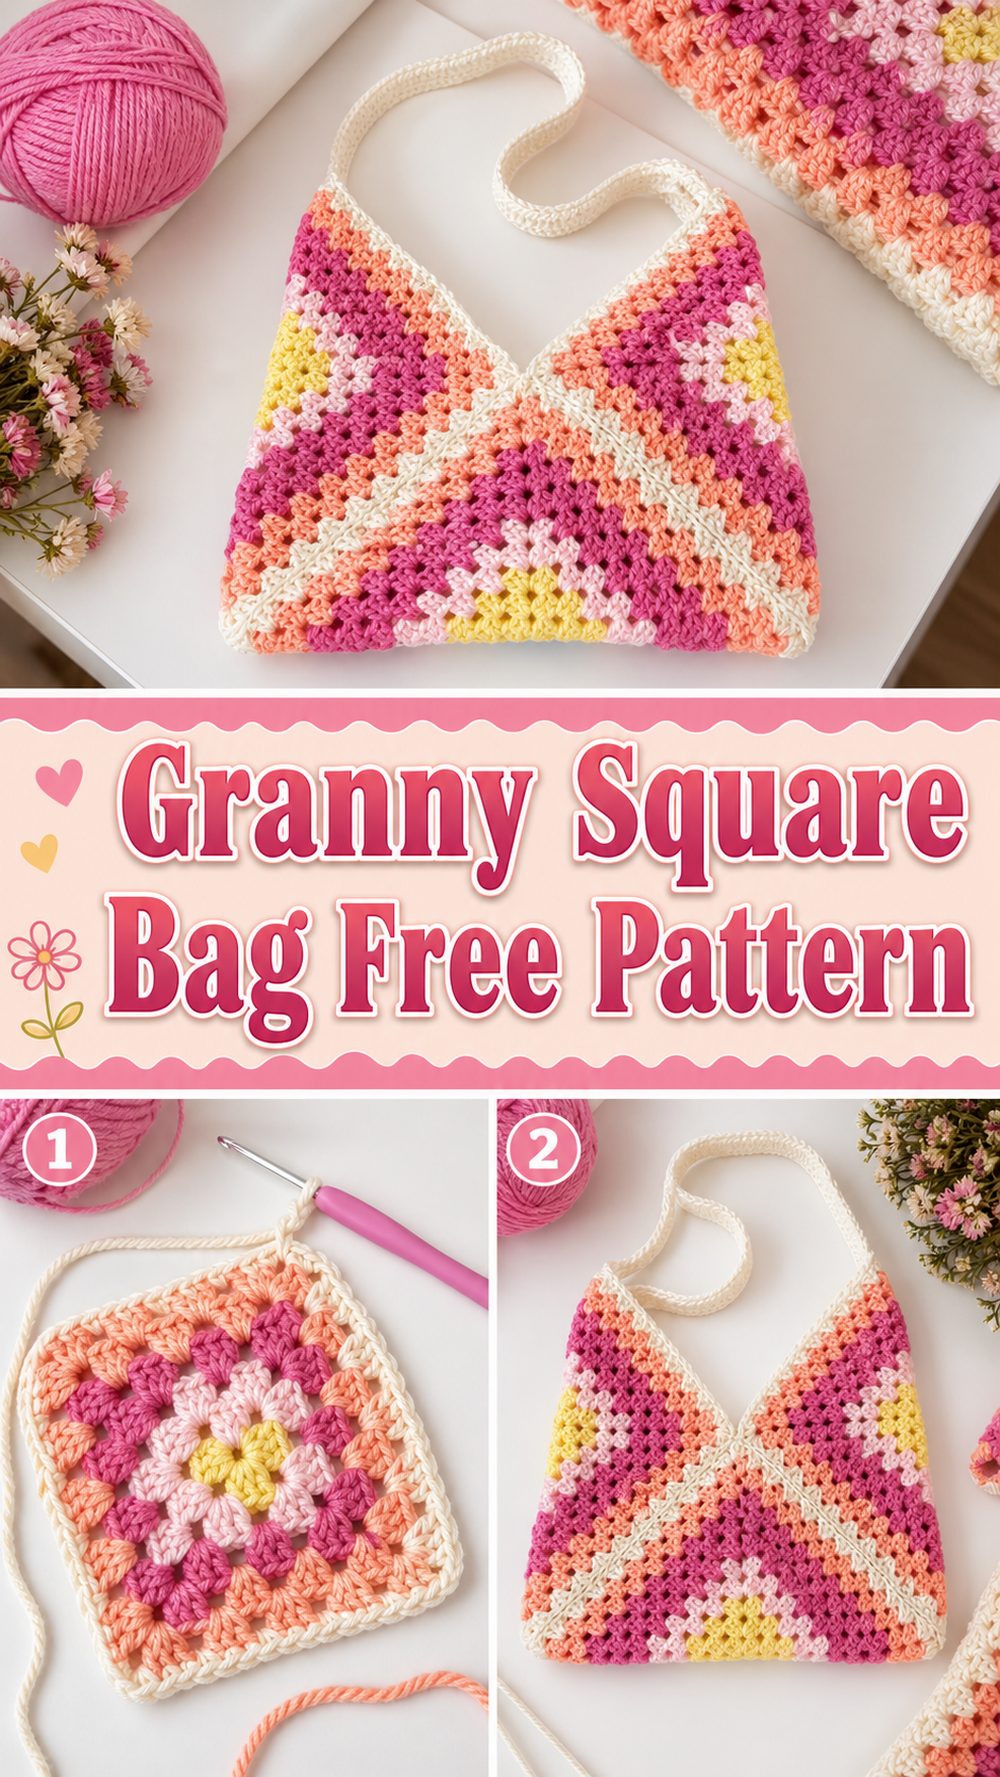
A crochet square bag is such a fun project because it mixes a classic handmade look with something you can actually use every day. The tutorial I selected teaches an easy granny square bag and shows that you can make it in any size, which makes it especially appealing if you want a project that feels flexible and beginner-friendly. It is a lovely choice when you want a bag that looks charming and handmade without needing complicated shaping. Instead of worrying about tricky construction, you get to enjoy making simple square motifs and turning them into a practical accessory. That makes this project great for newer crocheters, gift making, or anyone who wants a relaxing bag pattern with plenty of room for personal style. It is the kind of crochet project that feels satisfying from the very first square to the final strap.
Why You’ll Love This Project
This bag is easy to love because it is simple, adjustable, and beginner-friendly. The selected tutorial presents it as a step-by-step granny square bag that can be made in any size, so it gives you plenty of freedom to shape the finished bag around your own style and needs.
Materials Needed
- Yarn
- Crochet hook
- Scissors
- Yarn needle
- Stitch markers
- Measuring tape
- Optional lining if you want extra structure
- Optional button, zipper, or closure if you want more security
Use a yarn and hook size that matches your desired fit and texture.
Best Yarn for This Project:
A yarn with a little structure usually works very nicely for a square bag because it helps the granny squares hold their shape and keeps the finished bag looking neat. Cotton or a cotton blend is often a lovely choice for bags because it feels practical and sturdy while still showing the stitch pattern clearly. If you want a softer, more relaxed bag, you can use a gentler yarn, but it still helps if the fabric is not too floppy once the bag is filled.
Skill Level:
Beginner-friendly. The selected tutorial is specifically described as an easy granny square bag tutorial for beginners, so it is a great project for someone who already knows the basics and wants to make a useful accessory next.
Size and Fit Guide:
This bag is very easy to adjust because the tutorial is designed to work in any size. You can make your squares larger or smaller depending on how roomy you want the finished bag to be. You can also change the strap length to suit your preferred way of carrying it. That flexibility makes this a nice project if you want a compact everyday bag or a larger tote-style version.
Stitches Used:
The selected YouTube result safely confirms that this is a granny square bag tutorial for beginners, but the search preview does not clearly list every stitch used. Because of that, it is best to follow the exact stitch sequence shown in the video rather than guessing stitch names here.
How to Make It
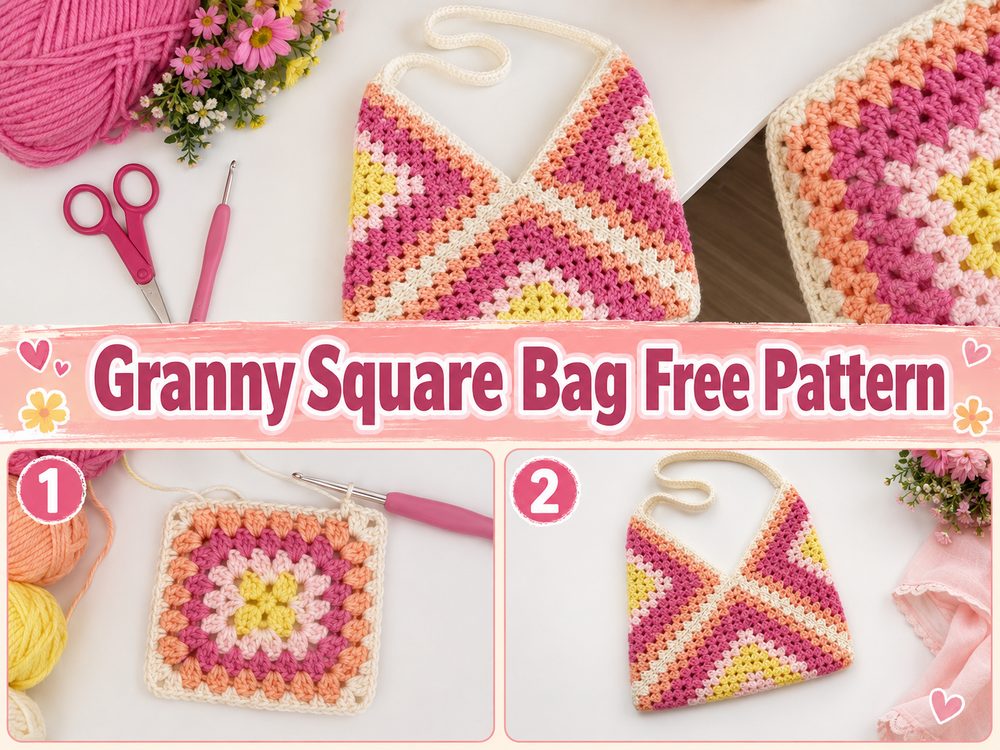
Step 1: Start the First Square
Begin by making your first granny square. This is the foundation of the whole bag, so it helps to keep your stitches even and your corners neat. A square bag looks nicest when each motif stays clean and balanced, so take your time with the early rounds and check that the shape stays tidy.
Step 2: Build the Granny Square
Continue working the square until it reaches the size you want. This is one of the nicest parts of the project because you can quickly see the bag beginning to take shape in your mind. Since the selected tutorial is designed so the bag can be made in any size, you can stop when the square feels right for your preferred finished look.
Step 3: Make the Remaining Squares
Once the first square is complete, make the remaining square pieces to match. Keep comparing them as you go so the finished bag looks even. Matching squares make the joining process much easier and give the final bag a much cleaner look.
Step 4: Arrange the Squares
Lay the squares out before joining them. This helps you picture the final shape and check that everything looks balanced. It is also a good stage to think about color placement if you are using more than one shade. A little planning here can make the finished bag look much more polished.
Step 5: Join the Bag Panels
After the squares are ready, join them according to the construction shown in the tutorial. This is where the flat motifs begin turning into a real bag, which is always a satisfying stage. Take your time lining up the edges so the corners meet neatly and the bag body keeps a clean square look.
Step 6: Shape the Bag Body
As the joined pieces come together, the square bag form becomes more obvious. Smooth out the panels and check that the sides look even. If you want a more structured bag, this is a good point to think about whether you might want a lining later. If you prefer a softer handmade feel, the crochet fabric alone may be enough.
Step 7: Add the Strap
Once the bag body is ready, make and attach the strap. The strap length can change the whole feel of the bag, so it helps to test it before fastening off completely. A shorter strap gives a more classic shoulder-bag feel, while a longer one can make it more relaxed and casual.
Step 8: Finish the Opening and Edges
Neat finishing can make a simple crochet bag look much more polished. Tidy the top edge, weave in all loose ends carefully, and add a closure if you want extra security. Even a very simple finish looks lovely on a granny square bag because the squares themselves already add so much charm.
Step 9: Enjoy the Final Bag
The finished bag should feel soft, useful, and full of handmade character. Since the selected tutorial is built as an easy granny square bag for beginners and can be made in any size, the final result is meant to feel approachable, flexible, and practical for everyday use.
Helpful Tips
- Keep your square corners neat so the bag joins more cleanly.
- Compare each square as you go so they stay the same size.
- Lay out the pieces before joining to check the arrangement.
- Test the strap length before finishing.
- Use a structured yarn if you want the bag to hold its shape better.
- Add a lining if you want extra support inside the bag.
Common Mistakes to Avoid
- Making one square larger or smaller than the others
- Forgetting to check the corners as the squares grow
- Joining panels without arranging them first
- Making the strap too short or too long
- Using very soft yarn if you want a firmer bag
- Leaving loose ends unsecured in a bag that will be used often
Customization Ideas
You can personalize this square bag in lots of easy ways. Try one solid color for a clean modern look, or use several shades for a more playful granny square style. You can make the bag bigger for everyday carrying, smaller for a cute compact purse, or add a lining, closure, or decorative edging for a more finished feel.
Style Ideas
This bag looks lovely with casual outfits like jeans, dresses, simple tops, and light summer layers. A granny square bag can add warmth and handmade charm to even a very plain outfit. It also makes a thoughtful gift because the size, color, and strap can all be customized.
Care Instructions
Hand wash gently in cool or lukewarm water if needed, especially if you want to protect the shape of the squares and strap. Avoid rough wringing, reshape the bag while damp, and let it dry naturally so it stays looking neat.
Time Needed
This may take a few hours depending on your speed, yarn, size, and stitch pattern.
Conclusion
If you want a crochet bag project that feels classic, useful, and beginner-friendly, this square bag is a lovely one to make. The selected tutorial stands out because it teaches an easy granny square bag step by step and allows you to make it in any size, which makes it especially flexible and enjoyable. Take your time with the squares, keep the joins neat, and enjoy turning simple motifs into a bag you can actually use.
FAQs
1. Is this crochet square bag beginner-friendly?
Yes. The selected tutorial is specifically described as an easy granny square bag tutorial for beginners.
2. Can I make it in different sizes?
Yes. The selected tutorial says the bag can be made in any size.
3. What yarn works best for a square bag?
A yarn with some structure, such as cotton or a cotton blend, is often a very good choice.
4. Can I add a lining or closure?
Yes. You can keep the bag simple or add a lining, button, or zipper for extra structure and security.
5. Is this a good gift project?
Yes. A granny square bag is useful, customizable, and has a lovely handmade look that makes it a great gift.