
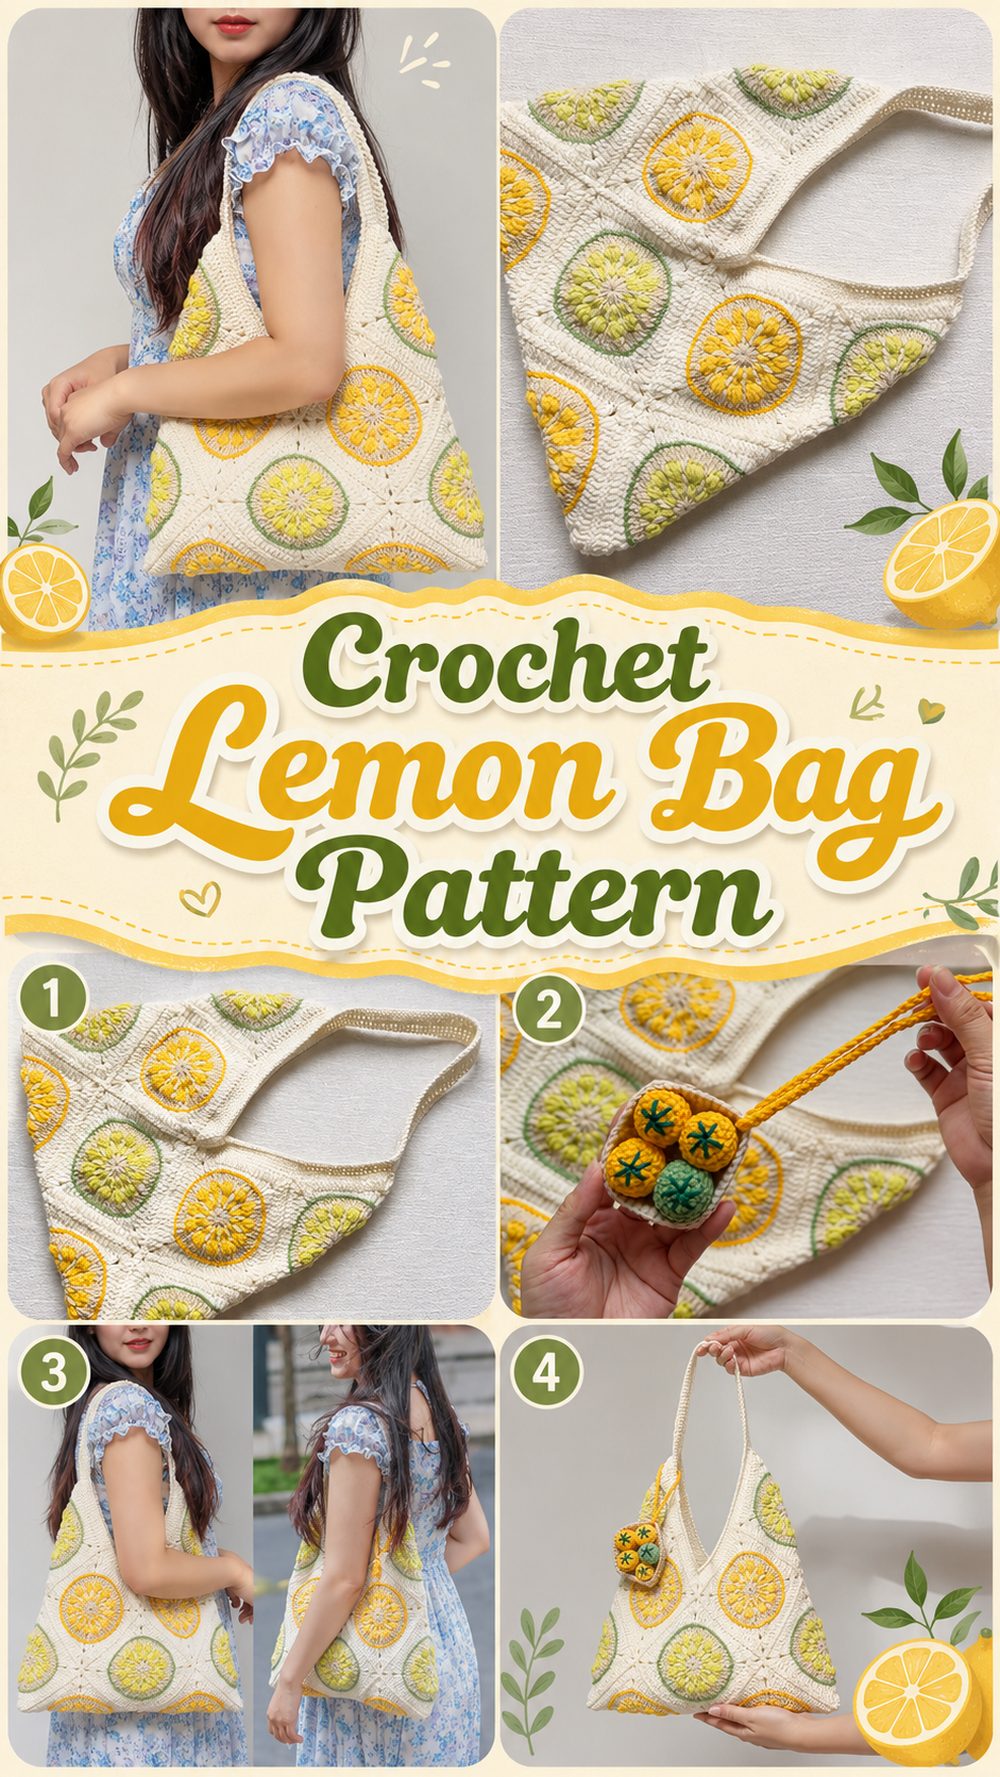
There is something so cheerful about a lemon crochet project and this bag has that bright and playful feel that instantly makes an outfit more fun. It’s the sort of item that feels handmade in the best way possible: cute, light-hearted and perfect for sunny days. The overall design is simple enough to enjoy without feeling overwhelming and because it is built from granny square style pieces it has a nice structured look but still feels creative and relaxed. This is a lovely project for anyone who likes small bags, fruit inspired crochet, or colourful accessories that make a statement without being too fussy. It would also make a lovely handmade gift for someone who likes quirky crochet pieces and the fresh style of summer. This is based on a tutorial from a recent YouTube lesson for a lemon bag from granny squares.
Why You’ll Love This Project
This bag is fun, it has a cute fruit theme, and a practical little bag that you can actually use. The granny-square construction gives it a nice handmade look and the lemon colours make it feel fresh, sunny, and just right for warm weather.
What you will need
Yellow yarns.
White or cream coloured yarn
Green string
hook, crochet
scissors.
Yarn needle
Progress markers
Tape measure
Optional lining or button for added structure or closure
If the tutorial does not specify a yarn weight or hook size, choose the yarn and hook size that will give you the fit and texture you want.
Best Yarn for The Project
A smooth cotton or cotton blend yarn is especially good for a lemon bag like this. Cotton helps the stitches pop, gives a cleaner shape to the bag and feels great for spring and summer accessories. A cotton-acrylic blend can work well, too, if you want the bag to be a bit softer. Try not to use a yarn that is too fuzzy, as the lemon details and square edges will usually have a better definition in a yarn with better stitch definition.
Level of skill
This project is perfect for confident beginners or easy level crocheters. The bag is constructed from granny-square-style squares, so it’s a good way to practise working motifs, changing colours and putting squares together to make a finished item, without taking on anything too complicated.
Size & Fit Guide
Since this is a small crochet bag, the easiest way to change the size is to change the size of each square or to add more rounds before joining. You can also lengthen or shorten the strap depending on how you want to wear it. Work the pieces flat, and check that the finished width and height look appropriate for the type of bag you are after. Stretch the square pattern out a bit more before putting it together to make it more spacious.
Stitches Employed
From the tutorial details I could find, this bag is worked up in granny-square style crocheted pieces, so probably just basic foundation stitches and normal joining methods – nothing too complicated. The visible stitches and construction indicate to use:
Chain
Slip stitch
Double crochet or other granny square building stitches
Changes in colour
Joining / Seaming
The tutorial describes the bag as being made from granny squares.
How to Prepare It
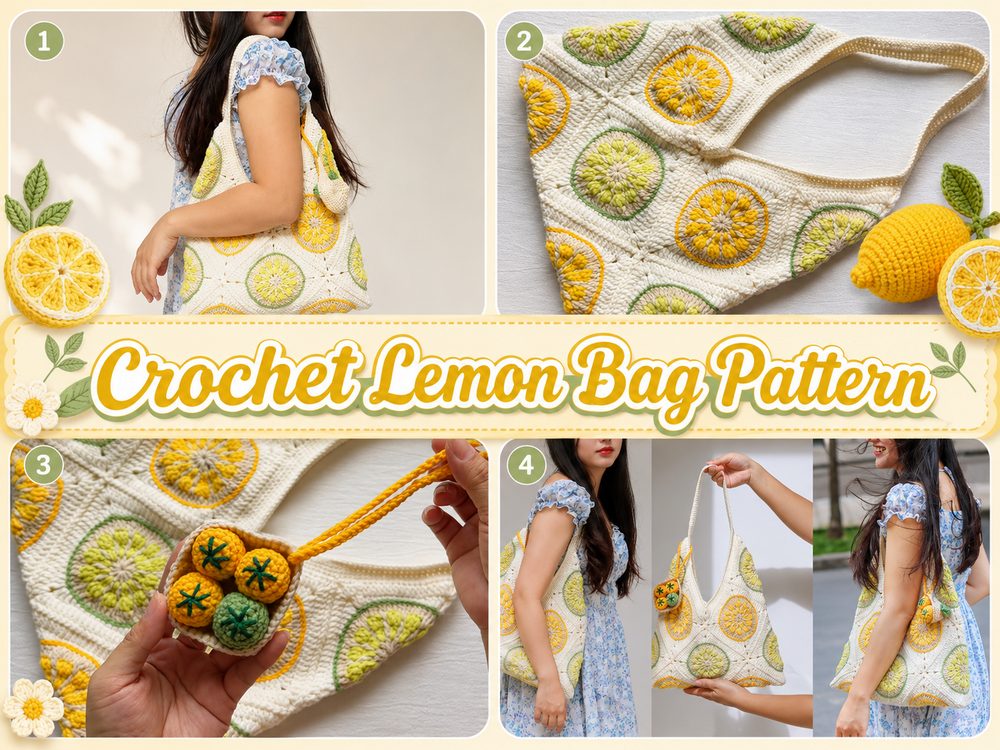
Step 1: Initiate the First Lemon Panel
Start by making the middle of your square lemon. This is often started with a small ring or a short chain base joined to form a circle. And that is where the bright yellow yarn is important, because this is what causes the lemon slice effect, the middle section. The center helps position the rest of the shape, so work your opening round carefully and keep your tension even.
When the center is done, go back to working in rounds, working out from the center. The shape is not one long rectangle, but grows from a motif, because this bag is a granny-square bag. That makes it easier to control the size and keep things matching on both sides.”
Step 2: Construct the Lemon Slice Look
As you move to the next rounds, change colours to create the lemon feel. The main fruit area will be yellow, with white or cream for that fresh sliced citrus contrast. If the tutorial has wedge sections or a ring effect, be sure to keep those colour changes clean and place your stitches carefully so that the design is still clear.
And this is where the bag begins to look special. Even with a simple stitch, the placement of colour does a lot of the work. Make the transitions slowly and don’t pull the yarn too tight when you change colours.
Step 3: Motif Squared
Once the lemon center is in place and ready to go, work outward until the round motif is a usable square. For granny square projects this often means making the corners nice and clear, and keeping the sides balanced. Count your corner spaces if needed so your shape doesn’t twist or lean.
If you want a bigger bag, add more rounds here. This is the easiest place to change the final size without changing the overall style. This tutorial is for a cute lemon bag, not a large tote, so before you make the second matching piece, check the square against the size you want.
Step 4: Do the other side
Repeat to make another matching lemon square for the other side of the bag. This is important as even a small difference in tension can make one side larger than the other. Before joining, fit the two pieces together and make sure the corners, edges and colour sections line up well.
If your second square is a little larger, blocking can help, but it’s best to catch it early and make adjustments as you go.
Step 5: Add Side Depth or Join Flat
The bag can be joined directly around the edges for a flatter mini bag look, or it can include side panels for more room inside depending on the exact finish shown in the tutorial. If you are joining directly, line up front and back and seam neatly along sides and bottom, leaving top open.
If you have a narrow side strip crochet it separately and join it between the front and back panels. This adds a bit more structure to the bag and a bit more storage space, while still keeping the cute lemon shape.
Step 6: Crochet the strap
When the body is assembled, add the strap. Crochet Strap: Either a long chain with reinforcing rows worked back on it or a firmer narrow band. Since this is a small statement bag, you want the strap to feel strong enough to hold its shape.
Check strap length before fixing permanently. Hold the bag against you and decide whether you want it higher on the shoulder, closer under the arm, or lower like a casual crossbody if you choose to make it longer.
Step 7 – Finish Top Edge
Finish off the bag nicely by crocheting a neat edging around the opening. A simple round of single crochet or neat basic stitches can help smooth out the opening and give it a finished look. If you like, this is also the stage where you can add a closure, lining or a small leaf detail for extra charm.
Be sure to weave in all your yarn ends, especially at your colour changes. Since the lemon design is part of the visual appeal, a clean back side makes a big difference.
Step 8: Look at the Final Shape
When complete, the bag should be bright, playful and distinctly lemon-inspired with granny-square styling that brings charm and structure to the bag. The result in the chosen tutorial is a cute crochet lemon bag made up of granny squares, so it’s both easy to make and impressive to look at.
Helpful Hints
If you want crisp lemon details, use cotton yarn.
Join, keeping both squares the same size.
Use stitch markers at the corners if that helps you to stay even.
Before you sew the strap down for good, check the length.
Weave in ends around color-change sections as neatly as possible.
Light blocking will help your squares lie flatter and look cleaner.
Common Pitfalls to Avoid
To have the second panel be a different size to the first
Pulling too tight during colour changes
Getting uneven corners and skipping edge checks
If the strap is too thin or too elastic
Before checking that the bag opening is wide enough, join the sides
not testing out the finished shape before weaving in the last ends
Ideas for Customisation
There are so many simple ways to make this bag more personal. Add a green leaf accent, a longer strap to make it a crossbody version, or make the squares larger for a roomier everyday bag. You could also tone down the lemon look with some pastel yellow and cream, or make it more vibrant with brighter citrus colours. A zipper, button loop or even just a simple fabric lining would also give a polished finish.
Writing Style Suggestions
This bag would look so cute paired with a simple summer dress, a pair of denim shorts, a white tee or a light beach outfit. It makes a fun handmade accessory for vacations, picnics, markets, or gift giving. If you’re into fruit-themed crochet, would fit right into a fun handmade wardrobe.
Care Instructions
If bag is bright coloured, hand wash gently in cool water, if possible. While still damp reshape and lay flat to dry. Avoid high heat and avoid air drying if the strap can stretch.
Time Required
Depending on your speed, yarn, size and how carefully you work the colour details and finishing, this may take a few hours.
Conclusion
This crochet lemon bag is such a cheerful little project, and it is a lovely way to turn simple granny-square construction into something eye-catching and fun. You can keep it small and sweet or adjust the size, strap, and finishing details to suit your own style. It is the kind of project that feels creative without being too complicated, which makes it especially satisfying to make.
FAQs
Is this beginner-friendly?
Yes, it looks suitable for confident beginners, especially if you are comfortable with basic stitches and simple joining.
What yarn is best for this bag?
Cotton or a cotton blend is a great choice because it helps the bag keep a neat shape.
Can I adjust the size?
Yes. You can make the squares larger or smaller and change the strap length to suit your needs.
Do I need to line the bag?
Not necessarily, but a lining can help the bag feel sturdier and stop small items from slipping through.
Can I use different fruit colors?
Absolutely. The same idea could be adapted into other citrus-inspired shades for a fresh custom look.