
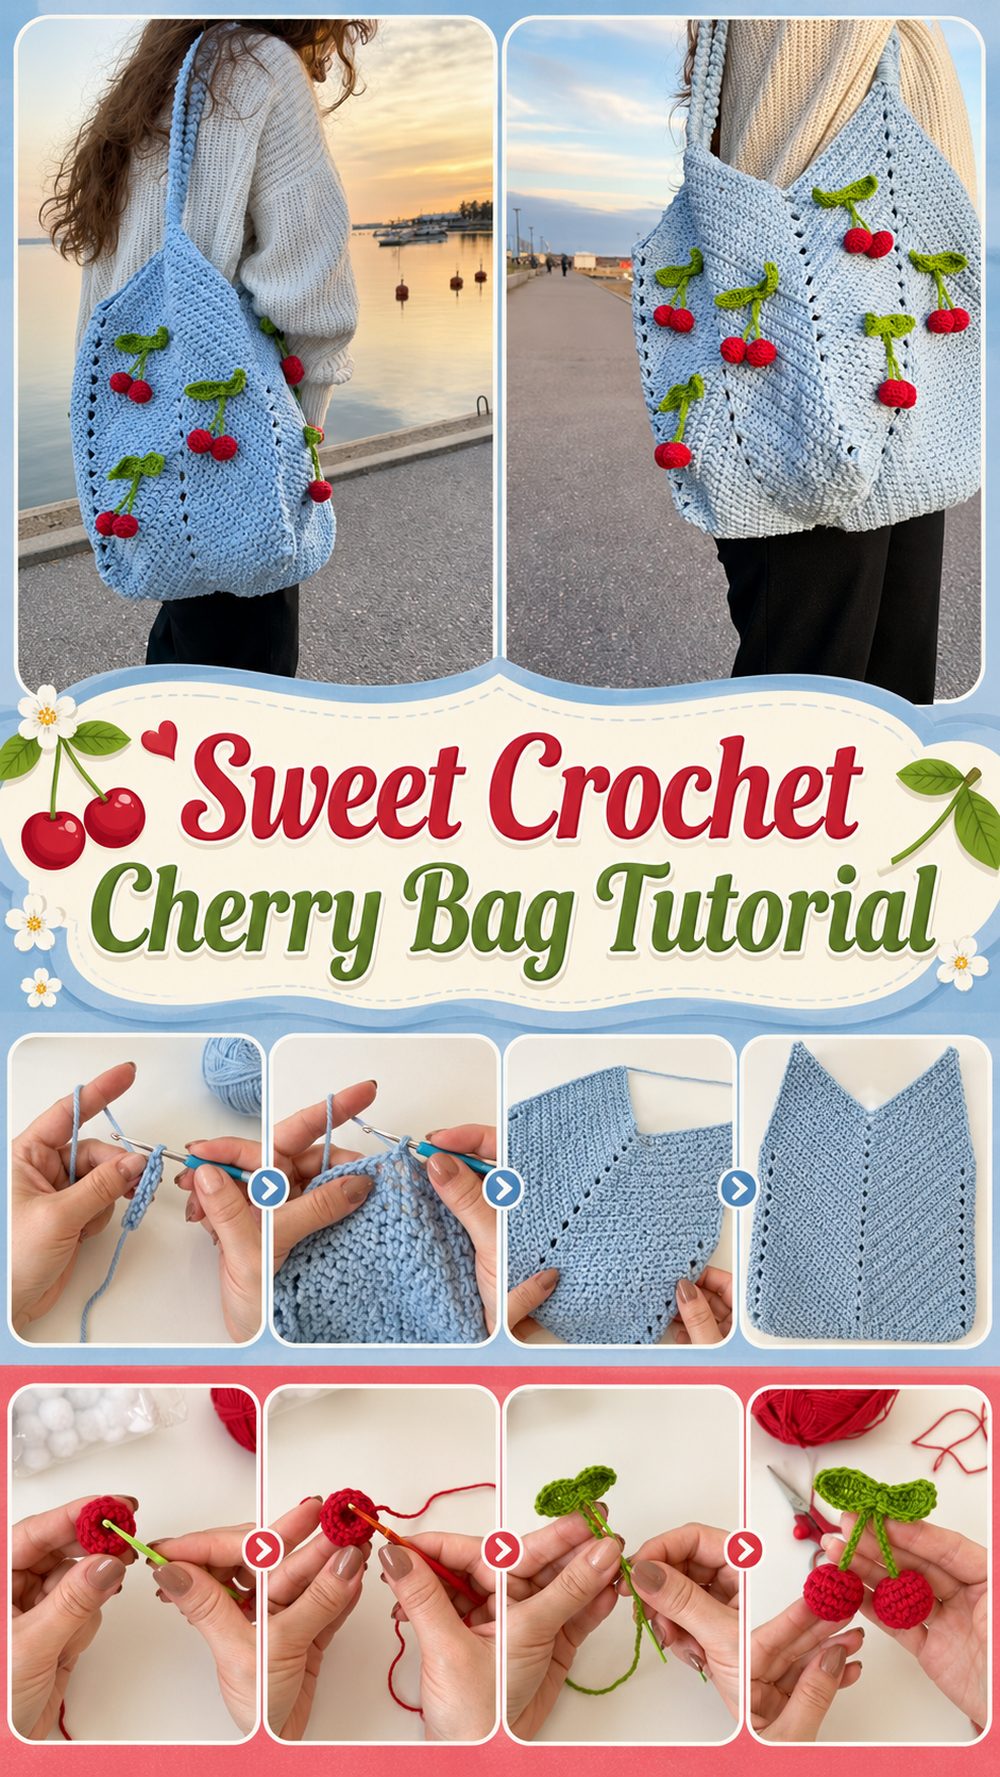
A crochet cherry bag is so fun and playful. It’s a bit vintage-y, a bit cute, and very handmade in the best sense. Perfect for those who love soft accessories with a bit of personality, and those who enjoy making pieces that stand out but aren’t too complicated. The tutorial I chose makes the bag first, then crochets and sews on the cherry details, and adds the straps towards the end, so the whole project comes together in a very satisfying way. The video is a full tutorial and is beginner friendly with sections for materials, starting the bag, making the cherries, sewing them on and finishing the straps.
Why we love this project .
This project is fun, because it gives you more than a simple crochet bag. You get the satisfaction of making the bag itself and then decorating it with sweet cherry details that really give it life. It’s practical enough to use, but still has a special, charming quality.
Supplies Needed
Body yarn bag
Red yarn for the cherries
green yarn for the stems or the leaves
Crochet needle.
scissors.
Yarn needle
Progress markers
Tape measure
If the tutorial does not mention a yarn weight or hook size, choose a yarn and hook size that will give you the fit and texture you want.
Best Yarn for This Project
A smooth yarn with some structure works great for a bag like this because it helps the finished shape hold up nicely. If you want the bag to be full and tidy, cotton or a cotton blend is a nice choice. If you want something softer you can use acrylic as well, but a stiffer yarn will generally show the details of the cherry better.
Skill Level
This project is for beginners or confident beginners. The tutorial is presented as beginner friendly and the overall flow looks approachable as the bag, cherries and straps are taught in separate stages instead of all at once.
Sizing & Fit Guide
You can easily change the size by checking the bag as you go. If you want a bigger bag, just keep working the foundation and body until it is the width you like. If you want more depth or height, build the main section a little longer before closing the top edge. Measure it against your shoulder or body before attaching the strap permanently.
Stitches Employed
The way the tutorial is structured shows that the project includes basic foundational crochet stitches, bag construction, appliqué work, sewing, and strap finishing. Safe stitches to look for here:
Chain
Slip stitch (sl st)
sc = single crochet
maybe half double or double crochet depending on the section
Basic increases as necessary for shaping
Joining pieces with a yarn needle
Directions
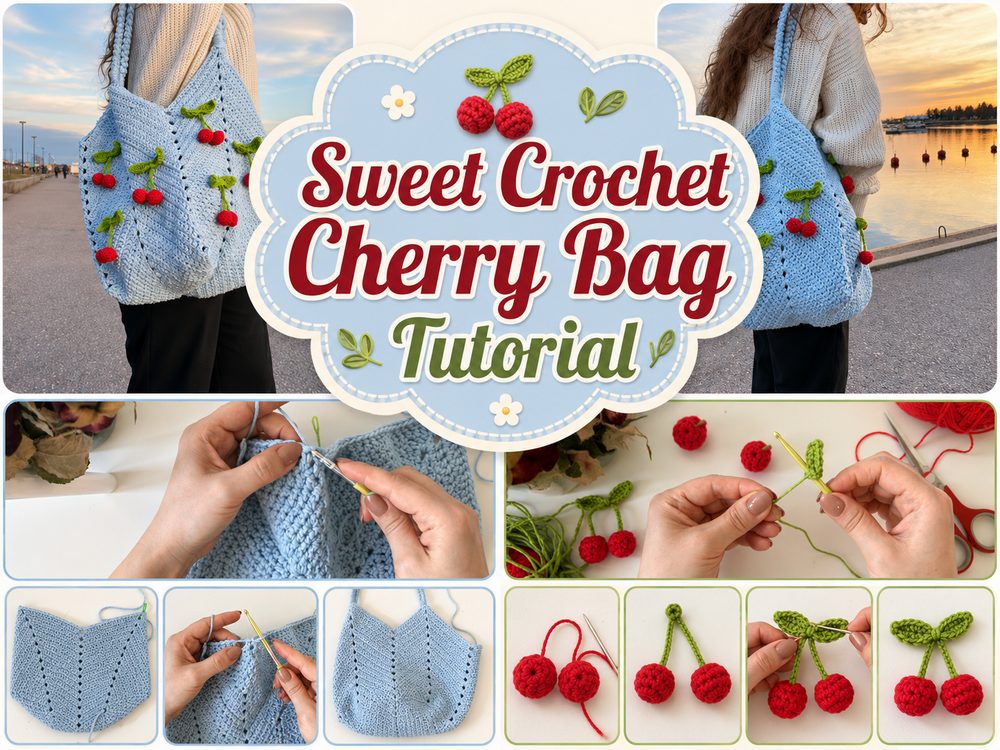
Step #1: Begin with the Foundation
The tutorial begins with materials and then dives right into starting the bag. This is usually done by constructing the base or first part of the bag’s body before any embellishments are added. Begin with your foundation chain or opening section. Make sure your tension is uniform so that the bag does not twist or pull to one side. Because this is a bag, it’s easier to crochet a little tighter than you would for a scarf or shawl.
As you begin, consider how structured you want the finished bag to look. The tighter the fabric the more support you have. The looser the fabric the softer and more relaxed it is.
Step 2: Make the Bag Body
With the starting section completed, continue working the body of the bag. This is where the main form takes shape. Keep your edges neat and use a stitch marker if you tend to lose the first or last stitch of a row or round.
If the bag in the tutorial is worked flat and then joined, make sure both sides are even. If worked as one continuous piece, check the shape with your hands every few rows. You want it to feel balanced and spacious enough for everyday use without being too much.
Also, the best time to decide if you want your bag a little taller, wider or slightly more compact. Now it is much more convenient to make adjustments before the straps are attached.
Step 3: Crochet Cherry Parts
When the bag section is underway, the tutorial proceeds to the cherry section, which is a nice break in the project. The cherries are made separately and then added on to the bag later.
Carefully work the red cherry shapes and try to keep them even so the pair looks balanced. Then crochet the green stem or leaf details that connect the cherries and give the design that classic cherry look. This decorative part is what makes the bag look cute and styled instead of plain.
If your cherries are looking a little different from each other, don’t worry too much. Handmade details generally look better with a bit of character as long as the overall size is close enough to look intentional.
Step 4: Position and Sew the Cherries
The tutorial includes a separate step for sewing the cherries, so the appliqué is added after the bag body is completed.
Place the cherry pieces on the front of the bag and arrange them before sewing until you are satisfied with the placement. This step is very important. A well-placed, centred cherry design can make the whole bag look polished.
When you’re happy with the layout, sew the cherries down securely with a yarn needle. Take your time here and try to keep the stitches as tidy as possible on the wrong side. If stems or leaves lift up too much, tack lightly to hold them in place and keep the soft handmade look.
Step 5: Create the Straps
The straps are crocheted and later on in the tutorial sewn onto the bag.
You can make the strap length as per how you want to carry it. A shorter strap gives it a more shoulder bag feel, a longer one can make it more comfortable for everyday use. Hold it up to yourself and check the drop before you attach both ends. That brief pause can save you from a strap that is too tight or too long.
This part is the most worn so try to keep the strap stitches firm and even.
Step 6: Join & Finish
When the cherries and straps are finished, weave in all loose ends neatly. Check the bag opening, the side joins and the strap attachment points to make sure everything feels secure. If the bag is a little soft or uneven, a little gentle blocking will help smooth the shape.
The finished bag should look cute, light and playful with the cherry motif standing out clearly on the front.
Helpful Hints
If you want a better structure in your bag, use a firmer yarn.
Before you sew anything down, check the placement of the cherries.
Try to keep the size of both cherry shapes similar for a balanced look.
Use stitch markers to maintain straight bag edges.
Try the length on your body before attaching the strap.
Weave in ends well, especially around the straps.
Common Mistakes to Avoid
Too loose bag fabric, which may cause the sagging
Forgetting to check for symmetry before attaching the cherries
Attaching the strap without measuring it beforehand
Sewing the stitching too tight and puckering the bag front
With a highly uneven tension between the bag and the appliqué pieces
Leaving ends untied in high-stress areas
Customisation Suggestions
You can make this bag even more personalised by changing the colour of the background, using pastel cherries (for a softer look) or adding a leafy top detail (for more texture). Or you can extend the bag into a mini tote, make it shorter like a handbag or add a button or lining for extra function.
Style Inspirations
This kind of crochet cherry bag is cute with simple daily outfits. It’s fantastic with jeans, dresses, skirts, and soft summer basics. It would also make a lovely handmade gift for someone who loves cute accessories or playful fashion items.
Care instructions:
Wash by hand gently, especially if the bag has appliqué details sewn onto the front. Lay flat to dry. Do not use high heat. If the shape softens after washing, reshape with your hands while still damp.
Time Required
Depending on your speed, yarn, size and stitch pattern this can take a few hours. If you are new to crochet it may be more enjoyable to spread this over two crafting sessions so you can enjoy each part.
Conclusion
This crochet cherry bag is the kind of project that feels cheerful from start to finish. You get a useful accessory, but you also get all the fun of making something decorative and full of personality. You can keep it simple, change the colors, adjust the size, and make it feel completely your own.
FAQs
Is this beginner-friendly?
Yes, it appears to be a beginner-friendly full tutorial with the project broken into clear parts.
What yarn is best for a cherry bag?
Cotton or a cotton blend is usually a great choice because it helps the bag hold its shape.
Can I adjust the size?
Yes. You can make the body wider, taller, or change the strap length to suit your needs.
Do I have to sew the cherry pieces on?
In the selected tutorial, the cherries are made separately and sewn onto the bag later.
How can I make it more comfortable to carry?
Use a strap length that fits your body well and keep the strap stitches firm so it feels more supportive.