
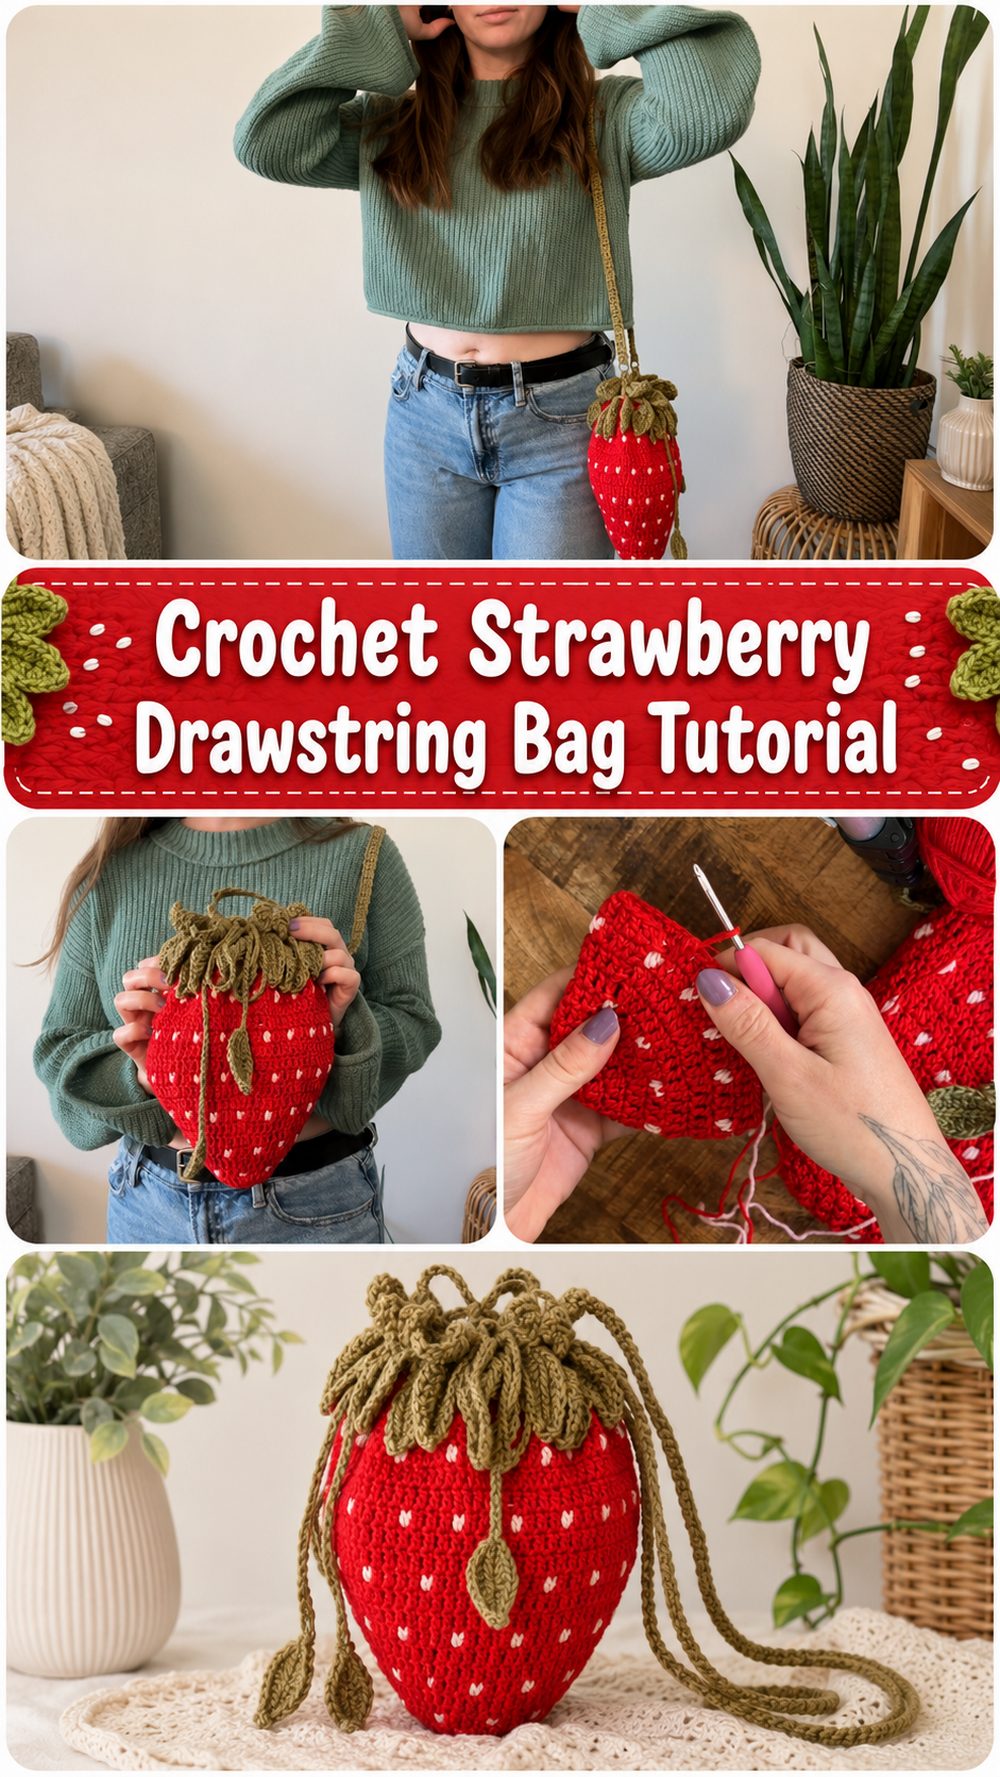
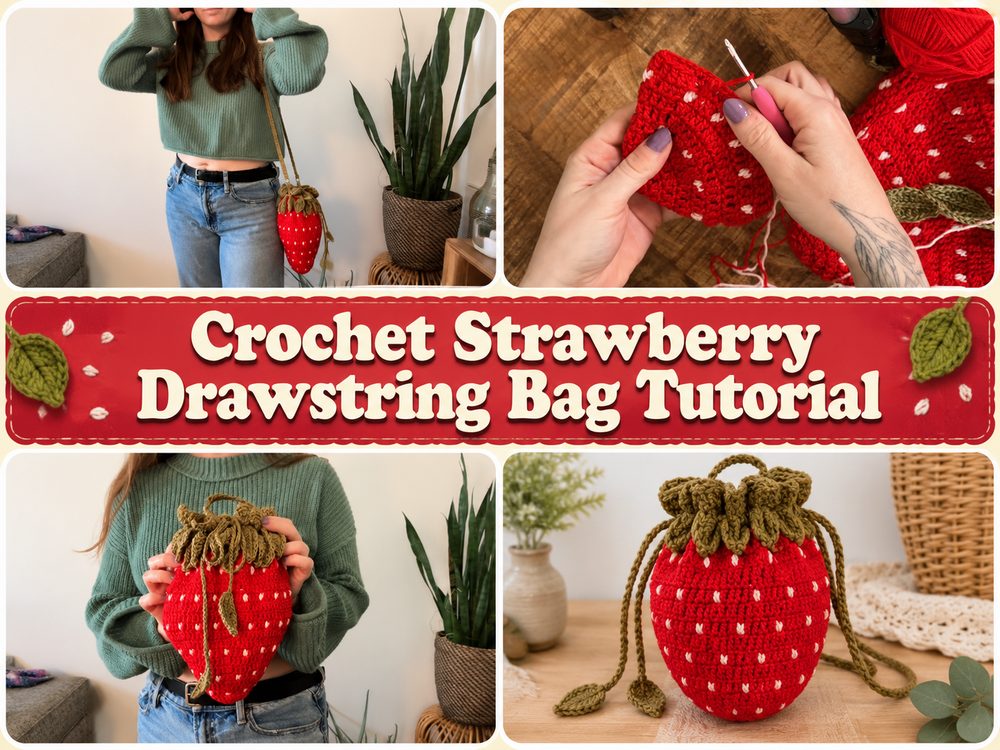
A crochet strawberry bag is one of those sweet little projects that feels playful, useful, and handmade in the best way. It A crochet strawberry bag is one of those sweet little projects that feels playful and useful and handmade in the best way. It’s got the shape of a strawberry, the feel of a crochet texture and the usefulness of a small drawstring pouch. You can use it to keep small gifts, coins, lip balm, stitch markers, earbuds, or any other little treasures you like to have close. This project is especially cute if you are into fruit-themed crochet, cottagecore style, or cute handmade accessories. The bag features a rounded strawberry body with little seed details, a leafy green top and a drawstring closure that makes it both pretty and functional. It’s a fun project for beginners who already know basic crochet stitches and want to practise shaping, colour changes and simple finishing.
Why You’ll Love This Project:
What’s fun about this crochet strawberry bag is how it takes basic crochet stitches and turns them into something adorable and useful. The strawberry shape makes it a stand out from normal pouches, and the drawstring top makes sure small items are kept safe. It’s also a really nice scrap-yarn project because it only takes a few colours and you can easily change the size to be as big or small as you want your pouch to be.
Required Materials:
Red yarn for the strawberry body.
Top of the leaf, green yarn
Use white or light coloured yarn for the seed stitches
Hook for your yarn (crochet)
Scissors
Knitting needle
Stitch-marker
Measuring tape not required.
Choose a yarn and hook size to give you the look and fit you want.
Best Yarn for This Project:
This bag is ideal in soft cotton or cotton-blend yarn. The yarn helps the strawberry shape maintain its look, but still feels soft in your hands. If you want a cleaner stitch finish and a pouch that feels a bit more sturdy, cotton is another good choice. Or you could use acrylic yarn for a softer, squishier bag. Avoid fuzzy yarns where the seed details and leafy top are not as apparent.
Skill Level:
This project is perfect for beginners or confident beginners. You should know basic stitches, working in rounds, changing colours, and sewing in ends. The shaping is straightforward, but you do have to pay attention to the increases, body section and drawstring area to get the bag to close well.
Size and Fit Guide –
The size of your strawberry bag will vary depending on the yarn, hook, tension and number of rounds worked. To make a larger bag, continue working on the body section until it reaches the desired size. Stop earlier for a smaller pouch. As this is a drawstring style bag, make sure the top opening is wide enough to fit the items you want to keep inside. Watch the shape as you work, remembering that the drawstring will pull the top in a little when it is closed.
Stitches Used:
The tutorial obviously uses some basic crochet techniques that are suitable for a small pouch style project. The main stitches and methods are:
Chain [Chain [
Slip stitch (sl st)
Single crochet
In rounds
As a child
Changes of colour
Simple embroidery, surface details for the seeds.
Drawstring style finish
Green top detail or leafy edging
How To Make It
Step 1: Prepare the Strawberry Base
The bag starts at the bottom of the strawberry shape. The lower part is usually worked in red yarn because it forms the main body of the fruit. You build outward in rounds, starting with a small center. A stitch marker is very helpful here as the rounds can be easy to lose track of especially when the piece is still small.
In the first few rounds of work, your aim is to establish a neat rounded base. The increases help make the bottom wider without being too tight or bumpy. Maintain even tension, but not stiffness. A bag needs to have structure to hold its shape, but it also needs to be soft and flexible.
If your base is curling too much your stitches may be too tight or your hook may be too small for the yarn. If it starts to get wavy you may be adding to much. The exact stitch counts may vary depending on the tutorial, yarn and hook you are using, so just concentrate on a smooth round base that fits nicely.
Step 2: Construct the Strawberry Body
Once the base is wide enough, the red body goes up. Here the pouch begins to look more like a little bag. The sides are worked in rounds, usually without adding much in the way of extra width once the basic shape is established.
The strawberry body should be soft and round, not a sharp cylinder. As you go the sides start to lift up making room on the inside of the pouch. This is where you decide how tall you want your bag to be. The shorter body makes a small coin purse or gift bag, and the taller body gives you more room for those little personal items.
Try to keep your stitches even all the way round. Unequal tension may result in the bag tilting or twisting slightly. If you’re new to working in rounds, put your stitch marker at the beginning of each round and move it up as you go. This helps you keep the shape clean and match the flow of the tutorial easier.
Step 3: Add the Details of the Strawberry Seed.
The pouch looks like a strawberry right away because of the details of the seed. These are normally added with white or light coloured yarns. Depending on the method shown, the seeds can be stitched directly onto the red body as tiny embroidered dots or worked into the crochet fabric as decorative details.
Keep the seeds small and naturally spaced. They don’t have to be flawless. True strawberries have seeds that are a bit scattered, so the handmade look is actually very charming here. Be careful not to pull the seed yarn too tight or the red body will pucker. The surface of the strawberry is smooth with a mild tension.
If you are making this bag for a child or as a gift, ensure that all the ends of the seeds are well woven inside. Small details should be clean and hard so that the pouch can be used without thread coming loose.
Step 4: Create the Green Leafy Top
When the red strawberry body is done, the green yarn is added to the top. This section has that cute leafy strawberry cap for the bag. The green top can be done in simple stitches around the opening, with small pointed leaf shapes or a decorative edging effect.
The leafy edge should sit around the top of the pouch like the leaves on a real strawberry. It also helps form the opening of the drawstring. When you switch from red to green, try to make the change of colour as clean as you can. Gently pull the new yarn through and then hide the ends later with a yarn needle.
Work the leaf points individually if working them one at a time. Work each point slowly so they look even. They don’t have to be the same size but keeping them similar in size gives the bag a neater finish. The green top is one of the prettiest parts of the project, and it is worth a moment’s enjoyment.
Step 5 – Make the Drawstring Opening
The drawstring is what makes the strawberry a functional pouch. Near the top of the bag spaces or openings are worked to put a cord through. This allows the pouch to open and close easily,
You can make the drawstring out of a simple chain, a crocheted cord, or a cord of twisted yarn. The cord should be long enough to go all the way around the opening and still have ends to pull at. If it is too short it will be difficult to close the bag. If it is too long you can test then cut or knot.
Feed the drawstring through, moving evenly into and out of spaces around the top. Swinging back, tug gently at both ends to close the opening. The top should be gathered into a soft bunch without pulling the stitches. If it is too tight, loosen the cord or make sure it is threaded properly.
Step 6: Shape the Bag and Inspect It
Before you weave in every end, stop and look at the whole shape. The bottom should be rounded, the body should be like a strawberry and the green top should sit well around the opening. Close the drawstring and open it to make sure it opens smoothly.
If the bag is too floppy you might want to try a smaller hook next time or use cotton yarn for more structure. If it seems too stiff, try a larger hook or softer yarn. Crochet bags do have a tendency to shift shape a bit when filled so pop a few small things in and see how it looks.
Step 7: Finish the Edges and Weave in the Ends
Use a yarn needle to weave in any loose ends securely. This bag has colour changes and decorative details so there might be several ends to hide. Thread them inside the seams so they won’t be seen on the outside.
Trim only when the ends feel firm. If you cut too close too early, the yarn can come undone over time. When you finish, you can also press the bag gently with your hands. If you used cotton yarn and want a cleaner look, light blocking can help even out the stitches and make the shape of the strawberry look neater.
The finished bag should look like a cute little red strawberry pouch with detail of seeds, green leafy top and drawstring closure. Soft yet functional, decorative but useful.
Tips That Help:
Use cotton yarn for crisp strawberry shape and seed details. Maintain consistent tension so the bag doesn’t twist as you work in rounds. A stitch marker is very useful to keep track of where each round begins. When adding seeds, do not pull too tight, or the pouch will wrinkle. Test the drawstring before you are finished to be sure it opens and closes easily. If you are making more than one bag remember to write down your yarn, hook and round choice so the next one will match.
Common Mistakes to Avoid
Making the base too tight, which may cause the bottom to curl up
Not moving the stitch marker when you’re working in rounds
Drawing the seed stitches tight and puckering the fabric in
Drawing the string too short to close comfortably
using very fuzzy yarn that obscures the strawberry details
Weaving in ends too loosely, especially in the drawstring area.
Customisation Tips:
You can make this strawberry bag in traditional red and green or try pink for a softer strawberry look. Add tiny white, cream or yellow seeds, depending on the style you prefer. Make the bag tall for extra storage or keep it small for a cute gift pouch. A longer cord makes it a tiny wristlet. A thicker cord makes it chunkier, more handmade looking. At the leafy top you can add a small bow, a charm or a little crocheted flower.
Style Ideas:
This bag is perfect for holding little crochet tools, stitch markers, lip balm, candy, coins or little gifts. It would look sweet as part of a handmade gift basket or as part of the packaging of a small present. It makes a decorative pouch on a shelf, a cute accessory to a picnic outfit, or a fun market-table item if you sell handmade crochet pieces.
Care Instructions:
If you used cotton yarn or added embroidered seed details hand wash the bag in cold water and lay flat to dry. Do not wring it out or twist hard. Squeeze excess water out with towel and lay flat to dry. Keep it away from high heat as heat can affect the yarn texture and shape.
Time Required:
This could take a few hours depending on your speed, yarn, size and stitch pattern. A smaller pouch will work up faster a larger strawberry bag or one with carefully placed seed details may take longer will work up more quickly, while a larger strawberry bag or one with carefully placed seed details may take longer.
Conclusion:
A crochet strawberry bag is a cheerful little project that brings together simple stitches, cute shaping, and useful design. It is a lovely way to practice working in rounds, adding decorative details, and making a drawstring closure. You can keep it classic with red and green yarn or play with colors to make it your own. Once you understand the basic shape, it is easy to adjust the size, texture, and finishing details for your personal style.
FAQs:
Is this crochet strawberry bag beginner-friendly?
Yes, it is beginner-friendly if you already know basic stitches and feel comfortable working in rounds.
What yarn is best for this project?
Cotton or cotton-blend yarn works best for a neat shape, but soft acrylic can also be used.
Can I make the bag bigger?
Yes. Continue the body section until it reaches your desired size, and make sure the top opening still closes well.
Can I use this as a gift bag?
Absolutely. It is perfect for small gifts, candies, accessories, or handmade surprises.
How do I make the strawberry shape look neater?
Keep your tension even, use a stitch marker, place the seeds gently, and lightly shape or block the finished pouch.