
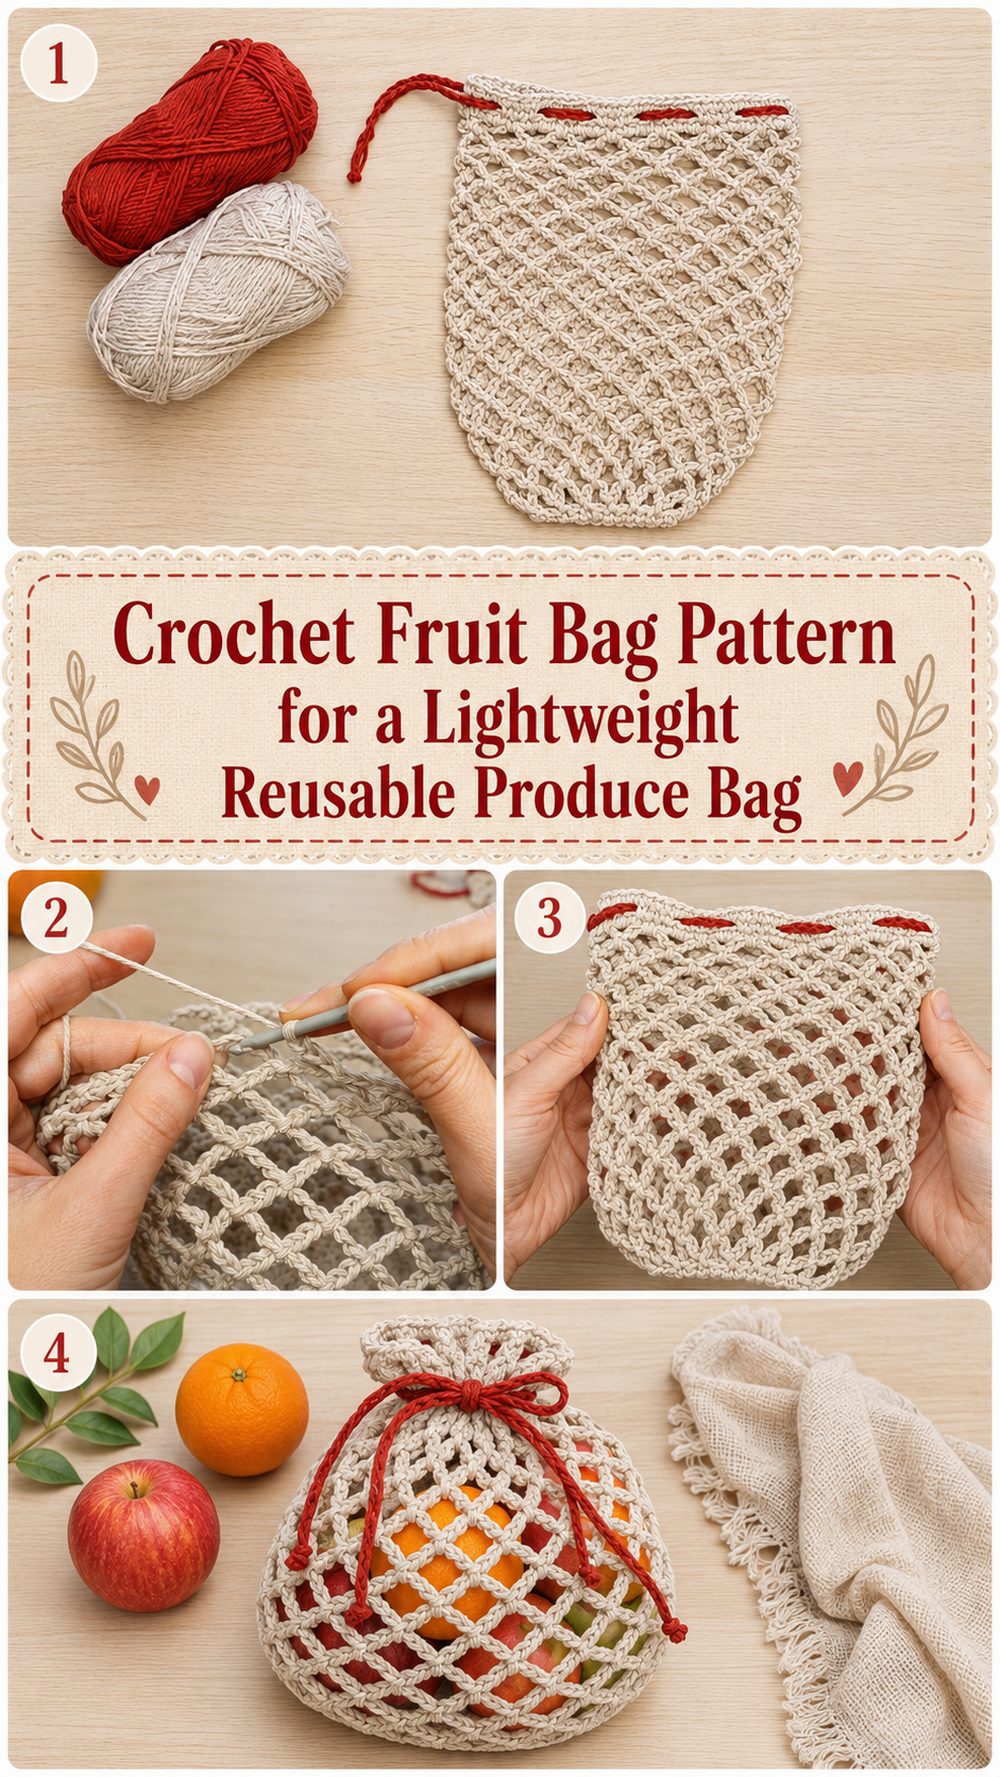
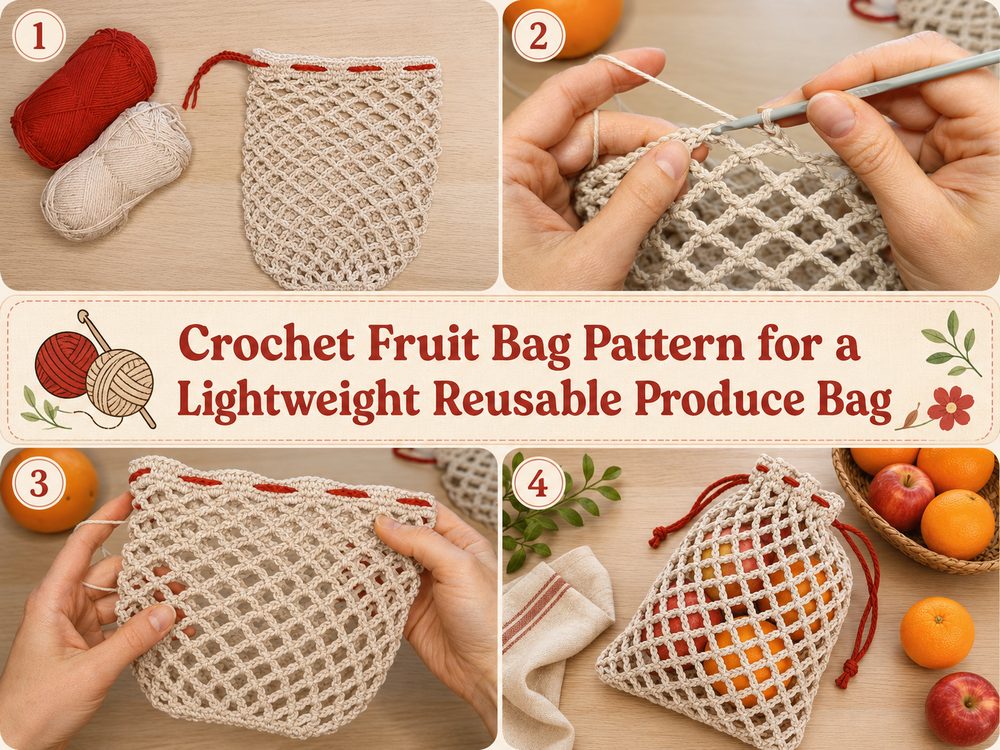
A crochet fruit bag is one of those simple little projects that feels useful right away. It is light, stretchy, easy to tuck into a larger tote, and perfect for carrying apples, oranges, lemons, or other fresh produce without needing disposable A crochet fruit bag is one of those simple little projects that feels useful immediately. Light, stretchy and easy to fit into a larger tote, it’s perfect for carrying apples, oranges, lemons or other fresh produce without the use of disposable plastic bags. I chose a tutorial that demonstrates how to make a really easy mesh produce bag with a drawstring closure, making the finished bag practical, airy and easy to use at home or on shopping trips. This is a lovely project for all who love quick crochet makes and who love pretty and functional. If you like handmade things that make your life a little bit easier, this is the kind of project you’ll probably want to make more than once. The tutorial I have chosen is a recent step by step YouTube lesson on just this style of bag.
Why You’ll Love the Project:
There’s something so satisfying about this crochet fruit bag because it creates something useful, washable and easy to customise. The mesh design allows the bag to be light and breathable, while the drawstring top allows it to be practical for storing or carrying fruit without everything rolling out.
Materials Required:
Crocheted cotton or lightweight yarn
Crochet needle
scissors.
Knitting needle
Stitch markers,
Tape measure
Use a hook and yarn that will give you the fit and texture you desire.
Best Yarn for This Project:
A fruit bag like this is best made from lightweight cotton, it’s strong, washable and breathable. Cotton is better at holding its shape than super stretchy yarns, so the bag remains practical when full. Bamboo blend can work well if you want something soft and smooth but usually cotton is the easiest option for a bag that needs a little structure. Avoid fuzzy yarns, because the mesh pattern will look cleaner and more useful when the stitches stay crisp and open.
Skill Level:
Simple, beginner friendly.
This is a good project for newer crocheters as the overall shape is simple and repetitive. The rhythm is easy to follow once the mesh section starts so it is a relaxing make after the first few rounds.
Size & Fit Guide:
You can easily change the size of this bag as you work. If you want a smaller fruit bag with a few produce items, stop earlier. If you want a larger produce bag, keep crocheting the body until it is long enough. Before deciding on the final length, it helps to check the bag with a few pieces of fruit inside as the mesh stretches. Alternatively, you can change the drawstring opening to be a good fit to close comfortably.
Stitches Used Used:
Chain
Slip stitch
Pattern of mesh stitch
Joining stitches – simple
We’re making a simple mesh produce bag with a drawstring closure, so the stitch work is kept simple and practical in this tutorial.
How to Make It:
Step 1: Establish the foundation
The bag starts with a small foundation section that forms the base. This part forms the bottom of the fruit bag and makes you feel more secure at the bottom before the airy mesh part starts. Keep your stitches even as you are working the beginning rows or rounds to keep the base clean and balanced. You don’t want it to be too big ’cause the mesh body will expand once you’ve filled the bag.
Step 2: Create Mesh Body
When the base is done, work the main body of the bag in an open mesh stitch. That’s what makes the bag feel light and allows it to grow around fruit and vegetables. The repeated mesh stitches make this project so much fun. Once you get the repeat going, it’s the sort of crochet you can do while you’re relaxing and not have to stop every minute.
Keep your chain spaces even so the finished bag looks tidy. If you get too tight the bag may not stretch as nicely. If it gets too loose the mesh can look uneven. Usually a steady, smooth rhythm gives the best result.
Step 3: Keep going until your bag is as long as you want it to be.
This tutorial is really nice because the design is really easy to change. Keep working the mesh until you have a bag that is the size you want. A small fruit bag should be compact and portable. To hold more items, increase the length for a bigger produce bag.
A good way to judge size is to hold the bag up and visualise how much stretch it will get once filled. Mesh bags often appear smaller before use, so don’t panic if it looks tiny when flat. That stretch is some of the reason this style is so practical.
Step 4: Make the Top Opening
The top is finished off when the body is long enough to be ready for the closure. It makes the bag feel more secure and gives a nice opening to this section. Work carefully here to keep the edge smooth and not too tight. A comfortable opening is important so you can slip fruit in easily and not fight the top of the bag.
Step 5: Add the Drawstring Closure.
The bag in the tutorial you chose is clearly described as having a drawstring closure, which is a really helpful feature for a fruit bag.
Then the top edge is threaded through with a drawstring making it easy to open and close the bag. This makes the project feel more complete and more useful than just an all-open produce bag. The fruit stays contained when you pull the drawstring closed, and the bag is easier to carry or store.
You can keep the drawstring simple and practical, or you can make it a little longer if you want it to be easier to tie. Just be sure it runs smoothly through the top opening, and doesn’t bunch the stitches too tightly.
Step 6: Finalise and Verify the Shape
Once the closure is in, weave in the ends nicely and check the bag for a quick shape. The finished fruit bag should be light, flexible, roomy but not floppy at the top. It should look airy and compact when laid flat but once filled should expand nicely around your produce.
This style works particularly well for fruit, as the mesh allows air to flow through the bag. This keeps it feeling fresh and useful and makes it perfect for everyday kitchen use, grocery runs or farmers market shopping.
Helpful Hints:
If you want a breathable, washable bag, use cotton yarn.
Maintain even tension so the mesh appears tidy.
Check size before finishing, Bag will stretch when filled.
Leave enough length in the drawstring so it can be opened and closed easily.
If you want neater rounds, use a stitch marker at the beginning.
And if you want the mesh to look more even, block lightly.
Common Errors to Avoid:
Stitching too tight, which can prevent stretch
Stopping too early before the bag is high enough
Too heavy yarn, which may make the bag bulky
Didn’t know mesh expands when full
Too short a drawstring for comfortable use
The Final Shape Check Before Weaving in Ends
Ideas for Customisation:
Make this fruit bag in soft neutrals for a clean kitchen look or use bright fresh shades like lemon yellow, orange, apple green or strawberry red for a playful produce-inspired feel. Or you can make a whole set in different sizes for different fruit. For a more finished look add a simple edging at the top, or change the drawstring colour for a bit of contrast.
Style Tips:
This bag is perfect for everyday produce shopping, storing fruit in the kitchen, packing snacks for a picnic or as part of a handmade eco-friendly gift set. It looks lovely too when hanging on a hook with citrus or apples in it.
Wash Instructions:
Wash gently by hand or wash carefully following the care label on your yarn. If damp, reshape the bag and lay flat to dry. Be careful with high heat – this can warp the shape, especially if your yarn is soft or light.
Time Required:
This could take a few hours depending on your speed, yarn, size and stitch patte
Conclusion:
If you want a practical crochet project that is quick, useful, and easy to personalize, this fruit bag is a really good one to try. The mesh body keeps it light, the drawstring makes it functional, and the size can be adjusted to suit your needs. You can keep it simple, make a few in different colors, or turn it into part of your everyday reusable bag collection.
FAQs:
1. Is this project beginner-friendly?
Yes, it looks very approachable for beginners or confident beginners because the design is simple and repetitive.
2. What yarn works best for a crochet fruit bag?
Lightweight cotton is usually the best choice because it is breathable, washable, and sturdy.
3. Can I make the bag bigger or smaller?
Yes. You can adjust the length of the mesh section and stop when the size feels right.
4. Is this good for summer use?
Yes. A cotton mesh bag is light, airy, and comfortable to carry in warm weather.
5. How do I make it more comfortable to use?
Keep the tension even, choose a smooth yarn, and make sure the drawstring slides easily through the top.