
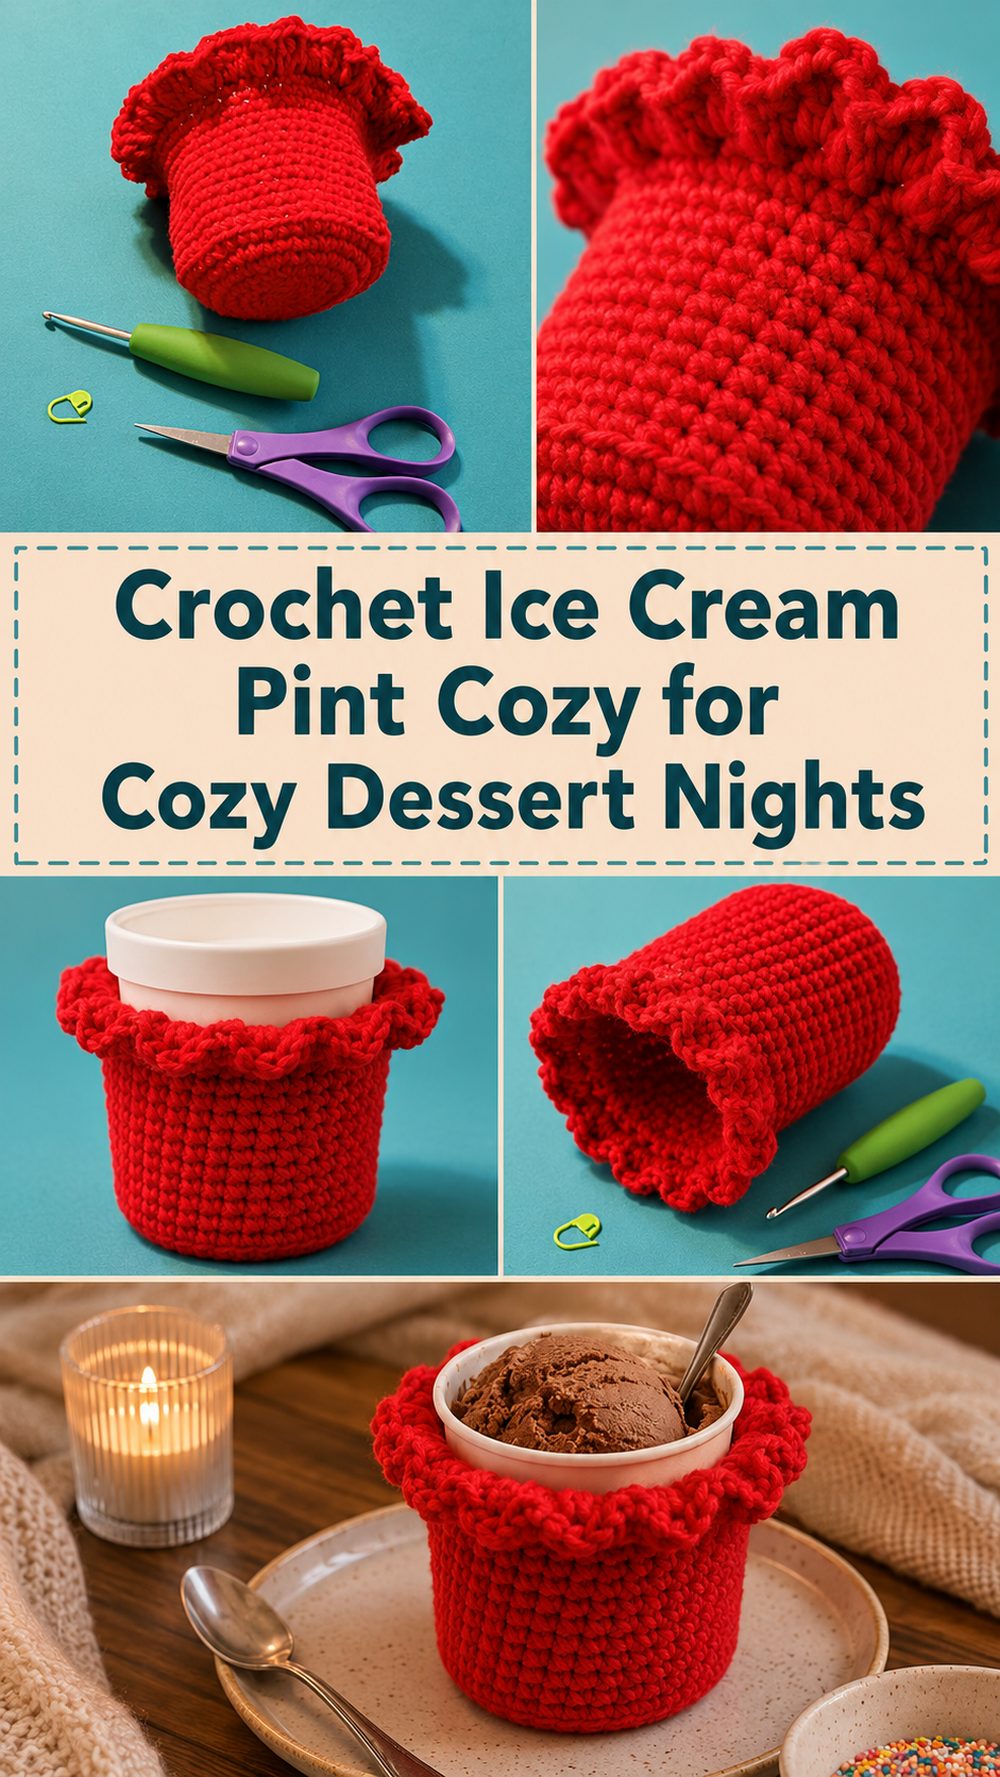
TherThere’s something a little bit more fun about creating a crochet project that you can actually use right away and an ice cream cosy is one of those little wins. It fits over a pint container which makes those late night ice cream breaks much more pleasant, especially when the carton is too cold to hold in your hands. This type of project is also great if you want something quick, practical and cute without committing to a huge pattern. The tutorial I picked out is a beginner-friendly, full-on, real-time tutorial for a pint cosy, and it is sized for a standard pint of ice cream. It also uses simple stitches, so it feels approachable even if you’re still getting comfortable with crochet basics.
Why You’ll Love This Project
This is the type of crochet project that feels useful the moment you finish it. It is small, satisfying, easy to personalise and perfect for gifting. It’s a nice option when you want a fast make that still looks thoughtful and handmade as the tutorial is made as a beginner project and focuses on a pint-size cosy.
What you need to make it
Thread.
Crochet needle
scissors.
Needle for yarn
Stitch marker, if you want to mark the beginning of rounds or important points
Tape measure
A pint ice-cream container to test fit as you go
Choose your yarn and hook size to achieve the fit and texture you desire.
Top Yarn for This Project
Cotton or cotton blend yarn is a good choice for an ice cream cosy because it feels sturdy, holds its shape and is comfortable to hold. If you want a softer, stretchier finish, acrylic can be used too, but this kind of practical holder has a cleaner structure when made from cotton. And a medium-weight yarn is particularly good for a cosy that’s quick to make and not too flimsy.
Proficiency Level
Beginner friendly
It is a beginner tutorial and specifically states that you need to know single crochet. This makes this a comfortable project for newer crocheters who know the basics and want to practise shaping a useful item.
Size & Fit Guide
This cosy is designed for a pint sized ice cream container. The easiest way to get the size right is to have your pint pot empty or full nearby as you work. First test the bottom, then wrap the body around the sides and see if the fabric is fitting snugly and not too stretched. Adjust by adding or subtracting rounds or rows until the fit seems right if your stitches are tighter or looser than you had anticipated. The great thing about a project like this is that you don’t need exact measurements to get a good result. The idea is to fit snug and comfortable.
Stitches Employed
Link
Slip stitch (sl st)
Single crochet
As the tutorial states, you should know single crochet, so that is the main stitch to expect here.
How To Prepare It
Step 1: Launch the Foundation
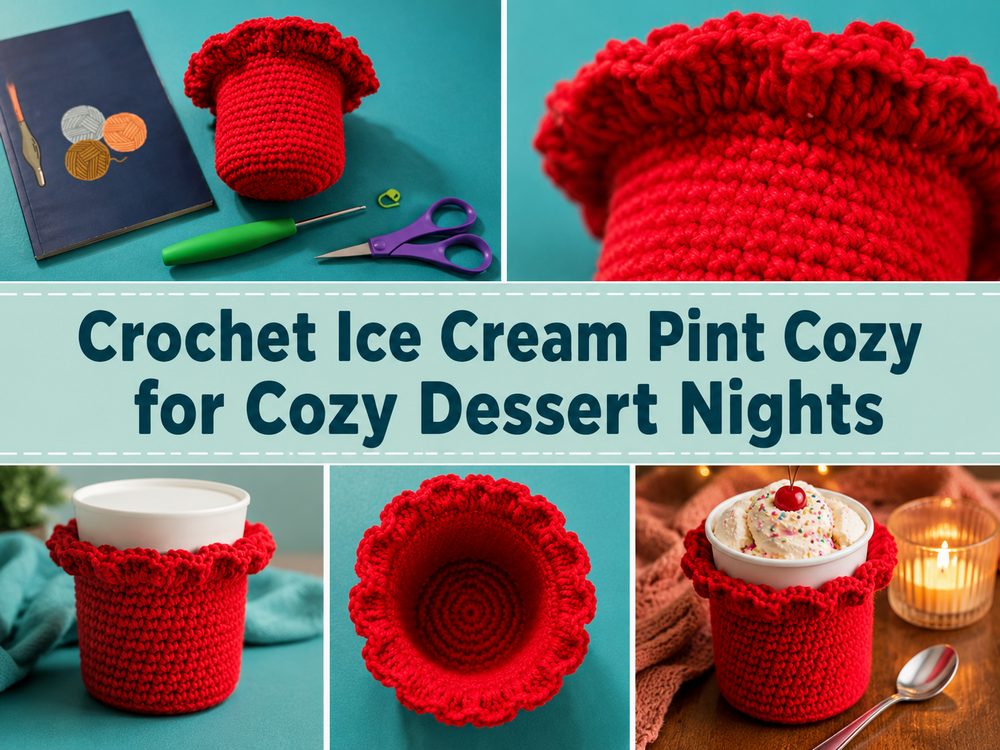
The first step to this project is to make the base that will go under the pint. Usually the start is done in the round for a cosy like this so you can make a flat circle or rounded base that fits the bottom of the container. Begin with the opening method of your choice and work your first stitches into that center. Keep your stitches even and flat so the base doesn’t ripple or cup too much.
As you build out the bottom, every now and then put the pint container over the base to compare the size. You want the bottom to fit the container snugly, as that creates a tidy, supportive shape for the whole cosy.
Step 2: Build the Sides Up
Once the base has been made wide enough, the work starts to rise up to create the body of the cosy. This is where the project gets really cool. You keep sewing easily and let the fabric lift around the pint. Since this is a beginner-friendly tutorial, and we are working on single crochet, the fabric should come together in a dense, practical texture that helps make the cold cardboard more comfortable to hold.
Check the fit as you do this. The sides should cling to the pint without falling. If you are on the loose side, just stop and measure the height and width against the container before you get too far along.
Step 3: Maintain the Shape Even
Careful with edges and stitch count as the body gets bigger. For a small practical project like this, consistency is more important than speed. And even if it looks like the pattern repeats itself, that’s actually part of why it’s so nice. No complicated stitch combinations, just settle into the rhythm and let the cosy take shape.
If your cosy begins to flare out, you may have accidentally increased your stitch count. If it begins to pull in too much, you may be crocheting tighter than you think. A quick fit check around the pint will usually tell you right away if things are going in the right direction.
Step 4: Alter the height
Got easy to measure height. Some like a cosy that covers most of the pint, some like one that leaves a little more of the top exposed so it is easier to scoop from the carton. Work until you’ve achieved the look you prefer, maintaining the top edge to be even and comfortable in your hand.
Since the tutorial is a full, real-time lesson for a pint cosy, it’s a great project for watching how the shape grows from bottom to top rather than guessing at construction.
Step 5: Combine and Finish
When cosy is tall enough, finish off neatly and weave in ends. If you completed the project fully in the round, your last step is mostly just fastening off the yarn and cleaning up the edge. If there is any seam or joining point take time to tidy it up so the cosy looks clean from all sides.
Slide it on to the pint at this point and check the final fit. It should feel tight, stable and comfortable to the hand. The ultimate cosy should make the container easier to hold and more enjoyable to use when it is super cold.
Step 6: Admire the Completed Look
The best thing about this project is that it is simple but still it feels charming. This crochet ice cream cosy has that handmade look that makes an ordinary dessert night a little extra special. And it’s also one of those things that brings instant smiles to people’s faces because it’s clever, useful and a bit playful.
Helpful Hints
Keep the tension tight so the cosy isn’t too loose or too stiff.
As you crochet, try the fit on the pint container several times.
This kind of holder makes a nice sturdy finish out of cotton yarn.
If you are working in continuous rounds, use a stitch marker.
Weave in ends well. This cosy will be used a lot.
Make another one in a different colour for gift giving.
Mistakes You Should Avoid
Having the base too broad before you build the sides
Neglecting to try on as you go
Crochet too tightly, making it difficult to slide the cosy on
Adding stitches by mistake and making sides flare
Stopping too early and having a cosy that is too short
Leaving ends of comfort loose
Customising concept
You can keep this cosy simple or you can make it more playful. Try some stripes of colour, a contrast edge, a loop to hang it from, or a cute little applique on the front. You could also make one in bright summer shades, soft neutrals or classic dessert colours such as strawberry-pink, mint, chocolate brown or vanilla-cream. For a more textured look, choose a yarn with a little body and softness.
Fashion Tips
This is a fun little gift for ice cream lovers, movie night baskets, summer birthdays or handmade care packages. Also cute for family treat nights when everyone has their own cosy in a different colour. Add a spoon and favourite pint for a sweet crochet gift that’s personal without being involved.
Care Instructions
If needed, gently hand wash and reshape while damp. Lay flat to air dry. Stay away from high heat, especially if you use acrylic or blended yarns. Once the cosy is stretched a bit after use, drying it flat will usually help it settle back into shape.
Time Required
This may take a few hours, depending on your speed, yarn, size and stitch pattern.
Conclusion
A crochet ice cream cozy is one of those small projects that is easy to enjoy from start to finish. It is useful, giftable, beginner-friendly, and simple to customize with your own favorite colors. If you want a practical little make that still feels fun and handmade, this is a lovely one to try.
FAQs
Is this beginner-friendly?
Yes. The tutorial is described as beginner and uses basic crochet knowledge, especially single crochet.
What yarn is best for an ice cream cozy?
Cotton or a cotton blend is a great choice because it feels sturdy and comfortable in the hand.
Can I adjust the size?
Yes. Check the fit on your pint as you work and add or reduce rounds as needed.
Do I need exact stitch counts?
No. For this kind of project, fit matters more than exact numbers, so you can adjust as you go.
Can I gift this project?
Absolutely. It is a quick, practical handmade gift that works especially well for ice cream lovers.