
A crossbody bag needs more than a long strap. It should sit where the wearer can reach it, stay close enough to the body to feel secure, and hold essentials without pulling the strap attachment out of shape. The longer the strap, the more important stretch control becomes.
The embedded tutorial demonstrates a beginner-friendly sling bag. This guide adds a practical fitting method, capacity planning, closure options, reinforcement and lining advice so readers can adapt the project without relying on guesswork.
The most useful time to decide strap length is before the strap is permanently attached. Crochet can lengthen in use, so the finished strap should be tested with the bag loaded rather than measured only on a table.
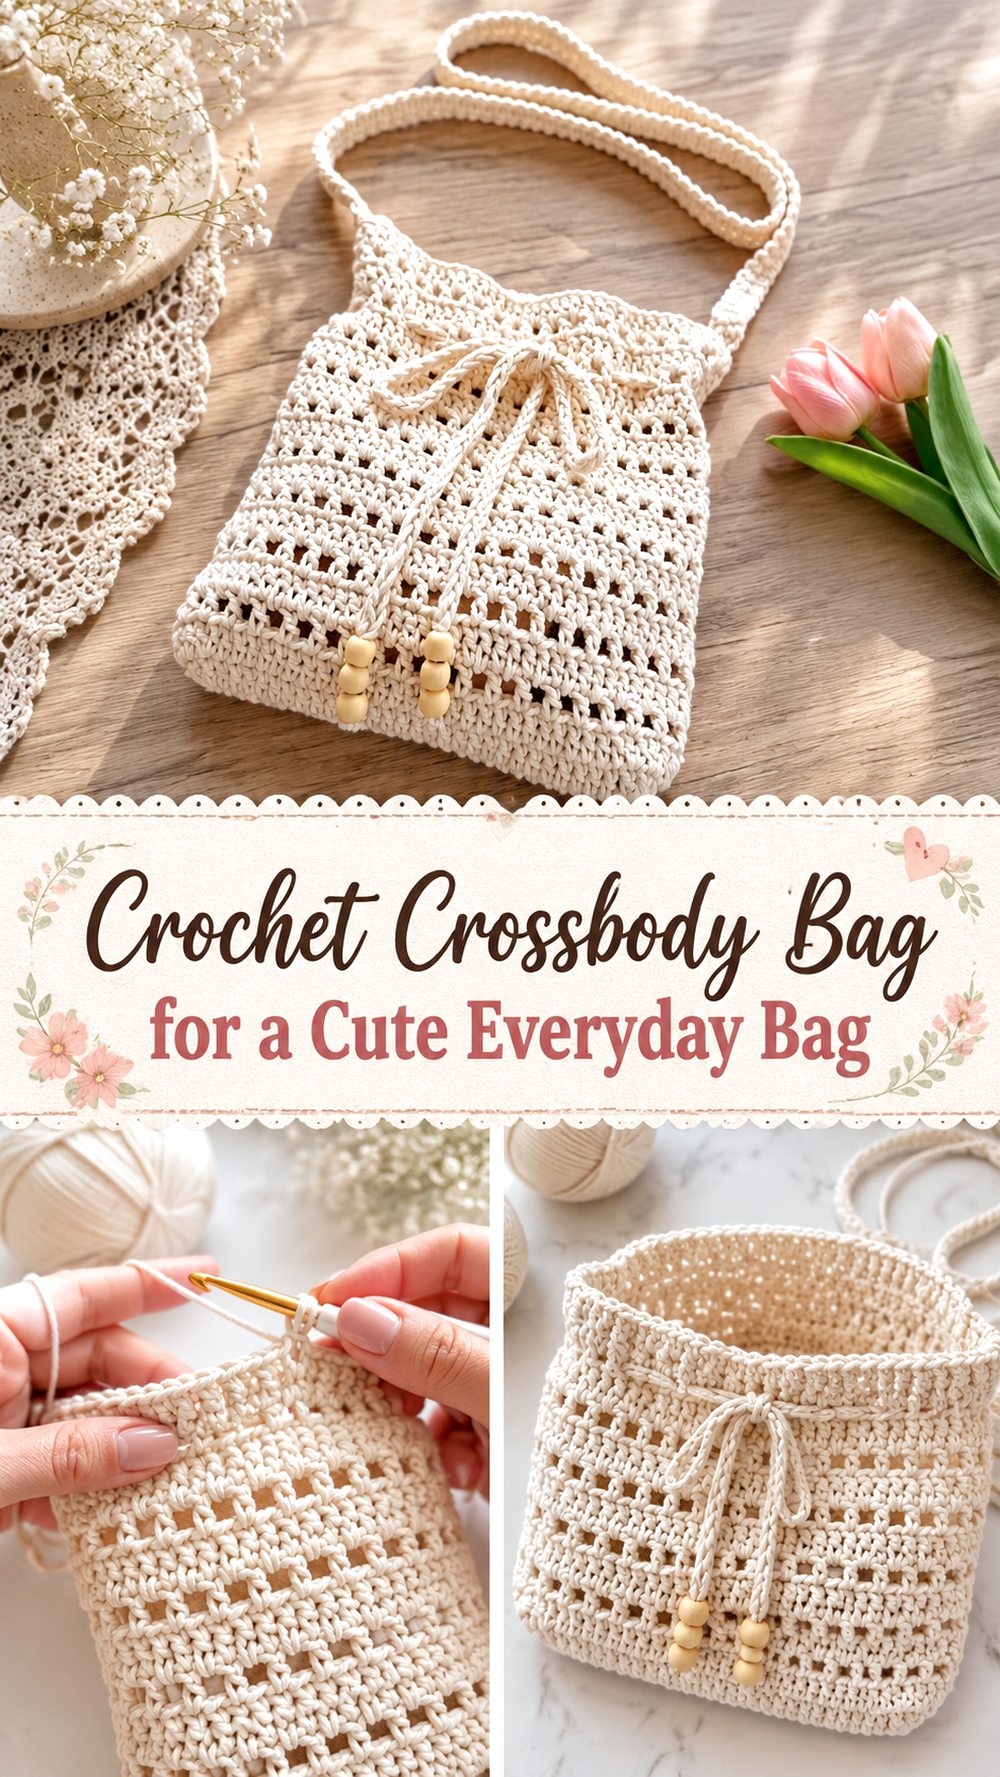
Choose What Must Fit
For a compact crossbody, trace the phone and wallet on paper and arrange keys beside them. Add space for the thickness of the items and for the opening to close. A bag that fits the phone only when stretched is too small for comfortable daily use.
Keep the body narrow enough to sit against the hip without swinging. If adding depth for a wider wallet, consider a small side gusset instead of making the entire front much larger.
Measure Strap Drop on the Wearer
Use a soft measuring tape or ribbon from one attachment point, across the body, to the other side of the bag position. Test the length with normal clothing and with a jacket if the bag will be used in cooler weather. Mark the point where the top of the bag should sit.
Strap drop is personal. Height alone does not determine it; torso length, preferred bag position and body shape matter. An adjustable strap or two attachment settings are useful when the bag may be gifted.
Predict Stretch Before Finishing the Strap
Work a strap sample or the first section, measure it, hang a modest weight from it for several hours and measure again. Long rows or chains can stretch considerably depending on construction. Use the change to shorten the final strap or add reinforcement.
Cotton webbing, twill tape or a narrow fabric strip sewn behind the strap can control length while keeping the crochet visible. For a removable purchased strap, use strong rings and reinforced tabs.
Make the Body Stable and Comfortable
A crossbody bag rubs against clothing and moves while walking. Choose a fabric that does not snag easily and avoid bulky knots on the back panel. If using textured stitches, consider keeping the side against the body smoother.
Check the upper corners when the bag is loaded. If they fold sharply toward the strap, widen the attachment area or add tabs that transfer the force down the side seam.ked in repeated sections with basic stitches.
Choose a Secure Opening

An open top may be fine for a small pouch worn under a jacket, but a daily crossbody benefits from a flap, zipper, button or drawstring. Choose the closure before completing the top edge because it may need extra rows or a lining.
A flap should overlap enough to remain closed when the bag is full. A button loop should be firm and small enough that it does not slip off. For a zipper, install it into a fabric panel or lining so the teeth do not catch the yarn.
Add an Organized Lining
A light lining protects the crochet and stops small objects from working through gaps. A phone pocket keeps the screen away from keys. A slim internal divider can separate cash or cards without adding much bulk.
Draft the lining from the finished bag, including any gusset. Keep the lining just slightly smaller than the interior so it supports the crochet but does not pull the outer shell inward.
Attach Hardware and Straps Safely
When using D-rings or swivel clips, crochet or sew tabs through several rows of the bag body. Reinforce the inside with matching yarn or a small fabric patch. Check that metal edges are smooth and will not cut the yarn.
For a permanently crocheted strap, attach both ends at the same height and angle. Wear the empty bag first, then load it and recheck before weaving in the final tails.
Wear Test and Care
Walk, sit and reach while wearing the loaded bag. It should not hit the leg sharply, pull at the neck or tip forward. Adjust before finalizing the strap.
Follow the yarn and lining care instructions. Remove hardware when possible, protect fixed metal pieces during washing, and dry the bag flat with the strap supported rather than hanging.
Common Problems to Avoid
- Choosing strap length from a generic chart without testing it on the wearer.
- Finishing a long crocheted strap without checking how much it stretches under load.
- Using one small stitch cluster to support a ring or clip.
- Adding a closure after the top edge is finished and distorting the opening.
- Making the bag body larger without considering swing and comfort while walking.
Time Needed
This may take a few hours depending on your speed, yarn, size, and stitch pattern.
Creator Credit and Tutorial
Tutorial: DIY Crochet Crossbody Bag Tutorial – beginner-friendly sling bag
Creator: Credited YouTube creator in the embedded tutorial
Watch the full tutorial: https://www.youtube.com/watch?v=uMEvD5M7fH8
Please follow the creator’s exact stitch counts, joining sequence and demonstrated construction. Use the planning checks in this article when changing size, yarn, strap length, coverage or finishing.
Final Thoughts
A crossbody bag should be fitted on the wearer, not only measured on a table. Load testing the strap and reinforcing the attachment points are the final steps that make the small bag dependable.
Frequently Asked Questions
How long should a crossbody strap be?
Measure on the wearer with ribbon and place the bag where it feels comfortable. Allow for the amount the chosen strap construction may stretch.
Can I make the strap adjustable?
Yes. Use a slider with a stable fabric or reinforced crochet strap, or provide multiple button or clip positions.
What closure is easiest for beginners?
A flap with a button or a simple button loop is usually less technical than a zipper, but it still needs secure reinforcement.
Should the bag be lined?
A lining is strongly useful for open stitches, small objects and regular use, but it is optional for a dense, lightly used pouch.
How do I stop the bag from tipping forward?
Keep heavy items low and close to the body, position strap attachments evenly, and avoid a flap or decoration that makes the front much heavier.