
A crochet clutch is small enough to finish quickly, but the compact shape shows every uneven edge and poorly placed closure. The fabric needs enough structure to protect the contents, the fold or flap must close over a filled bag, and the lining should fit without creating bulky corners.
The credited tutorial demonstrates an easy clutch. This guide helps readers turn that construction into a polished accessory by planning capacity, testing the fold, selecting a closure and reinforcing the areas that receive repeated pulling.
A clutch should be designed around what it will hold. Start with the phone, cards and keys, not with an arbitrary chain length.
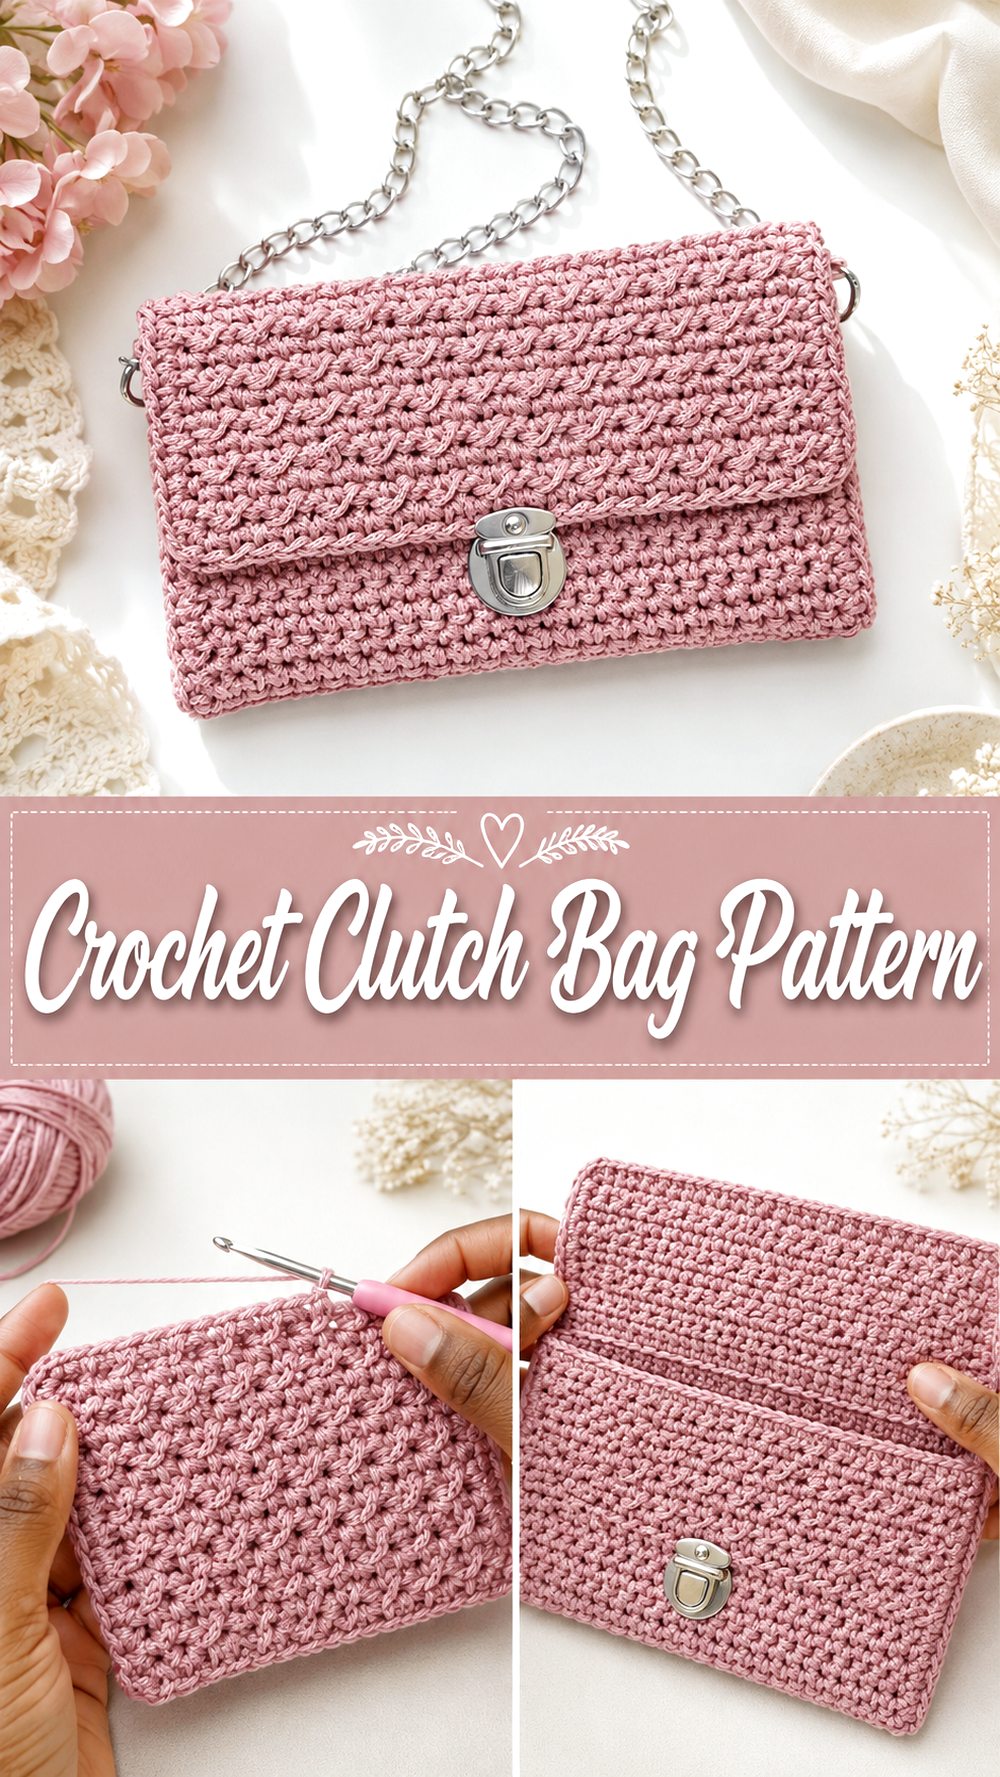
Make a Paper Capacity Test
Place the intended contents on paper, leaving a small gap between hard objects. Fold the paper around them to simulate the clutch. This reveals the minimum width, height and flap overlap before yarn is used.
Remember that crochet and lining take up interior space. Add enough ease for the phone to slide in without stretching the opening, especially if the stitch pattern is dense.
Choose the Right Level of Firmness
A clutch can be soft and foldable or crisp and envelope-like. A tightly spun yarn and dense gauge support a defined shape. A softer yarn creates a relaxed pouch and may need interfacing inside the lining.
Make a swatch and stand it on edge. If it immediately collapses and the intended design needs sharp corners, plan a supportive lining rather than trying to fix the shape only with blocking.
Keep the Rectangle or Panel Square
Measure the width at the beginning, middle and end of the panel. Losing or adding one stitch at the edge can create a slanted flap that becomes obvious after folding. Use a marker in the first and last stitch if the edge is difficult to identify.
Block the panel to the intended dimensions before sewing the side seams. Let it dry fully, then fold around the actual contents to confirm the flap position.
Plan the Fold and Flap Overlap
A flap that looks long enough on an empty clutch may barely reach once the bag is filled. Test it over the intended contents. For a button closure, mark the button and loop position while the clutch is loaded.
If the flap corners curl, add a stable edging or use a slightly smaller hook for the final round. Avoid adding a very heavy decorative border that makes the flap fall forward.
Select and Reinforce the Closure
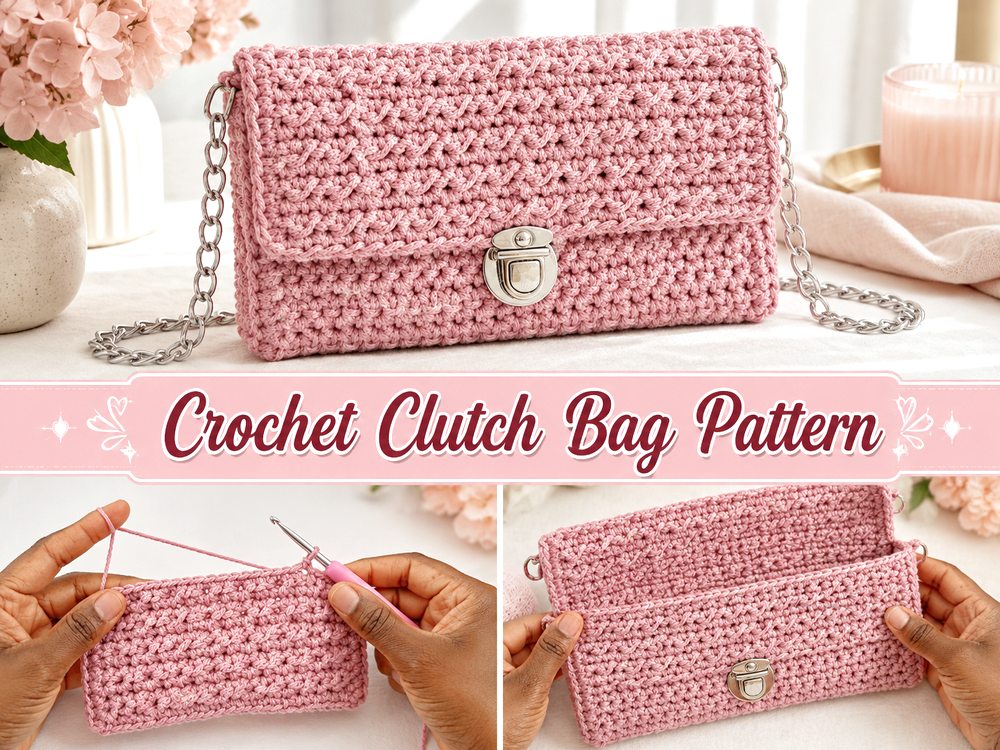
A button and loop are approachable and easy to replace. A magnetic snap gives a clean look but should be attached to a lined, reinforced area. A zipper provides more security and is best installed into a fabric lining or zipper band.
Open and close the chosen closure repeatedly before final trimming. The pulling force should be carried by a broad area, not by one crochet stitch.
Create a Clean Lining
A lining hides yarn tails, protects the crochet and creates a smoother interior. Cut it from the finished, blocked clutch. Box the lower corners only when the crochet shell has matching depth; otherwise the lining will create unwanted bulk.
Add a slim card pocket before assembling the lining. Keep pocket placement away from the fold line so cards do not make the flap stiff.
Optional Wrist Strap
A wrist strap is useful only when its attachment point is strong. Connect it at a side seam or reinforced corner and test the full clutch weight. A decorative chain attached to a loose surface loop is not a reliable carrying point.
Make the loop large enough to pass over the hand but not so long that the clutch swings excessively. Reinforce a crocheted loop with fabric tape when regular use is expected.
Polish the Final Edges
A neat edging can hide small inconsistencies, but it should not tighten the opening or cause the flap to cup. Work evenly around corners and use extra stitches only where the edge naturally needs them.
Follow the yarn label for care. Remove detachable straps, protect hardware and reshape the clutch around a clean folded towel while drying if it needs support.
Common Problems to Avoid
Sizing the clutch from an empty phone measurement without allowing room for thickness and lining.
Marking the closure before testing the flap over the filled bag.
Attaching a magnetic snap directly to unsupported crochet fabric.
Using heavy hardware on a very soft panel without interfacing.
Blocking the clutch after hardware is attached and risking marks or rust.
Creator Credit and Tutorial
Tutorial: Super easy crochet bag tutorial – crochet clutch tutorial
Creator: Credited YouTube creator in the embedded tutorial
Watch the full tutorial: https://www.youtube.com/watch?v=2p2tEBkvK3Q
Please follow the creator’s exact stitch counts, joining sequence and demonstrated construction. Use the planning checks in this article when changing size, yarn, strap length, coverage or finishing.
Final Thoughts
A polished clutch comes from accurate edges, realistic capacity and a closure placed while the bag is filled. The lining and reinforcement should support the shape without adding unnecessary bulk.
Frequently Asked Questions
What can a small crochet clutch hold?
That depends on the finished measurements. Design around the specific phone, cards and keys so the result is useful rather than decorative only.
How can I make the clutch more structured?
Use a denser fabric and add interfacing or a stable lining. Test all layers together before attaching the closure.
Can I add a zipper to a finished clutch?
Yes, but it is cleaner to sew the zipper into a lining or fabric band first and then attach that unit inside.
Why does my flap sit crooked?
The panel edges may have different stitch counts, the side seams may be uneven, or the closure may be off-center. Measure before sewing.
Is blocking necessary?
It is helpful for squaring panels and settling the fold, but use the care method suitable for the yarn and avoid overstretching.