
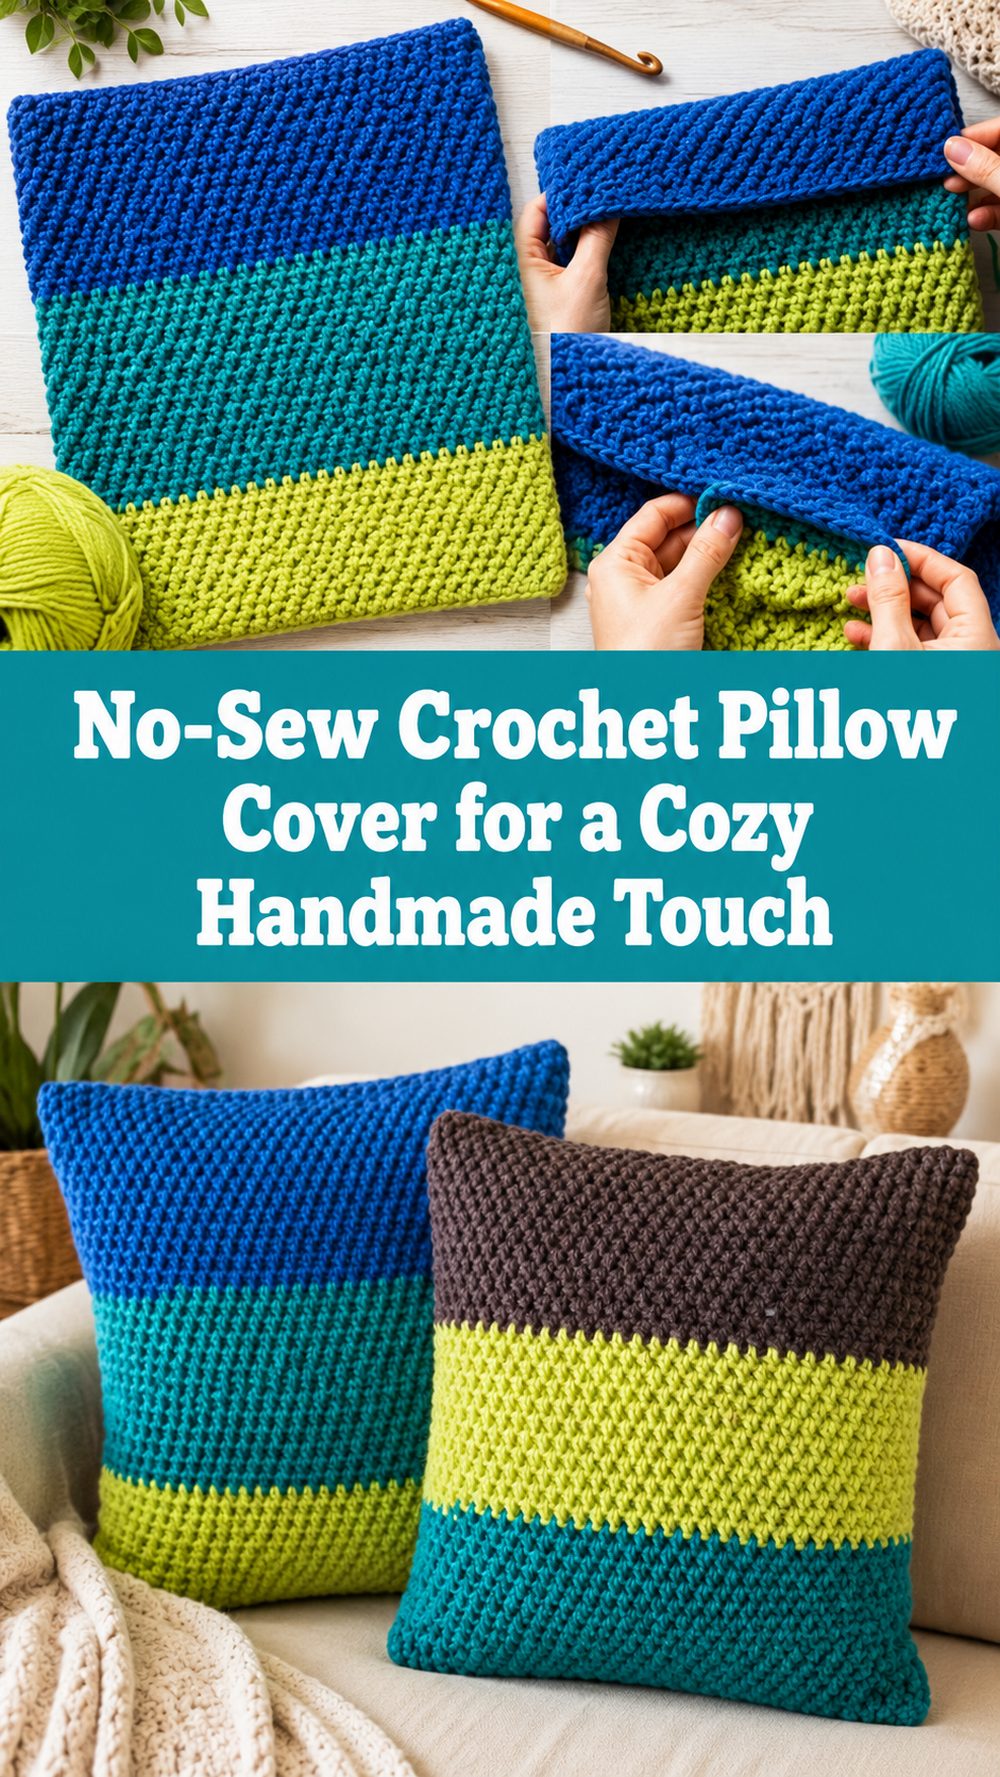
A crochet pillow cover is one of those home projects that feels instantly rewarding. You get to make something soft, useful, and decorative, and once it is finished, it can completely change the feel of a chair, sofa, or bed. The tutorial I chose teaches a no-sew cushion cover, which makes it especially appealing if you want a simple project without extra assembly work at the end. It is the kind of make that feels calm and satisfying, with a nice balance of practicality and handmade charm. This project is a lovely choice for beginners, for anyone wanting to refresh their space, or for crocheters who enjoy making gifts that are both personal and useful. Since the tutorial is described as simple, easy, beginner-friendly, and flexible enough to use with different yarn choices, it gives you plenty of room to make it your own.
Why You’ll Love This Project
This pillow cover is easy to love because it is simple, practical, and gives quick decorating satisfaction. A no-sew design takes away some of the fuss, and the finished piece can make a room feel warmer and more personal without being a complicated crochet project. The selected tutorial is presented as a beginner-friendly, fast-to-make no-sew cushion cover, which makes it especially approachable.
Materials Needed
- Yarn
- Crochet hook
- Scissors
- Yarn needle
- Stitch markers
- Measuring tape
- Pillow insert or cushion pad
Use a yarn and hook size that matches your desired fit and texture. The selected tutorial specifically notes that you can use whatever yarn you like, which makes this a very flexible project.
Best Yarn for This Project
The nice thing about this pillow cover is that it can be adapted to different yarns, so you can choose the look and feel that suits your home. If you want a soft everyday decorative cushion, a smooth acrylic or acrylic blend can work well and is easy to care for. If you want more texture and a cozy handmade finish, a cotton blend or slightly chunkier yarn can be lovely too. For a crisp, modern look, choose a yarn with good stitch definition. For a softer and more relaxed finish, go with something plush and comfortable.
Because this is a home decor project, think about both appearance and feel. A pillow cover gets touched, leaned on, and moved around often, so it helps to choose a yarn that feels comfortable against the skin and holds up nicely over time. Since the tutorial is designed to be flexible, you can focus more on the texture and mood you want in your space rather than feeling locked into one exact yarn choice.
Skill Level
This project is beginner-friendly and easy. The tutorial is presented as a simple no-sew cushion cover, which makes it especially nice for crocheters who already know the basic stitches and want a useful home project without complicated construction.
It is also a good choice for confident beginners who want to get comfortable with shaping a practical item and checking size as they go.
Size and Fit Guide
The easiest way to size a pillow cover is to measure your pillow insert before you begin. Use those measurements as your guide while crocheting, and check the fit as the fabric grows. For a neat and full-looking pillow, the cover should fit comfortably without feeling overly loose.
If you want a snug decorative look, crochet with a bit more structure and stop when the cover feels just right around the insert. If you prefer something softer and more relaxed, allow a little extra ease. Because this project is a no-sew style, it is especially helpful to keep laying the piece against your pillow insert while working so you can judge the fit before the final closure and finishing.
Stitches Used
The selected tutorial clearly presents this as a simple beginner-friendly no-sew crochet cushion cover, so the project is built around easy, repeatable stitch work rather than complex shaping. Follow the stitch pattern shown in the tutorial and keep your tension even so the cover looks tidy and balanced.
How to Make It
Step 1: Start the Foundation
Begin by making the starting chain or foundation section that will set the width of your pillow cover. This first step matters because it determines how the cover will sit across the front of the pillow. Try to keep the starting edge even and not too tight. If the beginning is stiff, the whole cover can feel less flexible than you want.
A pillow cover is one of those projects where straight edges really help. Since it will be seen up close in your home, a neat beginning gives the whole piece a cleaner finish.
Step 2: Build the Main Fabric
Once the foundation is ready, continue working the main body of the cover in the stitch pattern shown in the tutorial. Since this project is beginner-friendly and described as simple, the beauty of it comes from repetition, texture, and clean finishing rather than anything overly complicated.
As the fabric grows, keep checking that the sides stay even. Count now and then if needed, especially at the ends of rows. Small differences can become much more noticeable once the cover is wrapped around a pillow insert.
Step 3: Keep Checking the Fit
One of the most important parts of making a crochet pillow cover is checking the size while you work instead of waiting until the end. Hold the fabric against your pillow insert and see whether it covers the surface the way you want. This helps you decide whether you need more length, more width, or a slightly firmer fabric.
Because the tutorial is a no-sew style, fit matters a lot. You want the cover to close neatly and sit well around the pillow without sagging or looking strained. A quick size check every so often can save a lot of frustration later.
Step 4: Shape the Cover Around the Pillow
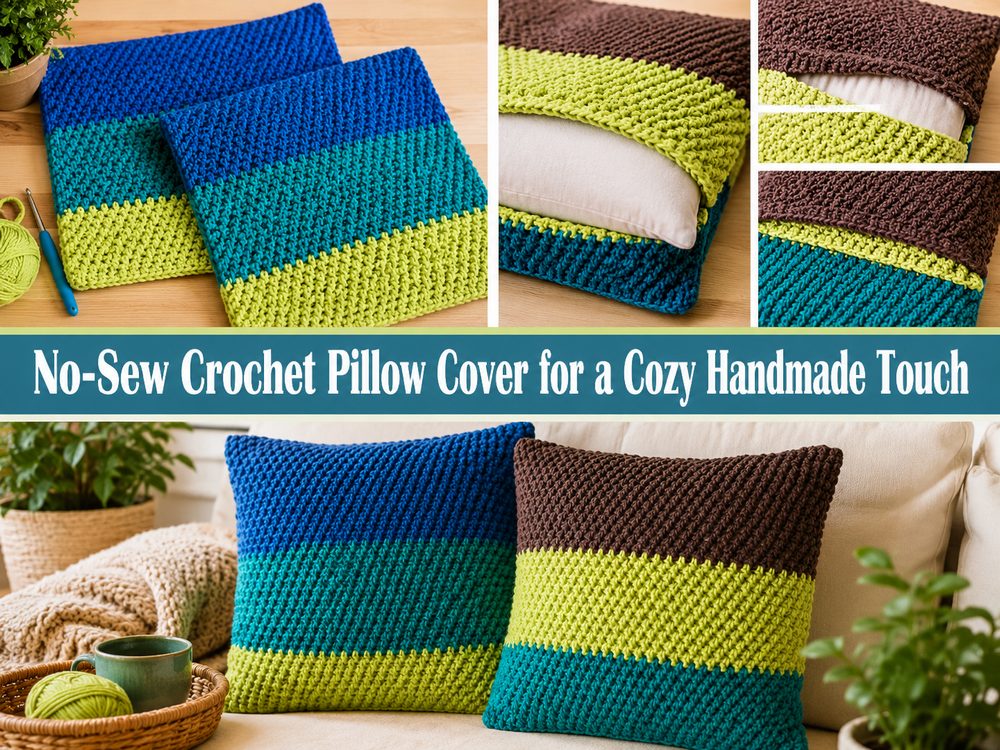
As you continue, the project starts to become a true cover rather than just a flat rectangle. This is where the practical side of the design comes in. Instead of sewing separate panels together, the no-sew approach helps you build and finish the cover in a simpler way. That makes the project feel more relaxed and beginner-friendly while still giving you a polished result.
Take your time here and look at how the crochet fabric folds or wraps around the insert. The goal is a neat cover that feels intentional and comfortable, not bulky or awkward.
Step 5: Create the Closure or Finishing Edge
Since this is a no-sew pillow cover, the finishing stage is an important part of the design. Work the final section carefully so the cover closes neatly and holds its shape well. Keep your tension steady and make sure the edges look tidy, especially if they will stay visible once the pillow is in use.
This is also a good time to check whether the pillow insert slips in comfortably. A handmade cover should feel secure, but it should still be easy enough to remove when needed.
Step 6: Insert the Pillow and Finish
Once the crochet work is complete, place the pillow insert inside and adjust the corners so they sit nicely. Smooth the cover gently with your hands and make sure the edges line up well. If the texture is visible and even, the whole project will instantly look more finished.
The final pillow cover should feel cozy, practical, and decorative, with a simple handmade charm that works well in everyday home decor. Since the selected tutorial is specifically framed as a fast, beginner-friendly, no-sew cushion cover, the finished look is meant to be approachable, useful, and easy to enjoy in a real home.
Helpful Tips
- Measure your pillow insert before you start.
- Check the fit often instead of waiting until the end.
- Keep your foundation edge relaxed so the cover does not pull.
- Choose a yarn texture that matches the feel of your room.
- Use stitch markers if you struggle to keep the row ends even.
- Weave in the ends securely, especially around the opening or closure area.
Common Mistakes to Avoid
- Making the starting chain too tight
- Forgetting to compare the cover to the pillow insert as you work
- Letting the edges slant by missing stitches at row ends
- Choosing a yarn that feels too stiff for the look you want
- Making the cover too loose, so it looks flat instead of full
- Rushing the finishing stage and leaving the closure looking uneven
Customization Ideas
A crochet pillow cover is so easy to personalize. You can keep it simple in one neutral shade for a calm modern look, or choose a brighter color to make it stand out on a sofa or bed. A textured yarn can make the cover feel extra cozy, while a smoother yarn gives it a cleaner look. You can also adjust the size for different cushion inserts, mix colors for a striped effect, or create a seasonal version in warmer or lighter tones depending on your decor.
If you love handmade gifts, this is also a wonderful project to adapt for someone else’s home. You can match their favorite colors, make a pair for a coordinated set, or choose a soft yarn that feels especially comfortable.
Style Ideas
This pillow cover works beautifully in a living room, bedroom, reading corner, or even a covered porch with soft decor styling. It looks lovely layered with plain cushions, textured throws, and simple neutral furniture. You can also make several in different shades for a collected handmade look, or use one as an accent piece in a chair that needs a little warmth and texture.
Care Instructions
Check the care needs of your yarn first. In general, a crochet pillow cover is best washed gently and reshaped before drying. If possible, remove the insert before washing the cover. Lay it flat to dry so it keeps its shape, and avoid high heat unless your yarn label says it is safe.
Time Needed
This may take a few hours depending on your speed, yarn, pillow size, and stitch pattern. The selected tutorial presents it as a fast-to-make project, so it should feel manageable for a relaxed crochet session or a weekend make.
Conclusion
A crochet pillow cover is such a lovely project when you want something useful, cozy, and easy to enjoy right away. This no-sew version keeps the process simple, which makes it especially nice for beginners and for anyone who wants a satisfying home decor project without extra fuss. You can change the yarn, adjust the size, and make it suit your own space beautifully. It is the kind of project that feels handmade in the best way and adds warmth to a room the moment you put it on display.
FAQs
Is this beginner-friendly?
Yes. The selected tutorial is described as beginner-friendly, simple, and easy to make.
Do I need to sew the pillow cover together?
No. This tutorial is specifically presented as a no-sew cushion cover.
What yarn can I use?
The tutorial notes that you can use whatever yarn you like, so you can choose a yarn that fits your preferred texture and look.
Can I adjust the size?
Yes. Measure your pillow insert and keep checking the fit as you work so the cover matches the cushion you want to use.
Is this a quick project?
It appears to be designed as a fast make, especially compared with more detailed sewn or multi-panel cushion covers.