
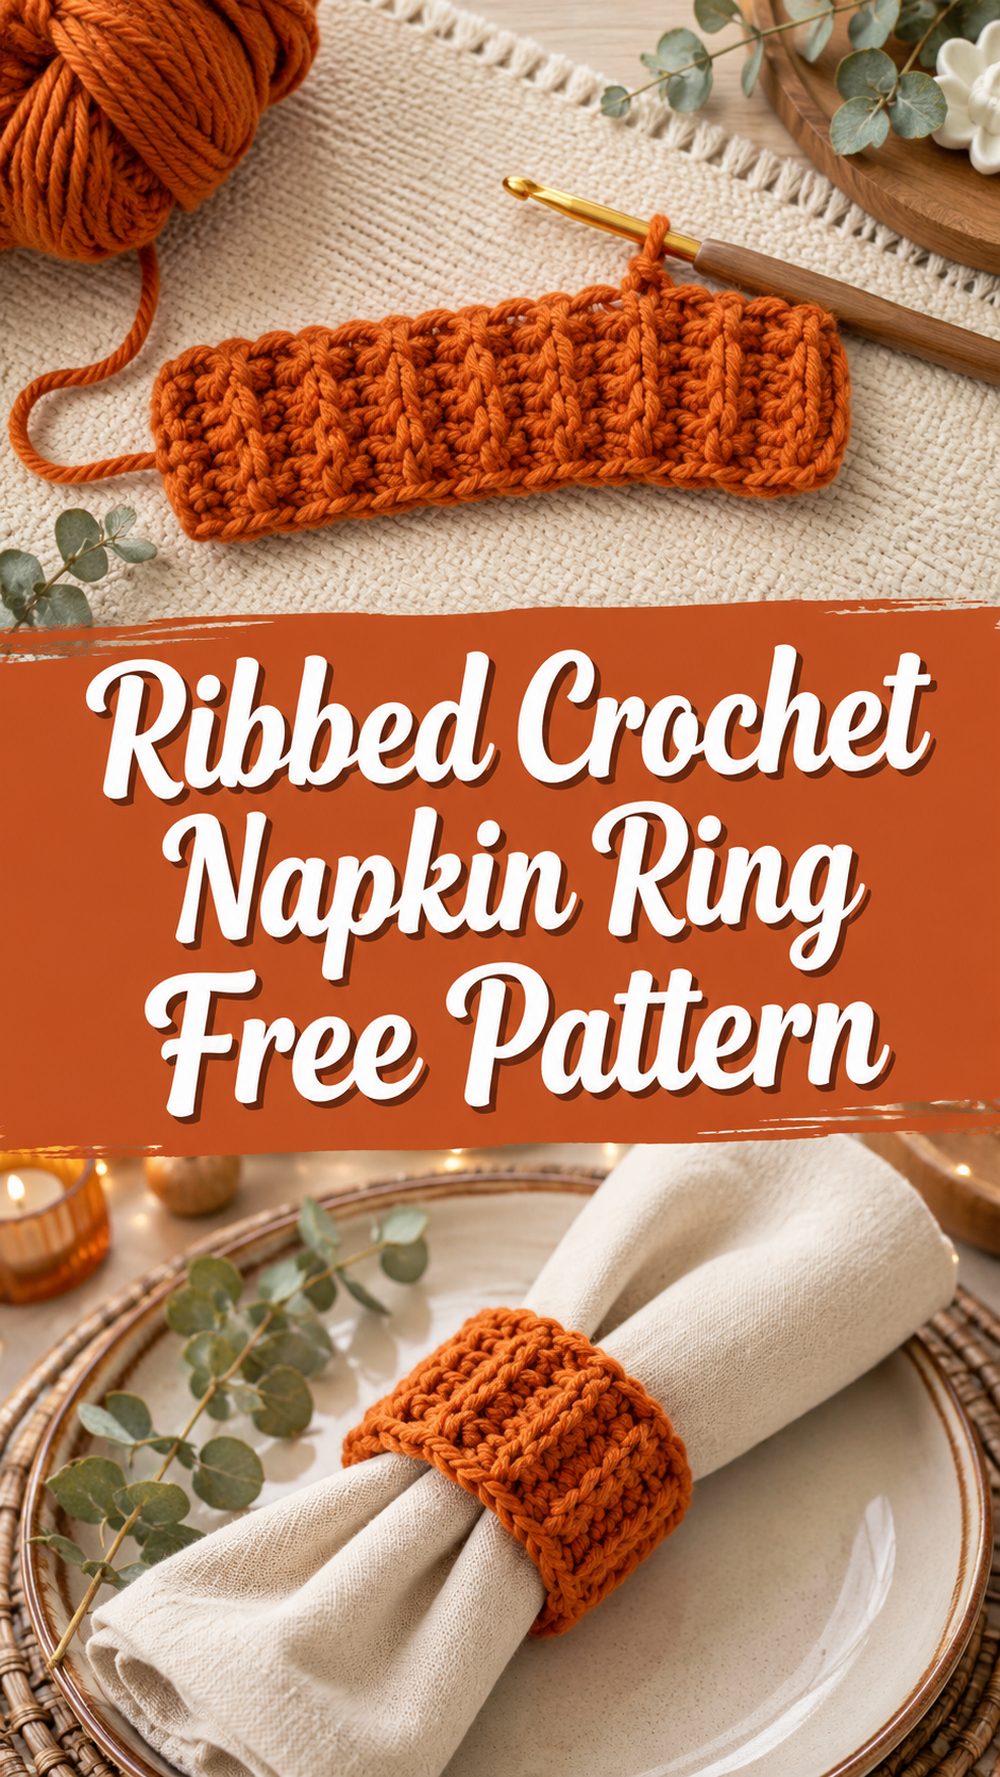
A crochet napkin ring is such a lovely little project when you want to make something quick, useful, and a bit special. It is one of those small handmade details that can completely change a table setting without taking much time at all. This style is especially nice because it keeps things simple. Instead of a fussy design, it uses basic crochet to create a neat ribbed texture that looks clean, cozy, and easy to pair with everyday meals or holiday tables. It is also a great project for beginners because the size is small, the shaping is minimal, and you get the satisfaction of finishing something fast. If you enjoy practical crochet with a decorative touch, this is a sweet pattern to try. The selected tutorial teaches a very simple beginner napkin ring made with ribbed single crochet.
Why You’ll Love This Project
This project is quick to make, easy to repeat, and gives your table a soft handmade look without a lot of work. The ribbed texture adds just enough detail to make it feel charming while still staying beginner-friendly and practical.
Materials Needed
- Yarn
- Crochet hook
- Scissors
- Yarn needle
- Stitch marker if you like keeping track of edge stitches
- Measuring tape to check the ring around your napkin
If the exact yarn or hook size is unclear, use a yarn and hook size that matches your desired fit and texture.
Best Yarn for This Project
A smooth yarn with good stitch definition works beautifully for a napkin ring because it helps the ribbed texture stand out. If you want a soft everyday look, a light to medium yarn is a nice choice. Cotton can work especially well if you want the ring to feel crisp and practical on the table, while a soft acrylic or blend can give it a more decorative feel. Since this is a small item, the best yarn is really the one that gives you a neat finish and holds its shape nicely.
Skill Level
Beginner-friendly.
This is a very approachable project because it focuses on a simple napkin ring worked with ribbed single crochet. The selected tutorial is specifically presented as an easy beginner design, so it suits newer crocheters very well.
Size and Fit Guide
The easiest way to size a crochet napkin ring is to wrap your work gently around the napkin you plan to use. It should sit comfortably without squeezing too tightly or falling open too easily. If you like a snug polished look, make the strip just long enough to fit around a folded napkin. If you prefer a looser decorative style, add a little more length before joining. Since napkins can vary in thickness depending on fabric and folding style, checking the fit as you go is the best method.
Stitches Used
- Chain
- Single crochet
- Ribbed single crochet
- Slip stitch or simple joining
- Weaving in ends
The selected tutorial clearly identifies the project as a simple napkin ring using ribbed single crochet.
How to Make It

Step 1: Start the Foundation
Begin with a slip knot and make a short foundation chain. Because this is a napkin ring, the starting chain does not need to be long. It simply creates the width of the ring. Think about whether you want a narrow, delicate band or a slightly wider one with a more noticeable ribbed texture.
Try to keep your foundation even and relaxed. If the chain is too tight, the edge can look stiff and make the finished ring less flexible. A smooth start will help the whole piece look neater.
Step 2: Work the First Row
Once the chain is ready, begin working single crochet across the row. This first row builds the base of the napkin ring and sets up the rest of the piece. Go slowly if you are new to crochet, because the first row into the chain is often the fiddliest part.
The nice thing about a small project like this is that you can focus on neat stitches without feeling overwhelmed. Since the ring is not large, it is easy to correct anything that looks uneven early on.
Step 3: Create the Ribbed Texture
After the base row, continue working in the style that creates the ribbed effect. The selected tutorial is specifically described as a ribbed single crochet napkin ring, so the texture is one of the main features of the design.
As you continue, you will see the fabric begin to look more structured and decorative. This ribbing gives the napkin ring a cozy handmade finish while still keeping the overall pattern very simple. It is a lovely detail because it adds visual interest without making the project hard to follow.
Step 4: Build the Length
Keep crocheting row by row until the strip is long enough to wrap around your napkin. This is the most important part for sizing. Rather than relying on a fixed number, just test it around your folded napkin as you go. Different yarns, hooks, and napkin folds can change the finished fit, so it is better to check in real time.
If you want a tighter, cleaner look, stop when the strip meets comfortably around the napkin. If you prefer a roomier fit, continue for another row or two. Because this project is so small, these little adjustments are very easy to make.
Step 5: Join the Ends
Once the strip is long enough, bring the two short ends together and join them to form a ring. This can be done neatly so the napkin ring looks tidy and finished. Take a moment to line up the edges well before completing the join, especially if you want the ribbing to look even all the way around.
A careful join makes a big difference in a project like this. Since the napkin ring is small and decorative, the finishing is very visible. Neat edges and a secure join help it look polished on the table.
Step 6: Finish and Weave in the Ends
After joining, fasten off and weave in the yarn ends securely. Since napkin rings are handled often, it is worth making sure those ends are tucked in properly so they do not come loose later.
When finished, your napkin ring should feel soft, structured, and nicely shaped, with a simple ribbed texture that adds charm without being too busy. The selected tutorial frames it as a very simple beginner napkin ring, so the final look is meant to be clean and easy rather than heavily embellished.
Helpful Tips
- Check the fit around your actual napkin before joining.
- Keep your stitches even so the ribbing looks tidy.
- Do not make the strip too short or the ring may feel too tight.
- Use a yarn with clear stitch definition if you want the ribs to show nicely.
- Weave in the ends securely for a neater finished piece.
- Make several at once if you want a matching table set.
Common Mistakes to Avoid
- Making the foundation chain too tight
- Forgetting to test the fit before joining
- Crocheting the strip too short for the napkin fold you plan to use
- Letting the edges drift unevenly
- Rushing the join so the ring twists
- Leaving the yarn tails loose
Customization Ideas
You can make these napkin rings in soft neutrals for an everyday table, rich seasonal colors for holiday dinners, or pastel shades for spring gatherings. A simple ring looks elegant on its own, but you could also add a small button, bow, flower, or contrasting edge if you want more personality. Make them narrow and delicate for a refined look or slightly wider for a cozier handmade style.
Style Ideas
These napkin rings look beautiful with linen napkins, rustic farmhouse table settings, holiday place settings, and handmade dinner party decor. They also make sweet gifts for hosts, housewarmings, or seasonal table bundles. A full matching set can make even a simple meal feel more thoughtful and special.
Care Instructions
Store them flat when not in use so they keep their shape nicely. If needed, wash gently according to your yarn type and let them dry flat. A light reshaping with your hands can help them look crisp again before the next use.
Time Needed
This may take a short crochet session depending on your speed, yarn, and stitch pattern. Since the project is small, it is a nice option when you want something satisfying without spending hours on it.
Conclusion
A crochet napkin ring is such a charming way to add a handmade touch to the table without taking on a big project. This ribbed beginner style keeps things simple, neat, and easy to enjoy, which makes it a wonderful little pattern for both new crocheters and anyone who loves quick decorative makes. You can change the color, adjust the width, and make a whole set to suit your own table style. It is small, useful, and surprisingly satisfying to finish.
FAQs
Is this napkin ring beginner-friendly?
Yes. The selected tutorial is specifically presented as an easy napkin ring for beginners using ribbed single crochet.
What yarn works best for crochet napkin rings?
A yarn with good stitch definition works best so the ribbed texture shows clearly.
Can I adjust the size?
Yes. Just keep working the strip until it wraps around your folded napkin the way you like.
Do I need to stiffen the napkin ring?
Not usually. A neatly crocheted ring with the right yarn often holds its shape well enough on its own.
Can I make a full matching set?
Yes. This is a great project for making several matching napkin rings for everyday use, holidays, or gifts.