
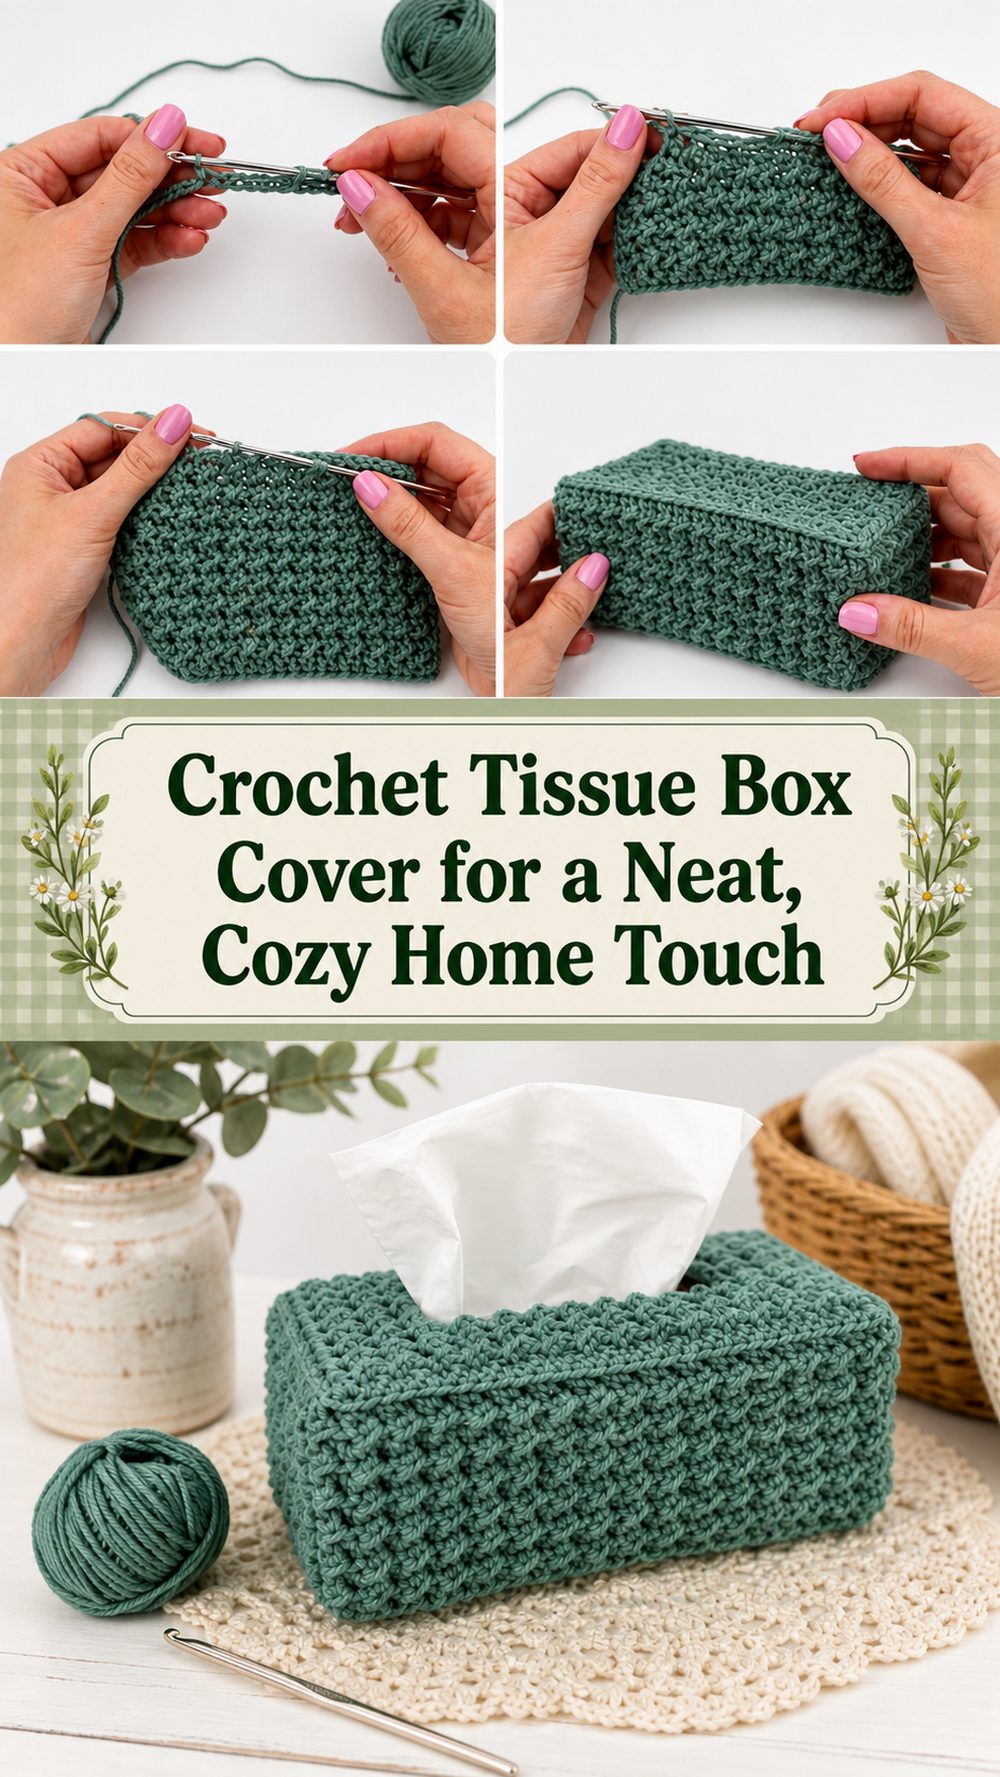
A crochet tissue box cover is one of those small projects that instantly makes a room feel warmer and more put together. It turns a plain everyday box into something softer, prettier, and more handmade without taking on a huge project. The tutorial I selected teaches an easy tissue box cover with a modern textured look, and it is designed to work up fairly quickly using basic stitches. That makes it a lovely choice for anyone who wants practical home décor with a cozy crochet feel. It is also a nice project for gift-making, because you can match the color to a bathroom, bedroom, office, or living room. Since tissue boxes can vary a little in size, this kind of project is especially nice because you can check the fit as you go and make small adjustments for a clean finish.
Why You’ll Love This Project
This is the kind of crochet project that feels useful right away. It is decorative, practical, and small enough to stay enjoyable from start to finish. The textured design gives it a polished look, while the simple construction makes it approachable for everyday crocheters who want something pretty and functional.
Materials Needed
- Yarn
- Crochet hook
- Scissors
- Yarn needle
- Stitch markers if you like using them for cleaner corners or edges
- Measuring tape
- A tissue box to check fit while working
Use a yarn and hook size that matches your desired fit and texture.
Best Yarn for This Project
For a tissue box cover like this, a yarn with good stitch definition works especially well because the texture is part of the finished look. A medium yarn is often a nice choice for home décor projects because it gives enough structure without feeling too stiff. Cotton or a cotton blend can be a great option if you want a crisp, tidy finish, while a soft acrylic can give a slightly warmer and cozier look. Since the selected tutorial focuses on a modern textured result, choosing a yarn that shows the stitch pattern clearly will help the finished cover look its best.
Skill Level
Beginner-friendly to easy.
The selected tutorial is described as very easy and made with basic stitches, so it should feel comfortable for crocheters who already know the fundamentals and want a simple home décor project. It is also a good choice for beginners who are ready to practice shaping a cover around a real object instead of making only flat pieces.
Size and Fit Guide
The easiest way to make a tissue box cover fit nicely is to keep the box beside you while you crochet. Measure the height, width, and length of your box before you begin, then compare your work as you go. If your cover feels too snug, add more rounds, rows, or space where needed. If it feels loose, reduce a bit of width before joining or finishing. Tissue boxes are not all exactly the same, so the best approach is to use the tutorial as your guide and let your actual box help you fine-tune the fit. This gives you a more tailored result and keeps the finished cover looking neat instead of stretched or baggy.
Stitches Used
The selected tutorial is described as using basic stitches and creating a textured finish. The search result does not clearly confirm every stitch by name, so it is safest to treat this as a simple stitch-based project with texture rather than assume specific stitch counts or stitch names that were not clearly provided in the source.
How to Make It
Step 1: Start the Base or Main Panels
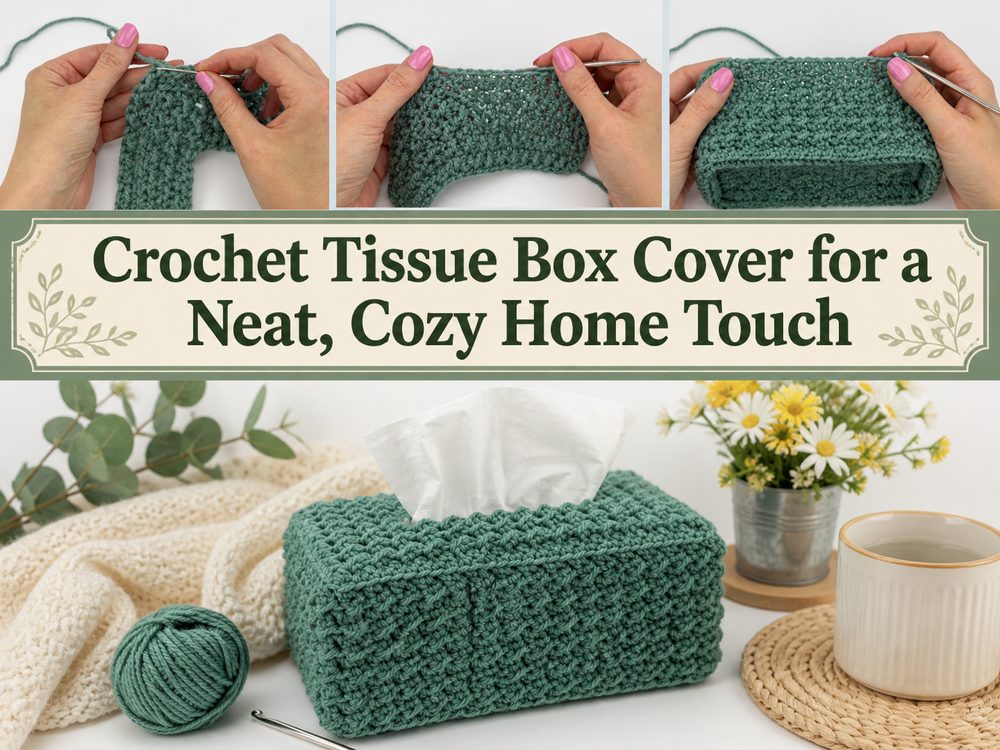
Begin by thinking of the project as a fitted cover for a real object, not just a decorative square or rectangle. Whether the tutorial starts from one main section or works the shape in joined parts, the key idea is the same: build the crochet fabric to match the dimensions of the tissue box. Keep your box nearby right from the beginning so you can compare the width and overall shape as the fabric grows.
At this stage, focus on keeping your stitches even. A tissue box cover looks best when the edges stay tidy and the fabric lies flat. If your tension changes too much, the cover may pull at the corners or look wavy across the sides.
Step 2: Build the Textured Body
The chosen tutorial highlights a modern textured design, so this is the part that really gives the project its finished style. As you continue working, pay attention to how the texture looks in your yarn. If the yarn is too fuzzy or too dark, some of that detail can get lost. A smoother yarn usually helps the stitch pattern stand out more clearly.
Since the tutorial is described as easy and made with basic stitches, this section should feel repetitive in a good way. Once you settle into the pattern, it becomes the kind of relaxing crochet you can enjoy without needing to constantly stop and rethink each step.
Step 3: Shape Around the Tissue Box
As the fabric grows, start checking how it will sit around the box. A good tissue box cover should feel structured enough to hold its shape, but not so tight that it distorts the box underneath. If the tutorial forms distinct sides, make sure the corners stay clear and neat. If it is worked more continuously, keep an eye on the overall rectangle so the proportions stay balanced.
This is also the point where you should think about the tissue opening. The opening needs to sit in the right place so tissues can still pull through comfortably. Keep that center area tidy and practical. You want the finished piece to be pretty, but it also has to do its job well.
Step 4: Adjust for Height and Width
One of the nicest things about a project like this is that it can be adjusted while you work. If your tissue box is taller, continue until you have enough depth to cover the sides well. If your box is wider or longer, increase the size of the body before you move on to joining or finishing.
Try the cover against the box before the final steps. It is much easier to add a little extra fabric now than to realize later that the fit is off. This simple habit makes the project feel more custom and saves frustration at the end.
Step 5: Join and Finish the Shape
Once the cover is large enough, bring the finished sections together or complete the final round shaping so it turns into a proper cover. The most important thing here is to keep the finish neat. Since this is a home décor piece, little details really show. A smooth edge, tidy seam, and well-hidden yarn tails make a big difference.
After joining, place it fully over the tissue box and look at it from all sides. Check that the opening is centered, the edges are not pulling, and the sides sit evenly. A well-fitted cover should look clean and intentional, almost like it was made specifically for that box.
Step 6: Add Final Touches
When the main crochet is done, weave in your ends carefully and smooth the fabric with your hands. If needed, lightly shape the cover so the corners look sharper and the texture sits nicely. This is a simple project, but that neat finishing work is what makes it feel polished.
The final look should be cozy, modern, and textured, with enough structure to dress up an ordinary tissue box without making it bulky. That balance between usefulness and style is really what makes this project so satisfying.
Helpful Tips
- Keep the tissue box next to you while working so you can check the fit often.
- Choose yarn that shows texture clearly.
- Try to keep your tension even, especially along edges and corners.
- Mark corners or important sections if that helps you stay organized.
- Check the tissue opening placement before you finish.
- Weave in ends neatly because this project is meant to sit out in the open.
Common Mistakes to Avoid
- Making the cover too tight and stretching it awkwardly over the box
- Forgetting to check the fit until the very end
- Letting the corners become uneven
- Making the opening too small for tissues to pull through comfortably
- Using yarn that hides the textured design too much
- Leaving seams or yarn ends bulky where they can be seen
Customization Ideas
You can easily make this project suit your own style. Try soft neutrals for a calm, modern look, or go with cheerful colors for a craft room or kids’ space. You could add a simple border, change the texture by choosing a different yarn type, or make matching covers for several rooms in the house. This would also be sweet as a housewarming gift, especially when made in colors that suit the person’s home.
Style Ideas
A crochet tissue box cover looks lovely on a bedside table, bathroom shelf, office desk, or living room side table. It is especially nice in spaces where you want practical items to feel a bit softer and more decorated. You can pair it with crocheted baskets, coasters, or jar covers for a cozy handmade set.
Care Instructions
Gently hand wash when needed and lay flat to dry. Try to avoid high heat, especially if your yarn is soft acrylic or a blend. Make sure the cover is fully dry before putting it back over a tissue box.
Time Needed
This may take a few hours depending on your speed, yarn choice, box size, and how often you stop to check the fit. Since it is a smaller home décor project, it works well as a relaxed afternoon or weekend make.
Conclusion
A crochet tissue box cover is such a nice way to turn an everyday item into something more thoughtful and attractive. It is practical, decorative, and small enough to finish without feeling overwhelming. The modern textured look of the selected tutorial makes it especially appealing if you like simple home décor with a handmade touch. You can adjust the fit, choose colors that suit your space, and enjoy making something that is both useful and pretty.
FAQs
Is this beginner-friendly?
Yes. The selected tutorial is described as very easy and based on basic stitches, so it should suit beginners who know the basics.
What yarn works best?
A yarn with good stitch definition is a great choice because it helps the textured design stand out.
Can I adjust the size?
Yes. Keep your tissue box nearby and adjust the cover as you go for the best fit.
Will this work as a gift?
Yes. It is a practical handmade home item and easy to personalize with color.
How do I make it look neat?
Check the fit often, keep your edges even, and take extra care when weaving in the ends.