
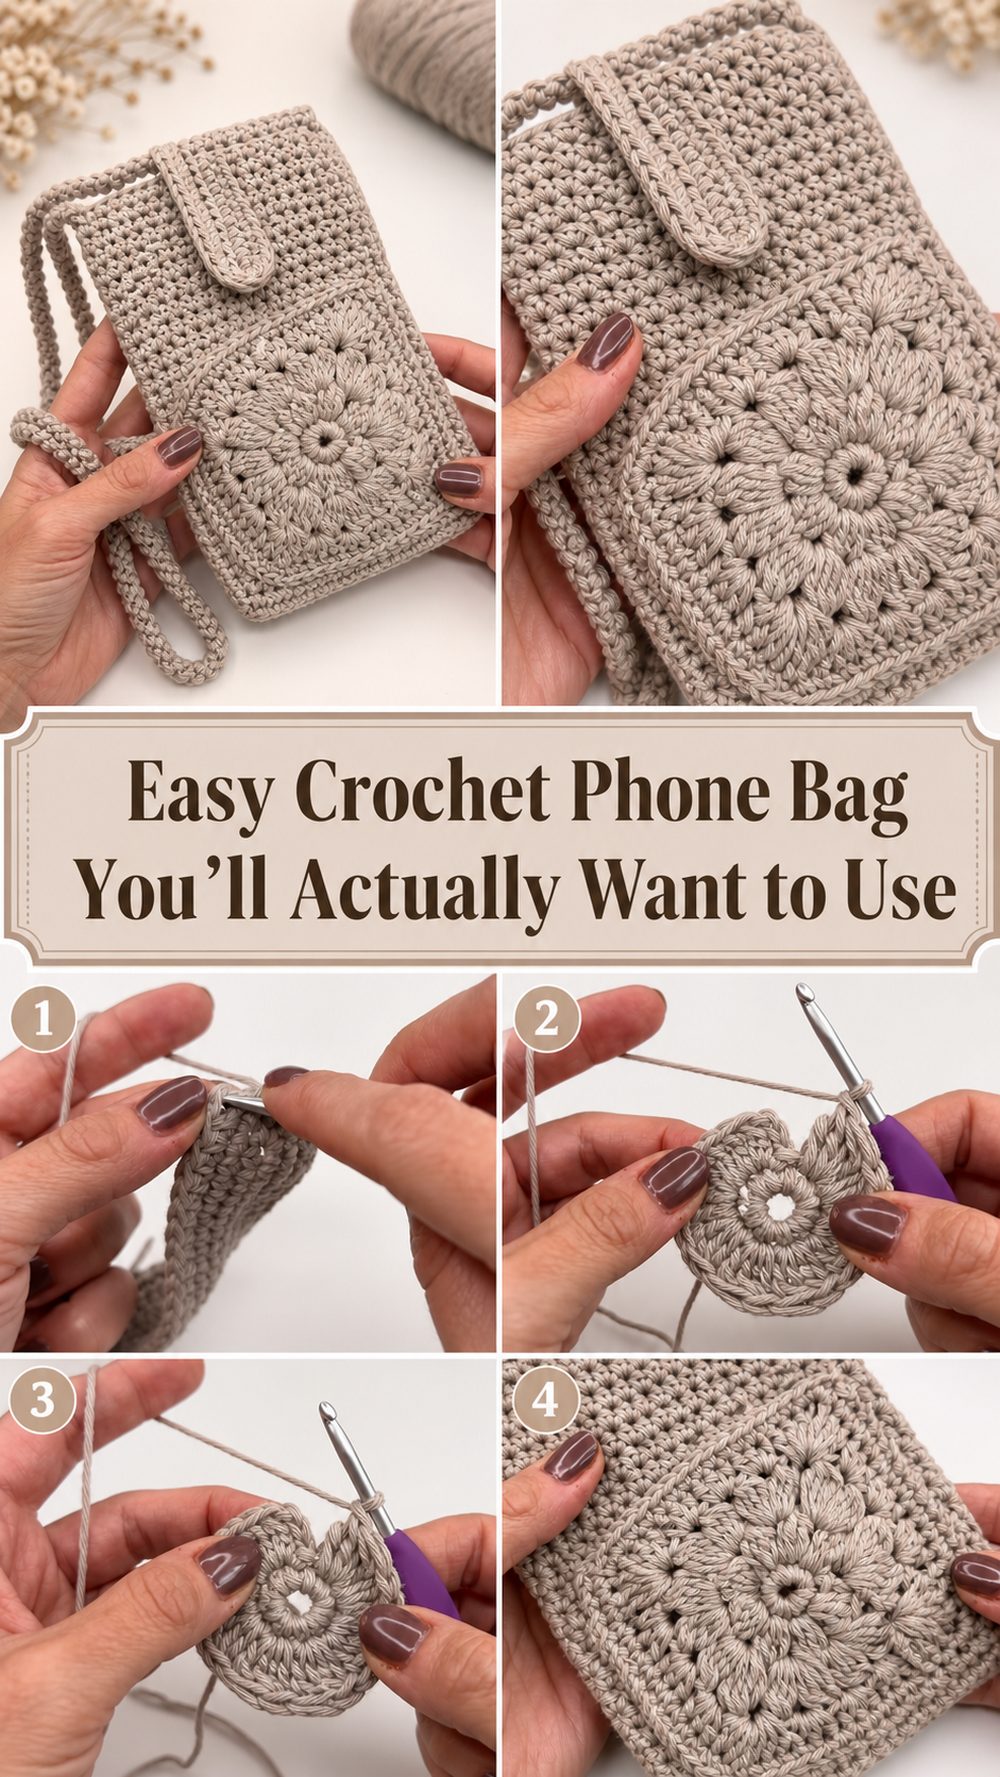
A crochet phone bag is one of those projects that feels instantly useful. It is small, quick to make, and perfect for days when you only want to carry the basics. This style works especially well if you like light crossbody bags, simple handmade accessories, or beginner projects that still look polished when finished. The tutorial I selected shows a cute little crossbody phone bag made with easy stitches and a clean, practical shape that is great for everyday use. It looks neat, lightweight, and easy to personalize with your favorite yarn color. This is the kind of project that makes a lovely handmade gift too, especially for teens, friends, or anyone who likes carrying just a phone and a few tiny essentials. The overall method is simple and approachable, so it is a satisfying make even if you are still building confidence.
Why You’ll Love This Project
This phone bag is the kind of crochet project that is both fun and practical. It is small enough to finish without feeling overwhelming, but useful enough that you will actually want to wear it. The crossbody style makes it comfortable for everyday use, and the simple shape gives you plenty of room to adjust the size, color, and texture to suit your own style.
Materials Needed
- Yarn
- Crochet hook
- Scissors
- Yarn needle
- Stitch marker
- Measuring tape
Use a yarn and hook size that matches your desired fit and texture.
Best Yarn for This Project
For a phone bag like this, cotton yarn is a really nice choice because it helps the bag hold its shape and gives the stitches a crisp, tidy look. A cotton blend can also work well if you want something a little softer while still keeping the bag sturdy. If you want a lighter everyday bag, go for a medium-weight yarn that does not feel too bulky. If you prefer a softer and slightly more flexible finish, a smooth acrylic yarn can also be used, but cotton usually gives a cleaner result for small bags.
Skill Level
This is beginner-friendly to easy. The tutorial uses basic crochet stitches and a straightforward bag shape, so it is a comfortable project for newer crocheters who already know how to make chains and simple stitches. It is also a nice confidence-building project because the construction is repetitive and easy to check as you go.
Size and Fit Guide
The easiest way to size your phone bag is to measure your phone before you begin. You want the width of the bag to fit your phone comfortably without stretching too tightly, and the height should be long enough to cover it fully with a little extra room at the top.
As you crochet, keep placing your phone against the piece to check the fit. If it looks too narrow, add width at the beginning. If it needs more depth, keep working more rows or rounds before finishing. The strap can also be adjusted easily by making it shorter for a shoulder bag or longer for a crossbody look.
Stitches Used
From the selected tutorial, the bag is made with simple basic stitches, including:
- Chain
- Single crochet
- Double crochet
- Slip stitch
The stitch pattern appears beginner-friendly and suitable for a simple textured bag.
How to Make It
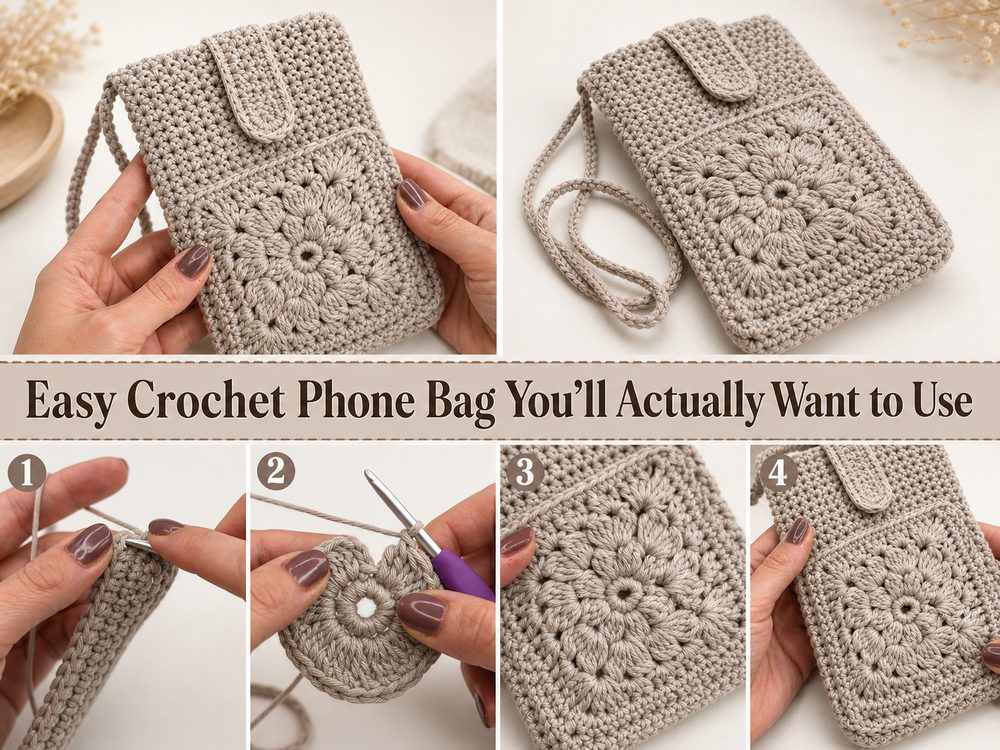
Step 1: Start the Foundation
Begin by making a starting chain that matches the width of your phone. This first chain sets the overall width of the bag, so it is worth checking it against your phone before moving on. You want a little ease, but not so much that the phone feels loose inside.
Once the foundation is ready, work into the chain to begin building the body. For a project like this, the base is usually kept simple so the bag stays neat and easy to shape.
Step 2: Build the Base and Main Body
After the foundation is done, continue crocheting to form the bag body. The tutorial uses basic stitches to create a simple, attractive fabric that is easy to repeat. The shape is practical and clean, which makes it a good everyday phone bag.
As the body grows, keep checking the size against your phone. This part is very beginner-friendly because it is mostly steady, repetitive stitching. If you like crochet projects that let you settle into a rhythm, this is the fun part.
If your stitches feel too tight, the bag may become stiff or narrow. If they are too loose, the bag may stretch out more than you want. A nice even tension helps the bag look polished and hold its shape.
Step 3: Create the Right Height
Keep working until the piece is tall enough to hold your phone comfortably. Some crocheters prefer a snug pouch-style fit, while others like a little extra room at the top. You can decide which look you want while making it.
This is also the stage where you can think about whether you want the bag to carry only a phone or a couple of extra small items too. If you want a bit more storage, simply continue a little longer before finishing the body.
Step 4: Shape and Join the Bag
Once the body is long enough, fold or align the piece so it forms the pouch shape. Then join the sides neatly. Depending on the exact construction shown in the tutorial, this may be done by crocheting the sides together or by sewing them closed with a yarn needle.
Take your time here, because tidy side seams make a big difference in the final look. Make sure both sides line up evenly so the bag sits straight when worn.
Step 5: Add the Strap
The selected tutorial shows a crossbody-style phone bag, so the strap is an important finishing detail. Once the main pouch is done, create a long strap and attach it securely to the bag. The strap can be crocheted directly or made separately and then joined.
Before fastening it completely, test the length. Put it over your shoulder or across your body and see how it feels. Some people like the bag to sit high near the waist, while others prefer it lower at the hip. This is an easy part to personalize.
Step 6: Finish the Edges
To give the bag a cleaner finish, work around the top edge if needed. This helps smooth the opening and can make the bag feel stronger and more complete. Then weave in all yarn ends carefully so nothing works loose later.
At the end, the bag should look compact, cute, and practical, with a simple handmade texture and an easy-to-wear strap. The finished style is great for casual outfits, errands, markets, walks, or travel when you want your phone close by without carrying a full handbag.
Helpful Tips
- Measure your phone before you start so the pouch fits well.
- Check the fit often while crocheting instead of waiting until the end.
- Keep your tension even so the sides look neat.
- Use cotton yarn if you want a firmer shape.
- Test the strap length before securing it permanently.
- Use stitch markers if you want cleaner edges and easier counting.
- Weave in the ends firmly because small bags get handled often.
Common Mistakes to Avoid
- Making the starting chain too short for your phone width
- Crocheting too loosely, which can make the bag saggy
- Forgetting to check the height before joining the sides
- Making the strap too thin or too long for comfortable use
- Joining the sides unevenly so the bag twists
- Skipping the final edge cleanup and leaving the opening messy
Customization Ideas
This phone bag is very easy to personalize. You can make it in a solid neutral color for a clean everyday style, or use bright shades for something playful. Add a button closure if you want extra security. You could also add a flap, a small pocket, tassel, shell edging, or a decorative flower. If you want a softer boho look, choose a relaxed yarn texture. For a more structured look, stick with smooth cotton and tight even stitches.
Style Ideas
This kind of bag looks cute with casual everyday outfits, summer dresses, jeans and a tee, or simple travel clothing. It is also a lovely gift idea for someone who likes handmade accessories. You can make one in a favorite color, match it to a tote bag, or create a few in different shades for quick seasonal accessories.
Care Instructions
Hand wash gently in cool or lukewarm water if possible. Reshape the bag after washing and lay it flat to dry. Avoid high heat, especially if your yarn is delicate or blended. If the strap stretches a little after use, blocking can help the bag look neater again.
Time Needed
This may take a few hours depending on your speed, yarn, size, and stitch pattern.
Conclusion
A crochet phone bag is such a satisfying little project because it is useful, cute, and simple enough to enjoy from start to finish. You can keep it minimal, dress it up with small details, or adjust the size and strap to suit your routine. It is a great project for practicing neat stitches while making something you can actually wear and use.
FAQs
Is this project beginner-friendly?
Yes, it is a good beginner project because it uses basic stitches and a simple shape.
What yarn works best?
Cotton yarn is a great choice because it helps the bag keep its shape and look tidy.
Can I adjust the size?
Yes. Measure your phone and adjust the starting width and overall height as needed.
Can I make the strap longer or shorter?
Absolutely. The strap is one of the easiest parts to customize.
Can I sell the finished item?
Usually, handmade finished items are fine to sell, but it is best to avoid copying someone else’s exact presentation or branding.