
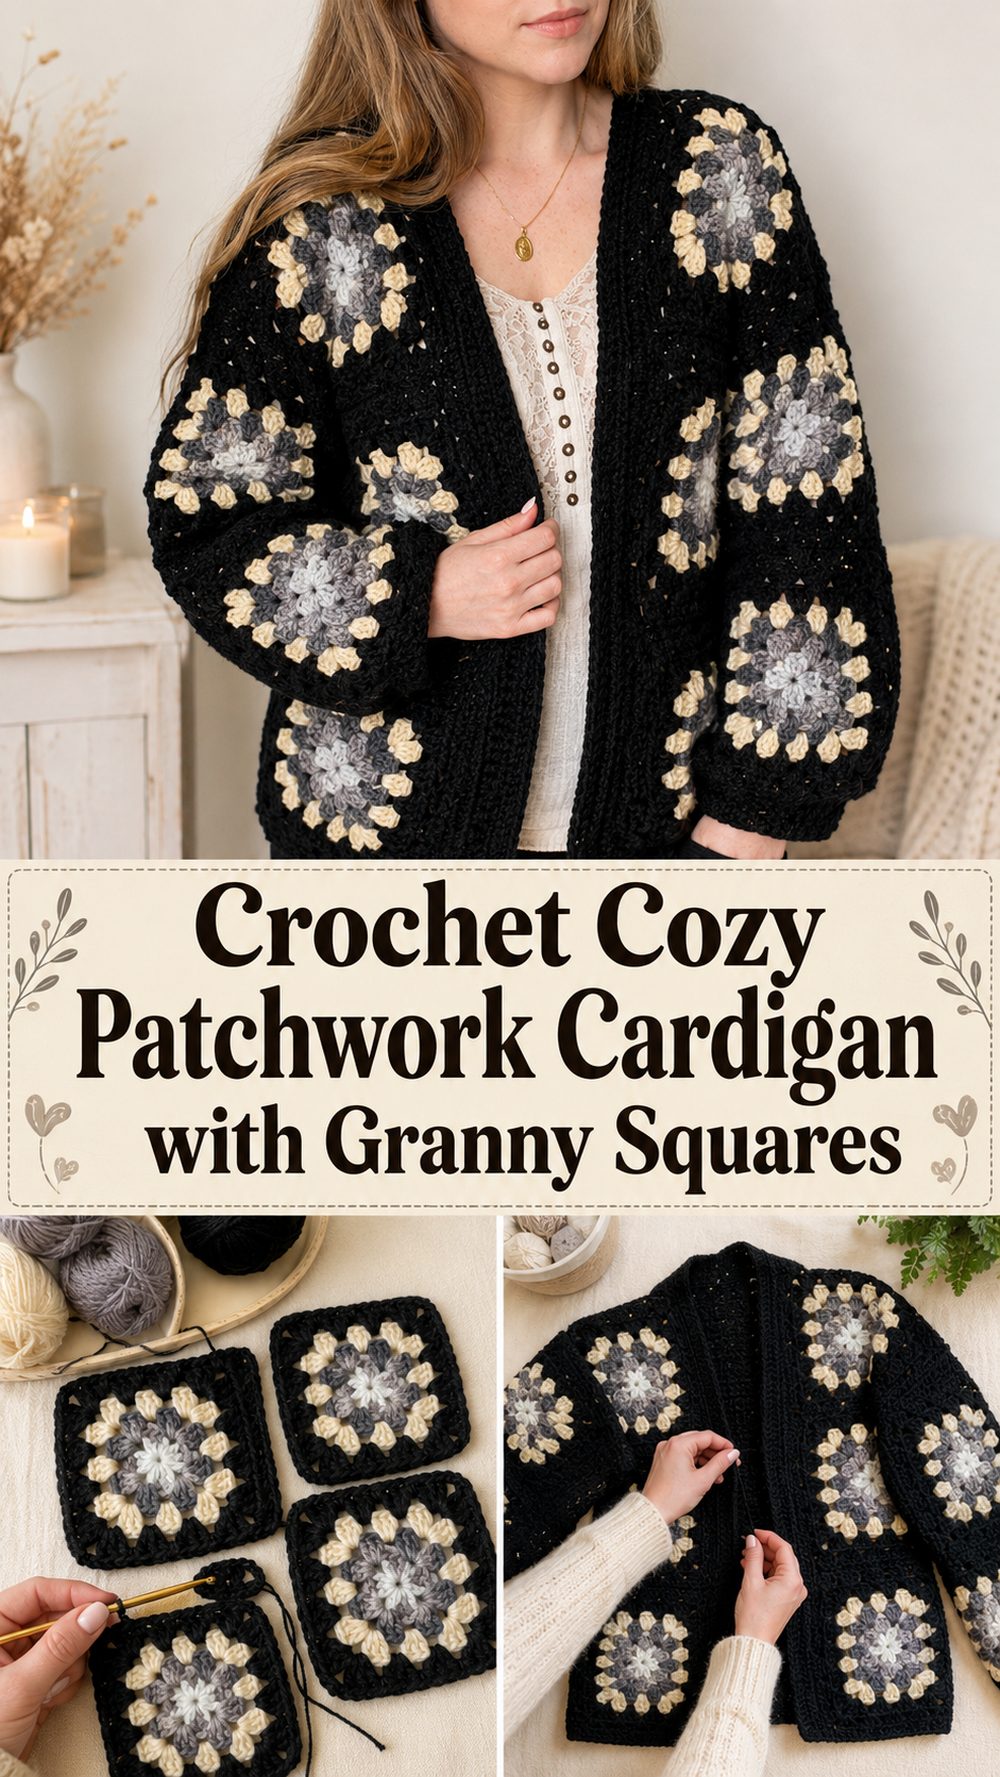
A crochet patchwork cardigan has such a fun handmade feel. It is colorful, relaxed, and easy to make your own, which is a big part of why so many crocheters love this style. This version is based on a full YouTube tutorial that teaches a classic granny square patchwork cardigan with an oversized look, and it works especially well for anyone who wants a wearable project that feels creative without being too complicated. The nice thing about this kind of cardigan is that you build it piece by piece, so it feels manageable as you go. You can play with color, make it soft and cozy, and adjust the fit to suit your style. The tutorial presents it as an easy crochet project with an oversized finish.
Why You’ll Love This Project:
This project is satisfying because it breaks a cardigan down into smaller patchwork sections, so you can enjoy the process one square at a time. It has that classic granny square charm, but it still feels trendy, wearable, and easy to customize for your own wardrobe. The selected tutorial shows it as an oversized cardigan, which makes it especially comfy and forgiving to fit.
Materials Needed:
- Yarn in one or several colors
- Crochet hook
- Scissors
- Yarn needle
- Stitch markers
- Measuring tape
Use a yarn and hook size that matches your desired fit and texture.
Best Yarn for This Project:
For a patchwork cardigan like this, a soft yarn with good stitch definition works best. If you want a cozy cardigan for cooler weather, a smooth acrylic or soft wool blend is a great choice because it gives the squares structure without making them too stiff. If you want a lighter cardigan for layering, go with a softer cotton blend or a lighter acrylic that still holds the granny square shape nicely. The main thing is to choose a yarn that feels comfortable against the skin and looks neat when multiple squares are joined together.
Skill Level:
Easy / Confident Beginner
This is a nice project for beginners who already know a few basic stitches and want to move into wearables. Since the cardigan is built from repeated patchwork sections, the process feels less intimidating than making a sweater in one large piece. The tutorial describes the cardigan as easy to crochet, which makes it a friendly project for newer makers.
Size and Fit Guide:
The easiest way to adjust a patchwork cardigan is by checking the fit as you build the panels. Measure across your shoulders, bust, and preferred cardigan length before you start. Then compare those measurements to the growing pieces as you crochet.
If you want a more oversized look, make extra squares or widen the body panels before joining. If you want a more fitted cardigan, use fewer squares across the width or keep the sleeves less roomy. This kind of project is very forgiving because you can lay out the squares first and see the shape before sewing everything together.
Stitches Used:
- Chain
- Slip stitch
- Double crochet
- Space-based granny square stitching
- Joining / seaming stitches
Depending on the finishing, you may also use simple edging stitches around the opening, cuffs, and hem.
How to Make It:
Step 1: Start the Foundation
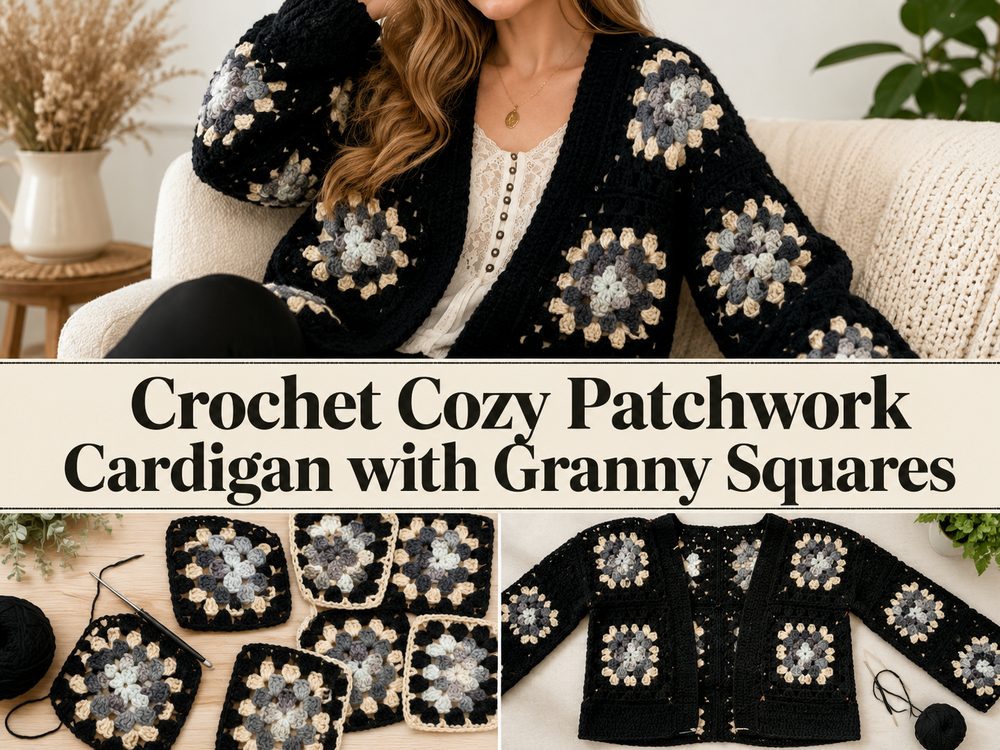
This cardigan begins with the patchwork pieces, usually in the form of granny squares. That is what gives it the classic handmade look. Start by making one square carefully and using it as your visual guide for the rest. Pay attention to your tension right from the beginning, because even tension helps all of your squares end up close in size.
Patchwork cardigans work best when the pieces are consistent. Even if the exact row count is not something you want to lock in right away, your first square helps you decide whether you like the overall scale. If it looks too small, use a thicker yarn or a larger hook. If it feels too bulky, go slightly lighter.
Step 2: Build the Granny Squares
Once you are happy with the first square, keep making more in the same way. This is the fun part because you can repeat the same simple shape and play with colors as you go. For a classic patchwork effect, alternating shades or mixing solid colors gives the cardigan that bold, pieced-together style.
As you make each square, lay them side by side now and then. That helps you spot any size differences early. If one square looks tighter than the others, it is better to fix it before you get too far into the project. The selected tutorial teaches a classic granny square cardigan with an oversized fit, so the visual impact of the squares is a big part of the finished look.
Step 3: Plan the Layout
Before joining anything, arrange your squares into the cardigan shape. This step makes a big difference. Lay out the front panels, back panel, and sleeves so you can see how the cardigan will come together. It is much easier to swap colors around now than after seaming.
At this stage, check width and length against your body or against a cardigan you already like wearing. Since patchwork garments are modular, you can easily add another square for extra length or width, or remove one if the cardigan feels too roomy. This is one of the nicest things about making a patchwork piece instead of a fully fitted garment.
Step 4: Join the Pieces
After your layout looks right, join the squares into larger sections. Usually that means building the back panel, then the two front sections, and then preparing the sleeves. You can seam them with a yarn needle for a flatter finish, or crochet them together if you want a more visible join.
Take your time here. Clean joining makes the whole cardigan look polished. Keep the right side of the work facing the same direction if you want the texture to stay consistent. Once the larger panels are complete, join the shoulder seams and side seams, leaving enough room for the arm openings.
Step 5: Shape the Sleeves
Sleeves on a patchwork cardigan are often made from joined squares or from patchwork sections that are folded and attached into a sleeve shape. As you work, compare both sleeves often so they stay even. This is especially important if you are changing colors in a random patchwork order.
Try the cardigan on before fully finishing the sleeves if you can. That helps you decide whether you want them roomy, cropped, or longer and cozier. If you like a slouchy cardigan, leave a little extra ease. If you want a neater fit, keep checking that the sleeve opening is not becoming too wide.
Step 6: Add the Cardigan Edges
Once the main shape is assembled, work around the front opening, neckline, hem, and cuffs to give the cardigan a more finished look. A simple edge can pull the whole project together beautifully. This edging also helps the cardigan sit better when worn and gives the front opening a cleaner line.
If you want, you can make the edging slightly deeper to create a more defined cardigan band. For cuffs and hem, a simple repeated stitch pattern can make the piece feel more polished and help the edges lie flat.
Step 7: Finish and Check the Fit
Weave in all yarn ends carefully, then lay the cardigan flat and check the overall shape. At this point, you should be able to see the full patchwork effect clearly. The finished cardigan should feel soft, roomy, and balanced, with the granny squares creating that cozy, playful look.
If needed, lightly block the cardigan so the seams relax and the squares settle neatly into place. That final step can make a big difference, especially if your squares tightened up during joining.
Helpful Tips:
- Keep your tension as even as possible from square to square.
- Lay the cardigan pieces out before joining so you can check color placement.
- Try the body on before finishing the sleeves.
- Use stitch markers if you want cleaner joins.
- Weave in ends as you go to avoid a huge finishing pile later.
- Block the finished cardigan for a neater, more even shape.
Common Mistakes to Avoid:
- Making squares in different sizes because of uneven tension
- Joining pieces too early before checking the layout
- Forgetting to measure the width and length as you build
- Making one sleeve larger than the other
- Pulling seams too tight, which can distort the squares
- Skipping the final shaping and wondering why the cardigan looks uneven
Customization Ideas:
You can make this cardigan look completely different just by changing the color story. Try bright retro shades for a bold patchwork look, soft neutrals for something more wearable every day, or pastel colors for a sweeter style. You can also make it cropped, longer, roomier, or more fitted depending on how many squares you include. A simple border in one solid color can tie everything together if your patchwork is very colorful.
Style Ideas:
This cardigan looks great over a basic tank, fitted tee, dress, or even with jeans and sneakers for an easy casual outfit. You can wear it open for a relaxed oversized look, or add buttons if you want a more classic cardigan finish. It also makes a lovely handmade gift for someone who likes cozy statement pieces.
Care Instructions:
Hand wash gently in cool water if possible, especially if your cardigan is made with soft or delicate yarn. Press out excess water without twisting, then lay it flat to dry. Avoid high heat, which can affect the shape and texture. If needed, reshape the squares and edges while it is drying.
Time Needed:
This may take a few hours to several sessions depending on your speed, yarn choice, cardigan size, and how many patchwork squares you need to make.
Conclusion:
A crochet patchwork cardigan is one of those projects that feels fun the whole way through. You get the pleasure of making repeated squares, arranging colors, and slowly watching a real wearable piece come together. It is cozy, creative, and easy to adjust to suit your own style. Once you finish one, you will probably start imagining your next color version right away.
FAQs:
1. Is this project beginner-friendly?
Yes, it is a good choice for confident beginners because the cardigan is built from repeated patchwork sections and simple stitches.
2. What yarn works best for a patchwork cardigan?
Soft acrylic, wool blends, or smooth cotton blends all work well depending on whether you want a warmer or lighter cardigan.
3. Can I adjust the size easily?
Yes. You can add or reduce squares, check the fit while assembling, and adjust sleeve or body length as needed.
4. Do all the squares need to be exactly the same size?
They should be as close as possible. Consistent tension helps the cardigan join neatly and sit better when worn.
5. How do I make it look more polished?
Use neat seaming, add a clean edging, weave in ends carefully, and block the finished cardigan.