
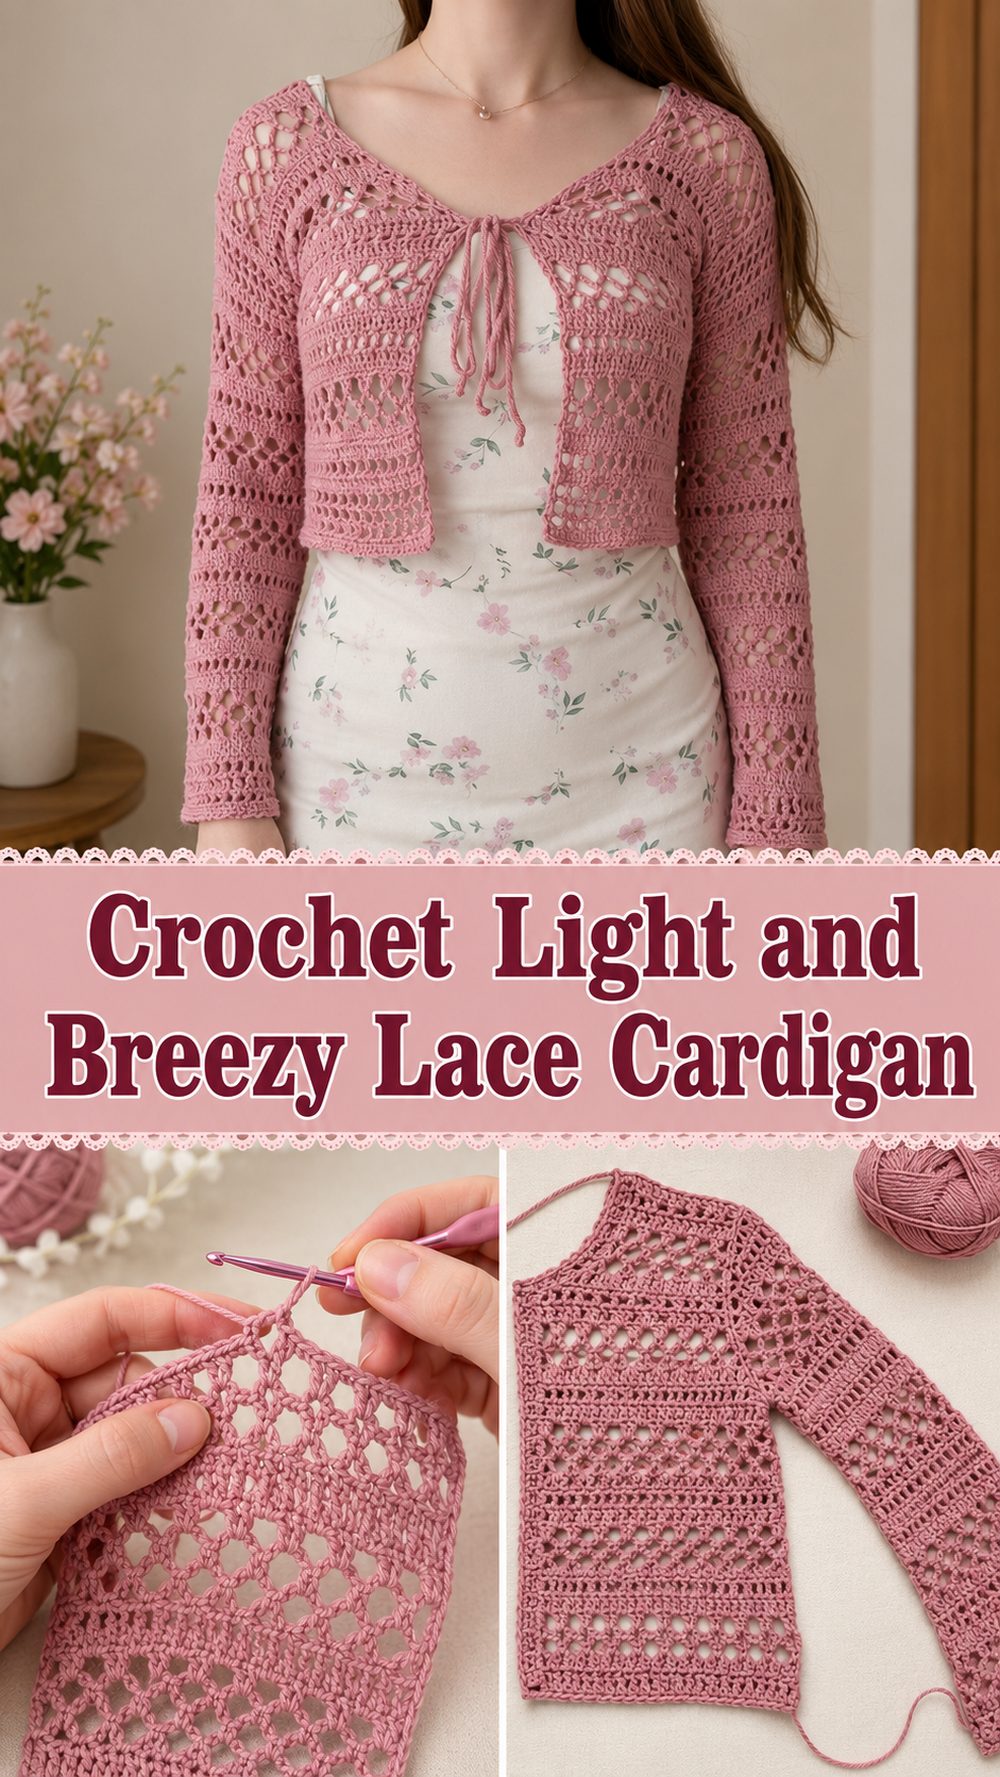
A crochet lace cardigan is one of those pieces that always feels useful. It adds a soft handmade layer without feeling too heavy, which makes it lovely for spring, summer evenings, and everyday layering. This tutorial teaches a cotton cardigan with a light, airy feel, so the finished look is relaxed, pretty, and easy to wear over simple outfits. The nice thing about a lace cardigan is that it looks detailed and elegant, but the overall project can still feel calm and repetitive once you settle into the stitch pattern. If you enjoy making wearable crochet pieces that feel feminine, practical, and customizable, this is a really nice one to try. It is especially good for crocheters who want something breezy and comfortable that can be styled casually or dressed up a little. The selected video describes it as a step-by-step cotton cardigan that is light and perfect for layering.
Why You’ll Love This Project:
This project is lovely because it gives you that soft lace look without losing the comfort of a wearable cardigan. It is light, airy, and designed as a layering piece, so it works well for everyday outfits while still feeling handmade and special.
Materials Needed:
- Cotton yarn
- Crochet hook
- Scissors
- Yarn needle
- Stitch markers
- Measuring tape
Use a yarn and hook size that matches your desired fit and texture.
Best Yarn for This Project:
For a lace cardigan, lightweight yarn is usually the best choice because it helps the openwork drape nicely instead of feeling bulky. Since this tutorial uses cotton and presents the cardigan as light and breezy, cotton or a soft cotton blend is a great option here. Cotton is especially nice if you want something breathable for warmer weather. A bamboo blend can also work beautifully if you want a little extra softness and flow. The goal is to choose a yarn that keeps the cardigan comfortable, airy, and easy to layer.
Skill Level:
Easy to intermediate / best for confident beginners
This project suits crocheters who are comfortable with basic stitches and ready to work a repeated lace pattern. Since the tutorial is presented step by step, it should feel manageable, but lace work still benefits from careful counting and consistent tension.
Size and Fit Guide:
To adjust the size, measure your bust, shoulder width, arm length, and the cardigan length you want before you begin. As you crochet, compare the growing fabric to your measurements or to a cardigan you already like wearing.
A lace cardigan is easier to adjust than a tightly structured garment because the fabric usually has a bit of flexibility and drape. You can make it longer for more coverage, shorten it for a lighter everyday layer, or widen the panels if you prefer a looser fit. Check the fit before seaming so you can make small changes while the pieces are still easy to adjust.
Stitches Used:
The selected search result confirms this is a crochet lace cardigan tutorial, but the exact stitch list is not clear from the available preview. Based on the project type, you will likely work with a repeated open stitch pattern along with standard joining and edging techniques. Follow the tutorial carefully for the exact stitch sequence used in the cardigan.
How to Make It:
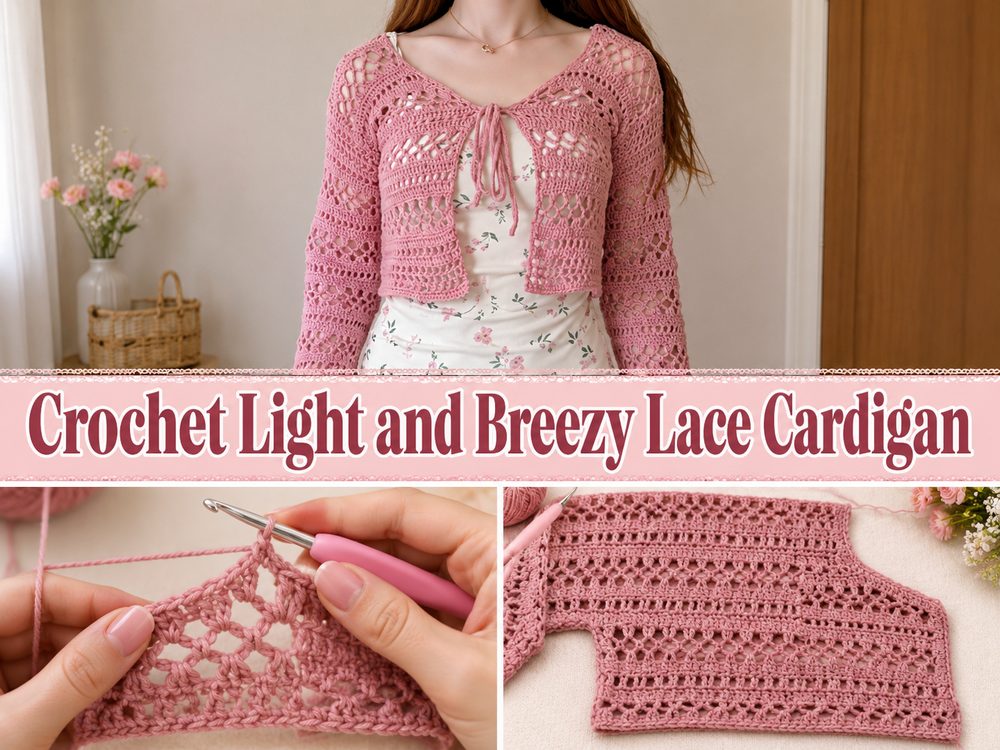
Step 1: Start the Foundation
Begin by making the starting section shown in the tutorial and focus on getting the width right for your size. With lace garments, the foundation matters because it affects how the whole cardigan hangs later. Keep your chains or opening edge even so the lace pattern can sit neatly as it grows.
Before going too far, hold the beginning of the piece against your body or a cardigan you own. This gives you a quick sense of whether the width feels comfortable for a fitted, relaxed, or more oversized look.
Step 2: Work the Lace Pattern
Once the foundation is ready, continue into the lace design. The beauty of a cardigan like this is the airy texture. The open stitch pattern helps the fabric feel light instead of dense, which is exactly what you want in a breezy layering piece.
As you repeat the lace sections, pause every now and then to make sure your stitches stay even. Lace looks best when the openings are consistent. Try not to crochet too tightly, or the cardigan may lose some of that soft drape that makes this style so wearable.
Step 3: Build the Main Panels
A cardigan usually comes together through body sections that are worked to the length you want. As the fabric grows, lay it flat often to keep the edges straight and make sure the shape looks balanced. Since the selected tutorial describes the finished piece as light and breezy, it helps to keep the fabric relaxed and flowing instead of stiff.
If your cardigan is made in separate sections, keep checking that the panels are matching in size. If it is worked in larger continuous sections, check the width across the body before moving on to joining or sleeve shaping.
Step 4: Shape for Fit
As you continue, think about how you want the cardigan to sit. Some people like a soft loose fit for layering over tanks and dresses, while others prefer a more neat and close shape. This is where measuring helps most.
If the cardigan feels too narrow, add more width before finishing the panels if the construction allows it. If it seems too long, stop once it reaches your preferred length. A lace cardigan is very forgiving because a small adjustment can make a big difference in how it feels when worn.
Step 5: Make and Attach the Sleeves
If the tutorial includes sleeves, work them to a length and width that feels comfortable for you. Lace sleeves look especially nice when they stay soft and slightly drapey rather than too tight. Compare both sleeves often so they match.
Before fully finishing them, try the cardigan on if possible. This helps you check the armhole comfort and see whether you want a shorter sleeve, a longer sleeve, or a slightly roomier fit for layering.
Step 6: Join the Pieces
Once the main parts are complete, join the cardigan carefully. Clean seaming makes a big difference, especially with lace, because uneven seams can pull the fabric out of shape. Use stitch markers if needed so the edges line up before joining.
Take your time around the shoulders and side seams. Those areas affect the overall fit the most. After joining, try it on again to make sure the cardigan sits comfortably across the back and under the arms.
Step 7: Add Finishing Edges
A simple border around the front opening, neckline, hem, or cuffs can help the cardigan look more polished. Even a minimal finishing edge can make lace look neater and help the cardigan hold its shape a little better.
Keep the finishing light so it matches the airy feel of the rest of the project. Since this tutorial’s cardigan is presented as a lightweight layering piece, a heavy border could change the look too much.
Step 8: Final Touches
Weave in all the ends carefully, then lay the cardigan flat and check the overall shape. If needed, gently block it so the lace opens up and the stitches settle nicely. This final step often makes the cardigan look smoother, more even, and more delicate.
The finished piece should feel comfortable, breathable, and easy to wear over simple outfits. That is part of what makes lace cardigans so satisfying to crochet.
Helpful Tips:
- Cotton yarn is a great choice for a breathable cardigan.
- Keep your tension even so the lace pattern stays neat.
- Check the width before the cardigan gets too long.
- Use stitch markers to help line up seams and edges.
- Try it on before fully finishing the sleeves or side seams.
- Block the finished cardigan to open up the lace pattern.
Common Mistakes to Avoid:
- Crocheting the lace too tightly and losing the airy drape
- Forgetting to check measurements as you go
- Making one panel longer or wider than the other
- Rushing the seams and ending up with uneven joins
- Adding a border that feels too heavy for a lightweight cardigan
- Skipping blocking when the lace looks slightly uneven
Customization Ideas:
You can easily make this cardigan your own by changing the length, sleeve style, or color. Try a soft neutral shade for a classic everyday piece, or use a pastel tone for a lighter spring feel. You can also make it longer for more coverage or keep it cropped for a cute casual layer. If you want extra detail, a delicate edging around the cuffs or hem can give it a more finished touch without taking away from the lace.
Style Ideas:
This kind of cardigan looks beautiful over a tank top, camisole, sundress, or simple tee. It works well with jeans, shorts, skirts, or even over a swimsuit cover-up look if the yarn is especially light. Because the fabric is airy, it makes a lovely grab-and-go layer for warm weather or breezy evenings.
Care Instructions:
Hand wash gently in cool water if possible, especially if you use cotton or another soft breathable yarn. Avoid twisting the fabric too much. Press out excess water carefully and lay the cardigan flat to dry. Keep it away from high heat so the shape and texture stay nice.
Time Needed:
This may take a few hours to several sessions depending on your speed, yarn choice, cardigan size, and how detailed the lace pattern is.
Conclusion:
A crochet lace cardigan is such a pretty project to have on your hook. It feels soft, feminine, and useful at the same time, and it is one of those handmade pieces that can be worn in so many ways. With breathable yarn, a comfortable fit, and a light open texture, it becomes the kind of cardigan you reach for again and again. Take your time with the lace, check the fit as you go, and enjoy making it in a color and length that suits your own style.
FAQs:
1. Is this cardigan beginner-friendly?
It is best for confident beginners who are comfortable following a repeated lace pattern.
2. What yarn is best for this project?
Cotton or a soft cotton blend is a great choice for a light and breathable finish.
3. Can I adjust the size?
Yes. Measure yourself before starting and check the fit as you work so you can adjust width and length.
4. Is this a good cardigan for warm weather?
Yes. The tutorial describes it as light, breezy, and good for layering, which makes it well suited for milder weather.
5. How can I make it more comfortable to wear?
Use a breathable yarn, avoid making the lace too tight, and try it on before finishing the final seams.