
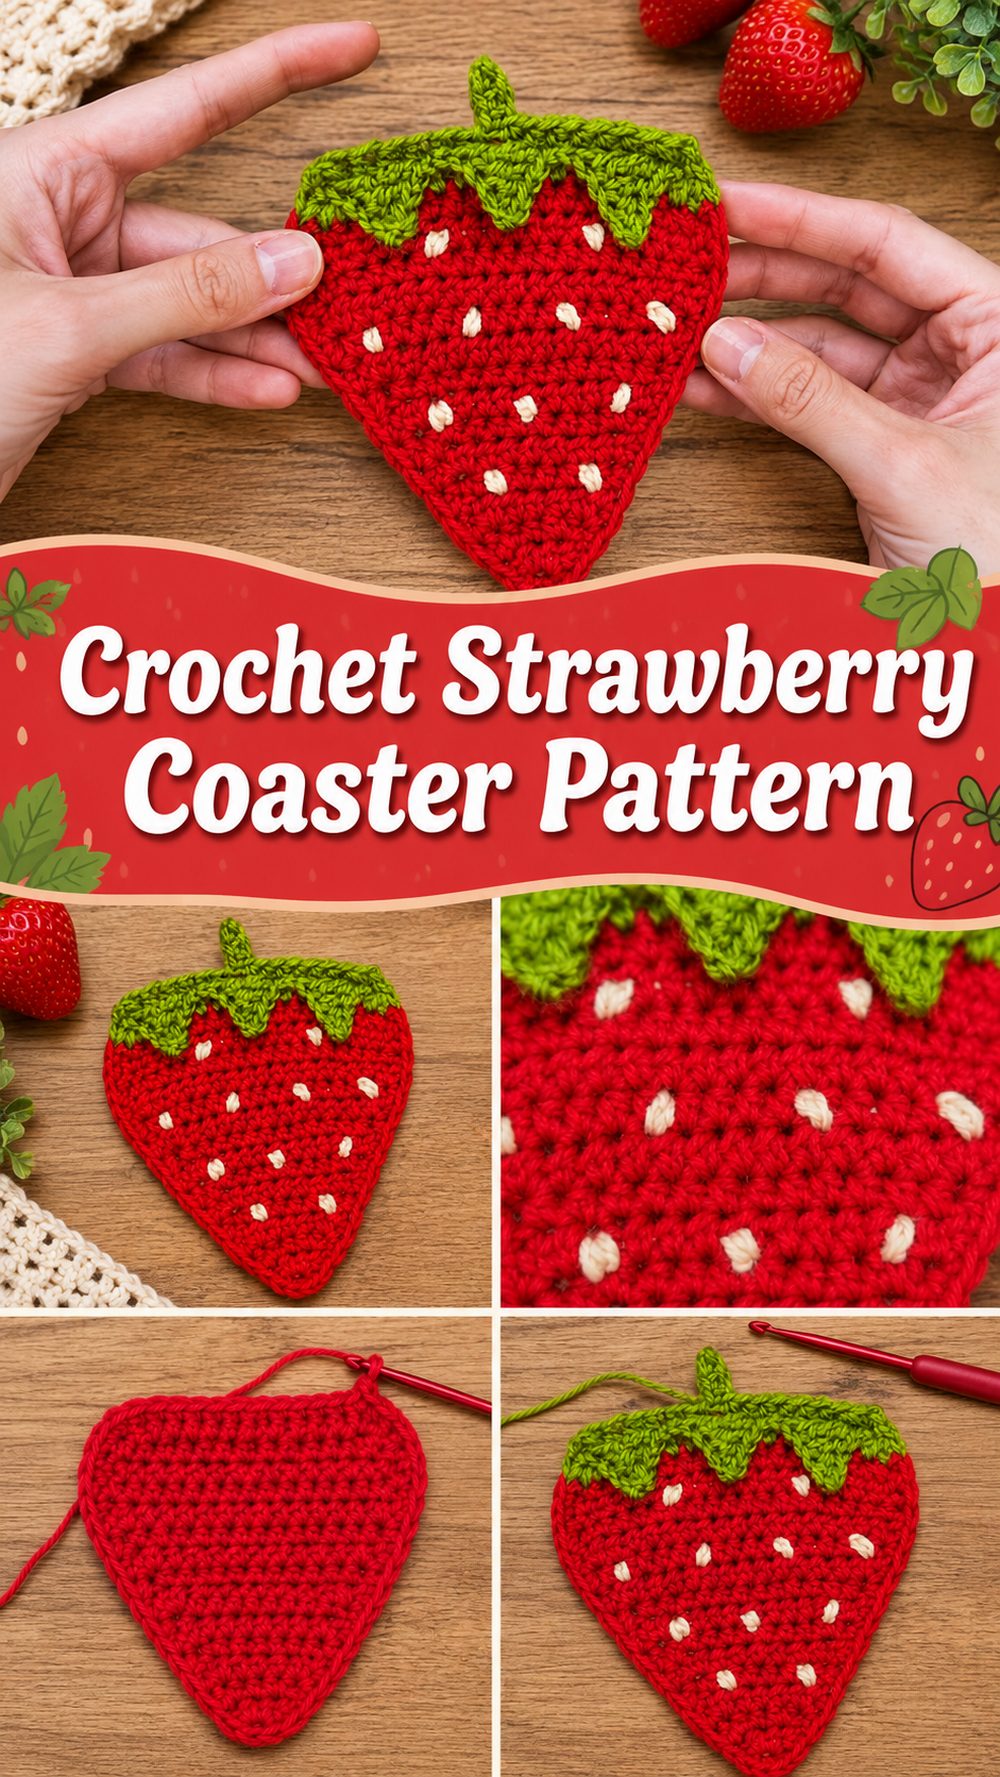
A crochet strawberry coaster is one of those small projects that just feels extra fun from the get-go. It’s cute, useful and full of summer charm, but also works all year when you want something cheerful on your table. It has a soft berry shape and a bright body with a leafy top that gives it that instantly recognisable strawberry look. It’s the kind of quick make that is lovely for using up yarn, making a handmade gift or just adding a playful touch to your coffee corner. If you’re all about quick crochet projects that make a big impact without feeling overwhelming, this is a winner. This is very nice for beginners who want to practise simple shaping and at the same time make something practical and decorative.
Why You’ll Enjoy This Project
This strawberry coaster is the kind of project that gives you a cute outcome without a lot of time input. It’s functional enough for everyday use, decorative enough for gifting, and easy enough to enjoy even if you’re still gaining confidence with crochet.
Supplies Needed
Red yarn for the body of the strawberry.
green thread for the leafy crown
A crochet needle
Needle tapestry
Scissors.
Stitch marker (optional) to mark your beginning or shaping points
Choose a yarn and hook size that will give you the fit and feel you want.
Best Yarn for This Project:
A nice smooth cotton or cotton blend yarn is great for coasters. It will help the piece hold its shape and be more functional for your table. If you want a soft but sturdy finish, medium weight cotton is a lovely choice. Acrylic will work too (especially if that’s what you have), but cotton makes for a cleaner coaster feel with better absorbency and structure.
Expertise Level:
Easy for beginners. If you know how to make a chain, work into stitches neatly and join yarn, it’s a very accessible project as it uses basic stitches and simple shaping. Plus it’s a nice step up from a plain round coaster because the strawberry shape adds a little more interest.
Size & Fit Guide:
Being a coaster, exact sizing does not need to be rigid. You can adjust it to be a bit smaller for mugs or a bit bigger for wider cups and glasses. Check the width and height as you go, add or subtract rows as needed to get the shape you like. If your yarn is thinner, your coaster could be more delicate. If your yarn is thicker it may look a little fuller and bigger.
Stitches Employed:
Chain
Slip stitch (sl st)
Single crochet
DC (Double Crochet)
Earnings
Basic shaping on the sides and top
How it is done
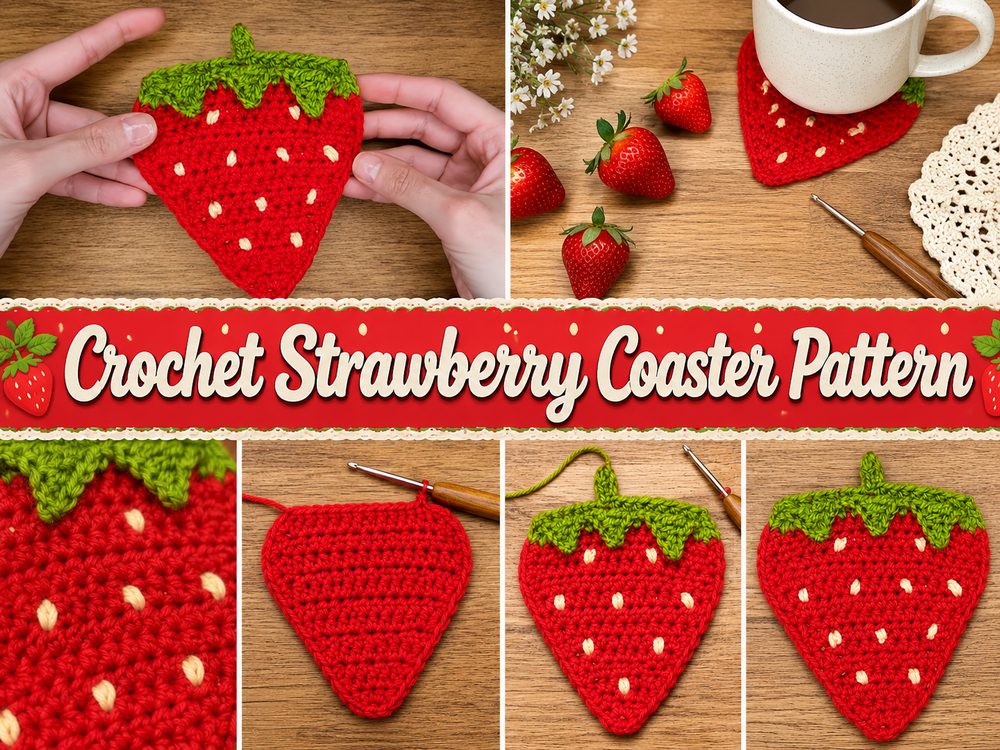
Step 1: Establish the Foundation
The coaster starts at the bottom of the strawberry with a chain of foundation. This chain is the width of the base and gives you the starting edge to build the berry shape up. Don’t tighten the chain too much; a stiff foundation can draw the lower edge inward. A loose and even chain helps the coaster sit flatter later on.
When the foundation is complete work back along the chain to create the first row. This opening paragraph establishes the tone for the entire essay, so it is helpful to maintain your tension from the very beginning. You want the coaster to be soft but still have some structure to it.
Step 2: Make the Strawberry Body
After the foundation is laid, the red part grows row by row into the main strawberry shape. The body is worked in plain stitches, the shaping is done gradually, not all at once. This makes it much easier to follow especially if you are new to shaping crochet.
As you work up, keep an eye on the outline. The bottom part should be round and nice, not stiff and boxy. The top half begins to taper a little more gently so the coaster begins to look more like a strawberry than a plain oval. Here is where the true design allure begins to surface.
Shaping is usually done by placing stitches carefully at the edges rather than by any complicated means. Just watch both sides to keep them even. If one side looks like it’s getting fuller than the other, count your stitches or see where your turning point was.
Step 3: Create the Top of the Berry
The strawberry shape becomes much clearer in the top part. This section is tapering and flows naturally into the leafy cap. Work slowly here, checking the outline every couple of rows. If you lay the coaster flat on the table as you go, it is easier to see if the shape looks even.
And this is also the best time to decide whether you want the berry to look a little plump and rounded or a little longer and more delicate. You can make slight changes by adding or subtracting a little shaping, but still keep the overall smooth look. Handmade fruit motifs can vary naturally so you don’t need to try to get the same result every time.
Step 4: Add Seed Information
One of the sweetest things about this project is the detail of the tiny seed on the body of the strawberry. These small touches add to the overall sense of completeness of the coaster and instantly make the design recognisable. The main red part is finished and the seeds are put in afterwards, so you can put them where they look best instead of being forced into the base rows.
Keep the seed details light, and evenly spaced. You don’t need a lot. Just perfect, as if the surface of a strawberry was suggested. Overcrowd them, and the coaster can start looking busy. Usually you need just a few nice accents across the front.
Step 5: Crochet the Leafy Top of the
The green top makes the whole coaster come alive. You may work this section separately, or add along the top edge, as you prefer to finish it. The leaf shape is made of pointed sections that spread over the berry top. This gives that classic strawberry crown look.
When making the leafy top, aim for neat, consistent points. They don’t have to be the same, but they should feel balanced overall. Here the leaf has a nice slightly crisped edge. If your stitches are super loose the green top might flop, so a steady tension really helps.
That’s also where the project begins to look very complete very fast. Once the leaves are added, the coaster changes from a plain red shape to a cute strawberry design.
Step 6: Assemble and Finishing
When you have completed the leaf section, weave all yarn ends in carefully. As it’s a coaster the back should feel quite smooth so it sits nicely under a cup. Cut off any loose strands and make sure the top is well secured.
If the coaster curls up a bit, don’t worry. It can happen with shaped crocheted pieces. A gentle blocking session will help to flatten it out and bring the strawberry outline out a little more. Also, shaping the light with your hands helps, especially around the points of the leaf and the bottom edge that is rounded.
The finished coaster should be cute, fun and recognisable. It should be mostly flat, have a rounded berry body, a tapered upper area and a fresh green leafy top that frames the piece nicely.
Helpful Hints
The coaster is finished with cotton yarn for a cleaner, more practical finish.
Make your foundation chain loose enough that the lower edge will not pull in.
Lay the piece flat often to check the shape of the strawberry as you go.
Add the seed details after the body is done, so you can space them out nicely.
Use a stitch marker if you’d like help keeping rows and shaping tidy.
If you want a flatter and neater result, block in the finished coaster.
Common Errors to Avoid
The initial chain is over-tightened
Not making sure both sides are shaping evenly
Too much detail on the seed
If you want a firm shape for your coaster, use very slippery yarn.
Leaving the leafy top too loose or lopsided
Omitting the final flattening and finishing step
Ideas for Customisation
There are lots of easy ways you can make this coaster your own. Choose a deeper red for a rich strawberry look, or a softer pink-red for something playful and cute. If you want to hang it in the kitchen, add a small hanging loop. You could also make a set in a little different sizes for mugs, jars or dessert plates. A simple border around the berry will make the shape pop more, and a textured seed effect can add more personality.
Style Inspiration
This coaster looks beautiful under tea cups, iced coffee glasses or small dessert bowls. It would be charming in a summer table setting, a picnic themed gift basket or handmade kitchen set with other fruit inspired pieces. It also makes a sweet little gift by itself paired with a mug, tea sachets or small candle.
Care Instruction
Wash gently by hand when needed and reshape while still damp. Allow to dry flat so it retains its strawberry shape. Do not use high heat, especially if your yarn is acrylic, and do not wring it out hard. A quick steam or light blocking after use will refresh it.
Time Required:
Depending on your speed, yarn, size and stitch pattern, this could take a few hours.
Conclusion
This crochet strawberry coaster is a fun little project with a lot of charm packed into a small piece. It is useful, decorative, and satisfying to make, especially if you enjoy simple crochet with a bit of shaping. You can keep it classic, play with color, or make a whole fruity set for your table. However you finish it, it is a cheerful project that is easy to enjoy.
FAQs
1. Is this beginner-friendly?
Yes, it is a good beginner project if you already know a few basic stitches and want to try simple shaping.
2. What yarn is best for a strawberry coaster?
Cotton or a cotton blend is usually the best choice because it holds shape well and works nicely for table use.
3. Can I adjust the size?
Yes. You can change the size by using different yarn, a different hook, or by adding and reducing rows as needed.
4. How do I keep the coaster flat?
Use even tension, avoid a tight starting chain, and block the finished piece if it curls.
5. Can I make a whole set?
Absolutely. This design works very well as a matching coaster set and looks especially cute in pairs or small gift bundles.