
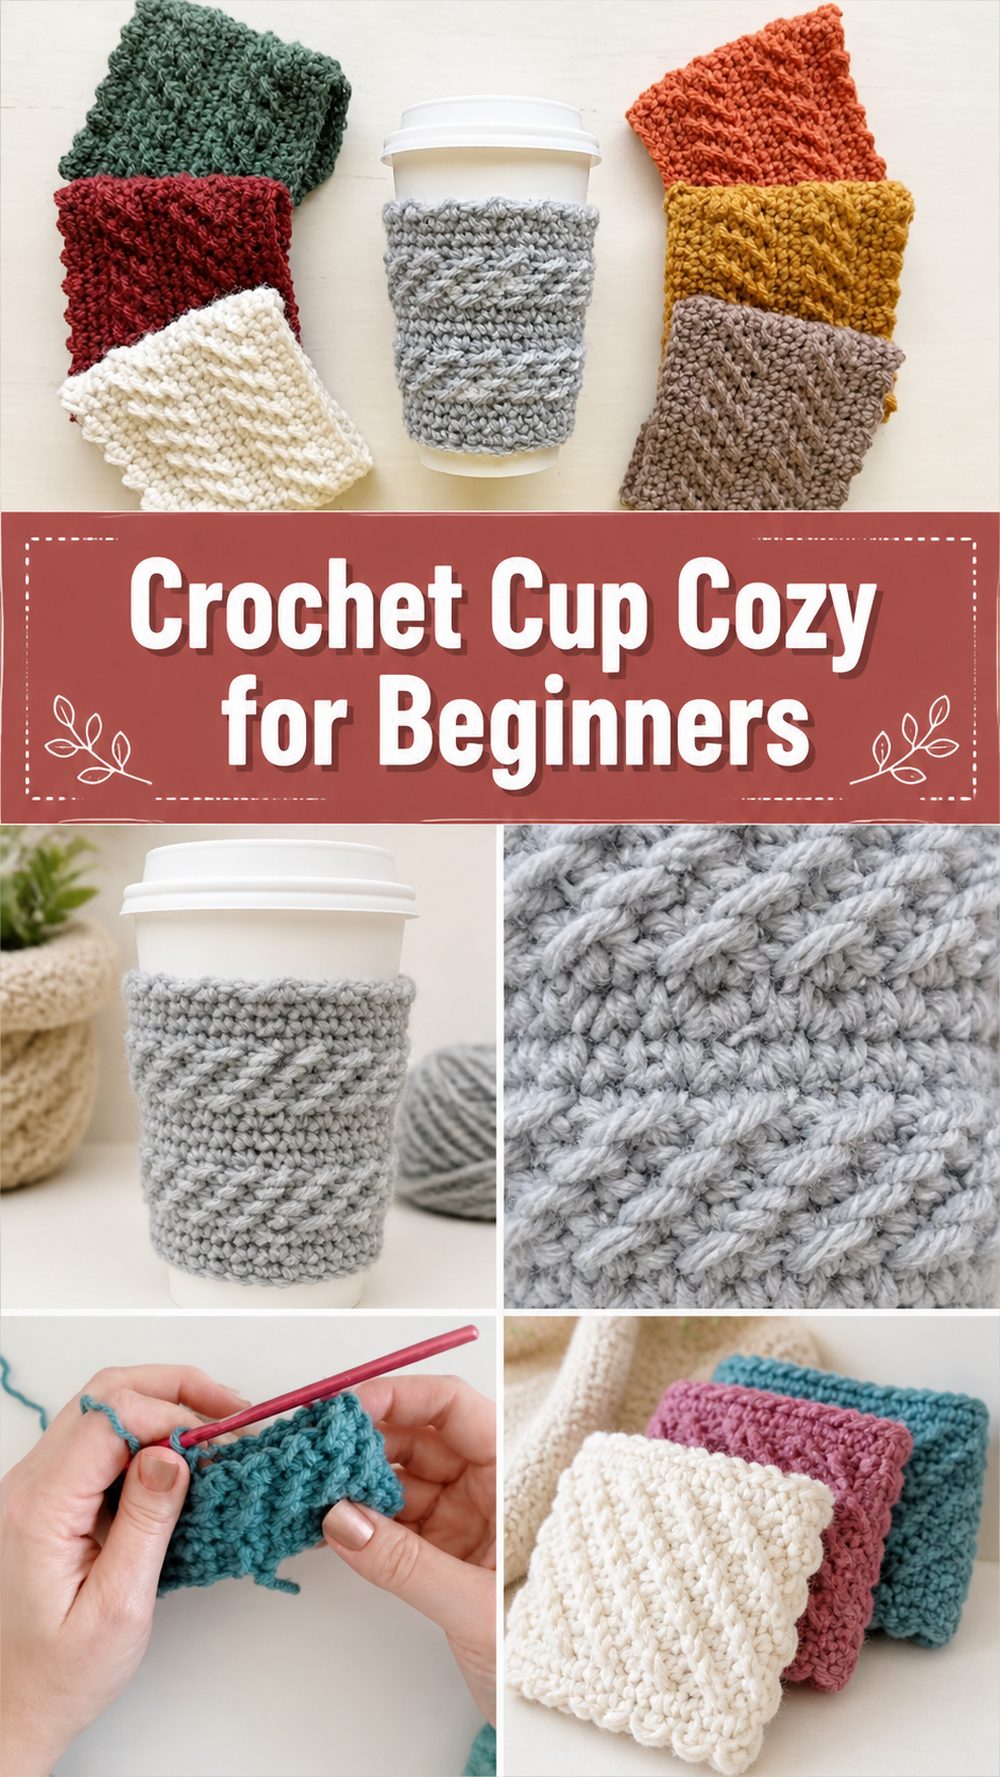
A crocheted cup cosy is one of those little projects that is immediately useful. It’s easy to make, easy to customise, and perfect to make an ordinary cup of coffee or tea into something a little warmer and a lot cuter. This tutorial is for a simple beginner cosy using basic crochet stitches, so it’s a nice choice for anyone looking for a fast project without getting overwhelmed. It also makes a lovely little gift idea, especially if you like handmade things that are both practical and pretty. The finished cosy fits nicely around a cup and offers a fun way to use up yarn from your stash, and adds a soft handmade touch. The tutorial I went with makes it look like a simple project with basic stitches like single crochet, half double crochet and slip stitch.
Why You’ll Like This Project:
This cup cosy is the kind of crochet project that is a quick win. It’s small, useful, beginner friendly and easy to make in different colours for gifts, markets or your own daily coffee routine.
Required Materials:
Yarn
Crochet needle
scissors.
Needle for yarn
Stitch marker if you like
Tape measure
Yarn and hook size is down to the fit and feel you want. You can use worsted-weight yarn and the project is made with basic stitches, not complicated shaping, says the tutorial.
Best Yarn for This Project:
Cotton yarn is a lovely choice for a cup cosy as it holds its shape well and gives a nice crisp finish. It also seems practical for everyday use and is great for warm drinks. If you want something softer a smooth acrylic or cotton blend also works well, especially if you’re making a gift or just using yarn from your stash. Choose a yarn with good stitch definition for a neat result so you can see the texture clearly.
Skill: 3.3
Good for beginners.
This is a great project for a newer crocheter because it uses simple stitches and a little bit of yarn. It’s also a great way to practise keeping your edges even, and getting used to making a neat rectangular piece that will fit around an object. This tutorial is designed to be beginner friendly.
Size & Fit Guide:
The easiest way to size a cup cosy is to measure around the cup you want to use and try it on as you go. Wrap carefully around the cup before joining. If it’s too loose, trim it down a bit. If it feels a little tight add a little more length. For height, stop when the cosy covers the part of the cup you want it to, but does not interfere with the lid or your grip. This style is very forgiving so small adjustments make a big difference.
Stitches Employed:
Chain
Slip stitching (sl st)
sc = single crochet
Half double crochet
These are the stitches featured in the chosen tutorial.
How to Prepare:
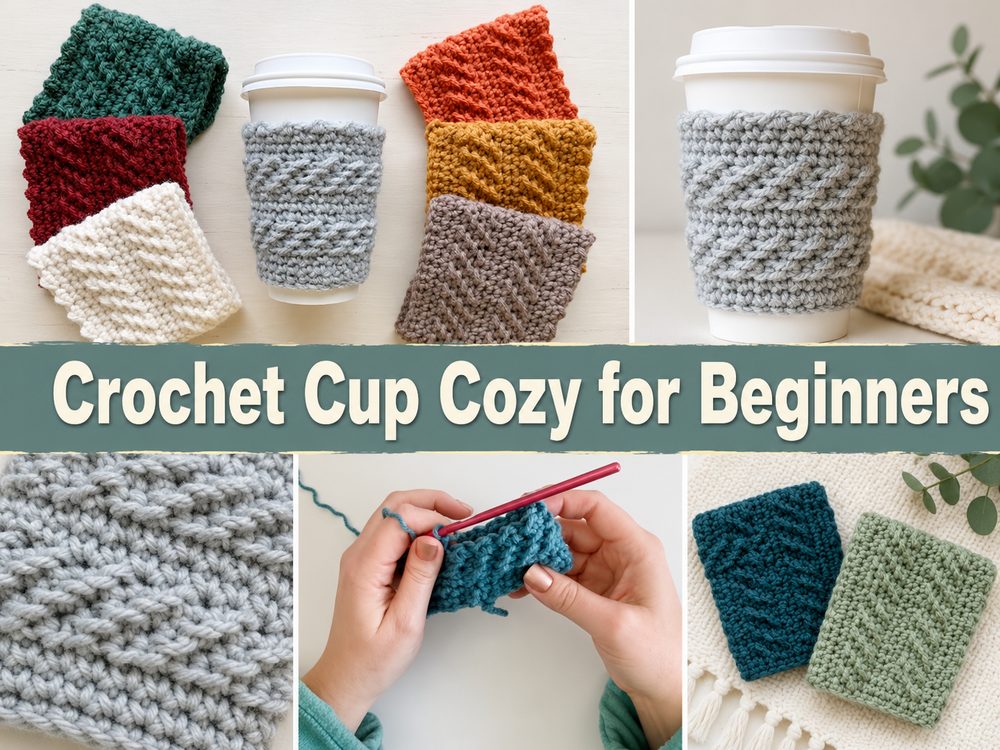
Step 1: Begin the Foundation
Crochet a foundation chain that’s as tall as you want your cosy to be. Cup sizes vary so holding the chain against the cup to determine the desired height of the finished sleeve is helpful. Going shorter is a simple modern look, but a little taller is more snug and cosy in the hand.
When your chain looks correct, work into it gently, with a comfortable tension, not tight. Even tension makes the whole thing look cleaner on a small project like this one.
Step 2: Create the Main Fabric
From there the cosy is worked up into a simple band using beginner stitches. This project is easy to do because of the simple crochet techniques used like single crochet, half double crochet and slip stitch but the fabric still gets a nice texture.
As you continue to lay row after row, you’ll see a tidy strip begin to form. This is the cosy body. The project is small so it works up fast, making it great when you want something satisfying without committing to a big pattern.
Step 3: Keep an Eye on the Shape as You Work
It’s a basic shape and that’s part of the appeal. You are mostly dealing with making a neat rectangle or band that will wrap nicely around the cup rather than dealing with tricky shaping. Crochet as you go, and stop every now and then to wrap the piece around your cup. This tells you if the length is right before you finish it.
The cosy should fit snugly around the cup, without stretching it too much. The little snugness is good, because crochet can relax a little with use, but you don’t want it pulling or straining in an awkward way.
Step 4: Alter for Your Mug
It’s a place where you can make the project really practical. If you are making it for a take-away coffee cup, keep testing it on a similar cup shape. If you’re making it for a reusable tumbler or mug, measure that specific one before attaching the cosy.
Easy to adjust the fit by:
adding more rows if you want more wrap ;
ending sooner for a more snug fit
making the starting chain longer or shorter according to the height of the cup
That flexibility is one of the best things about this project.” You don’t need exact sizing to make something that works beautifully.
Step 5. Attach piece
When the band fits around the cup to your liking, join the ends neatly. Make sure the seam is neat so it doesn’t feel bulky in your hand. A clean join makes a big difference on a small thing like this where every detail shows.
Do not twist the piece before joining. Lay it flat, align the top and bottom edges and ensure the texture is facing the direction you want. Once joined, slip it back over the cup to test it sits evenly.
Step 6. Complete the Edges
Finish off and weave in ends carefully with a yarn needle when the cosy is assembled. This is an everyday use item so it should have neat finishing. Over time, loose ends can pull free, especially if the cosy is often slipped on and off.
If you want to make the piece more smooth and polished you can smooth it with your hands and lightly shape it. Some crocheters like to block small projects and that can help the stitches settle down and the edges look more even.
What the Finished Cosy Will Look Like
Your finished cup cosy should feel soft, snug and slide easily on your cup. It should hang flat without buckling and the stitches should create a simple handmade texture which looks charming without being fussy. This kind of cosy is nice in solid colours but it also looks good in stripes, speckled yarn or little seasonal shades depending on your style.
The tutorial sticks to beginner stitches, so the final look is simple, practical and easy to recreate more than once. This makes it perfect for craft fairs, teacher gifts, stocking stuffers, or just making a few for yourself in different colours.
Tips that are helpful:
If you want more of a firm and practical cosy use cotton yarn.
Before joining the ends check the fit.
Keep your starting chain loose so the edge doesn’t pull.
If your edges tend to wander, place a stitch marker in first or last stitch.
Make some cosies in matching colours, for easy gifts.
Weave in ends very well as the cosy will be used often.
If you want the edges to look extra neat, lightly block.
Tips to Avoid Common Mistakes:
Starting chain is too tight
Missed the opportunity to check the fit around the cup before finishing
Crocheting the band too loose so that it slips around
Twisting into the piece
Gapping and stopping too early
Left ends too short to tuck in close
Customisation Suggestions:
This simple project can be a lot of fun. Use a neutral cosy for an everyday coffee cup, or use bright colours for gifts. Or add stripes or a contrasting edge or a tiny decorative detail if you want more personality. You can also make the cosy a little taller for more coverage or shorter for a sleeker look. If you love seasonal crochet, this is an easy project to remake in fall colours, holiday shades or soft spring tones.
Style Tips:
A crochet cup cosy is cute on a morning cup of coffee, a tea cup at your desk, or a reusable tumbler on the go. It makes a nice handmade extra as a gift with a bag of coffee, tea sachets or a favourite mug. This is the kind of practical little piece that people often love if you sell crochet items, because it feels both handmade and functional.
Care Instructions:
Hand wash gently if necessary and reshape while damp. 4. Lay flat to dry. High heat should be avoided, especially with delicate or blended yarns. If the cosy is getting a lot of use, check the ends from time to time to make sure all stays secure.
Time Required:
This may take a few hours depending on your speed, yarn, cup size and stitch tension. It’s the type of little project many crocheters can complete in one sitting.
Conclusion:
A crochet cup cozy is such a satisfying make because it is quick, practical, and easy to customize. This tutorial keeps things simple with beginner stitches, which makes it a great little project whether you are still learning or just want something relaxing to crochet. You can keep it plain, make it colorful, size it to your favorite cup, and turn it into a thoughtful handmade gift with very little effort. It is one of those projects you will probably make once and then want to make again.
FAQs:
1. Is this project good for beginners?
Yes. It uses basic crochet stitches and a simple shape, so it is a very approachable small project.
2. What yarn works best for a cup cozy?
Cotton is a great choice because it holds shape well and gives a clean finish.
3. Can I adjust the size?
Yes. You can change the height with your starting chain and change the wrap by adding or reducing rows.
4. Can I make more than one from leftover yarn?
Usually yes, especially if you have small amounts of medium-weight yarn left from other projects.
5. How do I make it fit better?
Keep testing it around your cup as you work, and join it only when the band feels comfortably snug.