
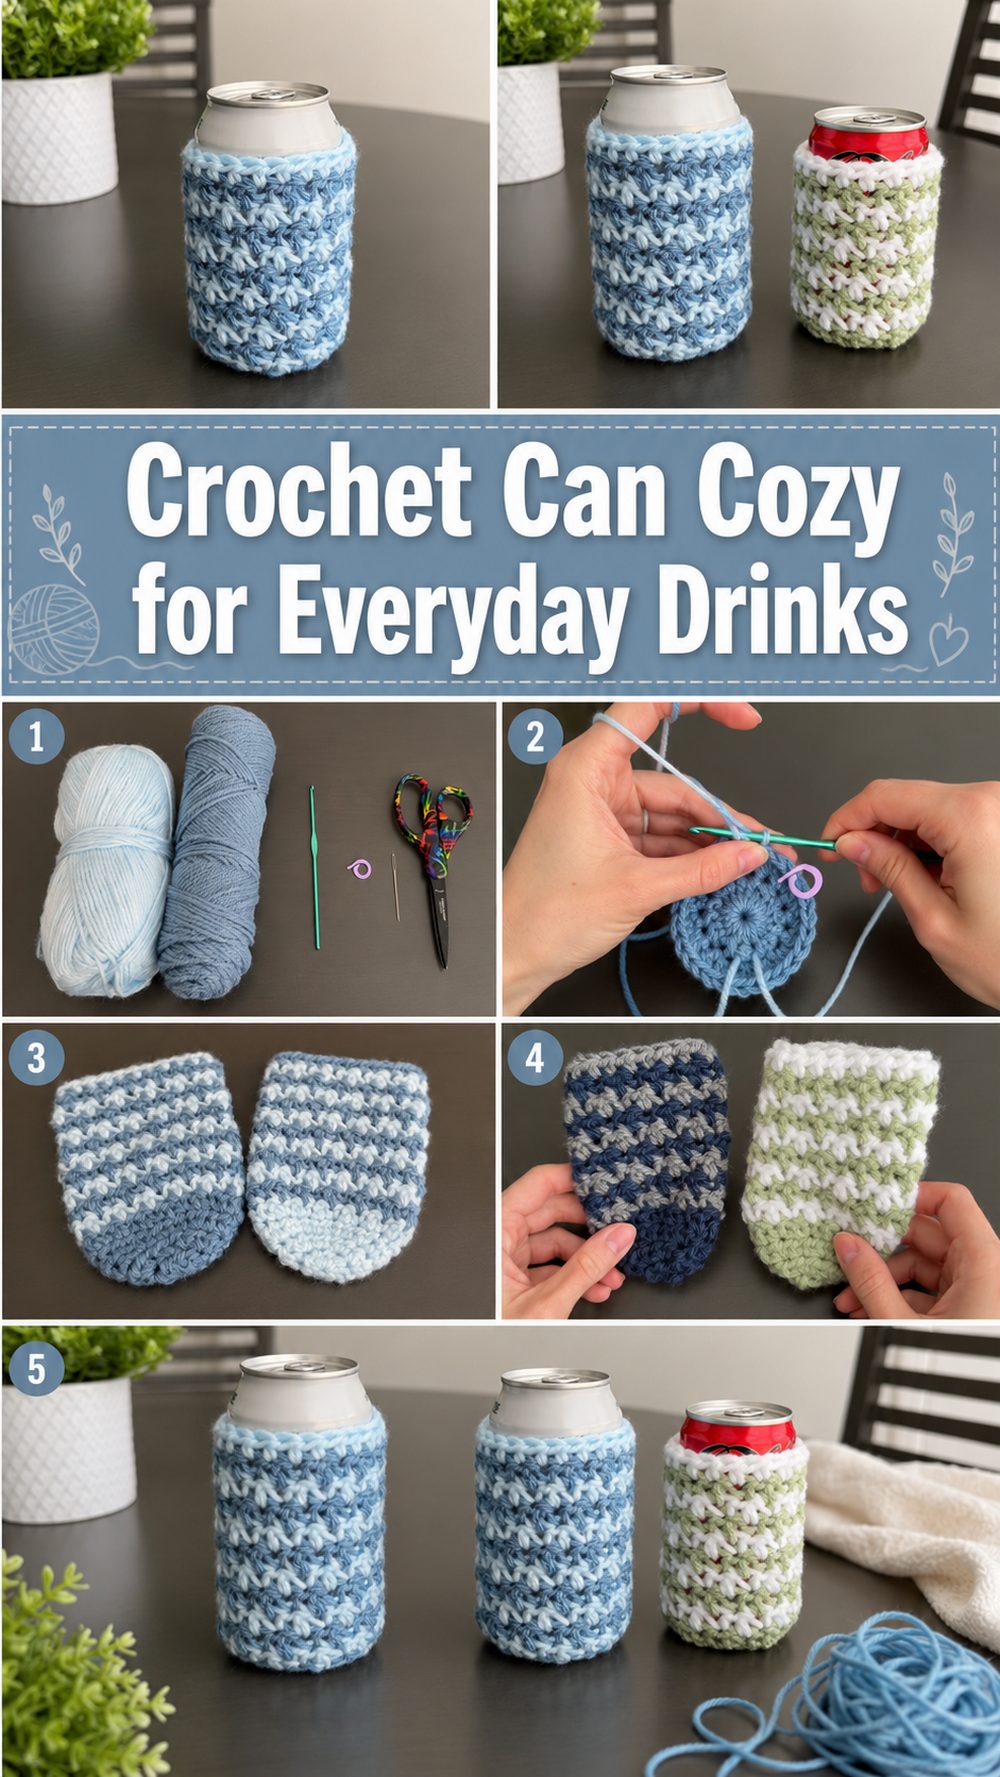
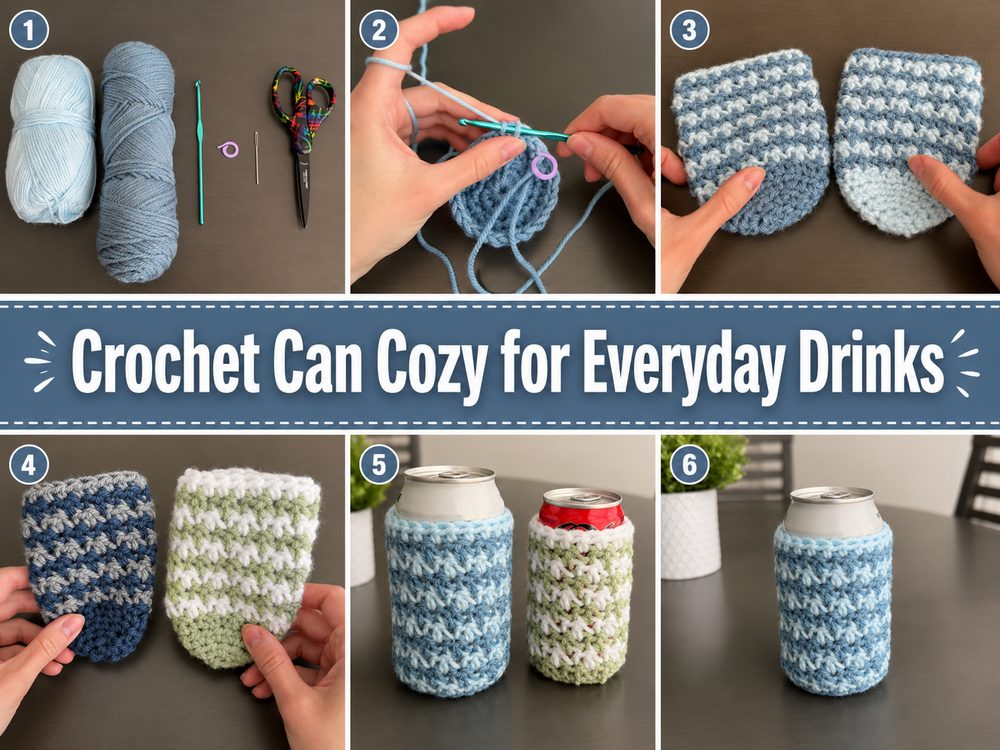
A crochet can cozy is one of those small projects that feels useful right away. It works up quickly, uses very little yarn, aOne of those small projects that looks like it could be immediately useful is a crochet cosy. It works up quickly, uses very little yarn, and lends a handmade touch to a plain drink can. This kind of project is great if you want something simple, practical and satisfying without committing to a big crochet piece. It also makes a cute gift, a fun market item, or an easy weekend make, when you just want to keep your hands busy. This cosy in this tutorial has a nice fitted shape, clean round base and simple body that can be made in one colour or brightened up with a colour change near the top. This is a great choice for beginners who want to practise working in rounds and check the fit as they go.
Why You’ll Love This Project
This project is fast, functional, and easy to make your own. A lovely little make for using up leftover yarn, practicing round crochet and making something that looks polished without being complicated.
Materials Required
Thread.
Crochet needle
scissors.
Knitting needle
Marker for stitch
Drink can to check fit
Use a yarn and hook size that will give you the fit and texture you want.
Best Yarn for This Project
Cotton or a cotton blend is a really nice choice for a can cosy because it feels sturdy and keeps its shape well. It has also a clean crisp look that works beautifully for small practical projects. If you’re using scrap yarn or want something softer, a medium weight acrylic can work nicely too. Just ensure the fabric isn’t too loose or the cosy may stretch more than desired. Usually, the best result is with a little bit of structure in the yarn.
Skill Level:
For beginners.
This tutorial is great for beginners ready to learn how to crochet in the round. The shaping is simple, the project is small and you can check the fit often making it much less stressful than a larger wearable.
Size & Fit Guide:
The best way to size this project is to keep your can close while you work. The base should fit the bottom of the can tightly, with minimal curling or flaring out. As you construct the sides, slip the cosy over the can to make sure it fits snug and cosy. You can stop a little sooner for a shorter cosy or keep going a bit longer for extra coverage if you need to. If you are using a different yarn or hook it is especially important to check the fit as you go.
Used Stitches:
Magic circle
Chain
Slip stitch (sl st)
Single crochet
Double crochet
In turns
Colour change
How To Do It
Step 1: Lay the Groundwork
The cosy begins with a magic ring, this makes the bottom have a nice closed center. This is a clever way to begin, as it keeps the base neat and tidy and gives it a finished look from the beginning. Once the ring is made the first round is worked into the center to form the beginning of the circle.
If you’re not normally into making magic rings, take your time here. Once you get the first stitches in place, it’s so much easier. Tighten the center firmly, but not so tight that the stitches draw up.
Step 2: Construct the Round Base
After the first round the base grows with several rounds of increases. This is what flattens the centre into a circle to fit the bottom of the tin. The tutorial shows the process step by step and the key thing is to keep the base flat as it expands.
As you work these early rounds, check the size by holding the circle up to the bottom of the can. That fitting check is one of the most useful pieces of this project. If the circle seems too small, continue building it out until it fits the can bottom. If it begins to wave or ruffle, the stitches might be too loose or the base might be growing too fast.
What you want is a flat round piece that fits tightly against the bottom of the can.
Step 3: Give the Base a Body
When the circle is the right size, the project starts to move up rather than out. This is where the cosy begins to take on its cup-like shape. The body is worked in simple rounds so it is easy to follow and very relaxing once you get going.
This section has a good rhythm to it. You are not concerned with making the circle, you are concerned with building height. That makes it a good stage for beginners, because the piece begins to look finished very quickly.
As you go, continue to slide the cosy over the can. You want it to fit snugly to the can but not too tight. The snug fit keeps the cosy in place and looking clean.
Step 4: Add Height and Fit Check
The body climbs upward for several rounds. The maker stops in the tutorial to check the size. That’s exactly what you should do too. Different yarns and tension can change the final result so it is better to let the can be your guide rather than depend only on row numbers.
Now decide how high you want the cosy to stand. Some like more of the can covered and some like a slightly shorter sleeve that exposes more of the top. Both work fine so this is a good place to make the project more personal.
The final shape should look with a smooth even surface, with sides coming straight up from the base.
Step 5: Change Colour If You Like
One nice thing in this tutorial is the colour change near the top. This keeps the pattern simple, but creates a playful look for the cosy. If you like a simple design, you can use one colour all the way through. A second colour adds a fun, handmade touch if you want a little contrast.
If you are changing colours , do it cleanly at the end of a round so the join looks clean . Gently pull the new yarn through and crochet as you normally would. This is a small detail but can make the cosy look extra polished.
On the edges, a striped top, a bold contrast band or even a seasonal colour combination would look great here.
Step 6: Complete the Top Edge
The last round wraps it all up and is a nice ending to the cosy. When the height looks good, finish the top edge, tie off and carefully weave in the ends. It’s a small project so those last details are really crucial. The whole cosy look becomes more professional with clean finish.
Weave the ends in and put it back on the can and smooth it down with your hands. The last cosy should fit snugly on the can, be level on the bottom and have a clean edge on top.
What the Finished Cosy Is Like
The last part is a simple rounded bottom with a straight body that hugs the can well. It has a utilitarian everyday look but the yarn texture and optional colour change add an air of handmade and happy to it. It is the kind of project that looks cute on a picnic table, on your desk or tucked in a small basket of gifts, snacks and drinks.
Tips and tricks
Try the fit often, keep your can close.
Put a stitch marker to keep track of the rounds easily.
If you want the cosy to hold it shape well, try cotton yarn.
Keep the tension even so the sides are smooth.
Tidy the ends as you go as they can be more visible on small projects.
Make a few in different colours for a quick gift set.
Common Mistakes to Avoid
Making the base too small before you start the sides
The bottom rippling from too many increases
Crochet is too loose so the cosy slips around
The body grows and you forget to try on the fit
Designing the cosy too tall for your can style
Leaving the bulky ends in the cosy
Customisation Ideas:
There are so many simple ways you can make your can cosy your own. For a simple classic look try a solid neutral shade, or bright scraps for a fun colourful version. Create a matching set for different family members or add a contrast stripe near the top or seasonal colour combinations for holidays and parties. You can also make the height a little higher or lower, depending on what kind of cans you use most often.
Styling Tips
This cosy is perfect for the back yard, picnic baskets, craft fair tables and small handmade gifts. You could pair one with a reusable straw or a snack or drink mix packet for a cute little gift. It’s also a fun thing to have in your kitchen drawer for everyday use.
Care Instructions Care
Hand wash is safest, particularly if you used cotton or a blend that could change shape in high heat. Wash gently, reshape when damp, and lay flat to dry. If you want to keep the cosy snug, don’t wash or dry at very high temperatures.
Time Required:
This will take you a few hours depending on your yarn, size and stitch pattern.
Conclusion
This crochet can cozy is a small project, but it is one of those makes that feels immediately useful and fun. It is easy to adjust, simple to personalize, and beginner-friendly without being boring. You can keep it plain, add a color change, make a whole set, or use up leftover yarn from your stash. It is a lovely little project to crochet when you want something fast, practical, and handmade.
FAQs
1. Is this project beginner-friendly?
Yes. It is a great beginner project, especially if you want to practice working in rounds.
2. What yarn works best for a can cozy?
Cotton or a cotton blend works especially well because it gives the cozy structure and a clean finish.
3. Can I adjust the size?
Yes. Check the fit on your can as you work and stop when the base and height feel right.
4. Can I make it in one color?
Absolutely. The color change is optional, so a single-color version works perfectly too.
5. Can I use scrap yarn for this project?
Yes. This is a great stash-busting project as long as the yarn gives you a snug, sturdy fabric.