
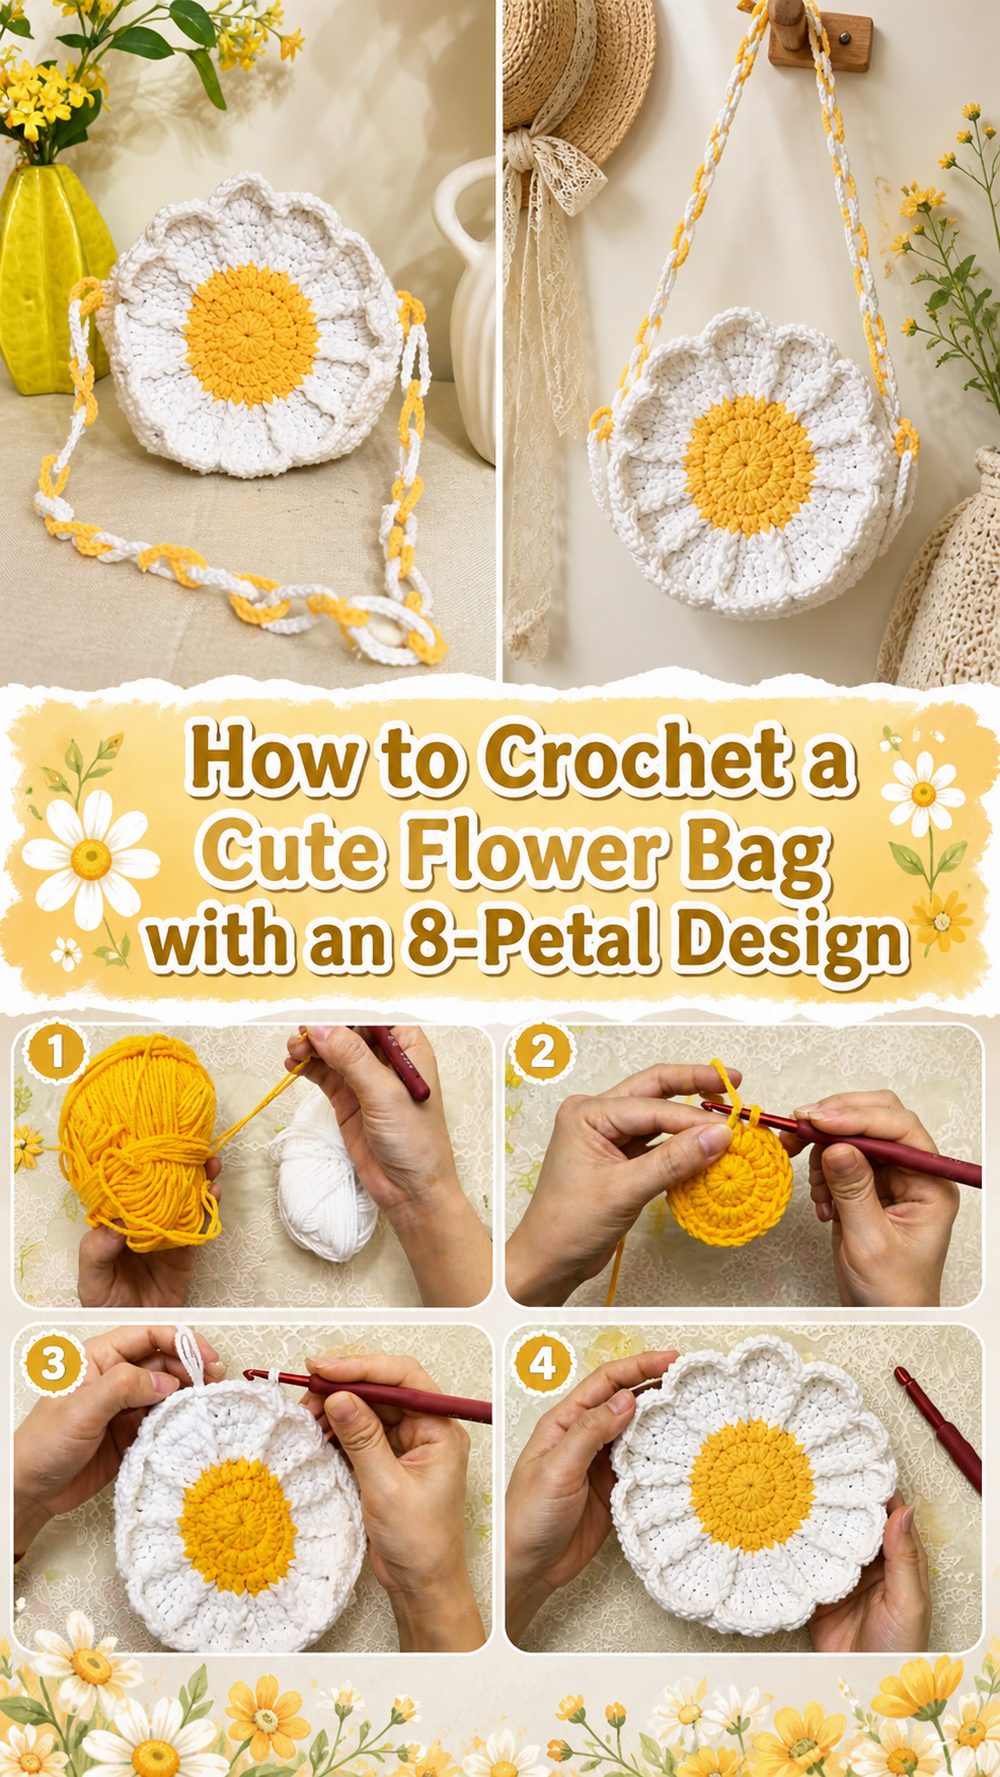
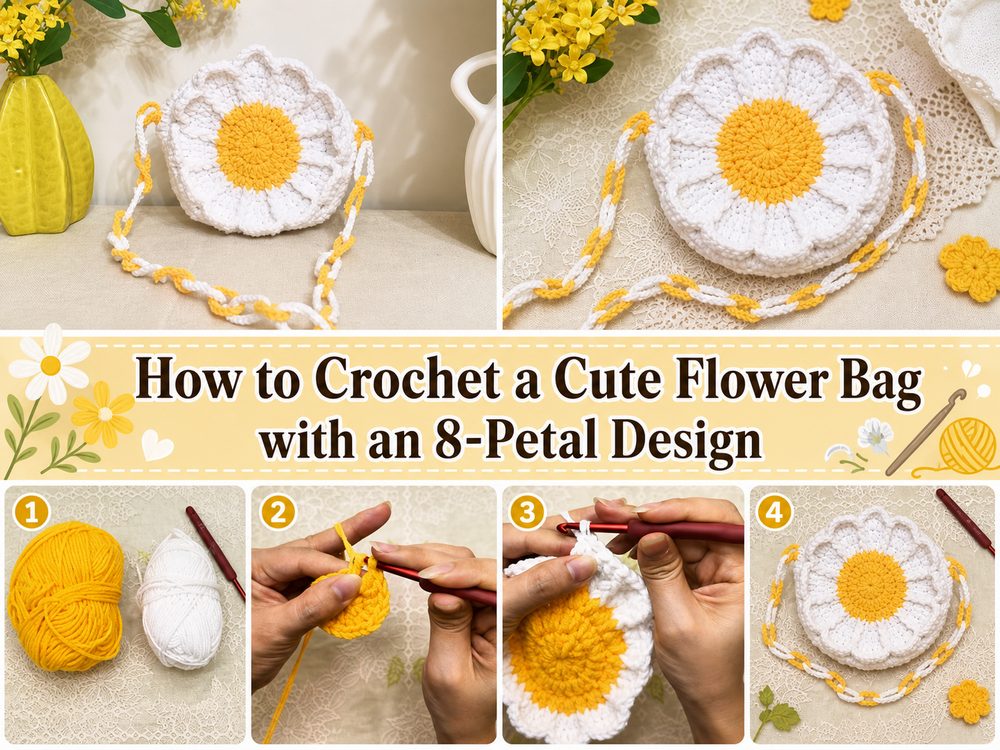
A crochet flower bag is one of those projects that feels playful and useful at the same time. It has that handmade charm everyone notices, but it is also something you can actually carry and enjoy. This version has a bold floral shape, soft petal texture, and a neat strap that turns it into a sweet everyday bag. It is especially fun for anyone who loves crochet projects that look detailed without needing a rigid pattern memorized line by line. If you enjoy making accessories, gifts, or small statement pieces, this is a lovely one to try. The tutorial this article is based on shows a beginner-friendly 8-petal flower bag with a chain strap and zipper pouch finish, so the final result feels both decorative and practical.
Why You’ll Love This Project:
This bag is fun because it feels more special than a plain tote, yet it is still simple enough to build step by step. The flower shape gives it a cute statement look, while the strap and zippered pouch style make it feel useful for daily essentials. It is the kind of crochet project that looks impressive once finished but stays approachable while you work.
Materials Needed:
- Yarn in your chosen flower and background colors
- Crochet hook
- Scissors
- Yarn needle
- Stitch markers
- Zipper for the pouch opening
- Lining fabric if you want a cleaner inside finish
Use a yarn and hook size that matches your desired fit and texture.
Best Yarn for This Project:
A smooth cotton yarn or cotton blend works especially well for a flower bag because it helps the petals hold their shape and keeps the bag from feeling too floppy. If you want a softer drape, you can also use acrylic, but a sturdier yarn usually gives bags a cleaner finish. For a casual everyday look, medium-weight yarn is a nice balance between structure and comfort.
Skill Level:
Easy to confident beginner.
This project suits someone who already knows how to make basic stitches and is ready to shape a piece, join parts together, and finish a bag neatly. The floral design looks fancy, but the process is easier when taken one stage at a time.
Size and Fit Guide:
You can adjust the size by making the floral panels larger or smaller, or by changing the depth of the side section before joining everything together. For a compact purse, keep the body smaller and neat. For a roomier bag, continue the shaping until the front and back feel wide enough for what you want to carry. It helps to check the size against your phone, wallet, or small notebook as you go.
Stitches Used:
- Chain
- Slip stitch
- Tall petal stitches worked into a ring
- Basic joining stitches
- Strap stitches for the handle section
How to Make It:
Step 1: Start the Flower Center
The bag begins at the center, where you create a ring and build the flower outward. In the tutorial, the opening is formed with foundation chains joined into a ring, and the flower starts from there with tall stitches that help create a full petal shape. That kind of beginning gives the middle of the flower a clean, open look and makes the petals stand out nicely.
As you work around the center, keep your stitches even so the flower stays balanced. This part really sets the tone for the whole project. If the center is too tight, the petals may buckle. If it is too loose, the flower can look stretched. It is worth taking your time here.
Step 2: Build the 8 Petals
Once the center is ready, the next section forms the petals. These are what give the bag its soft floral outline. Because the petals are made with taller stitches, they have a little lift and movement instead of lying completely flat. That helps the finished bag look decorative without needing lots of extra embellishment.
Try to keep each petal similar in height and width. If one starts looking tighter than the others, loosen your tension slightly on the next repeat. A flower bag looks best when the petals feel even all the way around, since they become the main feature of the front design.
Step 3: Make the Matching Bag Pieces
For a bag like this, you usually need a front and a back panel. One panel shows off the floral shape, and the second helps turn it into a usable pouch. Work the second piece to match the first as closely as possible so the edges line up well later.
This is a good moment to pause and compare both pieces before moving on. Lay them flat and check that the petals match in size and the edges line up comfortably. Fixing a size difference now is much easier than forcing the pieces together later.
Step 4: Add the Side Depth
After the floral panels are made, the bag needs side structure so it can hold more than a flat pouch. In the tutorial, the finished piece is presented as a flower bag with pouch styling, which suggests shaping and joining that create usable depth rather than leaving it as just a decorative motif.
This part can be as slim or roomy as you like. If you want a small purse for essentials, keep the depth modest. If you want it to hold a little more, continue until the width feels practical. Keep checking that the side section is long enough to travel smoothly around the bag before attaching it fully.
Step 5: Join the Piece
Now the project starts looking like a real bag. Join the front, back, and side section carefully, making sure the flower shape stays centered and the edges do not twist. Use stitch markers before final joining if that helps you keep everything aligned.
A neat join makes a huge difference in the final look. Try not to pull too tightly along the edges or the bag may pucker. A relaxed but tidy seam usually gives the nicest finish and helps the petals keep their shape.
Step 6: Add the Zipper and Inside Finish
This tutorial includes a zipper pouch finish, which is a really nice touch because it makes the flower bag feel more secure and polished. If you are adding lining, sew or attach it before or along with the zipper so the inside looks neat and the bag is more practical for daily use.
Take your time during this step. A zipper can completely change a crochet bag from cute to truly functional. Even if you keep the inside simple, making the top edge smooth and stable will help the zipper sit better.
Step 7: Make the Chain Strap
The tutorial also features a chain strap, which gives the bag a sweet finished look and makes it easy to wear. You can keep the strap shorter for a shoulder bag or make it longer if you prefer more drop. Before attaching both ends, test the length to see how it feels in real life.
If you want more comfort, make the strap a little wider or slightly thicker. If you want a daintier look, keep it neat and light. The strap should match the personality of the bag without overpowering the flower design.
Step 8: Final Touches
Once all the parts are attached, weave in the ends carefully and smooth the shape with your hands. If needed, light blocking can help the petals settle and the bag hold its shape more evenly. The final result should look like a floral pouch-style bag with a clear 8-petal front, a practical top opening, and a comfortable strap.
Helpful Tips:
- Use a smooth yarn so the petals show clearly
- Check both flower panels against each other before joining
- Use stitch markers to keep the side section evenly placed
- Test the strap length before sewing it down permanently
- Add lining if you want the bag to feel sturdier
- Lightly block the finished bag for a cleaner shape
Common Mistakes to Avoid:
- Making the center ring too tight or too loose
- Letting the petals become uneven from inconsistent tension
- Joining the panels before checking that they match
- Making the side strip too short for the bag opening
- Attaching the strap without testing the drop length
- Rushing the zipper finish and ending up with a wavy top edge
Customization Ideas:
You can make this flower bag feel completely your own just by changing color placement. Try a bold center with soft petals, a pastel flower for spring, or a neutral version for everyday wear. You could also add a decorative edging, make the strap thicker, use a contrasting zipper, or sew in a printed lining for a fun surprise inside. For a sweeter style, add a small tassel or charm near the strap.
Style Ideas:
This bag would look lovely with casual summer outfits, simple dresses, denim, or light neutral basics that let the flower shape stand out. It also makes a sweet handmade gift for someone who loves cute accessories. Because it is compact and decorative, it works well for brunch, a weekend outing, a craft fair, or as a special handmade purse for everyday essentials.
Care Instructions:
Hand wash gently if needed and avoid rough scrubbing so the petals keep their shape. Press out excess water with a towel instead of twisting the bag. Lay it flat to dry and keep it away from high heat. If the bag has lining or a zipper, make sure everything is fully dry before storing it.
Time Needed:
This may take a few hours depending on your speed, yarn, size, and stitch pattern.
Conclusion:
This crochet flower bag is such a cheerful little project. It has a pretty floral shape, a useful pouch-style finish, and just enough detail to make it feel extra special. You can keep it simple or personalize it with your own colors, strap style, and finishing touches. Once you make one, it is easy to imagine making another in a totally different look.
FAQs:
1. Is this beginner-friendly?
Yes, it is friendly for beginners who already know the basics and want to try shaping and joining a bag.
2. What yarn is best for this project?
Cotton or a cotton blend is a great choice because it gives the bag better structure.
3. Can I adjust the size?
Yes. You can change the size by adjusting the panels and side depth as you work.
4. Do I need to add a zipper?
No, but it makes the bag more secure and gives it a polished finish.
5. Can I make the strap longer or shorter?
Absolutely. Test the length before attaching it so it fits the way you want.