
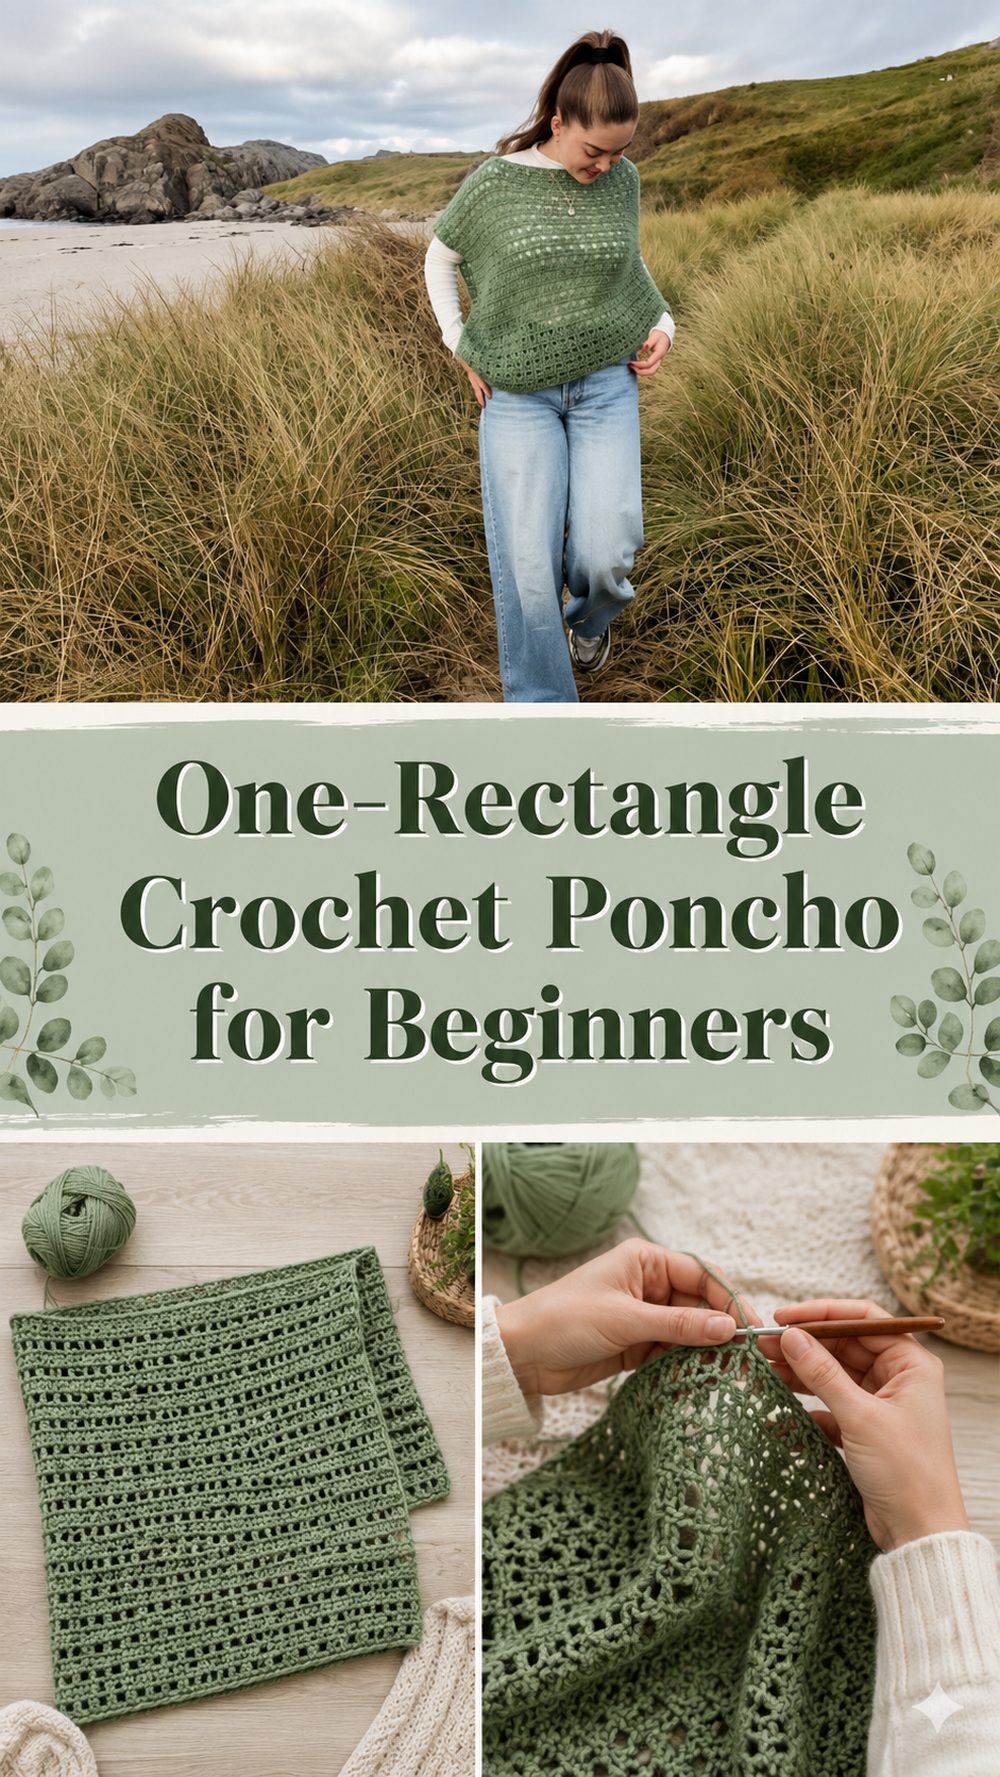
A crochet poncho is one of those pieces that feels relaxed, useful, and stylish all at once. It is easy to throw on over a simple top, works nicely in cool weather, and makes a lovely first wearable if you want something less fussy than a sweater. This tutorial teaches a beginner-friendly poncho made from just one rectangle, which keeps the shaping simple and the whole project much less intimidating. Instead of worrying about lots of panels or complicated construction, you focus on making one main piece, then folding and joining it to create the poncho shape. It is a great project for anyone who enjoys calm, repetitive crochet and wants a finished piece that actually feels wearable right away.
Why You’ll Love This Project
This poncho is appealing because the construction is simple, the shape is flattering, and the project feels approachable even for newer crocheters. Since it starts as one rectangle, you can focus on steady stitching, check the fit as you go, and enjoy seeing it turn into a real garment without a lot of complicated shaping.
Materials Needed
- Yarn
- Crochet hook
- Scissors
- Yarn needle
- Stitch markers
- Measuring tape
Use a yarn and hook size that matches your desired fit and texture.
Best Yarn for This Project:
A soft yarn with nice drape works especially well for a poncho like this, because you want the finished piece to sit comfortably over the shoulders instead of feeling stiff. A smooth acrylic, acrylic blend, or soft wool blend can work beautifully for a cozy version. If you want a lighter feel, choose something breathable with a gentle flow rather than a very heavy yarn.
Skill Level:
Beginner-friendly. The main reason this project suits beginners so well is that it is built from one rectangle and shaped with a simple fold-and-join method instead of advanced garment construction.
Size and Fit Guide:
This kind of poncho is easy to adjust. Measure across the body where you want the poncho to fall, then keep checking the rectangle as you crochet. You can add more rows for extra length or width, depending on how roomy and drapey you want it to feel. Before final joining, lay it out and make sure the neckline opening looks comfortable for you.
Stitches Used:
The tutorial uses a simple repeating stitch pattern worked across one rectangle, then a join to create the poncho shape. Because the listing available for the tutorial does not clearly name every stitch in text, it is best to follow the exact stitch sequence shown in the video rather than guessing stitch names.
How to Make It
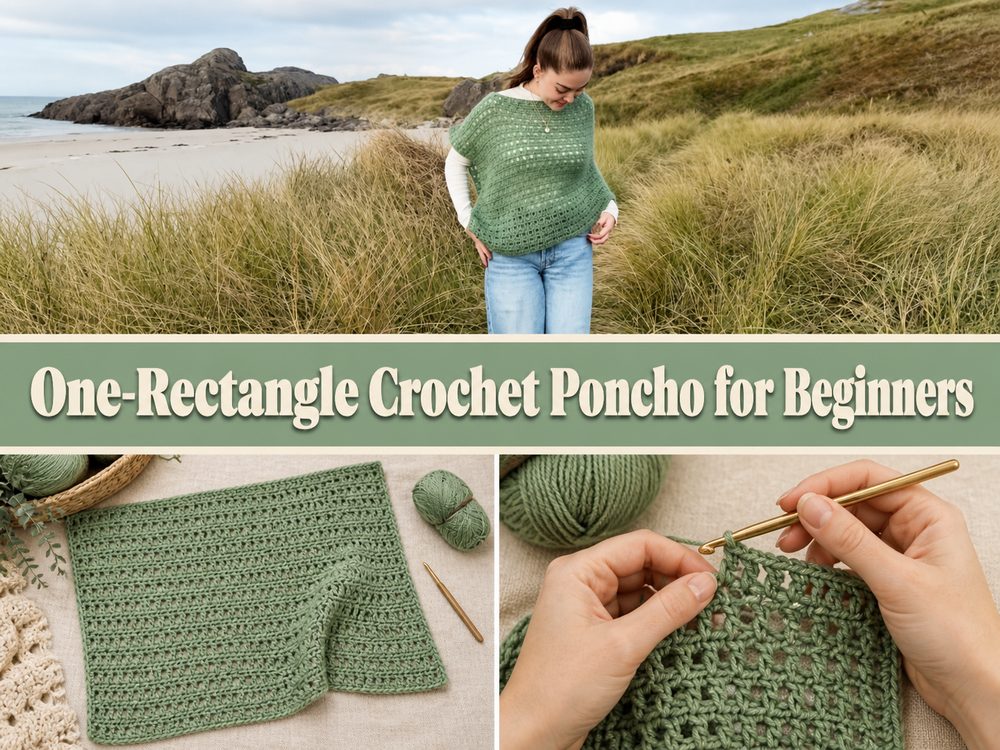
Step 1: Start the Foundation
Begin by making the foundation for your rectangle. This first section matters because it sets the width of the poncho, so it helps to keep your starting edge relaxed and even. If your foundation is too tight, the poncho may pull or sit awkwardly later. Use stitch markers if needed so you can keep track of the beginning and end neatly.
Step 2: Crochet the Main Rectangle
Once the foundation is ready, continue working the same stitch pattern back and forth to build one long rectangle. This is the easy, calming part of the project. You do not have to think about sleeves, armholes, or complicated shaping. Just keep your rows even, count occasionally if needed, and focus on creating a neat fabric that feels comfortable in your hands. The tutorial is designed as an easy step-by-step project, so the body of the poncho stays simple and approachable.
Step 3: Keep Checking the Size
As your rectangle grows, hold it up against yourself now and then. A poncho can look very different depending on the length and drape, so it helps to decide early whether you want something shorter and casual or a bit longer and cozier. Because this design begins as a single rectangle, it is very forgiving. You can stop once it feels right for your body and your style.
Step 4: Fold the Rectangle
After the rectangle is finished, fold it the way shown in the tutorial so the fabric begins to form the poncho shape. This is the part that makes the project feel clever. What looked like a simple flat piece suddenly becomes a wearable. Take a moment here to smooth the fabric out, check the corners, and make sure everything is lying evenly before you join anything.
Step 5: Join to Shape the Neckline
The poncho is formed by folding the rectangle and joining along the top edge, leaving an opening for the neck. This is the key construction step in the tutorial and what turns the rectangle into a poncho rather than a wrap. Join carefully and do not rush it. It helps to mark where you want the neckline opening first so you do not close too much or too little.
Step 6: Try It On Before Finishing
Before weaving everything in, try the poncho on. Make sure the neck opening feels comfortable and the front and back are hanging the way you like. If you want a looser neckline, adjust the joining length. If you want a more covered feel, join a little more. This kind of project is nice because small adjustments can make a big difference in how it fits.
Step 7: Finish the Edges
Once the shaping looks right, weave in all loose ends and tidy the seams. If you like, you can keep the edges clean and simple or add a small finishing border for a more polished look. Even a very plain finish works beautifully on a poncho like this, especially if the stitch pattern already has texture.
Step 8: Enjoy the Final Look
The finished poncho should feel easy to wear and nicely draped across the shoulders. Since it is made from one rectangle, it has that relaxed handmade look that feels effortless rather than overworked. It is the kind of piece you can layer over everyday clothes and actually reach for often.
Helpful Tips
- Keep your starting chain or foundation edge loose enough to match the rest of the fabric.
- Check the drape every so often instead of waiting until the very end.
- Use stitch markers before joining so the neckline opening stays centered.
- Try it on before weaving in ends.
- If the fabric feels a little stiff, gentle blocking can help it relax and sit more neatly.
- Choose a yarn that feels good against the neck and shoulders.
Common Mistakes to Avoid
- Making the foundation edge too tight
- Crocheting the rectangle longer or shorter without checking fit
- Joining too much and making the neckline too snug
- Leaving the neckline too wide so the poncho slips oddly
- Forgetting to check that both folded sides line up evenly
- Using a yarn with very little drape if you want a softer finished look
Customization Ideas
You can easily make this poncho your own. Try a solid neutral for an everyday piece, or use a soft color fade for something more eye-catching. Add extra length for a more dramatic style, or keep it shorter for a light layering piece. You could also finish the edges with a simple border, subtle texture, or even a little fringe if that suits your taste.
Style Ideas
This poncho works nicely over a fitted top, long-sleeve shirt, or simple dress. Wear it with jeans for an easy everyday outfit, or layer it over leggings when you want something cozy but still put together. It also makes a thoughtful handmade gift because the fit is flexible and the shape is forgiving.
Care Instructions
Hand washing is a safe choice for most crochet wearables, especially if you want to keep the shape looking nice. Use cool or lukewarm water, avoid rough twisting, and lay it flat to dry. Keep it away from high heat so the yarn stays soft and the fabric keeps its drape.
Time Needed
This may take a few hours depending on your speed, yarn, size, and stitch pattern.
Conclusion
If you want an easy crochet wearable that does not feel overwhelming, this one-rectangle poncho is a lovely project to try. It gives you the satisfaction of making clothing without the stress of complicated shaping, and it is easy to adjust to suit your own fit, length, and style. Pick a yarn you enjoy working with, take your time with the rectangle, and enjoy watching a simple piece turn into something you can really wear.
FAQs
1. Is this poncho beginner-friendly?
Yes. It is designed as an easy step-by-step project and made from one rectangle, which keeps the construction simple.
2. Can I adjust the size?
Yes. You can keep working the rectangle until you reach the width and length that feel right for you.
3. What yarn works best?
A soft yarn with nice drape is a great choice. Acrylic blends, soft wool blends, or other comfortable wearable yarns all work well.
4. How is the poncho shaped?
The rectangle is folded and joined along the top edge, leaving an opening for the neck.
5. Is this a good first wearable project?
Yes. Since you are making one main rectangle instead of several shaped pieces, it is a very approachable way to start garment crochet.