
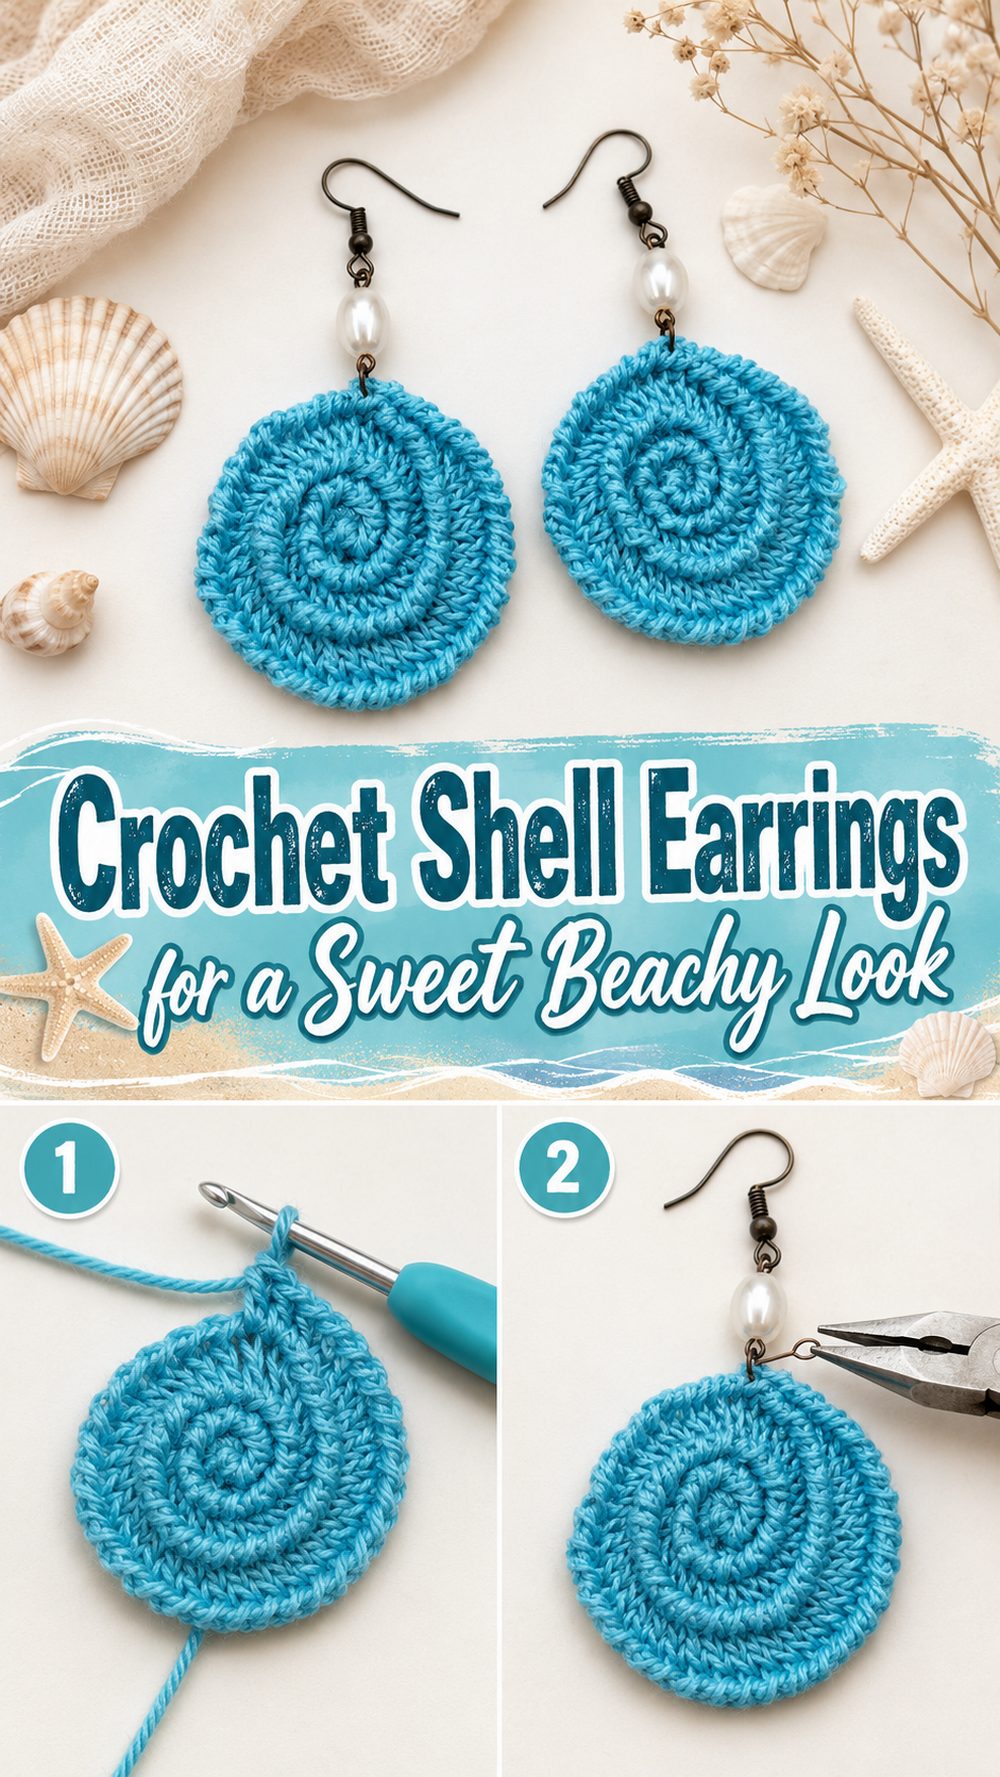
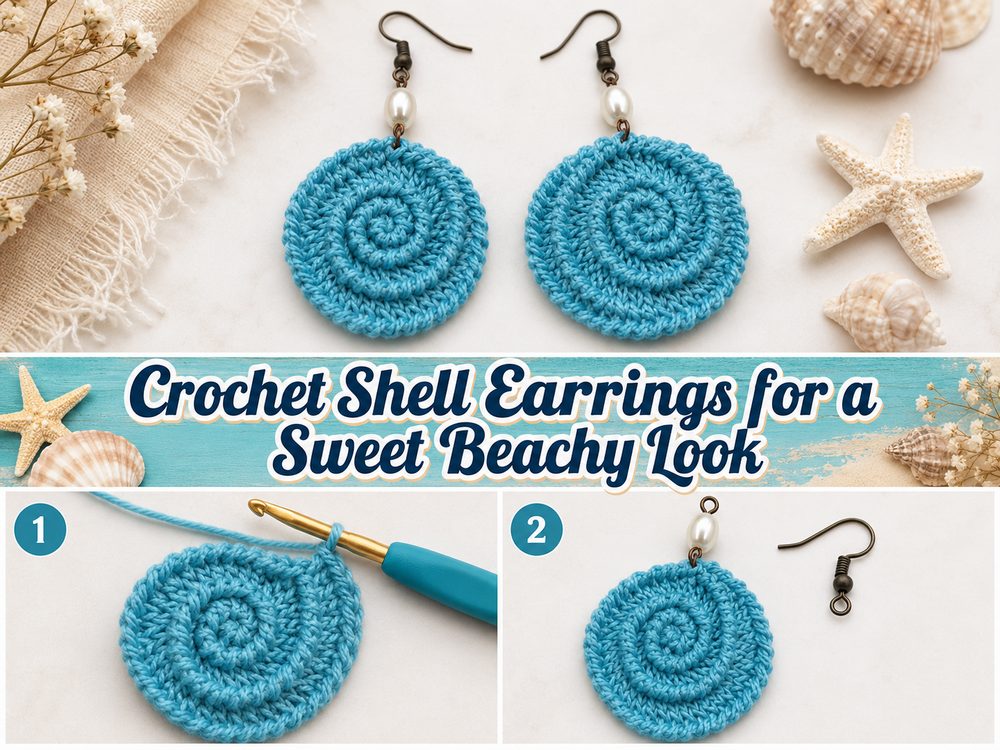
Crochet shell earrings are such a fun little project when you want to make something pretty without using much yarn or tCrochet Shell Earrings are such a fun little project when you want to make something pretty without spending a lot of yarn or time. They have that wonderful handmade feel that just seems right for summer, beachy outfits, holiday accessories or little thoughtful gifts. The YouTube tutorial that I selected was a step-by-step tutorial on how to crochet a seashell earring and the final earrings are described as a simple handmade accessory with a light summery feel. This is especially appealing if you like small crochet projects that feel creative, but not overwhelming. The result is delicate and decorative looking but still practical enough to wear with everyday outfits or resort looks or handmade jewelry sets. This project is small, so it’s also a nice way to use leftover thread or fine yarn and turn it into wearable, stylish, jewelry.
Why You’ll Love This Project
What a lovely project – small, affordable, and satisfying. The selected YouTube tutorial demonstrates how to create simple handmade seashell earrings which are ideal to wear as a fashionable summer accessory.
Supplies Needed:
Lightweight yarn or crochet thread
Small crochet needle
Scissors cut
Yarn needle, 3mm
Earring hooks and other jewelry components
Jump rings or little connectors if necessary
Jewelry pliers for opening and attaching your findings
Select a yarn and hook size that will give you the fit and texture you desire.
Best Yarn to Use for This Project
Lightweight cotton thread is usually the nicest choice for crochet shell earrings. It makes the shell shape look tidy and defined and helps keep the earrings from being too heavy. If you want a softer look, you can use very fine yarn, but try to avoid anything fluffy or thick because earrings usually look best when the stitches are clear and crisp.
Beachy colors work especially well here. Cream, sand, coral, aqua, white and soft pastel colours all work wonderfully with the shell theme. If you want your earrings to feel elegant, choose a single, simple color. If you want them to feel playful try a brighter summer shade
Skill Level
Looks like beginner to easy intermediate. The YouTube listing describes it as a step-by-step crochet seashell earring tutorial, as well as an easy handmade accessory project.
Earrings are small, so can be a lovely confidence building make. The most important thing is to keep your stitches neat and the two pieces as close as possible.
Size & Shape Guide
Fit is less important in earrings than size, for appearance and comfort. For a daintier look use thinner thread and keep the shell small. For a more statement earring, choose a slightly fuller thread or work the shell motif a touch larger.
It’s also good to keep weight in mind. A lighter thread usually makes for a more comfortable earring, especially if you intend to wear it for long stretches of time. When you make the first one hold it up and see if you like the size before making the second one.
Stitches Used
The search preview doesn’t show the full stitch list, but according to the selected YouTube result, this is definitely a crochet seashell earring pattern tutorial.
The stitches for a project like this are usually simple shaping stitches and repeats that create the shell motif in a tidy decorative form. Make sure you have a note beside to repeat the second earring exactly so that you can follow the video.
Getting Ready
Step 1: Begin The Small Center
A crochet shell earring usually starts with a small center that forms the base of the shell shape. Since this project is small, the start matters a lot. Work carefully and keep the opening neat so that the earring does not look loose in the center.
This first part tells everything that comes after. If the center is too tight the shell may curl awkwardly. If it is too loose, the finished earring might look floppy instead of crisp. Take your time here and try to get a nice even headstart.
Step 2: Form the Shell Shape
The center is made when the shell form is made, working out in a decorative way. With a shell-shaped earring, the design often starts to show pretty quickly, because it’s the curves and edges that give the piece its seashell feel.
As you build outwards, seek out symmetry. Uneven tension is easily shown in small projects, even with simple stitches. Balance each side of the shell so your finished earring looks smooth and refined.
Step 3. Define Curves and Ridges
This is what makes the earring seashell-like. The tutorial on YouTube is for crochet seashell earrings so the shaping is supposed to be that soft ocean feel rather than flat regular motif.
Shape gradually, so the shell looks delicate and not stiff. If the design starts to pull, loosen up your tension. If it starts to lose shape, tighten your stitches a little. In tiny crochet jewelry, those little changes in tension make a big difference.
Step 4: Check Size Before Completing
Fasten off and take a look at the first earring. Ask yourself if you want it small and delicate or if you would like a little more fullness. The second decision is made and matching them is the priority . Now is the best time to decide .
If the shell looks just right, make a note of your stopping point. This makes it much easier to replicate the same size and shape on the second earring.
Step 5: Add the suspension point
Once the shell motif is done you need a neat way to attach it to the earring finding. It should be tight but not thick this part. Often a small loop or top point works best because it lets the shell hang nicely without taking away from the actual design.
Keep the top clean and centered. If the attachment point is not centered, the earring may twist when worn. Details like this little jewelry are worth a second look.
Step 6: Attach earring hook and finish.
Fasten off and weave in end carefully so nothing shows from the front. Then you can attach the shell to your earring hook or jewelry finding. If you’re using jump rings or metal findings, make sure they’re closed well so the finished earring feels secure.
Compare the second earring often with the first, as you make it. Keep size, shape and hanging point as near as possible. The end result should be a pair that looks light, balanced, beachy and handmade in the most beautiful way.
Helpful Hints
Use a fine cotton thread for a light, neat finish.
Finish one earring before you start the second one.
Take notes so that the second shell will match the first.
Before attaching the hook, check the weight.
Make sure your jewelry findings are light and comfortable.
Weave in ends carefully so front is neat.
Typical Errors to Avoid
Using too heavy of a yarn for the earrings
Making one shell bigger than the other
pulling the stitches too tight, curling the shell
Leaving the attachment point not centered
Picking heavy findings that make the earrings uncomfortable
Neglecting to finish off neatly
Ideas for Customization
You can easily personalize these earrings. They can be manufactured in soft ocean shades, classic white, sandy neutrals or bright tropical colours. A small bead or pearl at the top can make them look more dressy. For an everyday pair you could even make them a little smaller or a little larger for a more playful summer statement.
If you love matching accessories, make a second pair in a different color or use the same shades for a bracelet or bookmark to make a sweet handmade set.
Fashion Ideas
The crochet shell earrings pair beautifully with summer dresses, linen tops, beachwear or just simple neutral outfits to show off the handmade detail. They are also cute for holiday packing, craft fairs or small handmade gifts. With their seaside feel, they particularly complement soft natural colours and relaxed warm-weather styling.
Washing Instructions
Store flat or hang carefully to maintain the neat appearance of the shell shape. If necessary, clean with a soft cloth. Keep them away from too much moisture and don’t crush them at the bottom of a bag.
Time Required
Depending on your speed, the thread you use and how detailed you want the shell shape to be, this may take a little bit of time.
Conclusion
Crochet shell earrings are such a sweet little project when you want something light, pretty, and full of handmade charm. They are easy to personalize, lovely for summer, and small enough to finish without a huge time commitment. Choose a fine thread, keep your stitches neat, and enjoy making a pair that feels soft, beachy, and uniquely yours.
FAQs
1. Are these beginner-friendly?
Yes. The selected YouTube tutorial presents them as a step-by-step seashell earring tutorial and an easy handmade accessory.
2. What yarn is best for crochet shell earrings?
Lightweight cotton thread is usually the best choice because it keeps the earrings light and helps the shell shape stay neat.
3. Can I make them larger or smaller?
Yes. You can adjust the look by changing your thread size, hook size, or how full you make the shell motif.
4. Are these good for summer?
Yes. The selected tutorial presents them as a summer-style handmade accessory with beachy appeal.
5. How do I make both earrings match?
Finish one earring first, note your steps, and compare the second one often as you work.