
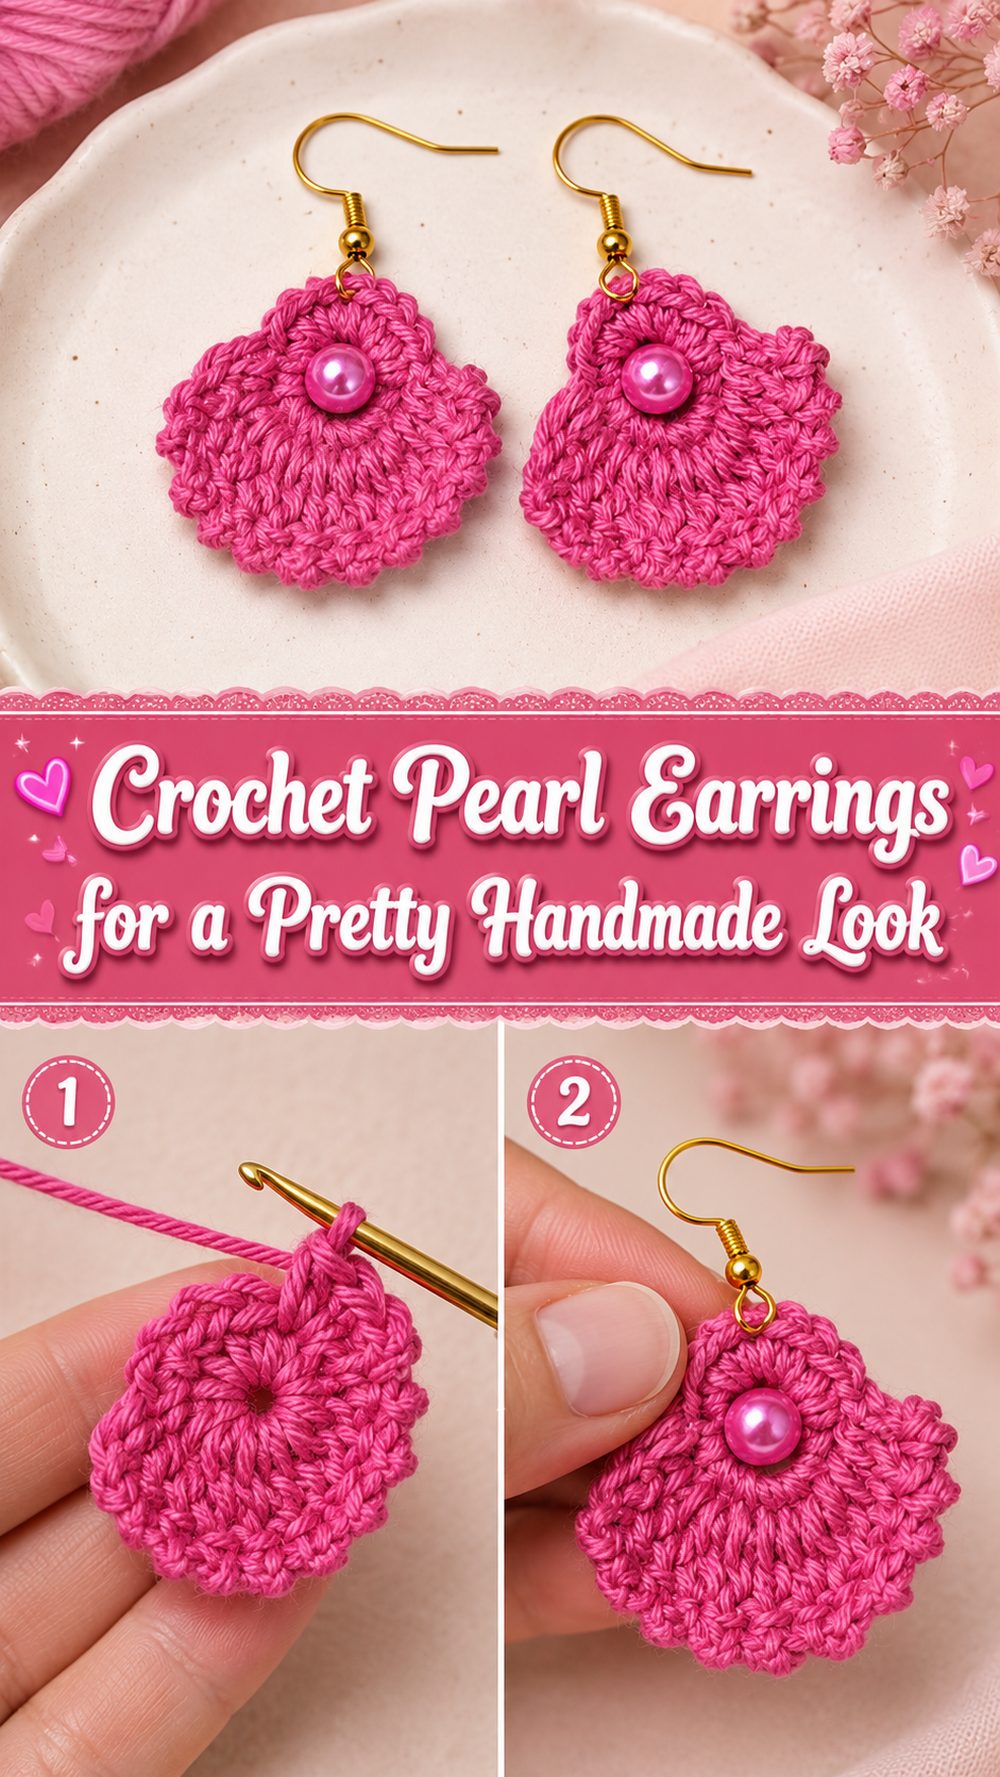
Crochet pearl earrings are a nice little project when you want to make something elegant without spending hours on it. They have that lovely combination of softness and shine that makes hand made jewellery feel so special. This is presented as a super easy step by step crocheted pearl earring project and therefore a nice choice for someone who wants something small, stylish and beginner friendly in the Youtube tutorial that I chose. It also looks to be a pretty recent tutorial, which is great when you want something fresh and clear to follow for a project.
This kind of project is fun because you don’t need much to create something that looks polished and giftable. Crochet pearl earrings can be dressed up for a special occasion, worn with simple everyday clothes or made as thoughtful handmade gifts. They are also great for using small amounts of thread or yarn and making something beautiful that does not feel complicated or heavy.
Why You Will Love This Project
This project is really fun because it’s small, fast and rewarding. My choice of tutorial is super easy and step by step and is a great choice when you want a pretty result without a complicated process.
Materials Required:
Light-weight yarn or crochet thread
small size crochet hook
Pearl beads or pearl-like beads
Cutters 18.
Knitting Needle
Hooks for earrings
Jump rings or jewellery connectors as needed
Jewellery Pliers (for opening & closing findings, if needed)
Select the yarn and hook size that matches your desired fit and texture.
Best Yarn for This Project
For crochet pearl earrings, fine cotton thread is usually the best choice. It helps give the stitches a clean, defined look and keeps the earrings light enough to wear comfortably. Pearls are already a delicate decorative element, so the crochet part often looks best when it is neat and crisp, not bulky.
Soft neutrals are perfect for this type of project. Pearl beads look especially good with white, cream, beige, blush, pale gold or soft grey. If you want a more playful style, pastel thread can also look lovely while still having that soft elegant feel.
Skill Level
Getting into this project is easy. The tutorial picked here is a super easy pearl earring tutorial and step by step project. This means making is simple and approachable.
It’s a great choice for someone who knows the basics of crochet and wants to give jewellery making a try without jumping in too advanced. The earrings are small which makes them a good practice for careful tension and tidy finishing.
Size & Fit Guide
When it comes to earrings the main consideration is not body fit but visual balance and comfort. Use finer thread and smaller pearls for a dainty pair. If you want a more pronounced earring you can crochet the section a bit fuller or use slightly bigger beads.
It helps to make one earring and hold it up before you do the second one. That way, you can decide if the size feels dainty enough for everyday wear or bold enough to make a statement.
Stitches Used
The youtube search result shows this clearly as a crocheted pearl earrings tutorial but the full stitch list is not visible in the search preview.
For a small jewellery project like this, the stitches are usually simple and repeated nicely to shape the design around the pearl detail. The best way is to keep a close eye on the first earring, so that you can make the second in the same way.
How to Prepare
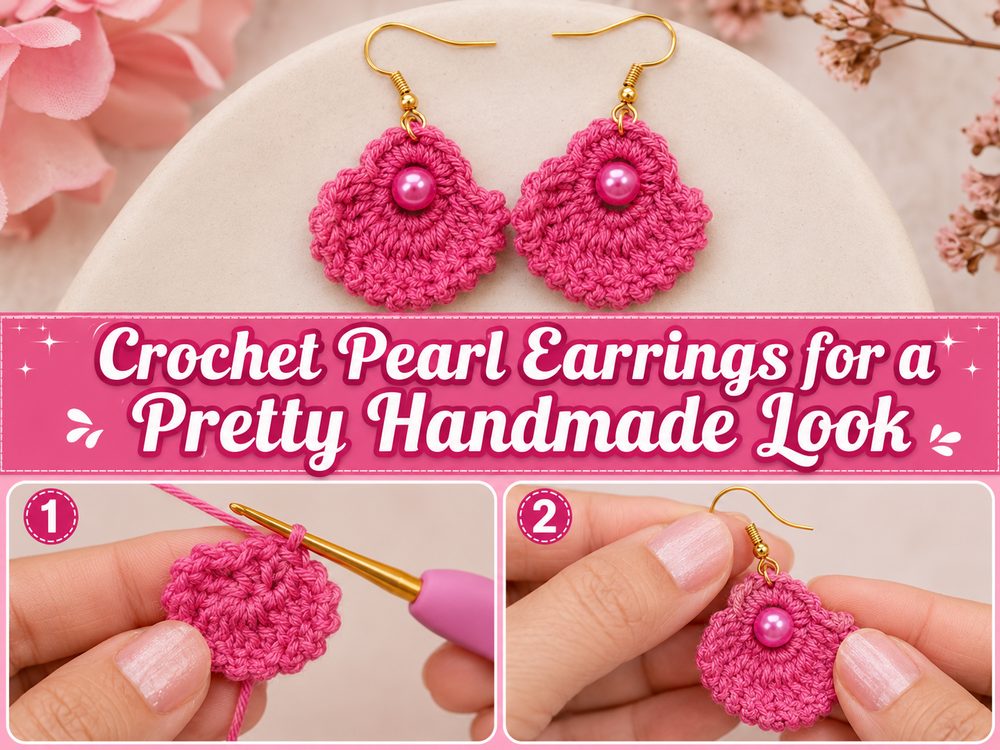
Step 1: Make the Small Crochet Base
Most crochet earrings are started with a small center or base section and that is usually where the project starts to take shape. Because this is a make in fine jewellery style, the beginning should be neat and controlled. A clean start makes the entire earring look polished later.
Give the first few stitches some time. In a small project like this, even a slight variation in tension can change the look. If the center is too tight, it will curl the shape. If it is too loose, the earring might not hold its form as well.
Step 2: Insert the Decorative Shape
When the base is ready, carry on building the crochet part into the visible earring shape. This project is presented as easy and step-by-step, so the structure is probably simple enough to follow comfortably without needing a lot of advanced shaping.
At this point try and keep both sides the same even if the design goes out or curves a little. Jewellery pieces look best when it feels like the shape is balanced and on purpose.” The difference here is all in the slow, even stitching.
Step 3: Add the Pearl to the Design
The pearl is what makes this project look special. Depending on the tutorial, the pearl can be added as an accent near the center, worked into the crochet, or attached neatly as part of the final assembly. The trick is to lock it down and keep it in the middle, so it feels natural to the design.
If you are using the pearl as a threader in your project, be sure that the crochet still fits nicely around it. You want the pearl to be a pretty focal point but you don’t want the earring to feel stiff and heavy.
Step 4: Build the Final Effect
As you approach the end of the crochet part stop, and take a good look at the shape. Now is the time to determine if you like the size, fullness and balance of the earring. On small projects, appearance can change fast so a quick check before fastening off is always worthwhile.
If the earring looks too delicate for you, maybe you would like a slightly fuller finish on the next one. If it already looks balanced and elegant, mark exactly where you stopped so the second earring is identical.
Step 5: Attach the Top Loop or Attachment Point
The crochet piece needs a neat point for attachment before you can add the earring hook. This should be small enough to look neat and centred. If the upper loop is off to the side, the earring can hang unevenly when worn.
Cleaning the top will give the entire finished object a more professional look. Even if the rest of the earring is beautiful, a messy top connection can distract from it, so this little detail is more important than it looks.
Step 6. Attach the Hook Carefully and Finish
When the crochet work is finished, fasten off and weave in the end neatly. Then attach the earring hook or finding. Make sure the pearl, crochet motif, and hook all sit in a straight, balanced way.
When you make the second earring, compare it to the first often. Match the size, pearl placement, and final shape as closely as possible. The finished pair should feel light, feminine, and polished, with the pearl adding a soft elegant detail to the crochet.
Helpful Tips
Use fine cotton thread for a neat lightweight finish.
Make one earring fully before starting the second.
Keep notes so both earrings match closely.
Check that the pearl is attached securely.
Choose lightweight hooks for better comfort.
Weave in ends carefully so the front stays clean.
Common Mistakes to Avoid
Using yarn that is too thick for delicate earrings
Making one earring larger than the other
Pulling too tightly and distorting the shape
Letting the pearl sit off-center
Using heavy findings that make the earrings uncomfortable
Forgetting to secure the final ends well
Customization Ideas
These earrings are easy to personalize. You can use classic white pearls for an elegant timeless look, or choose soft colored pearl beads for something a little more playful. Cream thread gives a soft vintage feel, while blush or pale blue can make the earrings feel sweeter and more modern. You can also keep the design very simple or add a little extra crochet detail if you want a fuller decorative finish.
Style Ideas
Crochet pearl earrings look beautiful with dresses, soft blouses, linen outfits, and simple everyday clothes that let the handmade detail stand out. They also work nicely for parties, gifting, bridal-style accessories, or craft fair makes. Because pearls already feel graceful, these earrings can easily shift from casual handmade jewelry to something a bit dressier.
How To Care
Lay them flat or hang them carefully up to keep the shape tidy. Keep them away from rough handling, excess moisture, and heavy pressure at the bottom of a bag. If needed, wipe the findings gently and keep the crochet portion dry and clean.
Time Needed
This may take a short amount of time depending on your speed, the thread you use, and how detailed you want the finished earrings to look.
Conclusion
Crochet pearl earrings are a lovely way to turn a few simple materials into something elegant and handmade. They are small enough to feel relaxing, pretty enough to wear or gift, and flexible enough to suit all kinds of personal styles. Choose a fine thread, keep your stitches neat, and enjoy making a pair that feels soft, graceful, and special.
FAQs
1. Is this beginner-friendly?
Yes. The selected tutorial presents the project as super easy and step by step, which makes it suitable for beginners with basic crochet knowledge.
2. What thread is best for crochet pearl earrings?
Fine cotton thread is usually the best option because it keeps the earrings light and helps the stitches stay neat.
3. Can I use different pearl sizes?
Yes. Just make sure the pearl still suits the scale of the crochet so the earrings stay balanced and comfortable.
4. Are these quick to make?
Yes. The selected tutorial presents them as an easy project, which suggests they are a quick and manageable make.
5. How do I make both earrings match?
Finish the first one carefully, note your stopping point, and compare the second one often while you work.