
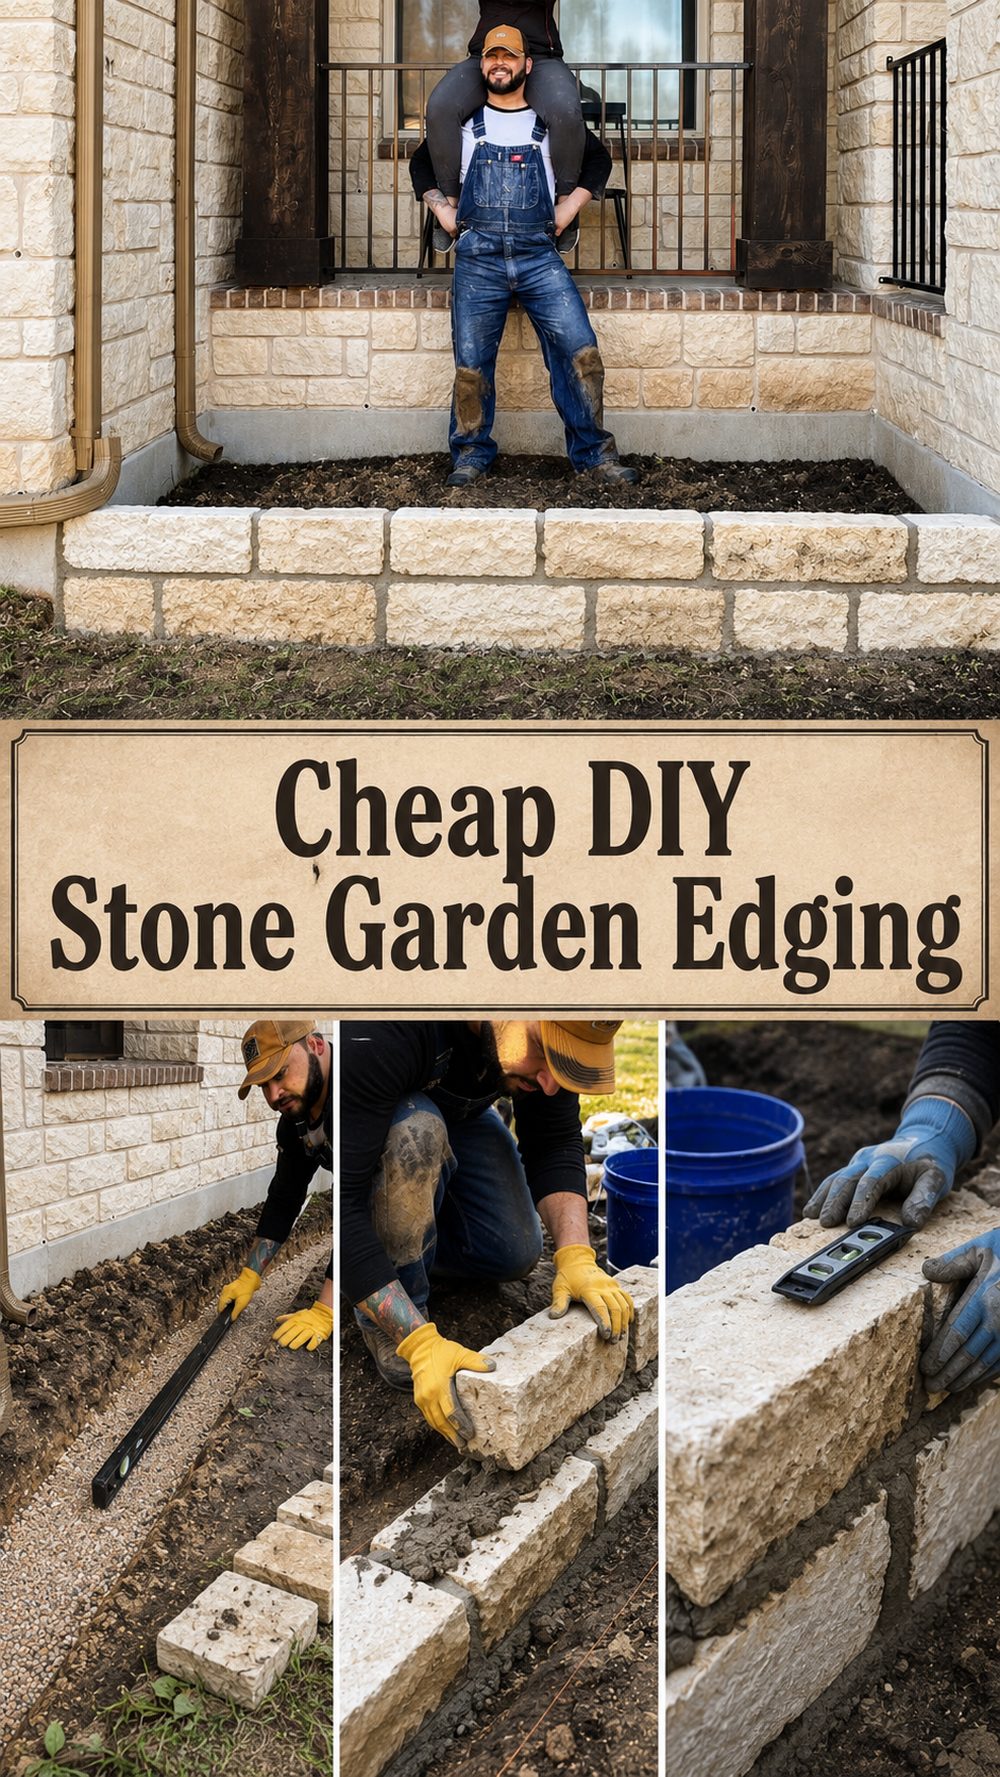
If you want a simple way to make your garden beds look cleaner without spending a lot, this stone garden edging idea is a great project to try. It gives your yard a more polished look, helps separate grass from planting areas, and adds a natural border that works with many garden styles. This kind of edging feels sturdy and timeless, but it can still be a very budget-friendly weekend project when you keep the design simple and use affordable landscape stones or similar materials. The tutorial I based this on shows an easy DIY stone border for garden landscaping, with a clear focus on creating a neat edge using materials that look durable and attractive outdoors.
Why You’ll Love This Project:
This edging idea is affordable-looking, practical, and easy to adapt to many yard sizes. It gives flower beds a cleaner shape, helps define planting areas, and creates a finished garden look without needing anything overly fancy.
Materials Needed:
- Landscape stones, edging stones, or similar garden border blocks
- Mulch or soil for finishing around the edge
- Optional gravel or sand for leveling
- Plants or flowers already in the bed, if you are edging an existing garden area
Use similar materials that match the look, size, and style you want.
Tools Needed:
- Shovel or spade
- Hand trowel
- Garden rake
- Work gloves
- Level, if you want a more even finish
- Basic outdoor cleanup tools
Best Materials for This Project:
For a cheap garden edging project, simple landscape stones or budget-friendly edging blocks work well because they look neat and can handle outdoor weather better than fragile decorative pieces. Choose materials that feel solid and sit well against the soil. If your area gets a lot of rain, look for sturdy outdoor-safe pieces that will stay in place and hold their shape. Natural-looking stones are especially nice because they blend easily with flowers, mulch, and lawn.
Skill Level:
Beginner-friendly to easy. This project mainly involves shaping the border, placing the stones, and adjusting them until the edge looks even and tidy.
Size and Placement Guide:
You can make this edging straight, curved, wide, or narrow depending on your yard. For a small front bed, keep the border low and simple. For larger garden areas, extend the edging in gentle curves for a softer landscape look. Choose colors that work with your home exterior, mulch, and planting style. Make sure the placement leaves enough room for plants to grow and allows for easy mowing or trimming along the lawn edge. If the area gets strong sun or heavy rain, settle the stones firmly so the border stays neat over time.
How to Make It:
Step 1: Prepare the Base
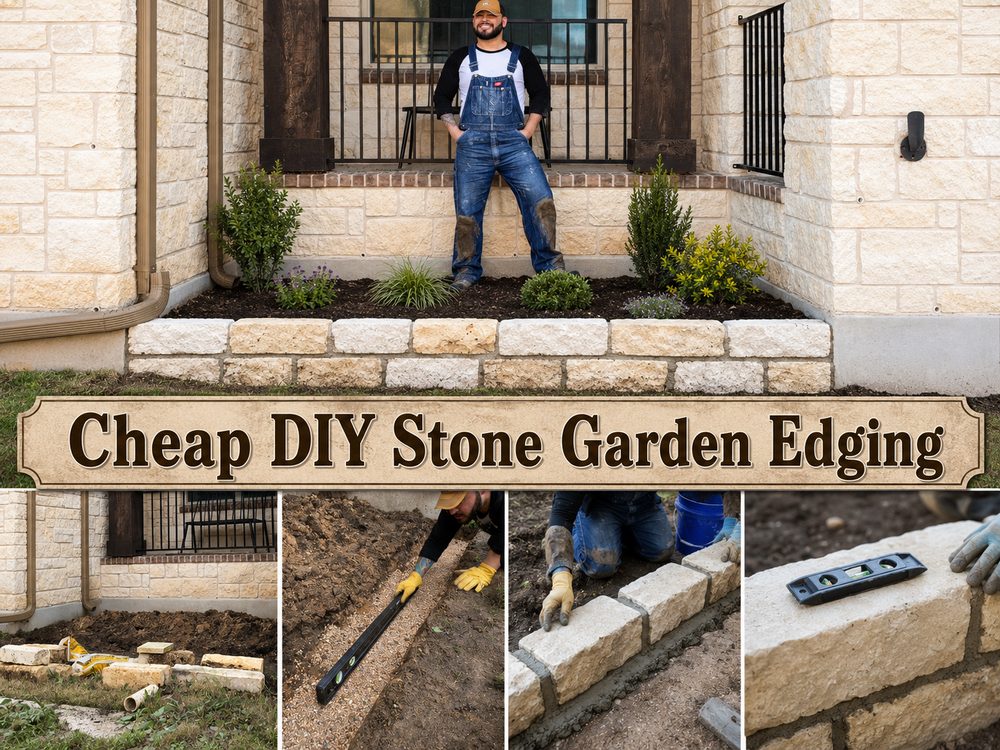
Start by deciding where you want the garden edging to go. You can outline an existing flower bed or create a fresh border line around a new planting area. Mark the shape first so you can see how it will look from a distance. Once you are happy with the layout, clear away grass, weeds, or loose debris along the edge. Dig a shallow trench or channel so the stones can sit in place more neatly and look more intentional.
Step 2: Arrange the Pieces
Before setting everything permanently, place the stones along the border to test the spacing and overall shape. This helps you adjust curves, straighten sections, and make the design feel balanced. Step back often and check the line from different angles. A cheap project can still look very polished when the layout is even and the stones are placed with care.
Step 3: Build the Shape
Once the arrangement looks right, begin setting the stones into the prepared edge. Press each piece down into the soil or prepared base so it feels stable. Continue section by section, following the same curve or line you planned at the start. If one piece sits too high or tilts, lift it and adjust the base underneath until it matches the rest better.
Step 4: Add Color or Texture
After the border is in place, tidy the inside of the bed with soil, mulch, gravel, or planting mix, depending on your garden style. This helps the edging stand out and makes the whole area look finished. Dark mulch with natural stone usually creates a very nice contrast, while lighter gravel can give a brighter, cleaner look.
Step 5: Decorate
Now you can style the bed with flowers, leafy plants, herbs, or small shrubs. Keep the planting balanced so the edging remains visible instead of getting hidden right away. You can also add a few natural touches like bark mulch, small decorative rocks, or low-growing plants that soften the border without covering it.
Step 6: Finish and Style
Walk the full edge one more time and make small adjustments. Straighten any uneven stones, clean loose soil off the tops, and fill any small gaps if needed. Water nearby plants carefully and smooth the surrounding soil or mulch so the border looks clean. Once finished, the garden should look more defined, organized, and attractive.
Helpful Tips:
- Mark the border shape before digging so you can adjust it easily.
- Test the layout before setting the stones in place.
- Keep checking the line from a distance for a smoother finished look.
- Let the edging sit firmly and adjust loose areas before adding final mulch.
- Use outdoor-safe, durable materials that can handle weather changes.
- Keep the design simple for the most budget-friendly result.
Common Mistakes to Avoid:
- Digging or placing stones without planning the border shape first
- Using uneven spacing that makes the edge look messy
- Choosing fragile materials that do not hold up outdoors
- Skipping the base prep and expecting the border to stay level
- Adding too many decorative extras that distract from the clean edge
- Not checking how the border looks from different angles
Customization Ideas:
Change the look by using rounder curves, a straighter border, darker stones, lighter stones, or mixed natural textures. You could add solar lights nearby, combine the edging with mulch for contrast, or work in small recycled garden accents. For seasonal style, place potted flowers, lanterns, or a few decorative garden picks near the finished edge.
Style Ideas:
This edging looks beautiful around flower beds, small front-yard gardens, vegetable patches, mailbox landscaping, or walkway planting areas. It works well in cottage gardens, rustic yards, natural landscapes, and simple modern outdoor spaces. It can also make older beds look refreshed without redoing the whole garden.
Care Instructions:
Check the border now and then for shifting after rain or watering. Brush off dirt when needed and reset any stones that move out of line. Keep weeds trimmed along the edge so the shape stays visible. If you refresh your mulch seasonally, smooth it neatly around the stones to keep the whole area looking cared for.
Time Needed:
This project may take a short afternoon or a few hours depending on your materials, size, ground condition, and how much adjusting you do along the way.
Budget Guide:
This can be a very affordable garden project, especially if you choose simple edging stones, reuse leftover landscape materials, or keep the border small and clean instead of overly detailed.
Conclusion:
A cheap DIY garden edging project can make a big difference in how your yard looks. A simple stone border gives flower beds more shape, helps everything feel more organized, and adds a finished touch that still feels natural outdoors. You can keep it basic or style it to match your space, and the result is something useful as well as beautiful. Try it in a way that fits your garden and make it your own.
FAQs:
1. Is this beginner-friendly?
Yes, it is a good project for beginners because the main work is planning the shape, preparing the edge, and setting the stones neatly.
2. What materials are best?
Sturdy outdoor-safe stones or edging blocks are a great choice because they look nice and hold up better in the weather.
3. Can I make it bigger or smaller?
Yes, you can easily adjust the length, curve, and overall size to fit a small bed or a larger garden area.
4. Can I use recycled materials?
Yes, clean leftover stones or similar reusable landscape materials can work well if they are strong enough for outdoor use.
5. Can I use it outdoors in all seasons?
Yes, as long as you use durable materials and set them firmly, this style of edging is made for outdoor garden use.