
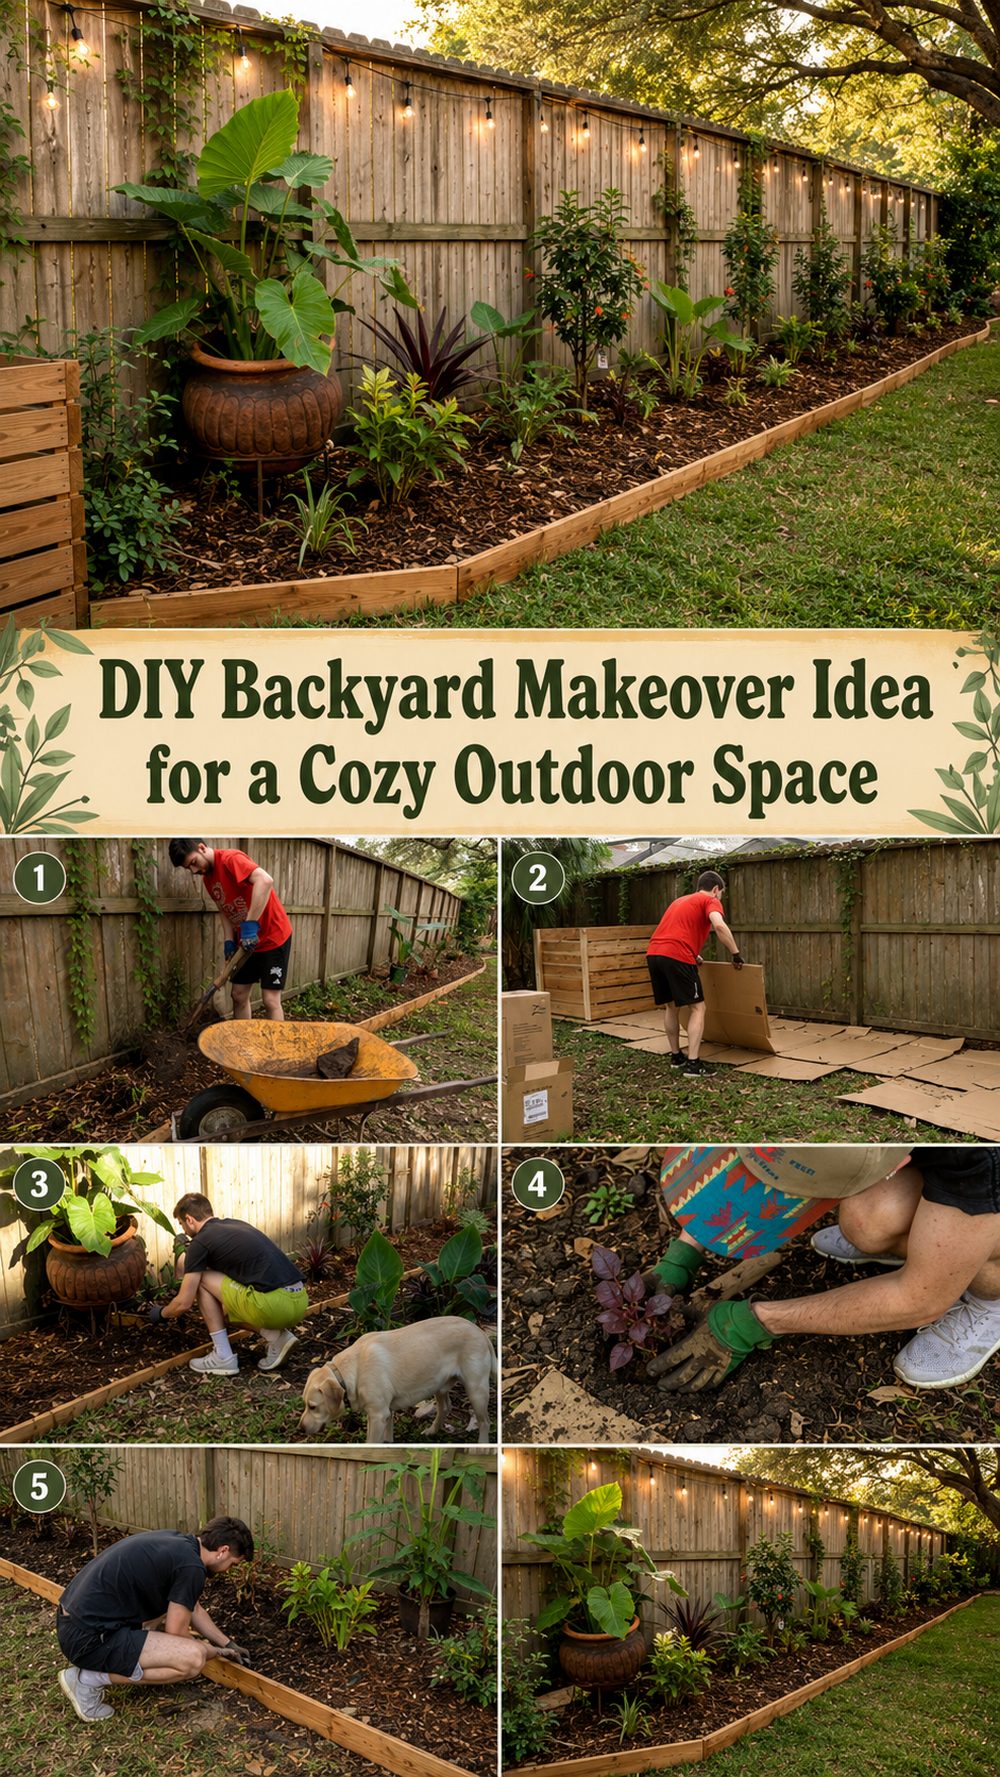
A budget-friendly backyard makeover can make even a plain outdoor area feel more welcoming, useful, and relaxing. This project is a great choice if you want to freshen up your yard without taking on a huge renovation or spending a lot of money. The featured tutorial shows how to transform one section of a backyard with simple DIY updates, making it feel cleaner, more styled, and more enjoyable for everyday use. It is ideal for homeowners, renters working with a small outdoor spot, or anyone who wants a more inviting patio or garden corner. The best part is that the makeover focuses on approachable improvements rather than expensive construction, so it feels realistic for beginners and budget-conscious DIY lovers. The video is presented as a full DIY how-to for a backyard makeover.
Why You’ll Love This Project:
This backyard idea is appealing because it focuses on simple upgrades that can make a big visual difference without requiring a major build. It is a smart way to create a more polished outdoor space using practical, affordable changes and easy styling ideas inspired by the makeover shown in the tutorial.
Materials Needed:
- Gravel, pea gravel, or another simple ground-cover option
- Landscape fabric or base-layer materials
- Pavers, edging, or border pieces
- Outdoor planters
- Plants or flowers
- Seating or a small patio setup
- Decorative outdoor accents
- Optional paint or stain for refreshes
Use similar materials that match the look, size, and style you want.
Tools Needed:
- Shovel or basic digging tool
- Rake
- Work gloves
- Measuring tape
- Scissors or utility knife for landscape fabric
- Basic household or garden tools
Best Materials for This Project:
For a budget backyard makeover, affordable and durable materials work best. Gravel and simple pavers are popular because they help define the space without costing as much as a full patio installation. Outdoor planters are a good way to add color and softness while keeping the layout flexible. Choose weather-friendly items that can handle sun and rain, and use sturdy edging if you want the finished area to stay neat over time.
Skill Level:
Beginner-friendly to confident beginner. This style of project works well for someone who is comfortable with basic outdoor cleanup, simple layout planning, and light DIY assembly.
Size and Placement Guide:
This kind of makeover can be adjusted for a tiny patio corner, a side yard, or a larger backyard section. You can keep it compact with one seating area and a few planters, or expand it with more gravel, more greenery, and extra decor. Place it where you already have a natural gathering area, good access from the house, and a surface that can be cleaned up and refreshed. If you are adding plants, consider sunlight, drainage, and how much upkeep you want. Neutral colors help the space feel calm, while brighter accents can make it feel more playful.
How to Make It:
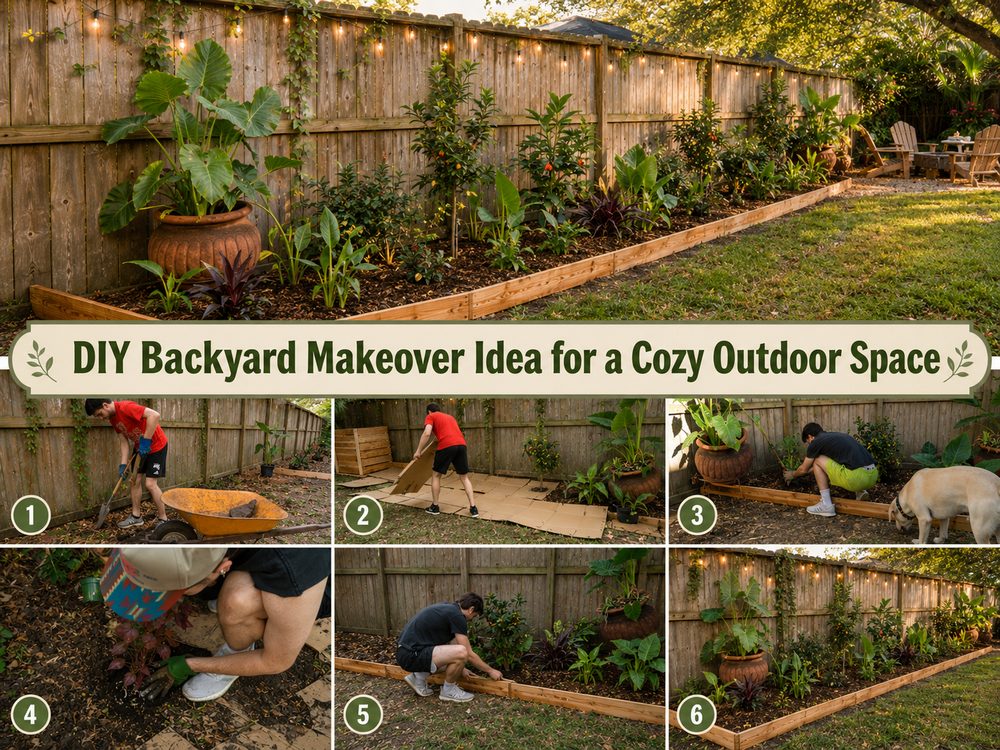
Step 1: Prepare the Base
Start by clearing the area you want to improve. Remove weeds, debris, and anything that makes the space feel messy or uneven. Smooth the ground as much as possible so your new layout starts on a clean base. If needed, mark the shape of the area first so you can see where the makeover will go.
Step 2: Arrange the Main Pieces
Before attaching or spreading anything permanently, test the layout. Decide where the seating, planters, and main decorative features will sit. This gives you a better sense of balance and helps you avoid wasting materials. Try to create one main focal zone rather than scattering everything across the yard.
Step 3: Build the Shape
Create structure in the space using edging, pavers, or a defined border. Then add your chosen base material, such as gravel, to give the area a finished look. Rake it out evenly and continue adjusting until the surface looks neat and intentional. This simple step can make the biggest change in how polished the backyard feels.
Step 4: Add Color or Texture
Bring in planters, greenery, and layered textures to soften the harder surfaces. A few well-placed plants can make the backyard feel more alive and cozy. You can also refresh older items with paint or use simple outdoor decor to tie everything together.
Step 5: Decorate
Once the main structure is done, style the space with a few budget-friendly details. Add seating, cushions, planters, lanterns, or decorative accents that suit your outdoor style. Keep the arrangement simple so the space does not feel crowded.
Step 6: Finish and Style
Step back and adjust the placement of each piece until the area feels balanced. Spread materials evenly, straighten decor, and check the overall look from different angles. The goal is to make the backyard feel inviting, practical, and easy to maintain.
Helpful Tips:
- Measure the area before buying materials.
- Test your layout before placing anything permanently.
- Keep the design simple for a cleaner finished look.
- Use outdoor-safe materials that can handle weather.
- Let painted or glued items dry fully before putting them outside.
- Repeat colors or planter styles to make the space feel more pulled together.
Common Mistakes to Avoid:
- Starting without clearing and leveling the area first
- Using too many different decor styles in one small space
- Choosing weak materials for outdoor use
- Skipping edging and ending up with a messy layout
- Overcrowding the area with too many planters or decorations
- Forgetting to check drainage and water flow
Customization Ideas:
You can make this backyard project fit almost any style. Try a modern neutral look with black planters and clean lines, a cottage feel with flowers and softer colors, or a rustic look with wood accents and simple garden decor. You can also add solar lights, a small table, thrifted outdoor finds, or seasonal decorations for extra charm.
Style Ideas:
Use the finished space as a quiet morning coffee spot, a small gathering corner, or a relaxing plant-filled retreat. It also works well near a fence line, along a patio edge, or in an unused patch of yard that needs more purpose. A few coordinated accessories can make the whole area feel more finished without adding much cost.
Care Instructions:
Rake gravel or loose material occasionally to keep it neat. Wipe down outdoor furniture and decor as needed. Trim plants regularly so the area stays tidy. If you paint any items, use outdoor-safe finishes and touch them up when needed. Store delicate seasonal decor during harsh weather.
Time Needed:
This project may take a short afternoon or a few hours depending on your materials, size, drying time, and detail level.
Budget Guide:
This kind of backyard makeover can be done with affordable, easy-to-find materials, especially if you reuse planters, refresh old furniture, or mix new supplies with thrifted or leftover items.
Conclusion:
A simple backyard makeover does not need to be expensive to feel beautiful. With a little cleanup, a defined layout, and a few thoughtful DIY upgrades, you can turn an ordinary outdoor area into a space that feels much more welcoming. This is a great project for anyone who wants a practical and stylish backyard refresh on a real budget.
FAQs:
1. Is this beginner-friendly?
Yes, it is a good project for beginners because it focuses on simple outdoor updates rather than advanced construction.
2. What materials are best for a budget backyard makeover?
Affordable, durable materials like gravel, simple edging, planters, and outdoor-safe decor usually work well.
3. Can I make it bigger or smaller?
Yes, the layout can be adjusted to fit a small corner, patio edge, or a larger backyard section.
4. Can I use recycled materials?
Yes, reused planters, old furniture, and leftover garden materials can help lower the cost and add character.
5. Can I use it outdoors year-round?
Yes, as long as you choose weather-friendly materials and protect delicate items during rough conditions.