
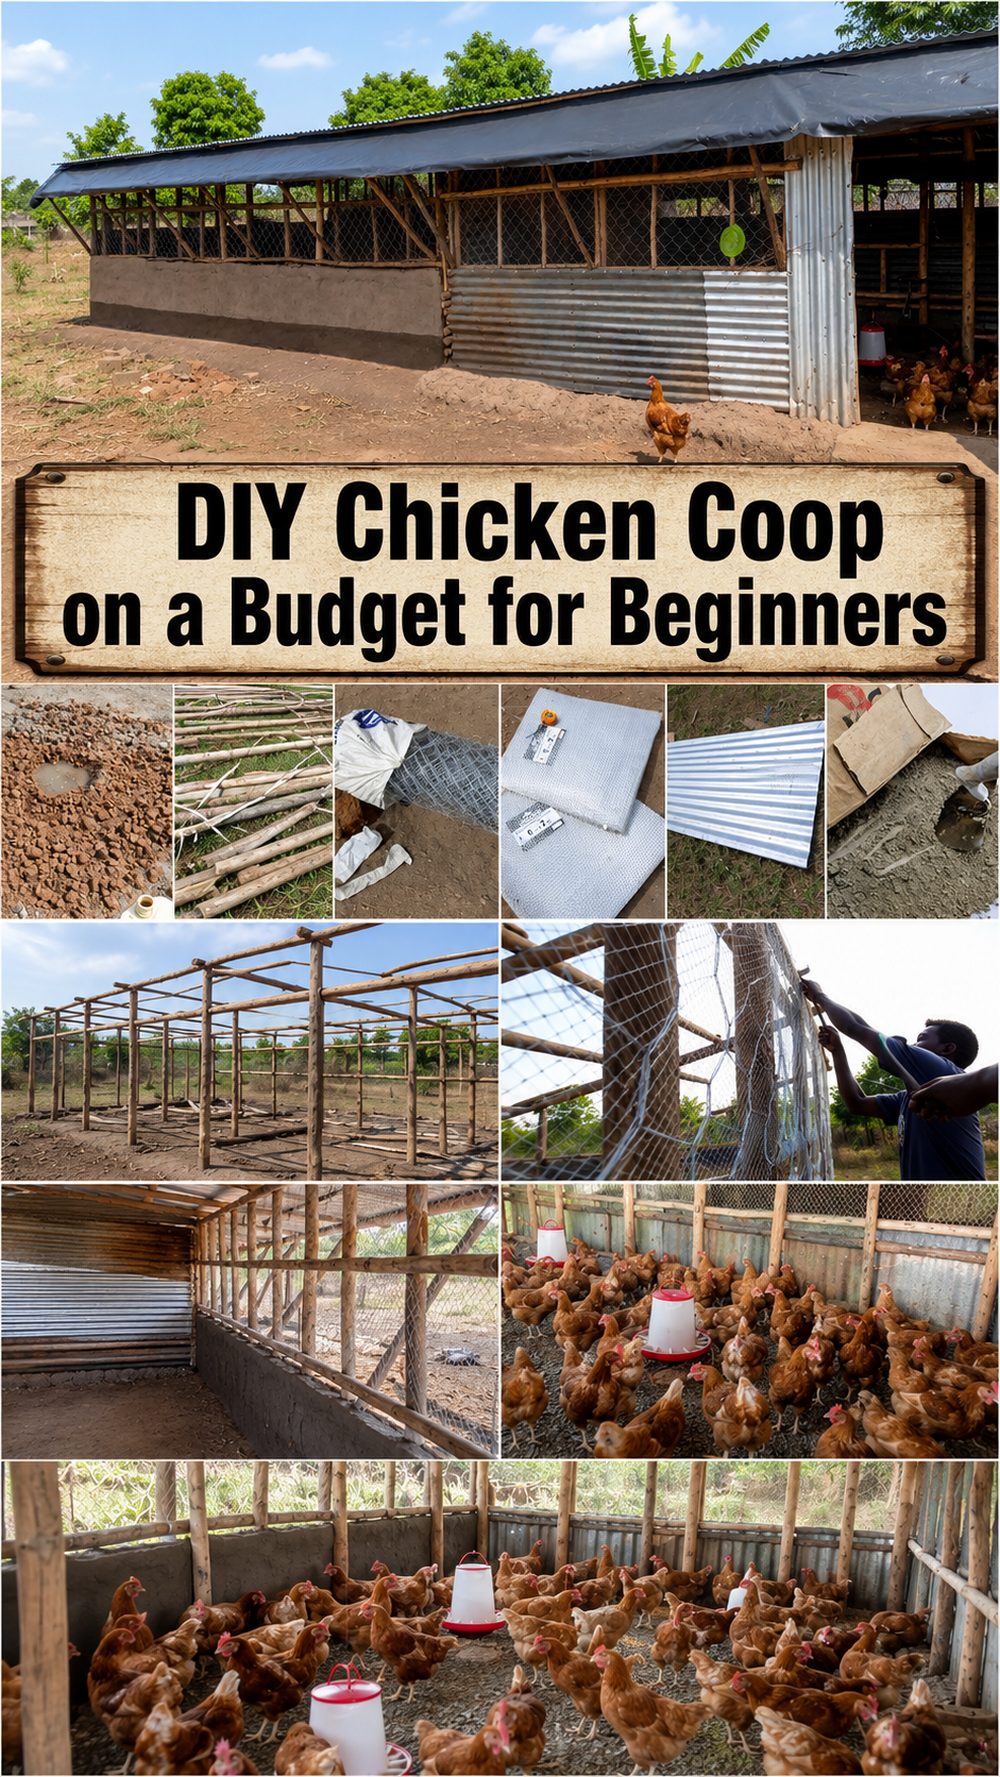
Building a simple chicken coop does not have to be expensive or overwhelming. This kind of project is a great choice if you want a practical shelter for a small flock without getting pulled into a huge construction job. A basic coop can still look neat, feel sturdy, and give your chickens a comfortable place to rest, nest, and stay protected. What makes this style so appealing is how approachable it feels. You can use straightforward materials, keep the layout simple, and adjust the size to suit your yard and flock. It is a nice weekend-style project for homesteaders, backyard chicken keepers, or anyone who wants a cleaner, more organized setup without spending a fortune. The tutorial I selected focuses on a simple, cheap build shown step by step, which makes it especially helpful for confident beginners.
Why You’ll Love This Project:
This coop idea is practical, affordable, and easy to adapt. It keeps the design focused on the essentials, so you can build something useful without making it overly complicated. The featured tutorial presents the build as a simple, cheap chicken house made step by step with a cost-focused approach.
Materials Needed:
- Framing lumber or other sturdy wood pieces
- Boards or panels for the main structure
- Wire mesh or similar fencing material
- Roofing material
- Fasteners such as screws or nails
- Hinges and simple latches
- Nesting box materials
- Perch or roost bar material
- Ground cover or bedding for the inside
Use similar materials that match the look, size, and style you want.
Tools Needed:
- Tape measure
- Saw
- Drill or screwdriver
- Hammer if needed
- Staple gun for mesh if needed
- Pencil or marker for layout
- Basic household or DIY tools for assembly
Best Materials for This Project:
For a cheap and simple chicken coop, sturdy but affordable lumber works well for the frame. Wire mesh is a practical choice for ventilation and visibility, while a basic roof covering helps protect the coop from rain and harsh sun. If you are trying to save money, clean reclaimed wood can work well as long as it is still solid and safe to use. Choose materials that feel durable enough for outdoor use, especially for the roof, fasteners, and any part touching the ground.
Skill Level:
Easy to confident beginner. The build is approachable because it follows a step-by-step process and focuses on a simple, budget-friendly structure rather than a highly decorative or advanced design.
Size and Placement Guide:
Adjust the coop size based on how many chickens you plan to keep and how much yard space you have. A smaller version works well for a compact backyard, while a longer layout may suit a slightly bigger flock. Place it on level ground where drainage is decent and the area does not stay soggy after rain. Try to give the coop some shade in hot weather and enough open airflow for comfort. You can also match the color or finish to your fence, garden beds, or nearby outdoor buildings so it blends in nicely.
How to Make It:
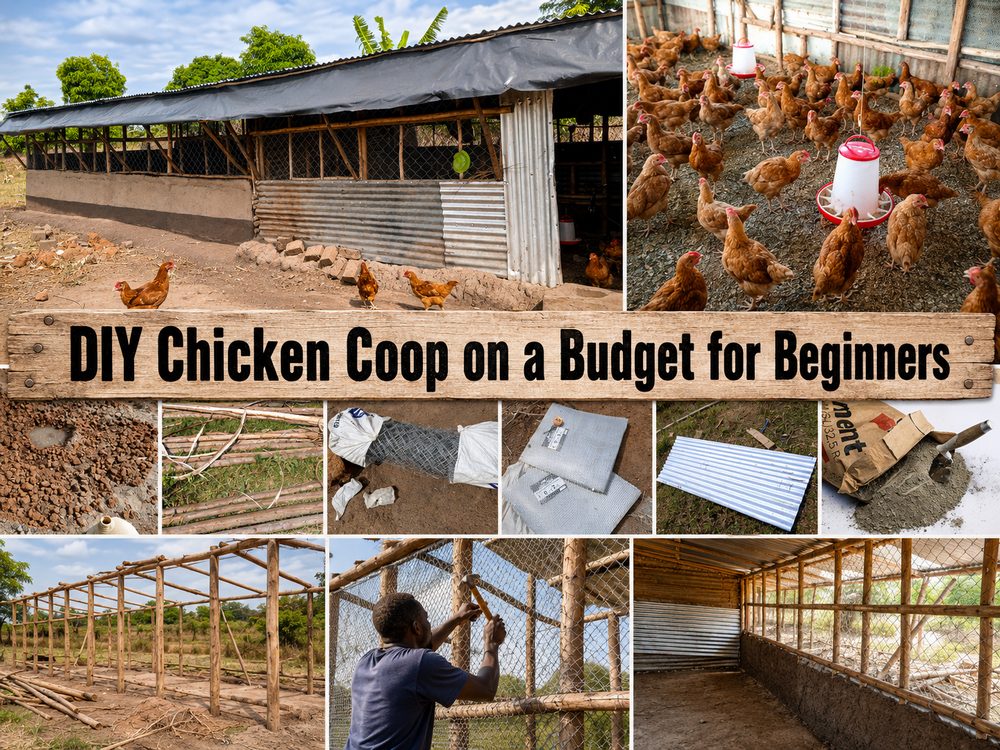
The selected tutorial shows a simple cheap chicken house build explained step by step, so the process below follows that same practical structure without adding exact measurements that were not clearly confirmed.
Step 1: Prepare the Base
Start by choosing a flat area and planning the footprint of your coop. Mark the space so you can see how large the shelter and run should be in relation to your yard. Prepare the base in a way that keeps the coop steady and helps it sit neatly on the ground.
Step 2: Build the Main Frame
Create the basic frame first. This is the part that gives the coop its shape and strength. Work on the floor section, upright supports, and top framing until the structure starts to look like a simple house or shelter. Keep checking that everything stays square and even as you go.
Step 3: Shape the Coop Area
Once the frame is standing, begin forming the enclosed section where the chickens will sleep and lay eggs. Add the walls or side panels to define the sheltered area. If the design includes an attached run, frame that section next so the whole layout feels connected and practical.
Step 4: Add Wire and Protective Sides
Attach wire mesh or similar material to the open areas. This helps with airflow while also creating a secure barrier. Pull it neatly and fasten it well so there are no loose edges. If you are working with reclaimed materials, trim and fit each piece carefully until the structure feels tidy and secure.
Step 5: Install the Roof
Add the roof after the main body is built. Make sure it covers the sheltered area properly and sheds water away from the coop. A simple sloped roof is often the easiest option for a budget build and helps keep the inside drier and more comfortable.
Step 6: Create Access Points
Add a door for cleaning and daily access, plus any smaller openings needed for the chickens. Hinged panels are helpful because they make feeding, egg collection, and cleaning easier. Keep the opening sizes practical and secure them with simple latches.
Step 7: Add the Inside Features
Set up the interior with roosting bars and a nesting area. Keep the inside layout simple so the birds have a place to rest and a place to lay. Leave enough room for cleaning and airflow. You do not need to overbuild it to make it functional.
Step 8: Finish and Style It
Go over the whole coop and reinforce anything that feels loose. Sand rough spots if needed, tidy the edges, and make sure the structure feels safe and clean. You can leave the finish natural for a rustic look or add an outdoor-safe finish in a color that suits your yard.
Helpful Tips:
- Measure and mark before cutting any wood.
- Test the layout before permanently attaching parts.
- Keep the design simple so cleaning stays easy.
- Make sure doors and lids open comfortably.
- Use outdoor-safe materials where weather exposure is likely.
- Check all wire edges and fasteners for safety.
- Let paint, stain, or sealant dry fully before use.
Common Mistakes to Avoid:
- Building too small for your flock
- Skipping ventilation
- Using weak or damaged reclaimed wood
- Leaving gaps around mesh or doors
- Making access doors too awkward for cleaning
- Choosing materials that will not hold up outdoors
Customization Ideas:
You can paint the coop to match your garden, add a small egg-access hatch, extend the run, use a rustic reclaimed-wood look, or add simple trim for a cleaner finish. For a more decorative backyard style, try a soft neutral paint color, a darker roof, or small labeled nesting sections. You can also scale the design up or down depending on your needs.
Style Ideas:
This kind of coop fits nicely into a casual backyard, small homestead, kitchen garden, or fenced side yard. It works especially well with raised beds, wood fencing, gravel paths, and other practical outdoor features. Keep the surrounding area simple and neat so the coop feels intentional rather than cluttered.
Care Instructions:
Check the coop regularly for loose wire, worn fasteners, or damp spots. Clean out bedding often and wipe or sweep the inside as needed. If the coop is painted or sealed, refresh the finish when weather starts to wear it down. Keep the roof in good condition so the inside stays dry. For long-term use, inspect the base and corners every so often.
Time Needed:
This project may take a short afternoon or a few hours depending on your materials, size, drying time, and detail level.
Budget Guide:
This can be a very budget-friendly project, especially if you already have leftover wood, basic tools, or reusable materials. A simple design helps keep the cost lower while still giving you a useful and attractive coop.
Conclusion:
If you want a coop that feels doable, affordable, and practical, this style is a great place to start. The best part is that you can keep the build simple while still making it fit your space and flock. Take the basic idea, adjust it to your yard, and finish it in a way that suits your home.
FAQs:
1. Is this beginner-friendly?
Yes, it is a good project for a confident beginner because the structure is simple and the process is shown step by step in the selected tutorial.
2. What materials are best for a cheap coop?
Affordable framing wood, wire mesh, and basic roofing materials are good starting choices. Reclaimed materials can also work if they are still sturdy and clean.
3. Can I make it bigger or smaller?
Yes. You can adjust the overall size, roof shape, and run length to fit your flock and your yard.
4. Can I use recycled materials?
Yes, as long as they are safe, solid, and suitable for outdoor use.
5. How do I make it look neat?
Measure carefully, keep the layout simple, trim materials cleanly, and avoid adding extra features before the main structure is finished.