
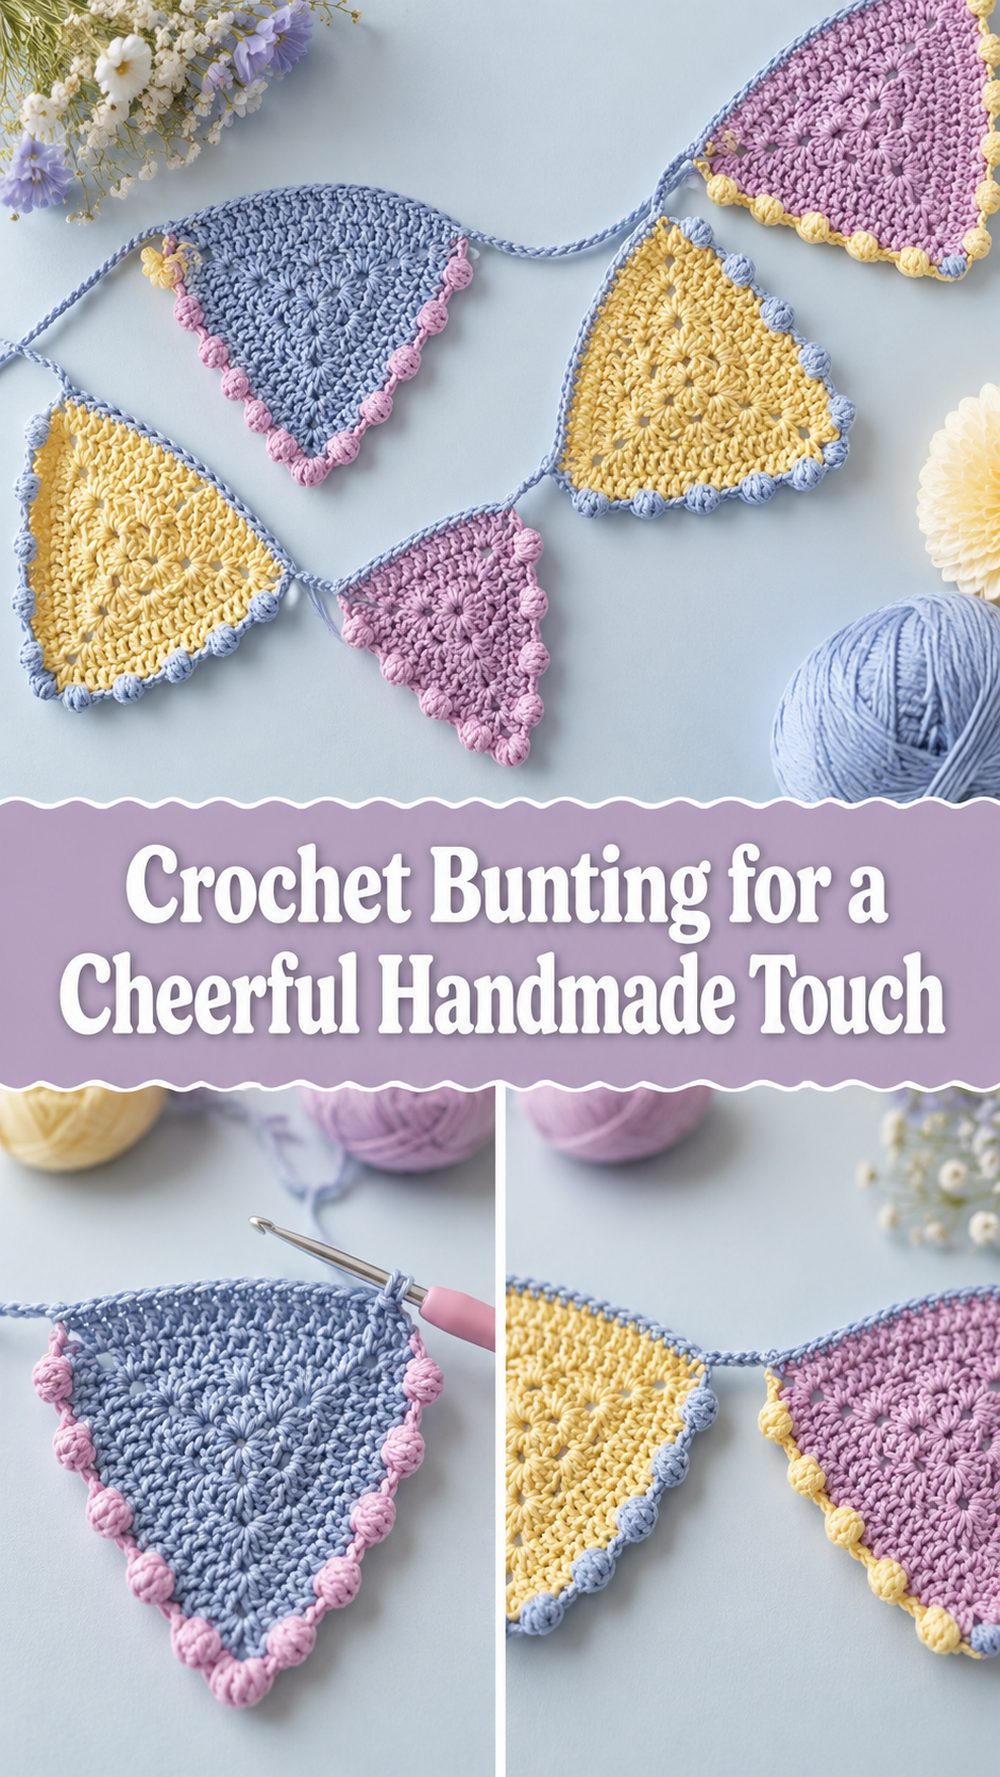
Crochet bunting is one of those projects that feels instantly happy. It is simple, colorful, and useful in so many ways. You can hang it in a nursery, across a mantel, over a party table, or even in a cozy craft corner to add a handmade look. The tutorial I selected shows an easy triangle-style bunting worked one flag at a time, beginning with a magic circle and using a 5 mm hook, which makes it a nice choice for crocheters who want something relaxing and decorative without getting lost in complicated shaping. It is a lovely stash-busting project too, because each triangle can be made in a different color if you want that playful patchwork feel. The finished bunting looks bright, tidy, and easy to customize for any season or celebration.
Why You’ll Love This Project
This is the kind of crochet project that gives you quick satisfaction. Each flag is small enough to finish without feeling overwhelming, and once you join several together, the whole piece looks festive and polished. It is especially nice when you want a simple decorative project that still feels creative and personal. The selected tutorial presents it as an easy bunting project for beginners, with each flag starting from a magic circle.
Materials Needed
- Yarn in one color or several colors
- 5 mm crochet hook
- Scissors
- Yarn needle for weaving in ends
- Stitch markers if you like marking your corners or joining points
- Measuring tape if you want to plan the finished bunting length
If you want a softer or more delicate finish, use a yarn and hook size that matches your desired fit and texture. The tutorial shown uses a 5 mm hook.
Best Yarn for This Project:
A smooth yarn that shows the stitch shape clearly works best here. For a bright everyday decoration, cotton or cotton-blend yarn is a great choice because it gives the flags a neat shape and helps them hang nicely. If you want something softer and more cozy-looking, a standard acrylic yarn also works well. For outdoor or summer use, breathable cotton is the safer option.
Skill Level:
Beginner-friendly to easy. This project is a good fit for newer crocheters because the shape is repeated and the flags are small, so you can settle into the rhythm quickly. It also gives you practice with starting neatly, building shape evenly, and joining multiple pieces into one finished decoration. The tutorial is described as easy and beginner-friendly.
Size and Fit Guide:
Since this is bunting rather than a wearable, the main sizing choice is the size of each flag and the total banner length. You can make fewer larger triangles for a bold look, or more smaller ones for a delicate garland effect. Lay your flags out before joining so you can check the spacing and overall width. If you want to decorate a shelf, window, crib area, or party backdrop, measure the space first and then keep adding flags until the length feels right.
Stitches Used:
- Magic circle
- Chain stitches
- Joining stitches
- Repeated stitches worked to build the triangle shape outward from the center
The tutorial clearly begins with a magic circle, and the bunting is built as individual triangle flags.
How to Make It
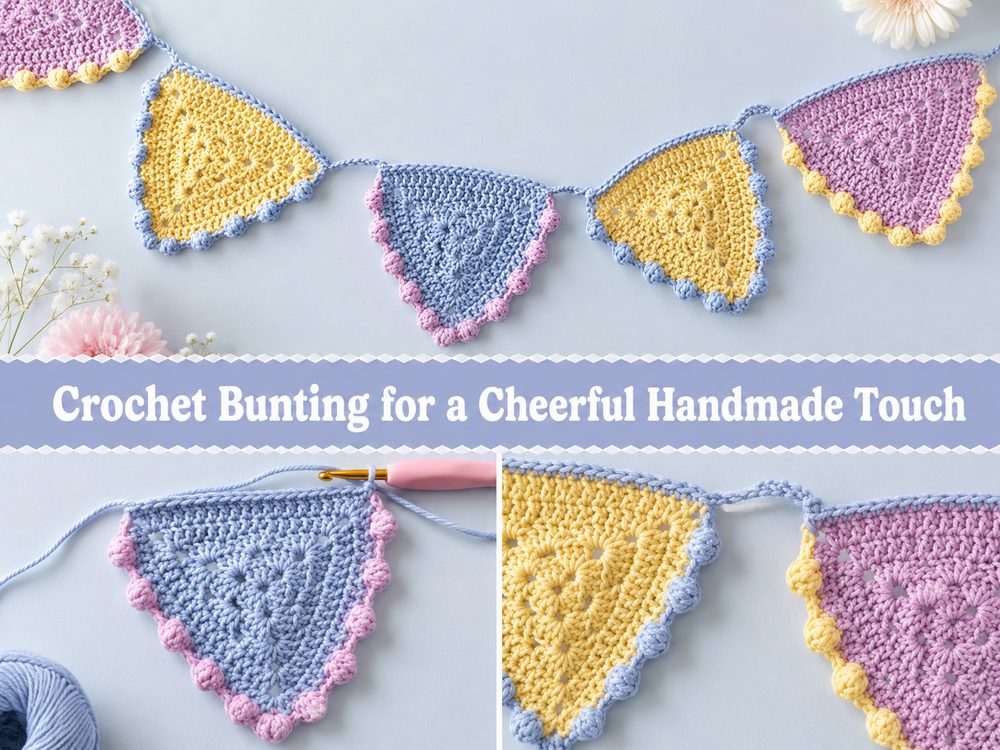
Step 1: Start the Foundation
Each bunting flag begins in the center. In the selected tutorial, the first step is to make a magic circle with your yarn and hook. This gives the triangle a neat starting point and avoids leaving a loose hole in the middle. If you are using several colors, you can decide whether to make every flag the same or change colors from one triangle to the next. The nice thing about starting in the center is that it gives every flag a clean, balanced shape right from the beginning.
Step 2: Build the Triangle Shape
After the center is made, the flag is worked outward in repeated sections to form a triangle. The shaping is what matters most here. As you continue, the work spreads wider and begins to develop that classic bunting point at the bottom with two upper corners. You do not need to obsess over exact numbers if you are making decorative bunting for home use. The most important thing is to keep the shaping even so every flag has the same general look.
Try to watch the corners as you work. Those corner spaces are what help the triangle open up nicely. If your triangle begins to curl or look tight, loosening your tension a little can help. If it feels floppy, a slightly firmer tension may give you better structure.
Step 3: Repeat Until the Flag Looks Right
Keep working the same shaping pattern until the triangle reaches the size you want. Some people love small dainty bunting, while others prefer larger statement flags. This is where the project becomes very flexible. You can stop once the flag feels right for your space. If you are decorating for a child’s room or a seasonal display, medium-sized flags usually give a balanced look without becoming too heavy.
It helps to finish one flag first and use it as your sample. Then you can match the rest to that size. This makes the whole strand look much more polished when it is hanging.
Step 4: Make More Flags
Once you have one triangle finished, make the rest in the same way. This project is ideal for using leftover yarn because each flag takes only a small amount. A multi-colored bunting has a playful, cheerful look, while a single-color set feels calm and elegant. You can also create color themes, such as soft neutrals for a nursery, bright shades for a birthday, or classic tones for holiday decor.
As you go, line the flags up beside each other occasionally. That simple habit helps you catch size differences early. If one triangle looks noticeably wider or taller, it is easier to adjust before you have made the whole set.
Step 5: Join the Bunting
After you have enough flags, they are attached to a long crochet chain or joining strand to create the final bunting. This top chain is what lets the flags hang evenly. Leave a little extra length at both ends so the bunting is easy to tie, pin, or drape where you want it. Space the flags however you like. You can place them close together for a fuller look or leave small gaps between them for a lighter, airier finish.
Before you fasten everything off, hold the bunting up and check how it hangs. This is a small step, but it makes a big difference. You might find that the flags look better with slightly more space between them, or that the hanging ties should be longer.
Step 6: Finish the Edges
Once all the flags are joined, weave in the ends carefully. Since bunting is meant to be displayed, neat finishing really matters. Straighten the points of the triangles and smooth the top edge. If your yarn allows it, a light blocking can help the flags sit flatter and look more even. This is especially helpful if you used soft yarn or if some flags stretched a little while you were working.
The finished piece should look bright, tidy, and cheerful, with each triangle hanging clearly and the full strand feeling balanced from one end to the other. The selected tutorial presents the project as an easy crochet bunting made from individual flags, beginning with a magic circle.
Helpful Tips
- Make one sample flag first and use it to match the rest.
- Keep your tension as even as possible so the triangles stay similar in size.
- Use cotton yarn if you want crisp, clean-looking flags.
- Lay all the triangles out before joining to test the color order.
- Leave enough chain at both ends for easy hanging.
- Block the finished bunting if the edges need a little straightening.
Common Mistakes to Avoid
- Making each flag a different size without noticing
- Pulling the magic circle too loosely or not securing it well
- Joining the flags before checking the spacing
- Using yarn that is too stretchy if you want very crisp triangles
- Forgetting to weave in ends neatly on a display piece
- Skipping the layout step and ending up with an uneven color arrangement
Customization Ideas
You can make this bunting your own so easily. Try rainbow shades for a fun and playful finish, or use only two or three colors for a more coordinated look. Add tassels to the points of the triangles for extra movement, or crochet a border around each flag if you want more definition. You could also make the flags larger for a statement decoration or smaller for a sweet mini garland.
Style Ideas
This kind of bunting looks lovely across a wall shelf, a bed headboard, a baby shower table, a birthday setup, or a craft room peg rail. It also makes a thoughtful handmade gift for someone decorating a nursery or planning a party. Seasonal colors can completely change the mood, so the same basic project works year-round.
Care Instructions
If your bunting needs cleaning, gentle hand washing is the safest option. Reshape the triangles while damp and lay them flat to dry. Avoid high heat, especially if you used acrylic yarn. If the flags wrinkle in storage, a light reshape or careful blocking will help freshen them up again.
Time Needed
This may take a few hours depending on your speed, yarn, size, and stitch pattern. Because the project is made in small repeated pieces, it is easy to spread out over a few relaxed crochet sessions.
Conclusion
Crochet bunting is such a cheerful little project, and it is one of those makes that feels useful as soon as it is done. You can keep it simple, make it colorful, or adjust it to suit a room, party, or season. Once you have made one flag, the rest becomes wonderfully repetitive and relaxing. It is a lovely way to turn yarn into something decorative, personal, and full of handmade charm.
FAQs
Is this beginner-friendly?
Yes. It is a nice beginner project because the shape repeats and each flag is small enough to manage comfortably.
What yarn is best for crochet bunting?
Cotton or cotton-blend yarn is great for a neat, structured finish, while acrylic works well for a softer decorative look.
Can I adjust the size?
Yes. Just keep working the triangle until it reaches the size you want, then make the rest to match.
How many flags do I need?
That depends on where you want to hang it. Measure your space first, then add enough flags to fill the length nicely.
How do I make it look neater?
Keep your tension even, match all the triangles to one sample flag, and block the finished bunting if needed.