
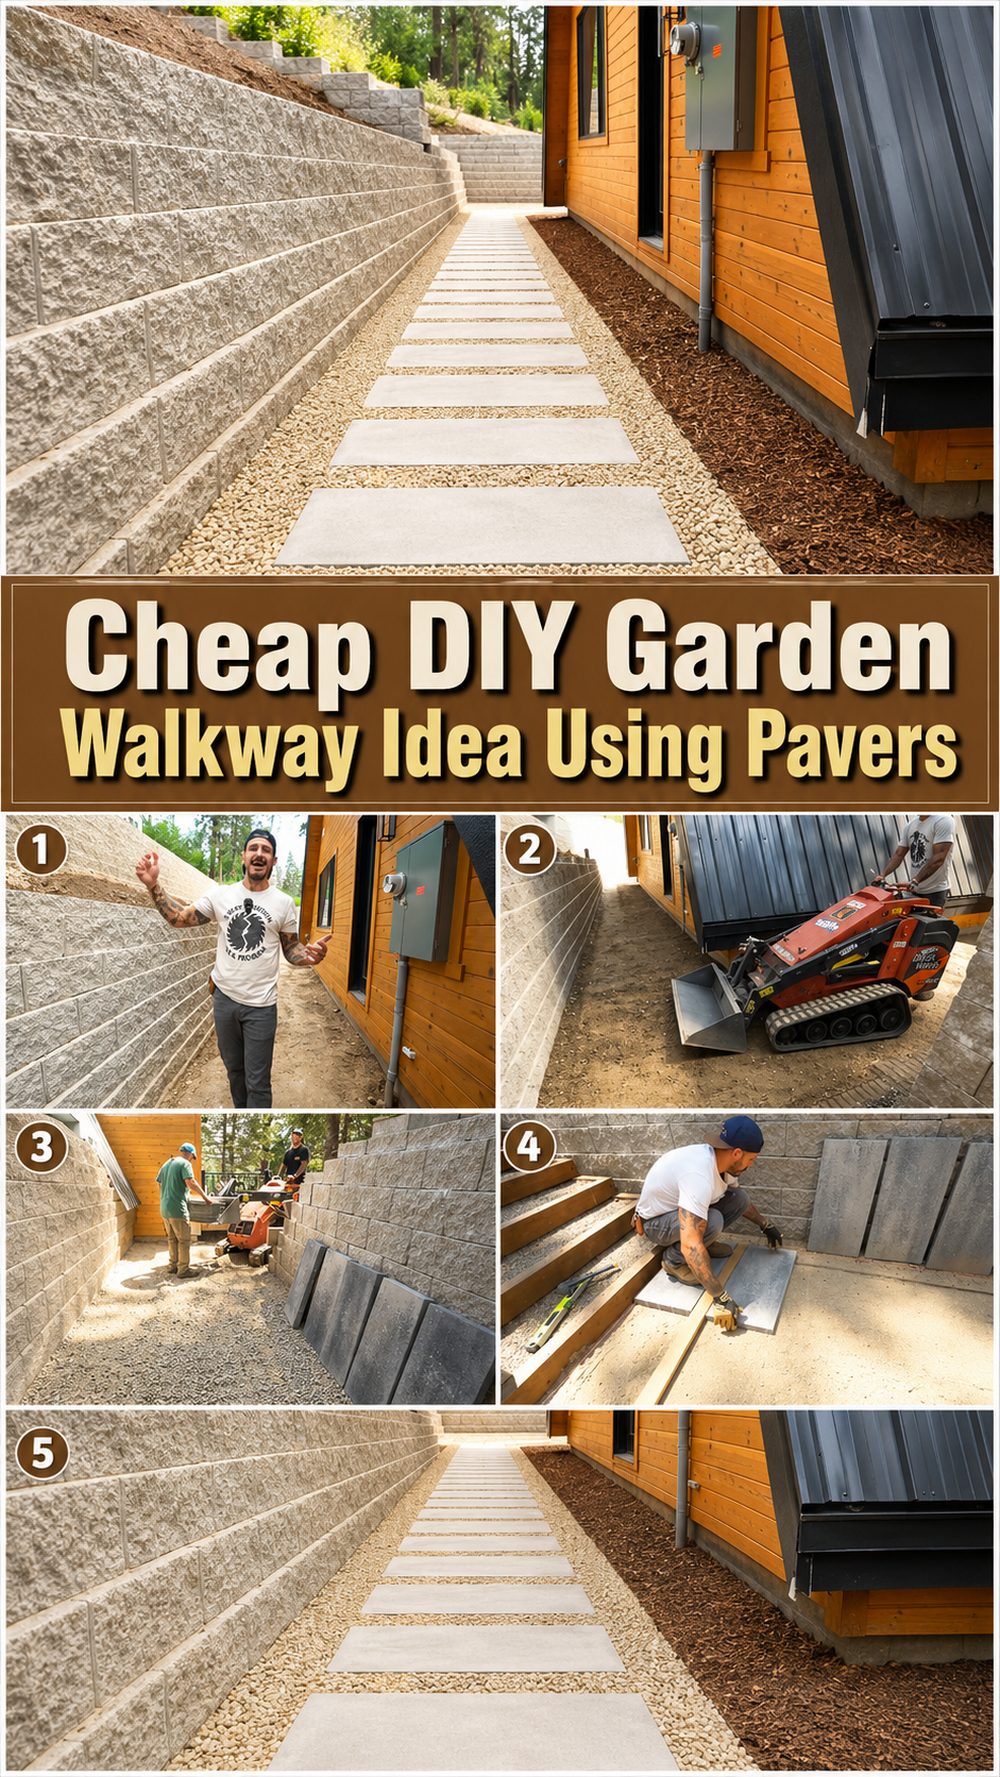
A simple paver walkway is one of those outdoor projects that can make a yard feel more finished without turning into a huge renovation. It gives you a cleaner path through the garden, helps keep shoes out of the mud, and adds structure to the space in a way that still feels relaxed and welcoming. This version is especially nice for anyone who wants a budget-friendly upgrade that looks polished but is still manageable for a DIY weekend project. The featured tutorial walks through an easy paver walkway method that is designed to be simpler than pouring concrete while still giving you a durable, attractive result. It is a great fit for beginners, new homeowners, and anyone trying to improve a garden or side yard without spending a fortune.
Why You’ll Love This Project:
This walkway idea looks neat, lasts well, and can be adapted to many yard styles. It gives you the charm of a finished path without the cost and mess of a poured concrete sidewalk, which is what makes it such a practical budget project.
Materials Needed:
- Pavers or stepping stones
- Base material such as gravel or crushed stone
- Sand or leveling material
- Landscape fabric if desired
- Edging materials if you want a cleaner border
- Soil, mulch, or gravel to blend the sides
Use similar materials that match the look, size, and style you want.
Tools Needed:
- Shovel
- Rake
- Tamper or compactor
- Level
- Measuring tape
- Rubber mallet
- Broom
Best Materials for This Project:
For a cheap outdoor walkway, sturdy pavers are a smart choice because they give a clean finished look and hold up well outside. A compacted gravel base helps with drainage and stability. If you want the path to feel softer and more garden-friendly, you can blend the edges with mulch, soil, or planting beds. Outdoor-safe, durable materials work best so the path stays neat through changing weather.
Skill Level:
Easy to confident beginner. The process is very doable, but it works best if you take your time with leveling and spacing.
Size and Placement Guide:
You can make this walkway narrow for a side yard or wider for a front garden path. Use smaller pavers for a casual cottage look or larger ones for a cleaner modern style. Keep the color in line with your home, fence, or garden beds. Place it where you need a dry walking route, such as from the driveway to the door, through a garden, or between patio zones.
How to Make It:
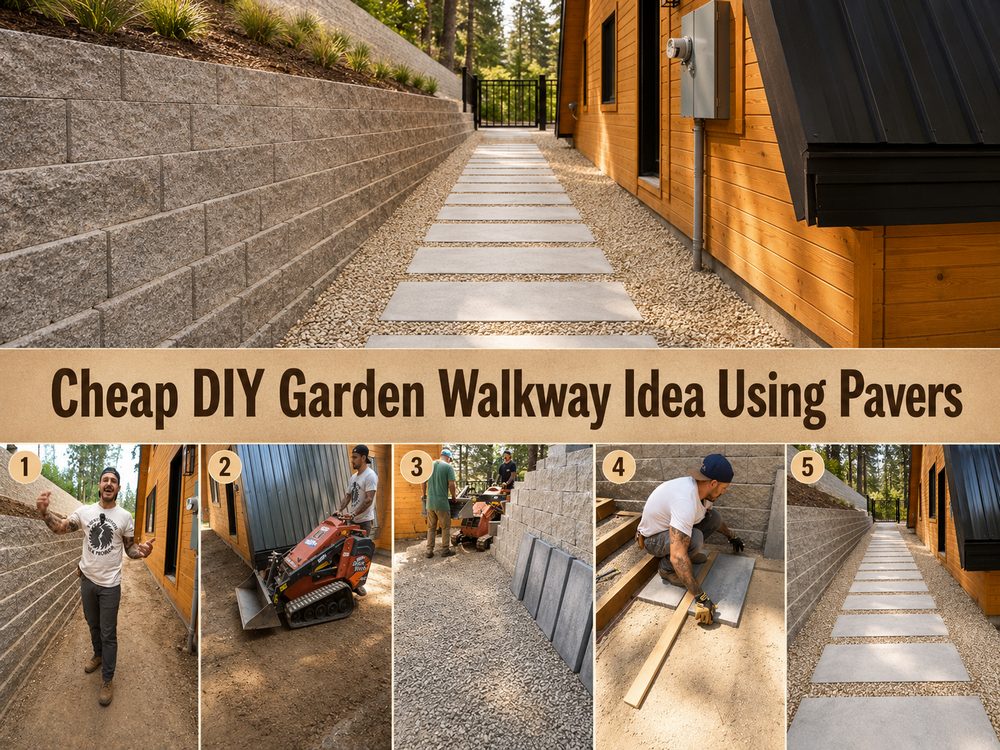
Step 1: Prepare the Base
Start by planning the route of your walkway and marking the shape. Remove grass, weeds, or loose surface material until you have a clear path area. Dig enough to make room for the base and pavers so the finished walkway sits nicely with the surrounding ground rather than sticking up too high.
Step 2: Arrange the Pieces
Before setting everything permanently, lay the pavers out roughly to check the spacing and overall shape. This helps you see whether the path feels straight, gently curved, tight, or open. Make small changes now until it looks balanced in the yard.
Step 3: Build the Shape
Add your base material and spread it evenly across the path area. Tamp it down well so it feels firm underfoot. This part matters because a stable base helps keep the walkway from shifting later. Add a leveling layer as needed and smooth it out before placing the pavers.
Step 4: Attach or Layer the Pieces
Set the pavers one by one, checking the height and level as you go. Tap them into place gently so they sit securely. Continue across the path, keeping the spacing consistent or adjusting it slightly for a more natural garden style.
Step 5: Add Color or Texture
Once the pavers are set, fill around them with gravel, sand, soil, or another simple filler depending on the look you want. This softens the design, helps lock things in place, and gives the walkway a more finished appearance.
Step 6: Decorate
Clean up the edges and add any border detail you like. You can line the path with mulch, low plants, rocks, or simple edging to help define it. This is also the stage where the walkway starts to feel like part of the landscape rather than just a row of pavers.
Step 7: Finish and Style
Brush off the surface, make any final leveling adjustments, and walk the path a few times to test it. Once everything feels steady, style the surrounding area with planters, flowers, or fresh mulch to make the whole project look complete. The tutorial focuses on creating an easy paver walkway that is attractive and simpler than a poured concrete path.
Helpful Tips:
- Measure the path before digging so the layout feels intentional.
- Test the paver arrangement first before setting everything firmly.
- Take extra care with leveling because uneven pieces stand out quickly.
- Compact the base well for a stronger, longer-lasting result.
- Match the path style to the rest of your yard for a cleaner look.
- Let the finished design settle, then adjust any pieces that shift.
Common Mistakes to Avoid:
- Digging too shallow and leaving no room for a proper base
- Skipping the leveling step
- Using loose or weak base material
- Placing pavers without checking spacing first
- Rushing the edging and leaving the sides messy
- Choosing a path width that feels too tight for normal walking
Customization Ideas:
Change the paver shape for a different style, use gravel between pieces for a relaxed look, add solar lights along the edges, soften the path with ground cover plants, or use darker stone for a more modern feel. You can also curve the walkway slightly to make the yard feel more natural.
Style Ideas:
This walkway looks lovely leading to a garden gate, front porch, shed, patio, or vegetable bed. It also works nicely between raised beds or along the side of the house where you want a cleaner walking route.
Care Instructions:
Sweep off dirt and leaves regularly. Pull weeds as needed and top up filler material if it settles over time. After heavy rain, check for any low spots and level them again. If you use planting around the edges, keep it trimmed so the walkway stays clear.
Time Needed:
This project may take a short afternoon or a few hours depending on your materials, size, ground condition, and detail level.
Budget Guide:
This can be a very affordable project, especially if you keep the design simple, reuse leftover pavers, or choose basic materials that are easy to find locally.
Conclusion:
If you want a cheap walkway idea that still looks neat and intentional, a simple DIY paver path is a great choice. It is practical, beginner-friendly, and easy to adapt to your own yard style. With a little prep and careful leveling, you can create a path that feels both useful and beautiful.
FAQs:
1. Is this beginner-friendly?
Yes, it is a good beginner project if you work slowly and focus on leveling.
2. What materials are best?
Durable outdoor pavers with a compacted gravel base are a reliable choice.
3. Can I make it bigger or smaller?
Yes, you can adjust the width, length, spacing, and shape to fit your space.
4. Can I use recycled materials?
Yes, leftover pavers or reclaimed stone can work well if they are sturdy and fairly even.
5. Can I use it outdoors all year?
Yes, as long as you use outdoor-safe materials and keep the base well prepared.