
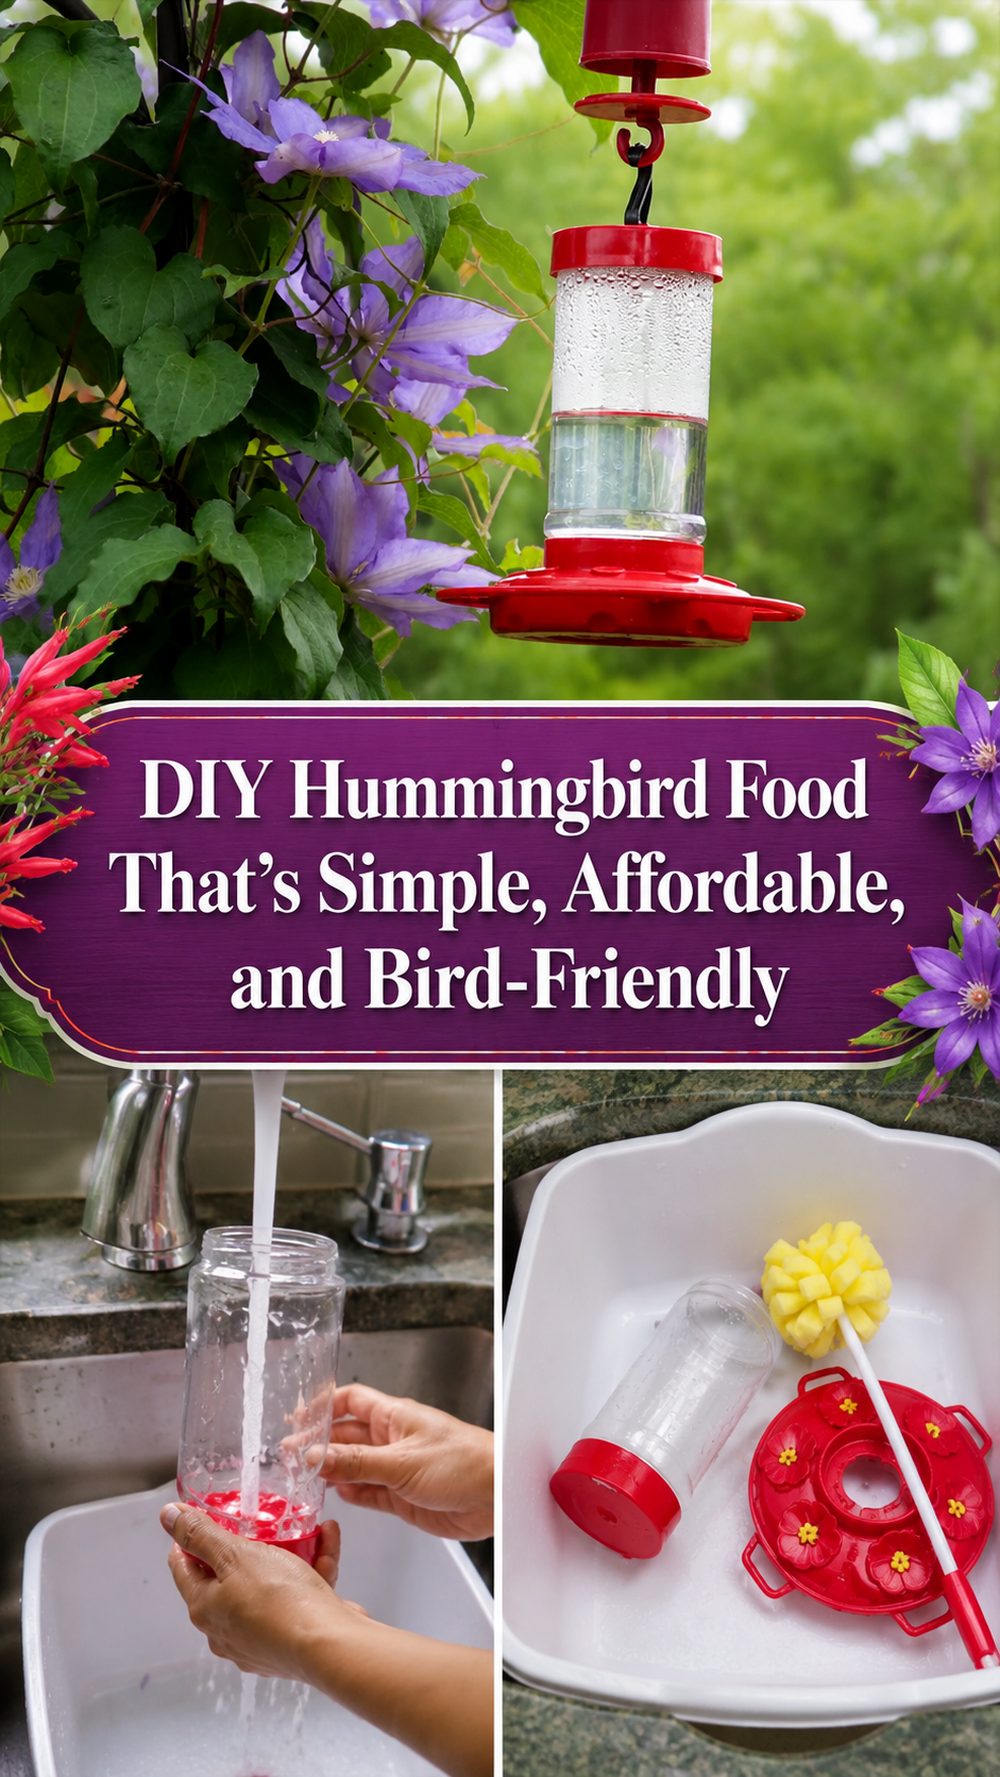
Making your own hummingbird food is one of the easiest little garden projects you can do at home. It is budget-friendly, quick to prepare, and a lovely way to help attract hummingbirds to your yard, balcony, or patio.
This kind of homemade nectar works well for anyone who enjoys birdwatching, wants to save money on store-bought mixes, or prefers a simpler, cleaner option. The tutorial I selected shows a very straightforward method using basic kitchen ingredients, with no need for extra colors or fancy additives. That makes this a great beginner project, especially if you want something practical that still adds beauty and life to your outdoor space. Once your feeder is filled and hung up, you can enjoy watching tiny visitors stop by throughout the day.
Why You’ll Love This Project:
This DIY hummingbird food is easy to make, uses common pantry ingredients, and gives you a simple way to support hummingbirds without buying premixed nectar. The tutorial emphasizes a basic homemade nectar made from sugar and water, and notes that added dye is not necessary.
Materials Needed:
- Granulated table sugar
- Water
- A clean jar, bowl, or container for mixing
- A hummingbird feeder
Use similar materials that match the look, size, and style you want.
Tools Needed:
- A pot or kettle to heat water
- A spoon for stirring
- A measuring cup
- A funnel if that helps you fill the feeder neatly
Basic household kitchen tools are enough.
Best Materials for This Project:
Plain granulated table sugar is the best choice for this project because that is what the tutorial uses. Clean water and a feeder that is easy to wash are also important. For outdoor use, choose a sturdy feeder that can be cleaned often and placed in a sheltered but visible spot.
Skill Level:
Beginner-friendly. This project is simple because it uses only a few ingredients and a basic mixing process.
Size and Placement Guide:
Make only the amount you feel you will use within a reasonable time so the feeder stays fresh. Use a feeder size that suits your space, whether that is a small balcony, porch, or larger garden. You can place it near flowers or greenery, but keep it somewhere easy to notice and easy to remove for cleaning.
How to Make It:
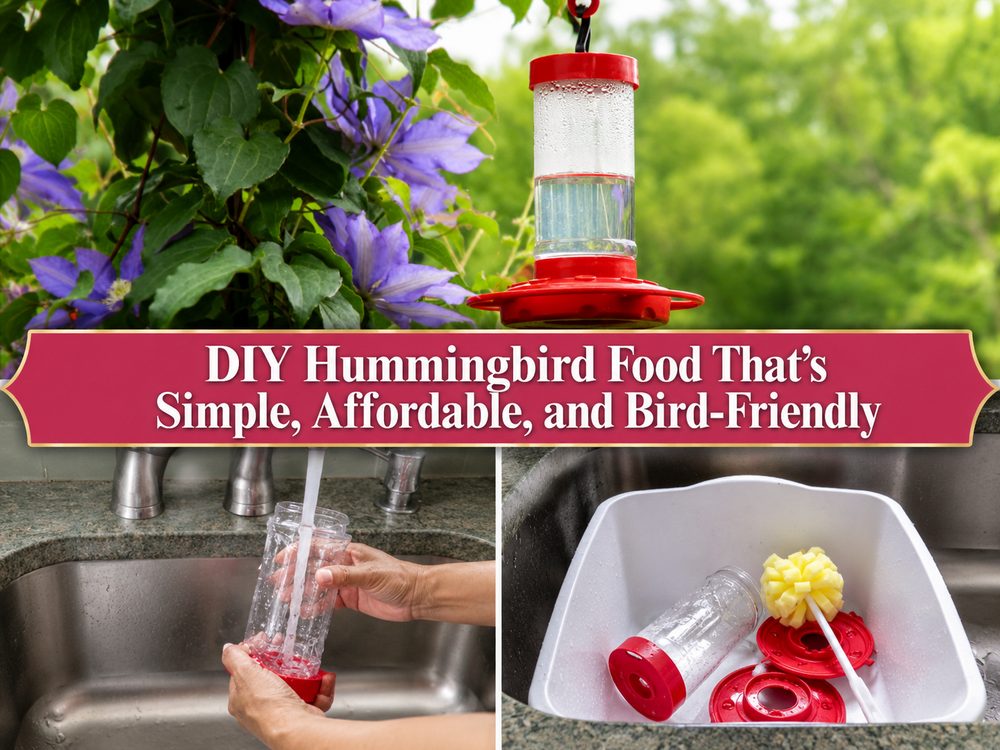
Step 1: Prepare the Base
Start by gathering your sugar, water, and a clean mixing container. Wash your feeder first so you are starting with a fresh setup. If you are reusing an old feeder, make sure there is no leftover nectar or residue inside.
Step 2: Heat the Water
The tutorial uses boiled water, which helps the sugar dissolve smoothly. Heat the water until it is hot enough to mix easily. You do not need to overcomplicate this part. The goal is simply to create a clean, well-mixed nectar.
Step 3: Mix the Nectar
Add the granulated sugar to the hot water and stir until it fully dissolves. The mixture should become clear without grainy sugar left at the bottom. Keep it simple and avoid adding anything extra.
Step 4: Let It Cool
Before pouring the nectar into your feeder, allow it to cool down. This is important for safe use in the feeder and helps prevent messes from filling it while the liquid is still too warm.
Step 5: Fill the Feeder
Once cooled, pour the nectar into your clean hummingbird feeder. A funnel can make this easier, especially with narrow feeder openings. Wipe off any drips so the outside stays neat.
Step 6: Finish and Style
Hang the feeder in a spot where you can enjoy watching it, such as near a window, porch, patio, or garden seating area. The tutorial also makes clear that red dye or food coloring is not necessary, so keep the nectar plain and natural-looking.
Helpful Tips:
- Stir well so the sugar fully dissolves.
- Let the nectar cool before filling the feeder.
- Clean the feeder regularly to keep it fresh.
- Place the feeder where you can easily take it down and refill it.
- Keep the setup simple and avoid unnecessary additives.
- Test the feeder location and move it if needed for better visibility.
Common Mistakes to Avoid:
- Using food coloring or red dye
- Filling a dirty feeder
- Pouring nectar in before it cools
- Making more than you can comfortably use
- Forgetting to clean the feeder often
- Spilling sticky nectar around the feeder opening
Customization Ideas:
You can change the feeder style, size, or placement to suit your space. Try a classic hanging feeder for a garden, a smaller feeder for a balcony, or place it near flowering plants for a prettier display. You can also create a little bird-friendly corner with potted blooms and a seating area nearby.
Style Ideas:
This project works beautifully in cottage gardens, backyard patios, front porches, and even apartment balconies with plants. It also makes a nice seasonal nature project for spring and summer when your outdoor space feels most active and colorful.
Care Instructions:
Clean the feeder regularly and refill it with fresh nectar as needed. Wipe the outside gently if it gets sticky. Store extra dry sugar in a sealed container, and keep your feeder in a spot where it is protected from unnecessary dirt and debris.
Time Needed:
This project may take a short afternoon or less depending on your materials, feeder size, and cooling time.
Budget Guide:
This is a very affordable DIY because it uses basic pantry ingredients and simple kitchen tools. It is usually much cheaper than buying premade nectar.
Conclusion:
DIY hummingbird food is a simple and rewarding project that brings a little extra life to your outdoor space. It does not take much effort, the ingredients are easy to find, and the finished result is both practical and enjoyable. Once you try it, you can make it part of your regular garden routine and enjoy the sight of hummingbirds stopping by in your own backyard style.
FAQs:
1. Is this beginner-friendly?
Yes, it is one of the easiest bird-care DIY projects to start with.
2. What materials are best?
Plain granulated table sugar, clean water, and a feeder that is easy to wash work best.
3. Can I make it bigger or smaller?
Yes, just adjust the batch size to suit your feeder and how often you want to refill it.
4. Can I use recycled materials?
You can reuse a feeder or clean containers for mixing, as long as everything is washed well.
5. Do I need to add red dye?
No. The tutorial specifically indicates that red dye or food coloring is not necessary.