
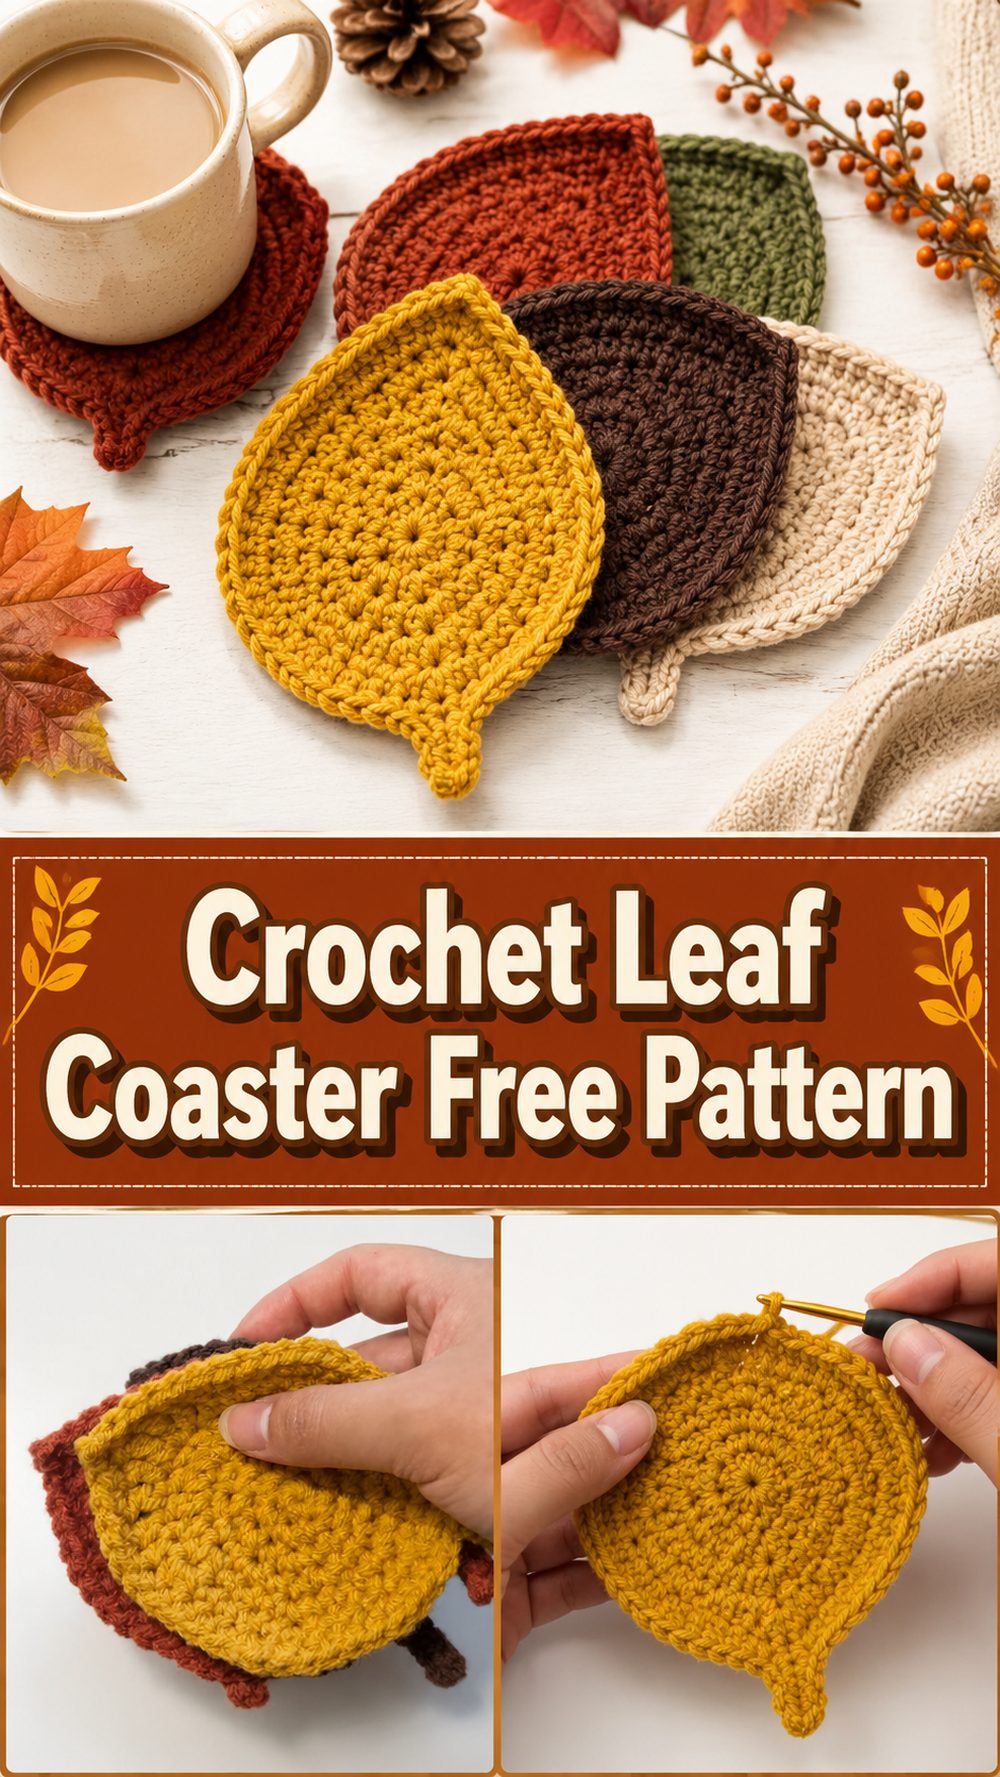
A crochet leaf coaster is one of those small projects that feels extra satisfying because it is quick, practical, and genuinely pretty once it is finished. This style works beautifully for adding a handmade touch to a coffee table, desk, or little gift basket, and it is also a lovely way to use up yarn from your stash.
The tutorial I selected shows a simple step-by-step leaf coaster that is beginner-friendly and designed to be worked up quickly, so it is a nice choice when you want something relaxing without committing to a huge project. The finished coaster has that charming leaf shape that makes even a plain mug look more special.
Why You’ll Love This Project
This project is fun because it gives you a shaped coaster instead of a basic circle or square, but it still stays simple enough for a relaxed crochet session. It is useful for everyday table protection, cute enough for seasonal décor, and small enough to make in different colors without feeling overwhelmed. The selected tutorial presents it as an easy, step-by-step design for beginners, which makes it especially approachable.
Materials Needed
- Yarn for the coaster
- Crochet hook
- Scissors
- Yarn needle
- Stitch marker if you like marking the beginning or key points
- Measuring tape if you want to check the final size
Use a yarn and hook size that matches your desired fit and texture.
Best Yarn for This Project
A smooth cotton yarn is one of the best choices for a coaster because it holds its shape nicely and handles everyday use well. Cotton also helps the leaf stitches look crisp and defined, which is perfect when you want the shape to stand out on a table. If you want a softer look, a cotton blend can work too, but try to avoid anything too fuzzy since it can hide the leaf detail.
Skill Level
This is beginner-friendly. The tutorial is presented as an easy step-by-step leaf coaster, so it suits newer crocheters who want practice with shaping while still keeping the project manageable.
Size and Fit Guide
Since this is a coaster, the main thing to watch is whether it gives your mug or glass enough surface coverage. Check the size as you work and stop when the leaf looks balanced and practical for the cups you use most. If your yarn is thinner, your coaster will come out smaller, so you may need a few more rounds or a looser tension. If your yarn is thicker, the shape will grow more quickly.
Stitches Used
The tutorial is described as a beginner leaf coaster worked step by step, so expect basic crochet techniques and simple shaping as the leaf form develops. Keep your tension even and pay attention to the points and curves of the shape as you go.
How to Make It
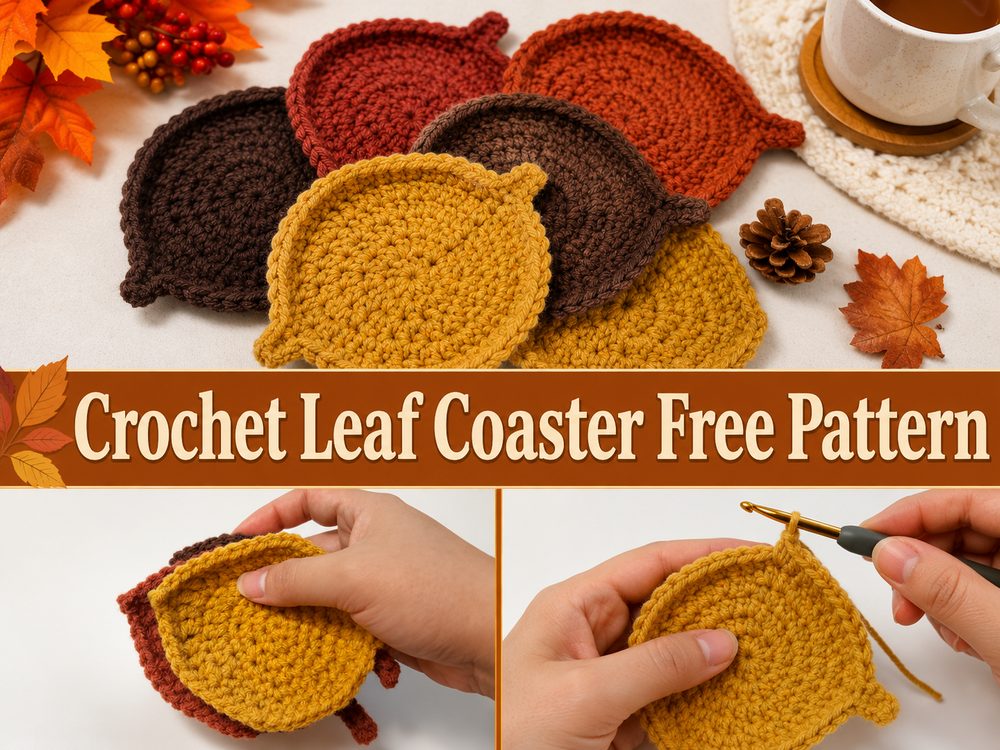
Step 1: Start the Foundation
Begin by making the starting section that forms the center of the leaf. In a project like this, the first few stitches create the base structure that everything else grows from. Take your time here, because a neat beginning helps the whole coaster sit flatter later on. Since the tutorial is designed for beginners, the opening is meant to be approachable rather than complicated.
Step 2: Build the Leaf Shape
As you continue, the coaster starts developing its leaf outline. This part is what makes the project so enjoyable. Instead of repeating the same flat edge all the way around, you work in a way that creates gentle shaping. That shaping is what gives the coaster its natural look. Keep an eye on both sides of the piece so they stay as even as possible. If one side starts looking tighter than the other, relax your tension a little and double-check where your stitches are landing.
Step 3: Work Through the Main Rounds
The selected tutorial presents the project as a quick leaf coaster with a clear step-by-step flow, so the main body is built in a straightforward way rather than a fussy one. As you work through the body, focus on keeping the center line clean and the outer edges smooth. This is usually where the coaster begins to look more clearly like a leaf instead of just a small motif.
If your pattern repeat starts feeling hard to follow, pause after each section and flatten the piece in your hand. That quick check helps you see whether the shape is opening properly. A coaster should lie comfortably on a table, so any curling or pulling is usually a sign to loosen up your stitches a touch.
Step 4: Shape the Tip and Sides
The prettiest part of a leaf coaster is often the way the tip and side edges come together. As the coaster grows, shaping creates that pointed top and more leaf-like outline. Be patient in this stage and do not rush through the turning points. Even on a small project, tiny shaping sections make a big difference in the final look.
If the piece seems slightly uneven, do not panic. Small handmade differences usually settle down once the coaster is finished and smoothed out. What matters most is that the overall shape looks balanced and the coaster feels flat enough to use under a cup.
Step 5: Check the Size
Before finishing, place the coaster under a mug or glass to see how it looks in real use. This is the easiest way to decide whether you like the size. Some people prefer a delicate coaster that peeks out beneath the cup, while others like a larger one that shows off the full leaf shape around the edges. Both work well, so let your own style guide you.
If you want a fuller leaf, use a slightly thicker yarn or a larger hook. If you want a smaller, daintier coaster, go with finer yarn and a matching hook. This kind of project is very easy to personalize without changing the whole idea.
Step 6: Finish the Edges
When the leaf shape is complete, fasten off neatly and weave in the ends with a yarn needle. Take a moment to smooth the coaster with your hands and straighten the point if needed. If your stitches naturally pull inward, a light block can help the coaster lie flatter and show off the shape better.
Once finished, the coaster should look clean, tidy, and clearly leaf-inspired. It should feel decorative enough for display but still sturdy enough for daily use.
Helpful Tips
- Cotton yarn gives a cleaner coaster shape and works especially well for table use.
- Keep your stitch tension even so both sides of the leaf look balanced.
- Lay the piece flat often while working to catch shaping issues early.
- Make a second one in the same yarn and hook size if you want a matching set.
- Use stitch markers if you tend to lose track around shaping points.
- Light blocking can make the leaf tip and edges look neater.
Common Mistakes to Avoid
- Crocheting too tightly, which can make the coaster curl
- Forgetting to check the shape as you move through the rounds
- Using very fuzzy yarn that hides the leaf detail
- Making one side tighter than the other
- Weaving in the ends too loosely so they peek out later
- Skipping the final flattening or blocking step when the coaster needs it
Customization Ideas
You can have a lot of fun with this one. Try rich green for a fresh botanical look, golden tones for autumn, or soft neutrals for everyday home décor. You could add a slightly contrasting edge for more definition or make a whole set in different leaf-inspired shades. A thicker yarn will give you a bolder coaster, while a lighter yarn creates a more delicate version.
Style Ideas
These look lovely under coffee mugs, tea cups, candles, or small plant pots. They also make sweet little handmade gifts tucked into a mug set or housewarming basket. For seasonal décor, make a few in warm earthy colors and scatter them on a dining table or tray.
Care Instructions
Hand wash gently when needed and reshape while damp. Lay flat to dry so the coaster keeps its leaf shape. Avoid high heat, especially if you are using a cotton blend or synthetic yarn.
Time Needed
This may take a short crafting session depending on your speed, yarn, hook size, and how many coasters you want to make. The tutorial I selected presents it as a quick beginner project.
Conclusion
If you are in the mood for a small crochet project that still feels creative and decorative, a leaf coaster is such a nice one to try. It is simple enough to enjoy without stress, but the finished shape makes it feel special. You can keep it classic, make it seasonal, or play with colors to match your space. Once you make one, it is very easy to want a whole little set.
FAQs
Is this beginner-friendly?
Yes. The selected tutorial is presented as an easy step-by-step leaf coaster for beginners.
What yarn is best for a crochet leaf coaster?
Cotton yarn is a great choice because it holds shape well and is practical for everyday coaster use.
Can I adjust the size?
Yes. You can change the size by using different yarn weights, hook sizes, or by checking the coaster against your mug as you work.
Do I need to block it?
Not always, but light blocking can help if the edges curl or the leaf tip needs a cleaner finish.
Can I make a set of these?
Absolutely. This is the kind of small project that works really well as a matching set in different colors.