
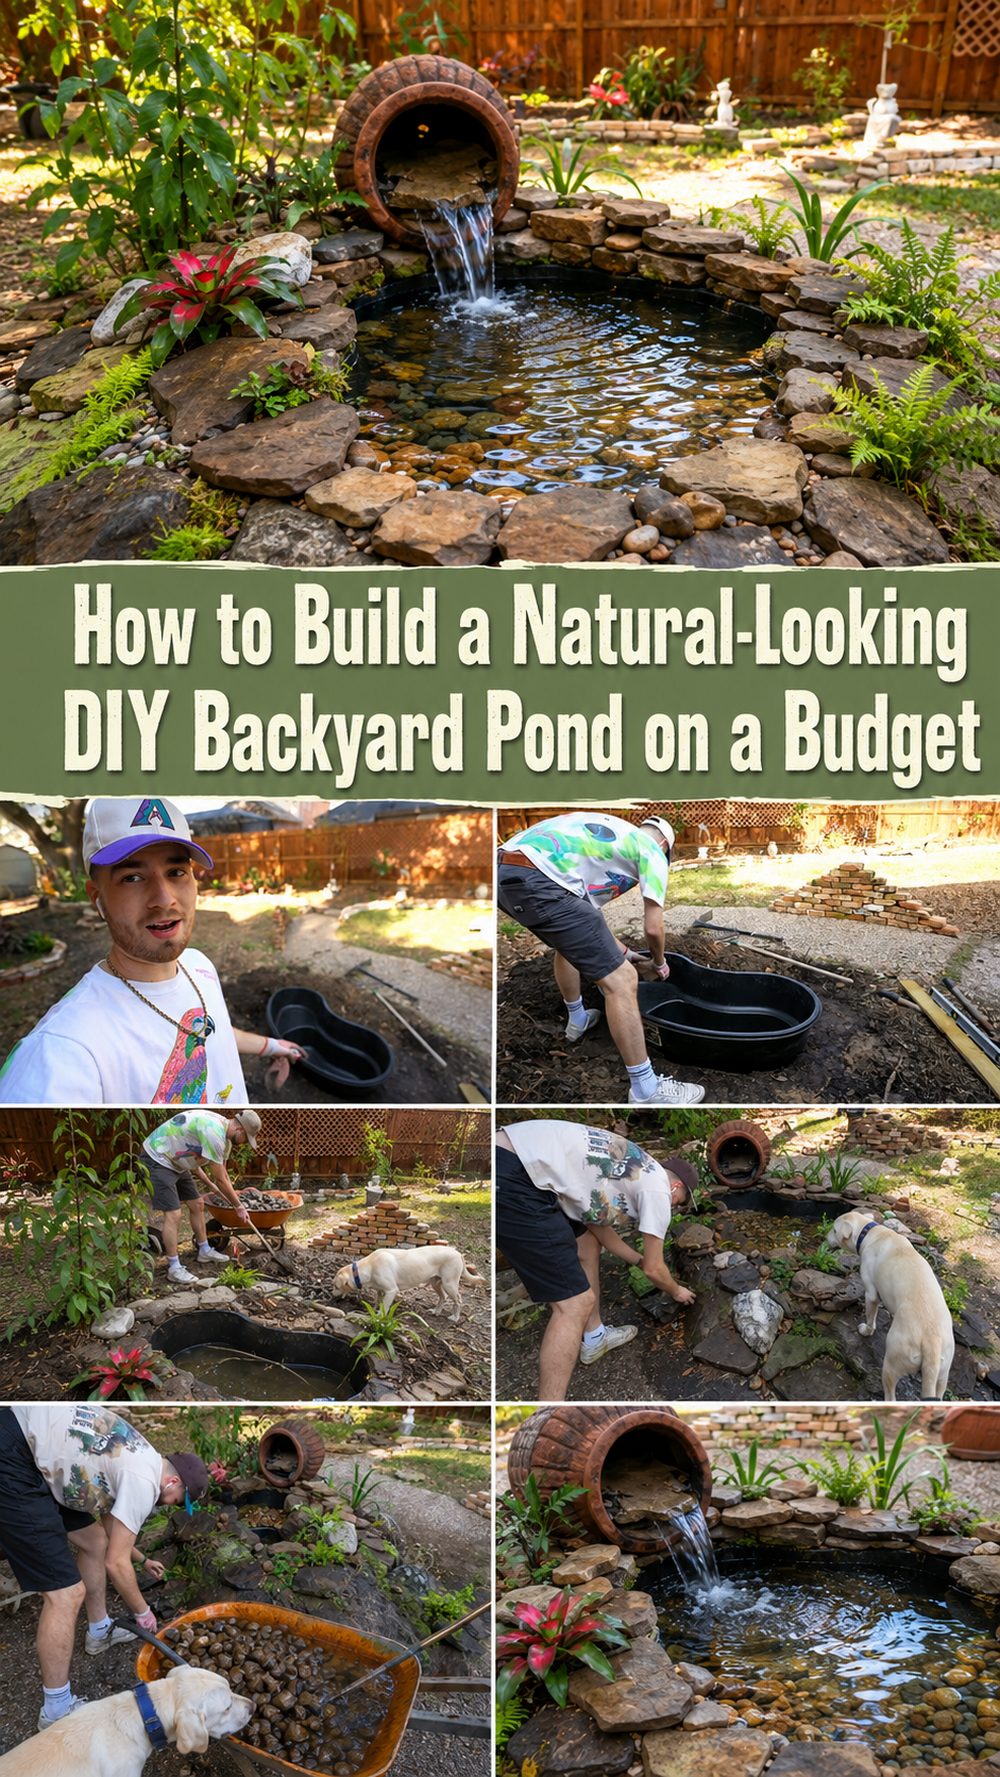
A backyard pond can totally change the mood of your outdoor space. It adds movement, sound and a peaceful focal point that makes even a simple garden feel more special. If you want a natural garden feature, but don’t want to get involved in an overly complicated build, this project is a great option. The tutorial I chose has a budget pond built in a laid back realistic style so that it feels more like a part of the landscape rather than a stiff formal feature. It is very attractive if you like the look of rocks and plants and soft pond edges blending into the yard. A little bit of digging, layering and patience will go a long way to keeping the process simple enough for a home DIY project, whilst still creating a pond that feels calm, personal and full of character.
Why You’ll Love This Project:
This pond project has a natural, relaxed look and does not require an expensive formal setup. It’s achievable for a home DIYer and gives you lots of wiggle room to make the shape, edging, plants and overall style your own.
Materials Required:
Liner for pond
Underlayment or protective layer below the liner
Rocks, stones for edging and detail
Filling material, like gravel, pebbles or similar
Water /
Styling: plants around the garden or pond plants
Optional pump or simple water feature depending on look you desire
Use similar materials that fit in with the look, size and style you are aiming for.
Required tools:
Spade
Spade or digging tool
Level if you want to check borders
Utility knife or scissors to cut to size
Basic garden or household tools to move soil and lay stone
Best Materials for This Project:
If you want a more natural shape and not a rigid pre-formed look for your backyard pond, then a flexible liner is a good choice. The rocks and gravel help to soften the edges and help the pond to look settled into the yard. Select heavy-duty outdoor-safe materials that will hold up to water, sun and the changing weather.
Skill Level:
Confident novice. The idea of the steps is easy, but the project requires physical work, patience and some adjustment as you shape the pond and lay the liner neatly.
Sizing and Placement Guide:
This pond can be small and intimate or a bit wider if you have more garden space. Choose a scale that suits your landscape and seems proportional to nearby beds, paths or seating areas. For an organic look, keep the shape soft and natural. Select a spot for the pond where it can be seen and enjoyed, but still feels like it is tucked away in the garden. Adjust the rock border, plant choice, and depth to suit your yard and style. A garden water feature often does well in a partly sunny location.
How to Make:
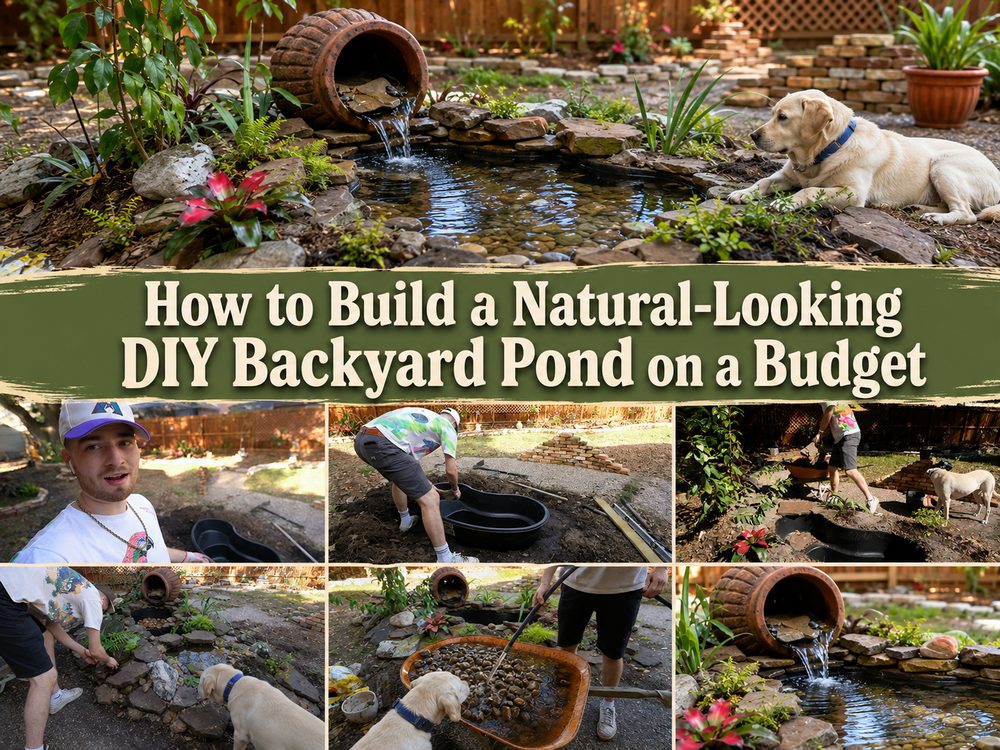
Step 1: Make the Base
Select the pond area and outline the shape. In the tutorial, the pond is constructed with a natural outline rather than a strict geometric form, which helps it blend into the backyard. Once you have the shape you want, begin to dig and clear away any rough debris as you go. Keep looking at the form from different angles, to give the pond a sense of balance in the space.
Step 2: Assembling the Pieces
Once the hole is dug, prepare the inside to give the liner a smoother surface to rest on. If you use a protective layer, place it underneath. This will help to reduce wear from sharp ground contact and provide the pond with a better base. Play with the position of your stones and edging materials around the rim before fixing anything permanently in place.
Step 3: Shape Construction 3.1.
Place the liner in the hole and gently settle it into position. Press down slowly to follow the curves and depth of the pond. This part usually requires some shifting and smoothing, especially around corners or bends. Keep tweaking until the liner falls naturally and the overall shape is correct.
Step 4: Add Colour or Texture
After the liner is in place, start placing rocks, gravel or other natural materials around the edges and any visible areas. That’s what makes the pond look finished. The tutorial has a more natural style and the hard edges are softened with stone placement and texture instead of leaving the liner exposed.
Step 5: Decorating
Surrounding stones, nearby plants or simple landscaping touches can help the pond feel connected to the yard. You can keep it minimal and earthy or build it into a fuller garden corner: A few well-chosen plants can often make a great deal of difference without crowding the pond.
Step 6: Style and finish
Fill the pond and make any final liner adjustments and tidy the border if necessary. Look at it from a distance. Step back. A slight alteration in the placement of stones, plants or edges can give the whole feature a more refined and natural look.
Helpful Hints:
Check the shape before you go too deep
Lay the liner after removing sharp stones and roots.
Before you settle on the look, test your rock layout
Cover the edge of the liner as much as possible so it looks more natural
Keep the pond Design Simple not over Decorate it
Select outdoor-safe materials that can withstand wet conditions
Mistakes to avoid:
First on the shape Digging without a plan
Sharp debris left under the liner
cutting the liner too early
Using poor or mismatched edgings materials
Overdoing the embellishments all in one go
making the pond edge look uneven or incomplete
Customisation Tips:
You could achieve a more rustic look with rough stone, a cleaner look with a smoother edge or a softer, cottage garden feel with some extra plants around it. You can also make it smaller, add a small waterfall feature, add lighting, or keep it simple and still.
Style Ideas:
Position your finished pond near a seating area, garden path or flower bed so it can become a focal point. Also makes a nice quiet corner in the back yard with layered planting around it for a tucked away retreat area.
Care:
Keep the pond edges clean, clear away any stray debris and check the liner area from time to time. Add some plants if you like but prune them as needed so the space feels balanced. Select weather-resistant materials for outdoor features and refresh the surrounding stones or planting as necessary.
Time Estimate:
This project can take a short afternoon, or a few hours depending on materials, size, drying time, and detail.
Budget Guide –
You can build this kind of pond very economically, particularly if you keep the size modest and utilise simple, easy-to-find materials. You can further cut costs by reusing stone or leftover landscape materials.
Conclusion:
If you want a peaceful backyard feature that looks natural and personal, this DIY pond is a beautiful idea to try. The overall process is straightforward, and the final result can be adapted to suit many yard sizes and styles. With a little digging, some thoughtful stone placement, and your own creative touch, you can build a pond that brings a calm, finished feel to your outdoor space.
FAQs:
1. Is this beginner-friendly?
Yes, for a confident beginner. The steps are manageable, but the project does take effort and careful setup.
2. What materials work best?
A flexible pond liner, protective underlayer, and durable outdoor stones are a great starting point.
3. Can I make it bigger or smaller?
Yes. Adjust the size to fit your yard and keep the shape balanced with the surrounding space.
4. Can I use recycled materials?
Yes, as long as they are clean, sturdy, and suitable for outdoor use around water.
5. Can I use it outdoors year-round?
Yes, but choose strong outdoor-safe materials and maintain the pond as the seasons change.