
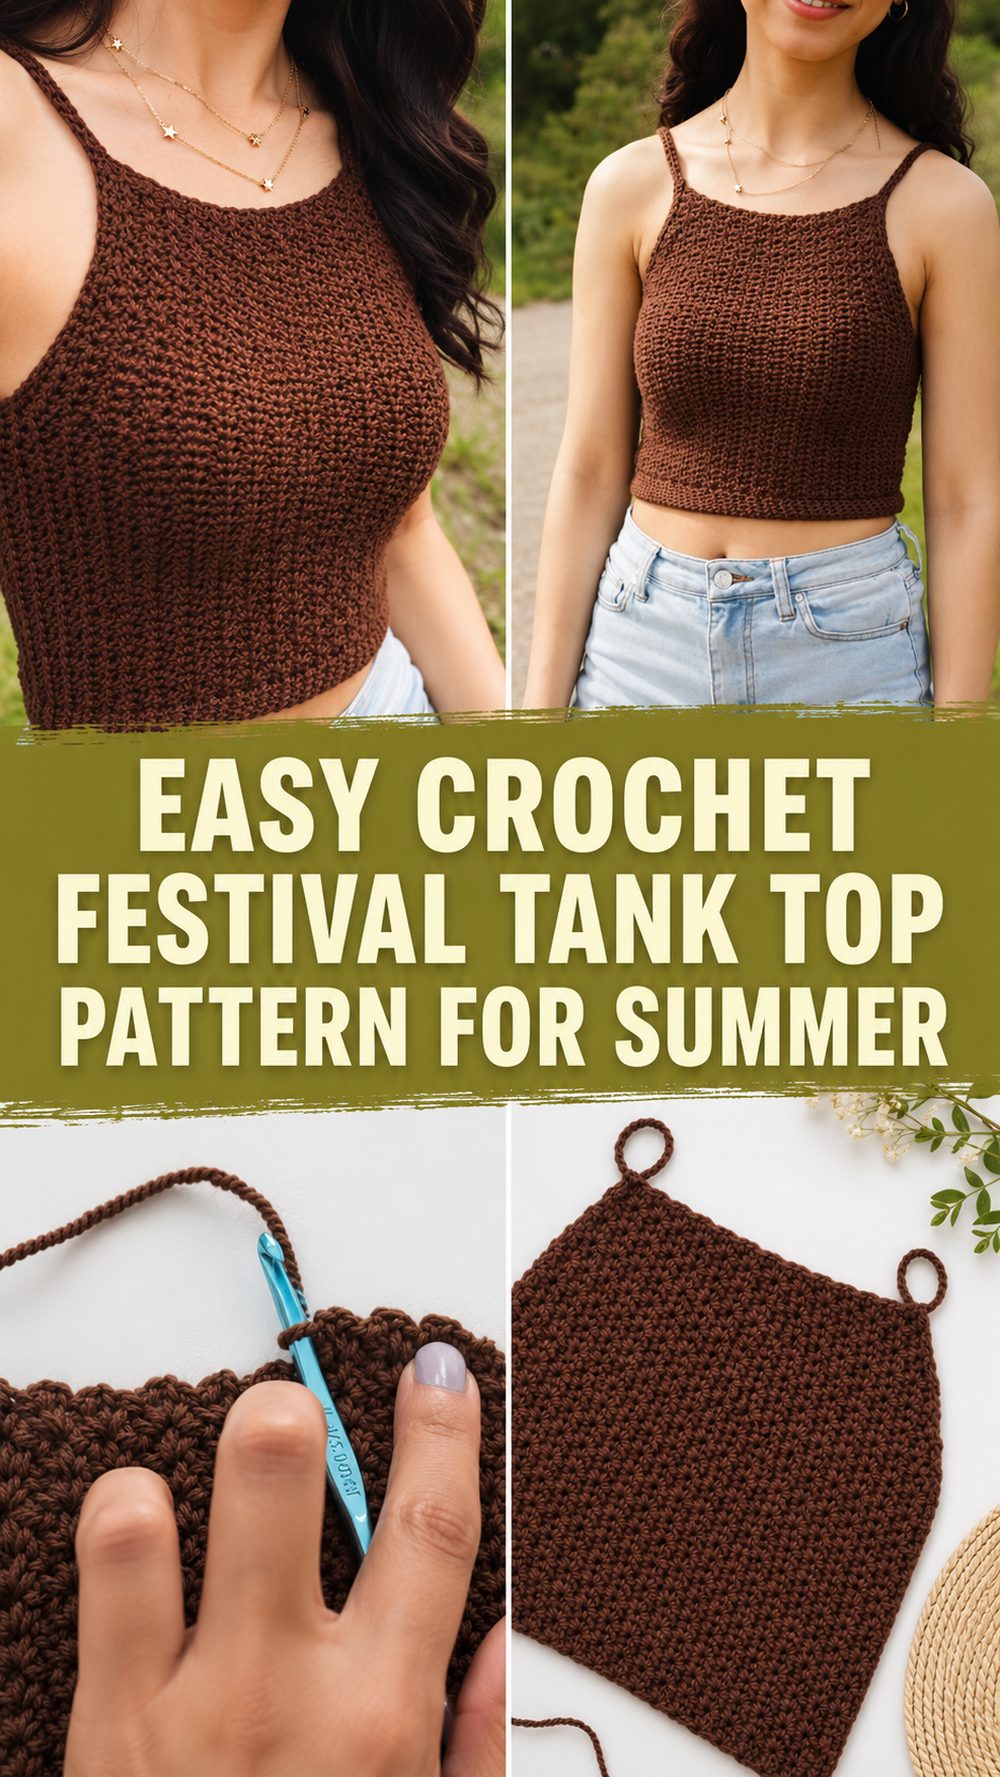
A simple crochet tank top is one of those pieces you end up reaching for all summer long. It is light, easy to wear, and has that handmade look that feels relaxed without trying too hard. The tutorial I selected teaches a square-neck festival-style tank top that is beginner-friendly, stretchy, and made for warm-weather outfits. It is the kind of project that works well if you want your first wearable, but it is also satisfying for more experienced crocheters who just want something cute and practical on the hook. You can wear it with jeans, shorts, skirts, or layered over a bralette or swimsuit. If you enjoy making clothes that are useful, stylish, and easy to personalize with fit and length, this is a lovely project to try.
Why You’ll Love This Project:
This tank top is a fun make because it gives you a wearable piece without a lot of fussy shaping. The finished style is simple, flattering, and easy to pair with everyday clothes, and the square neckline gives it a modern look while still feeling very beginner-friendly.
Materials Needed:
- DK weight yarn
- 5 mm crochet hook
- Scissors
- Tapestry or yarn needle
- Measuring tape
The original pattern listing uses DK yarn and a 5 mm hook, and it also calls for basic finishing tools like scissors, a yarn needle, and measuring tape.
Best Yarn for This Project:
For a summer tank like this, a yarn that feels breathable and soft is the nicest choice. If you want a cooler, more summery feel, lightweight cotton or a cotton blend is a great option because it helps the top feel comfortable in warm weather. If you prefer more stretch and softness, a smooth acrylic blend can also work, especially for a casual everyday version. Since the sample pattern uses DK yarn and the top is described as stretchy, try to choose a yarn that gives you a fabric with a little drape rather than something too stiff.
Skill Level:
This project is a good choice for beginners or confident beginners. The tutorial itself is presented as an easy tank top, and the pattern listing also labels it as easy, which makes it a nice first clothing project if you are ready to move beyond scarves and dishcloths.
Size and Fit Guide:
The pattern is available in a range from XS to 2XL, and it is meant to fit with some stretch. To get the best fit, measure your bust first and compare your work as you go. It helps to hold the fabric against your body before joining anything permanently. You can also make the top longer or shorter depending on whether you want more of a cropped look or a fuller tank length.
Stitches Used:
This tutorial is described as an easy first tank top project, so the construction relies on simple, beginner-friendly crochet techniques rather than advanced shaping or decorative stitchwork. Expect basic foundation work, straightforward body rows, joining, and strap finishing.
How to Make It:
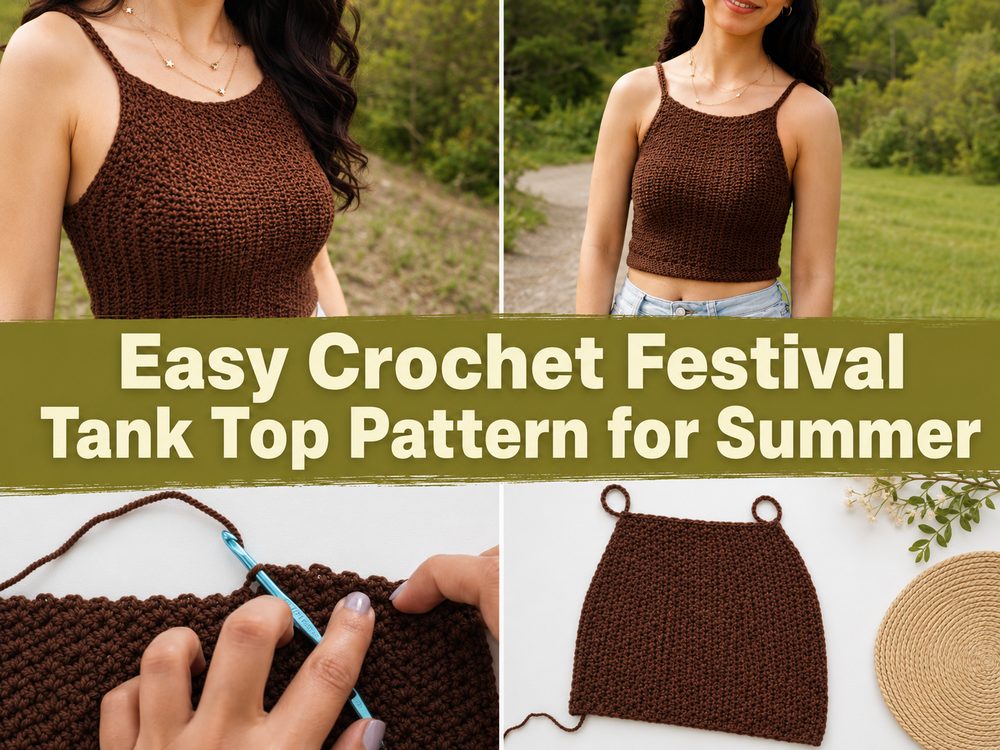
Step 1: Start the Foundation
This tank top is worked flat and built from the bottom upward, which makes the project feel much more manageable than a highly shaped top. You begin by making the lower section of the piece and establishing the width for your chosen size. Because it is a wearable, this is the stage where it is worth checking that the width looks right before you get too far. If you want a close fit, keep the width slightly snug, remembering that the finished top has some stretch.
Step 2: Build the Main Body
Once the foundation is in place, you continue in rows to create the body of the tank. This is the calm, repetitive part of the project and the part many crocheters enjoy most. The tutorial is suited to newer makers, so the body is kept simple and wearable rather than overly detailed. Keep your edges neat and your tension even, because that will help the finished top sit more smoothly when worn. Since the top is worked flat, it is easy to stop every so often and check whether the length feels right for you.
Step 3: Shape the Upper Section
As you move upward, the top transitions into its square-neck shape. This is one of the prettiest features of the design and one of the reasons it looks so modern. The neckline is clean and structured, but it is still simple enough for a first garment project. Work carefully here and count consistently so both sides stay balanced. If you like a slightly higher front, you can keep the shaping modest. If you want a breezier summer look, you can follow the neckline shaping to keep it open and relaxed.
Step 4: Make the Matching Side
Because wearable crochet looks best when both sides match nicely, repeat the same construction for the second section if your piece is made in separate front and back portions, or continue carefully so both upper sides are even if the tutorial forms the top in a continuous flat construction. Either way, your goal is the same: balanced width, matching neckline edges, and equal strap placement. This is a good point to lay the work flat and compare both sides before joining. The pattern notes describe the design as worked flat and bottom-up, which makes this kind of fit check especially helpful.
Step 5: Join the Piece
After the body is finished, the side and shoulder areas are joined to turn the flat crochet into a wearable top. Keep the seams tidy and not too bulky. A tank top like this should feel comfortable under the arms and across the shoulders, so avoid pulling the joining too tightly. Before weaving everything in, it helps to try it on and make sure the neckline sits where you want it and the arm openings feel comfortable. Because the pattern is described as stretchy, a clean but flexible join will usually give the best result.
Step 6: Finish the Straps and Edges
The final stage is all about making the top look polished. The straps should feel secure without digging in, and the neckline and armholes should sit neatly. If your edges look a little wavy, a light block can help smooth everything out. This simple finishing work makes a big difference and gives the tank that ready-to-wear look. The finished piece should look like an easy summer tank with a square neckline, clean shape, and enough stretch to feel comfortable when worn.
Helpful Tips:
A breathable yarn will make this tank much nicer for hot weather. Keep checking the width and length as you work so the fit stays comfortable. Use stitch markers if you want cleaner neckline shaping, and compare both sides before joining so the top looks balanced. A gentle blocking session at the end can also make the edges look neater and help the tank settle into shape.
Common Mistakes to Avoid:
One common mistake is choosing a yarn that feels too heavy or stiff for a summer top. Another is skipping fit checks until the very end. Uneven tension can make the neckline and edges look messy, and tight seams can make the tank uncomfortable under the arms. It is also easy to make straps uneven if you rush the finishing stage. Finally, do not forget that a stretchy top can shift a little after wear, so a balanced fit matters more than forcing it to be skin-tight.
Customization Ideas:
You can make this tank longer for a more classic summer top or keep it shorter for a cropped festival look. Try it in a neutral shade for everyday wear or use a brighter color for beach and holiday outfits. You could also add a contrasting edge, make the straps slightly wider, or use a softer drapier yarn for a more relaxed finish.
Style Ideas:
This kind of crochet tank looks lovely with denim shorts, wide-leg trousers, or a simple skirt. It also layers well under an open shirt or lightweight cardigan. For a beach outfit, wear it over a swimsuit. For casual everyday style, pair it with high-waisted jeans and simple sandals.
Care Instructions:
Hand washing is the safest option, especially for a handmade top that you want to keep in shape. Use cool water and a gentle detergent, then lay it flat to dry. Avoid high heat, especially if your yarn has any stretch or softness you want to preserve.
Time Needed:
This may take a few hours depending on your speed, yarn, size, and how often you stop to check the fit.
Conclusion:
If you have been wanting to crochet a tank top that feels simple, wearable, and beginner-friendly, this is a really nice pattern to try. The square neckline gives it a stylish finish, while the easy construction keeps the project approachable. You can adjust the fit, the length, and the color to make it feel more like your own, which is part of what makes handmade clothing so enjoyable.
FAQs:
1. Is this tank top beginner-friendly?
Yes. The tutorial is described as an easy first tank top project, so it is a good choice for beginners ready to try a wearable.
2. What yarn works best?
A soft DK yarn works well, and for summer wear, cotton or a breathable blend is especially nice. The listed sample uses DK yarn.
3. Can I adjust the size?
Yes. The pattern comes in multiple sizes, and you can also check the fit as you work and adjust the length to suit your style.
4. Is it good for warm weather?
Yes. It is a sleeveless festival-style summer top, so it suits warm-weather outfits very well.
5. What makes the design stand out?
The clean square neckline is the standout feature. It keeps the tank looking simple, modern, and easy to wear.