
A crochet lunch bag can be a useful outer carrier, but yarn alone does not make it insulated, waterproof or food-safe. The most practical design starts with the real container dimensions, uses stable panels and includes a removable washable liner or separate sealed food containers. This guide explains how to compare panel size, base depth, handles, closure and care without claiming that the crochet fabric can control food temperature.
Quick List
- Understanding the Panel Construction
- Planning Size Around Real Containers
- Choosing Yarn for Shape and Care
- Building a Stable Base and Corners
- Adding a Practical Lining
- Strengthening Handles and the Top Edge
- Choosing a Closure
- Using and Cleaning the Bag Responsibly
Why This Crochet Lunch Bag Article Needs More Practical Value
The existing page describes the bag as suitable for lunch but does not clearly separate a decorative crochet carrier from an insulated lunch system. It also guesses materials and construction from a video. The updated content should help readers follow the original tutorial, size the bag around actual containers, prevent leaks from reaching the yarn and understand that perishable food still needs appropriate temperature control.
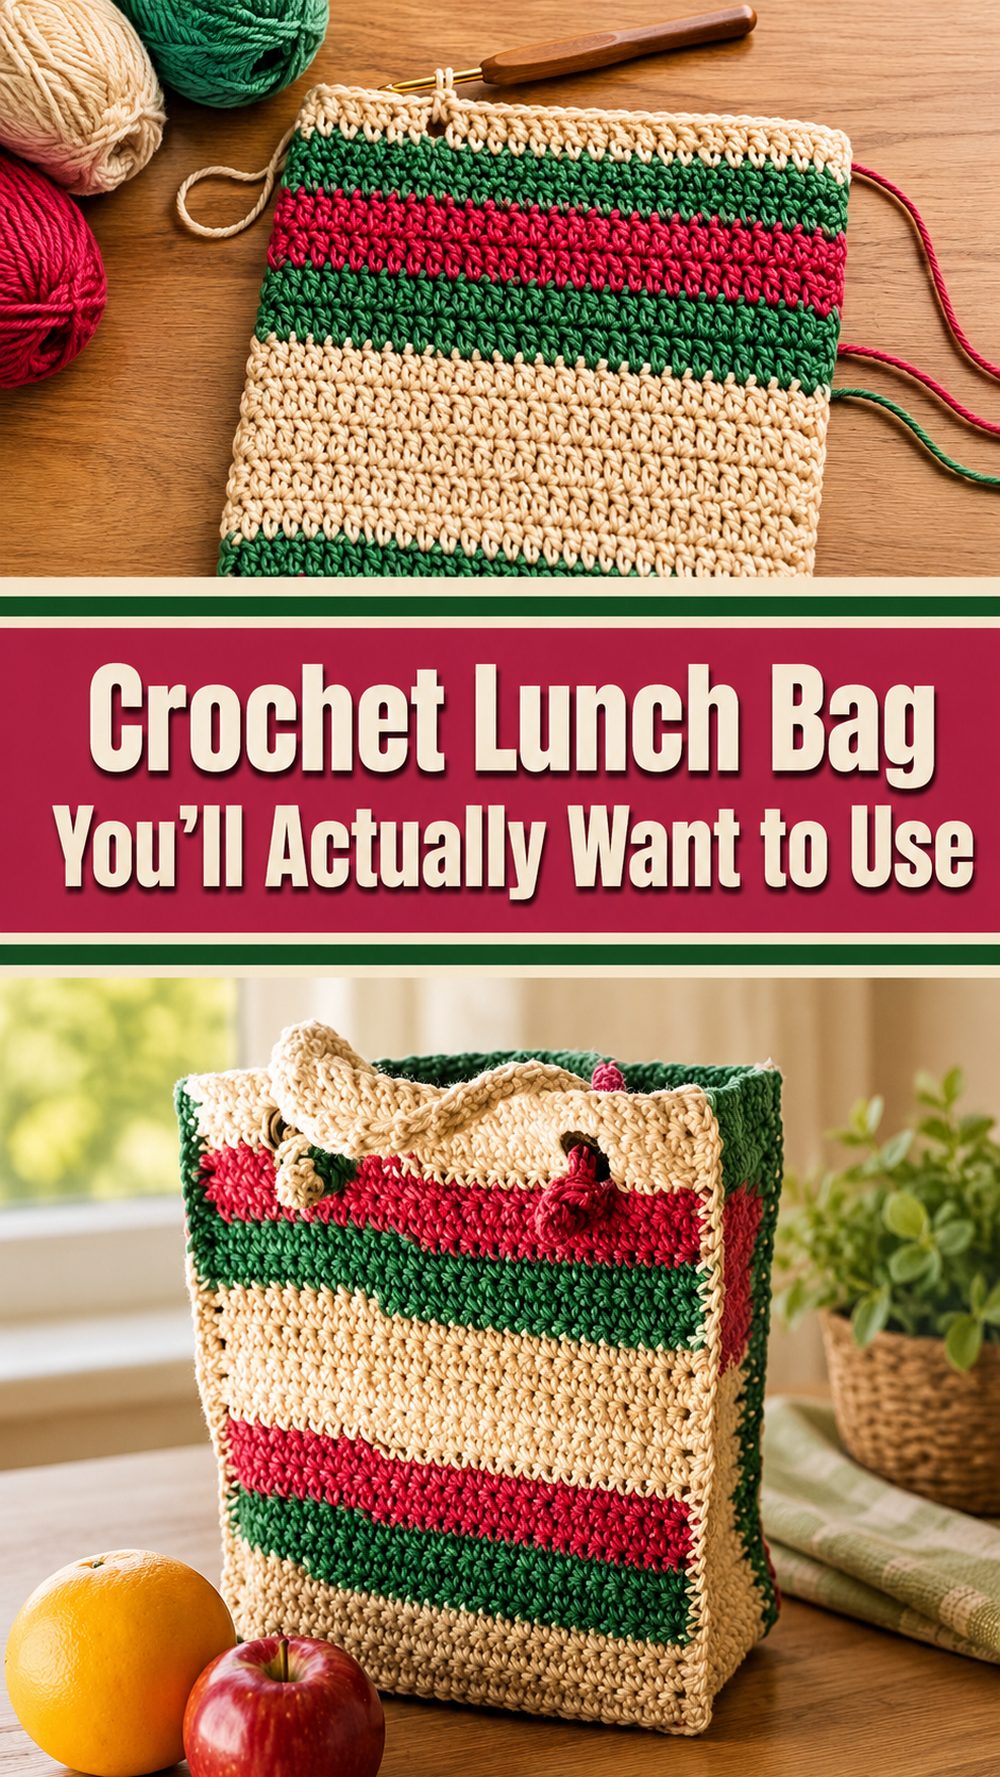
1. Understanding the Three-Panel Bag Construction
A common lunch-bag shape uses matching front and back panels with one long strip forming the sides and base. This construction is easy to understand visually and allows the bag depth to be planned before assembly. The pieces need matching row counts and straight edges for the corners to sit neatly.
Why Matching Panels Matter
Even a small difference between the front and back can twist the opening or force the side strip to stretch. Count rows, measure both pieces after they rest and correct differences before joining.
Plan the Side Strip Carefully
The strip controls both depth and the length around the base and sides. Follow the original tutorial’s measurements. Making it wider increases depth, but making it longer changes how it fits around the panels.
2. Sizing the Bag Around Real Lunch Containers
A useful lunch carrier should fit the intended sealed containers without forcing them diagonally or leaving so much space that they tip. Measure the largest container, bottle and any reusable ice pack before choosing the final dimensions.
Allow Practical Clearance
Add enough room for containers to slide in and out without stretching the opening. Remember that a lining and seam allowance reduce the internal space. Test the arrangement with empty containers before completing handles and closure.
Keep the Bag Stable When Filled
A tall narrow bag may tip, while a very wide soft base can sag. Consider how the containers stack and whether the bag will stand on a desk or refrigerator shelf. A separate rigid insert may help shape, but it should be removable for cleaning.
3. Choosing Yarn for a Crochet Lunch Carrier
The yarn affects structure, stretch and washing. Many bag patterns use cotton or a sturdy blend, but the original pattern should guide fibre and gauge. Soft garment yarn may create a bag that stretches heavily around containers.
Choose Washability and Structure
Look for a smooth yarn with care instructions suitable for regular handling. Make a swatch and wash it before committing to the full bag. Check whether it grows, shrinks or loses firmness.
Avoid Unsupported Food-Safety Claims
The yarn is part of the outer carrier, not a direct food-contact surface. Keep food and drinks in properly sealed containers. Do not describe ordinary crochet fabric as waterproof, leakproof or suitable for holding unwrapped food.

4. Building a Stable Base and Neat Corners
The base carries the containers and sets the bag’s shape. Straight panel edges and evenly joined corners reduce sagging and help the bag stand more reliably when empty.
Reinforce Through Construction, Not Guesswork
Use the joining and edging method in the original tutorial. Extra rounds can strengthen the top or seams only when they do not distort the measurements. Avoid claiming a tested load capacity unless the finished design has actually been evaluated.
Use Markers at the Corners
Align the centre and corner points before joining the long strip. Ease the fabric evenly instead of forcing extra stitches into one area. Puckered corners reduce internal space and can make containers sit unevenly.
5. Adding a Removable Lunch-Bag Lining
A lining can help contain small spills, protect the yarn and make cleaning easier. A removable washable liner is usually more practical than permanently attaching a material with unknown food-contact or insulation properties.
Select Lining for the Intended Function
Use a material designed for the cleaning method and purpose. A simple washable fabric liner helps with crumbs, while an actual insulated insert should be a purpose-made product used according to its manufacturer’s instructions.
Keep the Liner Accessible
A removable insert can be washed separately and inspected for damage. Make sure it fits without bunching and does not interfere with the closure. Never rely on a handmade lining alone to keep perishable food at a safe temperature.
6. Strengthening Handles and the Top Edge
Handles and their attachment points experience repeated pulling. They should be comfortable in the hand and positioned so the filled bag stays level.
Use Wide, Balanced Carrying Points
Mark both handle positions at the same time. A wider handle can distribute pressure better than a narrow cord, but the exact construction should follow the tutorial. Test with empty containers and a modest load.
Inspect High-Stress Areas
Check joins, top edging and handle bases regularly. Stop using the bag if yarn frays, stitches open or the handle lengthens enough to affect control. Handmade fabric should not be treated as permanently maintenance-free.
7. Choosing a Useful Closure
A closure keeps the top organised but does not make the bag leakproof or insulated. Buttons, drawstrings, flaps and zippers each change the opening and ease of cleaning.
Match the Closure to the Contents
A wide flap may suit stacked containers, while a zipper needs enough clearance and a stable lining. A single button can help the top stay together but may leave large gaps. Check that the closure does not press against a bottle or container lid.
Keep Small Parts Secure
Buttons and toggles should be firmly attached and inspected. For bags used by children, follow relevant safety requirements and avoid loose cords or detachable decorative parts.
8. Using and Cleaning the Crochet Lunch Bag
The bag should be treated as an outer carrier. Food should remain sealed, leaks should be cleaned promptly and the yarn should dry completely before the bag is stored.
Keep Perishable Food Properly Chilled
Use suitable sealed containers, purpose-made ice packs and current food-safety guidance. An ordinary crochet bag does not control temperature. Do not leave perishable food at unsafe temperatures simply because it is inside a handmade carrier.
Clean Each Component Separately
Remove containers, inserts and liners. Follow the yarn label and liner instructions, reshape the crochet and let all parts dry fully. Persistent odour, mould, damaged insulation or stains that cannot be cleaned are reasons to stop using the affected part.
Conclusion
If you want a crochet project that is both useful and satisfying, this lunch bag is a really good one to try. The panel construction keeps the process clear, and the finished result is something you can actually use again and again. You can keep it simple, change the colors, adjust the size, or add little details that make it feel like your own. It is practical, handmade, and genuinely enjoyable to make.
FAQs
Is this project beginner-friendly?
Yes, it suits beginners and confident beginners well, especially if you are comfortable with basic stitches and simple joining.
Can I change the size?
Yes. You can make the panels taller, wider, or deeper depending on what you want to carry inside.
What yarn works best?
Cotton or a sturdy cotton blend is usually the best choice for a lunch bag because it gives a cleaner, stronger shape.
How can I make it sturdier?
Use a firmer yarn, keep your tension even, and reinforce the top edge and handle area.
Can I use it for things other than lunch?
Absolutely. It also works nicely as a small tote for snacks, books, or everyday bits and pieces.