
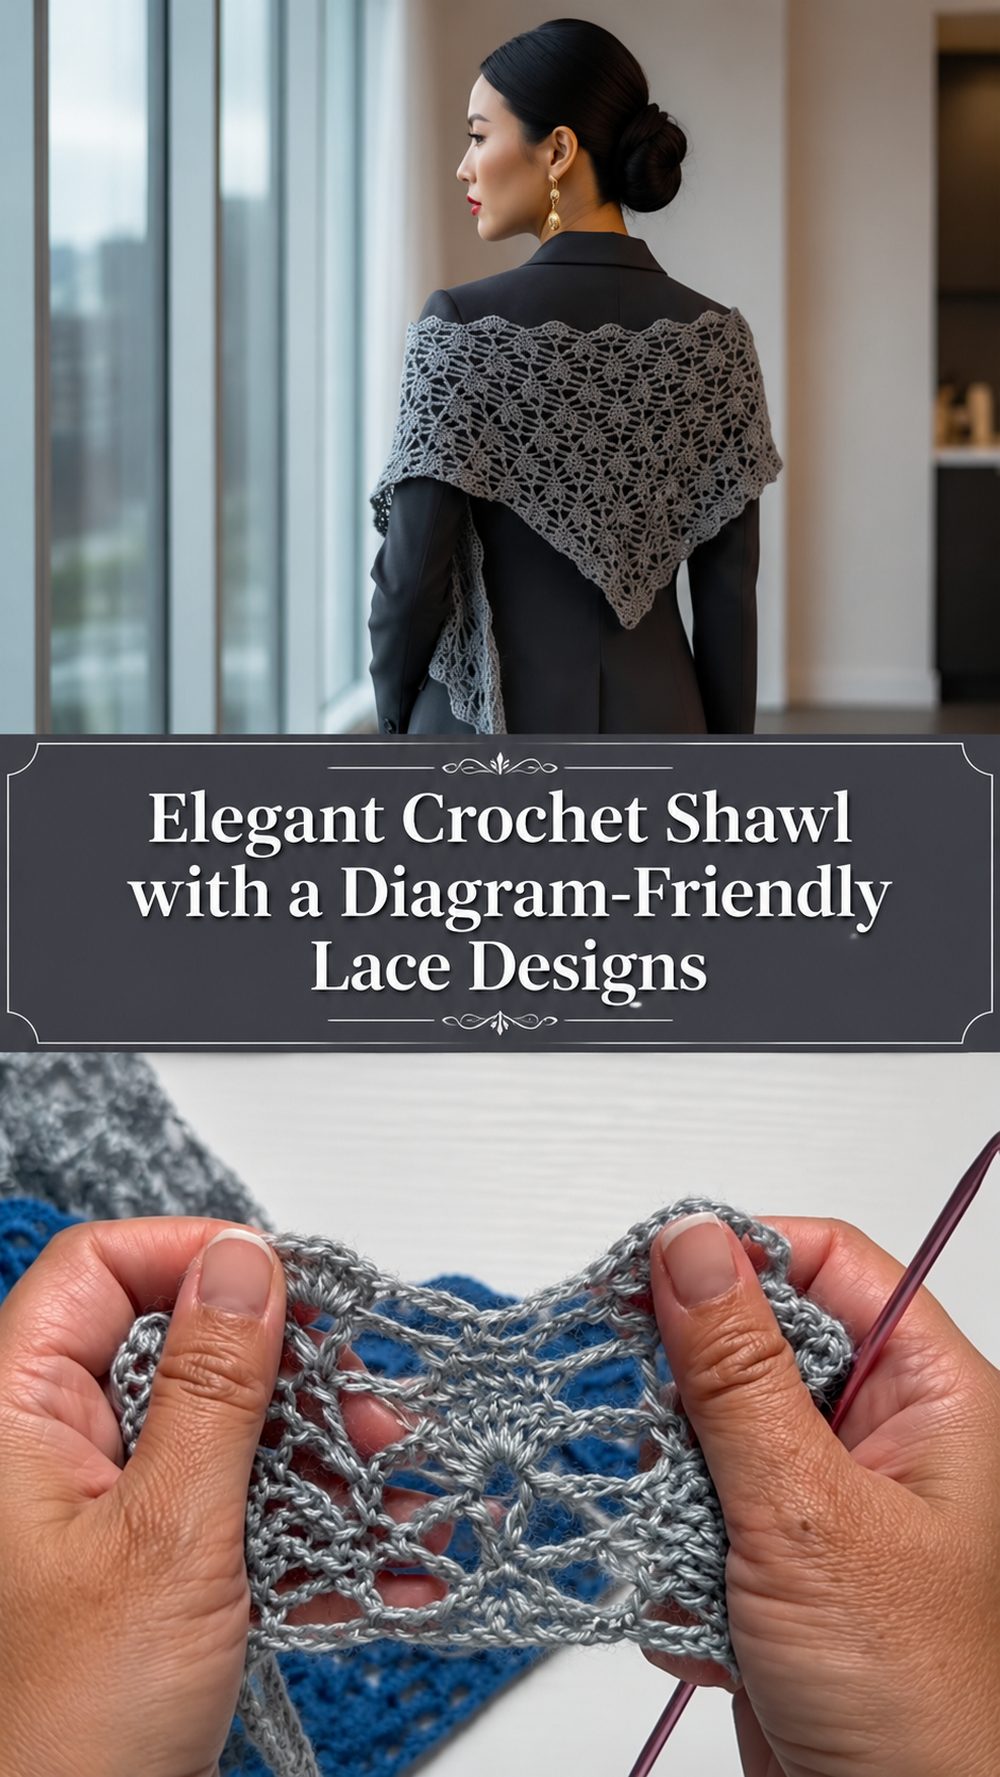
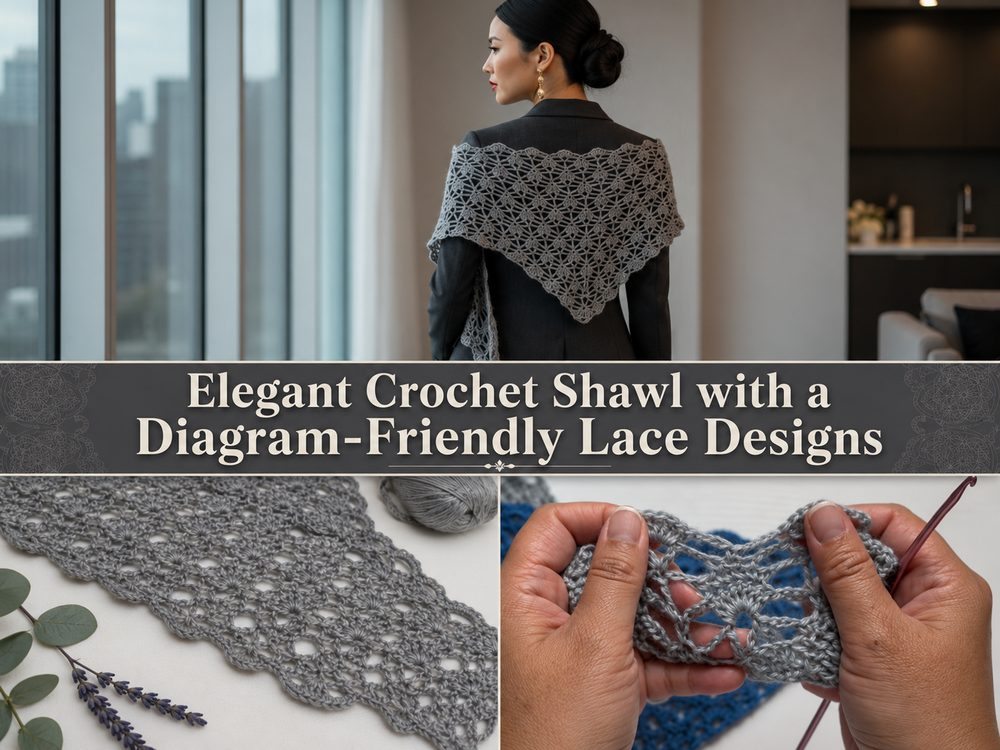
A crochet shawl is one of those projects that feels both relaxing and rewarding. It gives you enough repetition to settle into a nice rhythm, but it still looks special when it starts to open up row by row. This style of shawl is especially lovely if you want something light, graceful, and easy to throw over a simple outfit. You can wear it on cool evenings, over a dress for a soft layered look, or just keep it nearby when you want a handmade wrap that feels a little dressy without being fussy. The tutorial behind this version is a full row-by-row lesson for an elegant shawl and is presented with voice guidance, a written pattern, and a crochet diagram/chart, which makes it especially helpful if you like seeing the structure as you work.
Why You’ll Love This Project:
This shawl has that beautiful balance between simple and impressive. Once the stitch pattern begins to repeat, it becomes soothing to work on, but the finished piece still looks refined and polished. The selected tutorial is designed as a full beginner-friendly walkthrough with chart support, so it suits crocheters who like both visual guidance and a pretty wearable result.
Materials Needed:
- Yarn for a light lace-style shawl
- Crochet hook
- Scissors
- Yarn needle
- Stitch markers
- Measuring tape
Use a yarn and hook size that matches your desired fit and texture.
Best Yarn for This Project:
A lightweight yarn works beautifully for a shawl like this because it helps the lace pattern stay open and soft instead of feeling too heavy. Cotton blends, bamboo blends, or smooth acrylic yarns all work well depending on the season you want it for. If you want a shawl that feels breezy and elegant, go for something with nice drape rather than a thick, stiff yarn. A smoother yarn also helps the stitch pattern show up more clearly, which is especially helpful when you are following a chart or repeated lace sections.
Skill Level:
This project feels best for confident beginners or easy-level crocheters. The tutorial is taught row by row and includes both spoken instruction and visual pattern support, which makes it more approachable than many lace projects. Even if you do not usually make shawls, this is a nice way to get comfortable with a repeated openwork design.
Size and Fit Guide:
A shawl is one of the easiest wearables to adjust. You can make it smaller for a light shoulder wrap or keep adding rows until it feels wide and drapey enough for the look you want. Check the size as you go by holding it across your shoulders or laying it flat and measuring the width and depth. If you want more coverage, continue the repeat longer. If you want a neater everyday wrap, stop once it reaches a comfortable size for your frame.
Stitches Used:
The video is taught as a row-by-row lace shawl with a written pattern and crochet diagram/chart. The exact stitch names are shown visually in the tutorial, and the fabric is built from basic crochet stitches worked into an open lace arrangement rather than dense solid fabric.
How to Make It:
Step 1: Start the Foundation
Begin by creating your starting edge as shown in the tutorial. For a shawl like this, the beginning needs to stay neat and flexible, so keep your tension relaxed. If your starting chain tends to tighten up, go up a hook size just for the foundation or work the beginning extra loosely. That small adjustment can make a big difference later.
Take a moment to count carefully in the early stage. Lace projects look much better when the first few rows are tidy, because that is what sets up the entire pattern. A clean start makes the diagram much easier to follow too.
Step 2: Work the First Setup Rows
After the foundation is in place, the shawl begins to take shape through the setup rows. These early rows matter because they establish the spacing for the lace pattern. Work slowly here and use stitch markers if that helps you keep track of the repeats.
The tutorial is presented row by row, which is especially useful in this stage because you can focus on where the stitches are placed rather than rushing ahead. Once you understand how the openings and stitch groups are forming, the rest of the shawl becomes much easier to read visually.
Step 3: Build the Main Lace Body
This is the part where the shawl really becomes beautiful. The main body is worked in repeated lace rows that open up the fabric and give it that soft elegant look. Instead of a thick winter texture, this style creates a lighter wrap with pretty drape and movement.
As you repeat the pattern, pay attention to the rhythm of the stitches rather than overthinking every row. Lace often feels complicated at first, but once the repeat settles in, it becomes very calming. You will start recognizing where the next stitch group belongs just by looking at the row below.
If you are using a diagram, this is where it becomes especially helpful. The chart lets you see the shape of the repeat and how each section grows across the row. If you are more visual, following both the row instruction and the diagram together can make the whole process feel much less intimidating.
Step 4: Watch the Shape as It Grows
As the shawl gets larger, stop every so often and spread it out. This helps you check that the edges are staying even and the fabric is opening nicely. If one side starts to pull in or ripple, it usually means the tension has changed or a repeat was missed somewhere.
A shawl should feel light and comfortable, not stiff. Try not to crochet too tightly, especially around chain spaces or open sections. Those open areas are what give a lace shawl its graceful look. If you want a softer finish, let the fabric breathe and avoid overworking the stitches.
Step 5: Adjust the Size
One of the nicest things about a shawl pattern like this is how flexible it is. You can keep working the repeated section until the wrap reaches the depth or width you like. Some crocheters prefer a shorter shawl that sits neatly on the shoulders, while others love a larger piece that can be wrapped around the arms and neck.
Try it on now and then, or hold it against a sweater or dress you would normally wear with it. That gives you a more realistic idea of how the finished piece will sit. Stop once the shape feels balanced and the length suits your personal style.
Step 6: Finish the Edge
When the shawl reaches your preferred size, complete the final row carefully so the edge looks clean. A simple finishing edge often works best on lace because it frames the pattern without making it too heavy. Keep your finishing stitches even and relaxed so the edge does not curl.
Weave in the ends neatly, then block the shawl if possible. Blocking is especially worth doing for lace. It helps the stitch pattern open up, smooths the edges, and gives the finished shawl that polished handmade look. After blocking, the design usually looks much more defined and elegant.
Helpful Tips:
- Use a yarn with good drape so the shawl hangs softly.
- Keep your tension even, especially in the open sections.
- Use stitch markers to separate repeats if you lose your place easily.
- Check the size before deciding to stop the pattern repeat.
- Read the shawl visually as well as row by row.
- Block the finished shawl to open the lace and sharpen the shape.
Common Mistakes to Avoid:
- Making the foundation chain too tight
- Skipping part of a lace repeat without noticing
- Pulling chain spaces too tightly
- Forgetting to check the shape as the shawl grows
- Using a yarn that is too thick for a soft drape
- Finishing without blocking, which can hide the beauty of the lace
Customization Ideas:
You can easily make this shawl feel more personal. Try a soft neutral shade for an elegant classic wrap, or use a gentle gradient yarn for more visual movement. You could make it shorter for everyday wear or larger for a more dramatic shoulder wrap. A delicate edging can add a more decorative finish, while a very simple edge keeps the overall look clean and modern. You can also choose a summer-friendly fiber for an airy warm-weather shawl or a slightly softer cozy blend for cooler seasons.
Style Ideas:
This kind of shawl looks lovely over a simple dress, tank top, or long-sleeve blouse. You can wear it loosely over the shoulders for an evening look, wrap it around the neck like a scarf, or pin it in place for a more styled outfit. It also makes a beautiful handmade gift because it feels special without being hard to wear.
Care Instructions:
Hand wash gently or use a delicate cycle if your yarn allows it. Lay the shawl flat to dry and reshape it while damp. Avoid high heat, especially with lighter lace fabrics, because heat can affect the drape and stitch definition. If needed, store it folded neatly instead of hanging it for long periods.
Time Needed:
This may take a few hours depending on your speed, yarn, size, and stitch pattern.
Conclusion:
If you have been wanting to make a crochet shawl that feels elegant without becoming overwhelming, this is a really lovely project to try. The repeating lace sections keep it interesting, and the chart-style support makes it easier to understand how the fabric comes together. Take your time, enjoy the rhythm of the rows, and adjust the size, yarn, and color until it feels just right for you.
FAQs:
1. Is this shawl beginner-friendly?
Yes, especially for a confident beginner who is ready to try a lace-style repeat and follow the pattern row by row.
2. What yarn is best for this project?
A lightweight yarn with nice drape works best, such as cotton blend, bamboo blend, or a soft smooth acrylic.
3. Can I change the size?
Yes. You can continue the pattern repeats until the shawl reaches the width and depth you want.
4. Do I need to know how to read a crochet diagram?
Not completely. You can follow the tutorial visually and use the diagram as extra support while you learn.
5. How do I make the shawl look more polished?
Keep your tension even, finish the edges neatly, weave in the ends well, and block it at the end.